This tutorial will walk you through setting up robots and wifi for a classroom and we will explain Raspberry Pi Networking in a Classroom or Camp Environment.

Before you begin:
- Each SD card must have its own hostname. That means every robot will have a unique name on the network. You can find more about changing the hostname on the Raspberry Pi (and why you need to do this) here. Through this tutorial we will use the name “hostname.local” and “hostname”. This is the value you set the hostname to. The default hostname is “dex” and the default network name is “dex.local”. We will refer to your new hostname as “hostname” and your new network name as “hostname.local”.
- If you are using a PC, you must install Bonjour (click here). If you are using a Mac, you can skip this step.
Tips
When setting up Raspberry Pi Networking in a Classroom, you can scan a network for available hostnames using two tools:
- Windows – We recommend Angry IP Scanner. Don’t let the name fool you, it’s a happy program that’s easy to use. You can download it here. The software is free and open source.
- Mac – We recommend Bonjour Browser. Install this free and open source software and begin to search your network for hostnames.
Supplies Needed:
1). Power up the Wifi Router.
Turn the wifi router on. You should see the green lights on the router turn on and start to blink.
Optionally, if you have physical access to the school/camp router, you may want to connect your own wifi router to it by using an ethernet cord. This will give internet access to the Pis. If your school has a firewall or restricted network permissions, you can skip connecting the router to your local network, but you will not have access to the internet. You may need to contact your network administrator for further help if you need internet access.
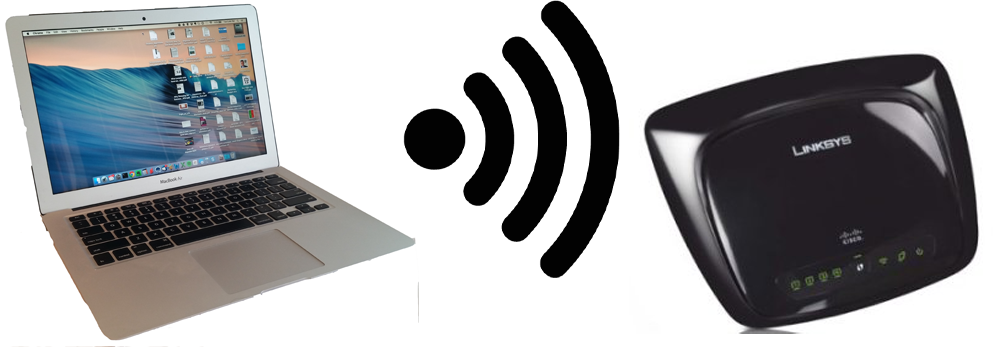
2). Connect Your PC or Mac to the Wifi Router
Connect your PC or Mac to the Wifi router over wifi radio.
The Wifi router SSID is again “linksys”.
There is no Wifi router password (or in other words, no psk or passphrase).
Alternatively, you can connect your Mac or PC to the wifi router using an ethernet cord. Simply plug one end of the cord into your Mac or PC, and the other end of the cord into one of the blue colored ports on the back of the wifi router.
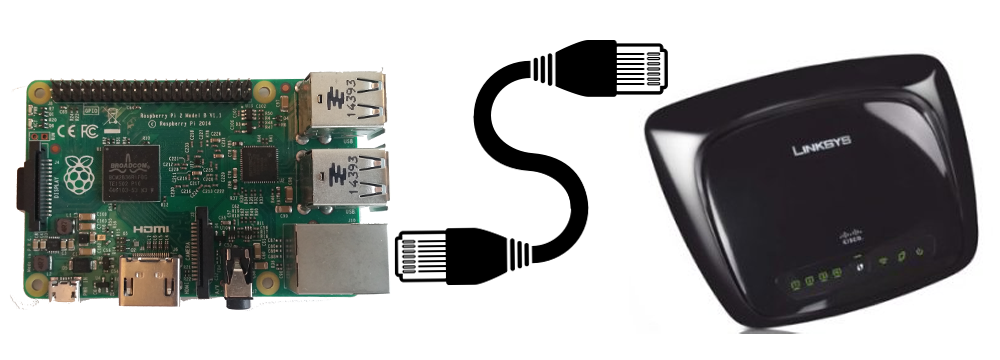
3). Connect The Pi and Wifi Router Over Ethernet.
Connect your Raspberry Pi to the wifi router using an ethernet cable.
- Insert the SD Card.
- Power up the Raspberry Pi with the Raspberry Pi Power Supply.
- Plug the Raspberry Pi into one of the blue ports on the Wifi Router.
The lights on the Raspberry Pi ethernet port should turn on and start blinking. Here is a quick video of the Pi starting up.
From your PC, ping the Raspberry Pi. Using the command line on your PC or Terminal on your Mac type:
ping hostname.local
If you get a positive response, we have established a connection between the Raspberry Pi and your PC or Mac.
If you do not get a positive response be sure to check:
- The Pi is powering up properly and plugged into a Raspberry Pi Power Supply.
- The ethernet cable is firmly plugged into both the Pi and the Wifi router.
- The Wifi Router powered.
- The ethernet cable is plugged into the blue ports on the Wifi router.
4). Connect the Pi to the Wifi Router over Wifi.
Once you have established a connection between your Raspberry Pi and the PC, we can connect the Raspberry Pi to the Wifi router over Wifi. Make sure you have the Wifi dongle attached to the Raspberry Pi.
This will connect the Pi and the Wifi Router over Wifi. Enter the Wifi credentials into the Pi by following the videos below.
The Wifi router SSID (network name) is called “linksys” and there is no password, it should be broadcasting an open Wifi network.
Please note that you will be using the hostname you set before beginning “hostname.local”, not “dex.local” as shown in the video:

5). Disconnect Ethernet.
Now that we have the Pi connected to the Wifi router, disconnect the ethernet cable from the Pi. Remove the ethernet cord joining your Pi and the Wifi router.
6). Ping the Pi.
The final step! Make sure you can connect between your PC or Mac and your Pi. From your PC or Mac, ping the Pi.
In the command line, type:
ping hostname.local
If you have a positive response, your Pi is successfully on the wifi network!

7). Repeat.
Repeat for each Pi in your classroom! Be sure to make sure that each Pi you add to the network has a unique hostname, for example- dex1, dex2, dex3, etc (see more about changing the hostname of a Pi here).

9). Learn More!
If you liked this tutorial, check out our tutorial on Accessing your Pi away from home or local network here.
EDUCATORS:
Check out our DexterEd page to learn about our Classroom Kits, Curriculum and Teacher Trial program.