3D Printing and the GoPiGo3
So you have a new 3D printer for your classroom? Use our free 3D printing curriculum to introduce the design process in your classroom!
When we talk to STEM teachers, one thing we hear often is that students bee-line to 3D print a design, add a logo, and call it a day. How do you encourage students to move from printing pre-made designs to participating in the design thinking process?

Welcome to the Classroom 3D Printing
Over the past few years, 3D printing has exploded in popularity, with 3D printers making their way into the classroom. We wanted to find a way to incorporate these new tools into design thinking for the classroom.
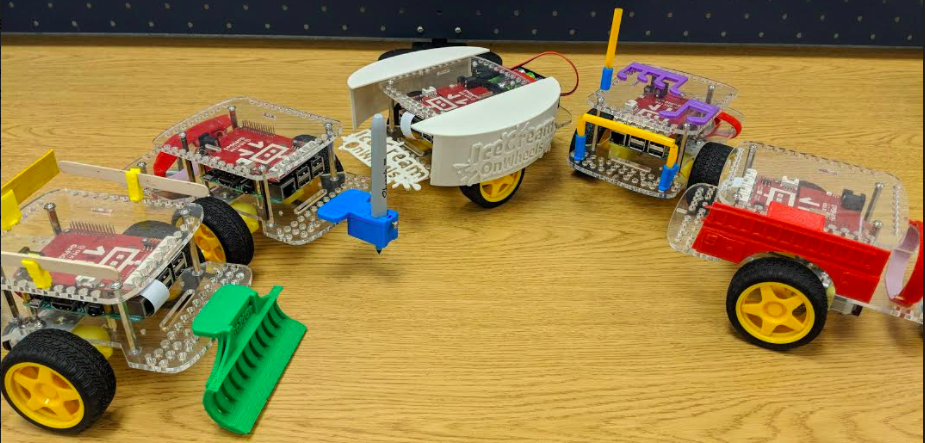
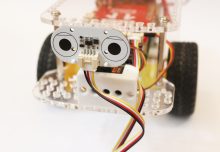
One of the unique aspects of the GoPiGo3 robot as a learning platform is that it challenges and enables students to build. The GoPiGo3 is a great platform to learn coding on. But what’s really powerful about the robot is that it invites students to learn how the robot works: assembling the robot familiarizes students with how the robot works, how the parts talk to each other.

GoPiGo3 and 3D Printing
When we set out to design the GoPiGo, we wanted a robot that students would be able to really engage in STEAM. We wanted a robot that students could customize and build on. We set out to design a 5 part lesson plan that incorporates design thinking, the GoPiGo3 and 3D printing. The best part about our curriculum: you can use our free 3D printing curriculum for free on Dexter Studios.


Free 3D Printing Curriculum
The lessons use TinkerCad, a free and easy platform for making 3D designs. The software is intuitive to use, and we start with an introductory lesson to the basics of TinkerCad. Each free 3D printing curriculum lesson is loaded with videos made by one of our Dexperts, who patiently walks you through the lesson.
Lesson 1
In Lesson 1, TinkerCard Basics, we orient the student and instructor in TinkerCad, going over the basics of how to use the software.
Lesson 2
Next, in Lesson 2, we introduce you to the Engineering Design Process and 3D modeling. We build a flag for the GoPiGo3 Car.
Lesson 3
Then, in Lesson 3, we go over the basics of designing parts that fit onto your GoPiGo3 Car with a 3D template students can customize. Students are lead through making a plan, customizing, and evaluating their design.
Lesson 4
Next, in Lesson 4, we learn how to design and attach a Servo Motor to your GoPiGo3 to add custom moving parts.
Lesson 5
Finally in Lesson 5, Designing with Gears, the curriculum walks students how to design gear trains and how to make more advanced moving parts for the GoPiGo3. The curriculum also shows how to design a rack-and-pinion gears with a servo motor.
More 3D Printing!
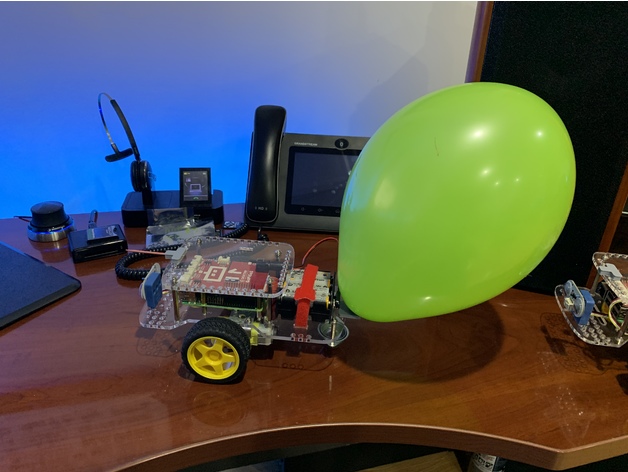
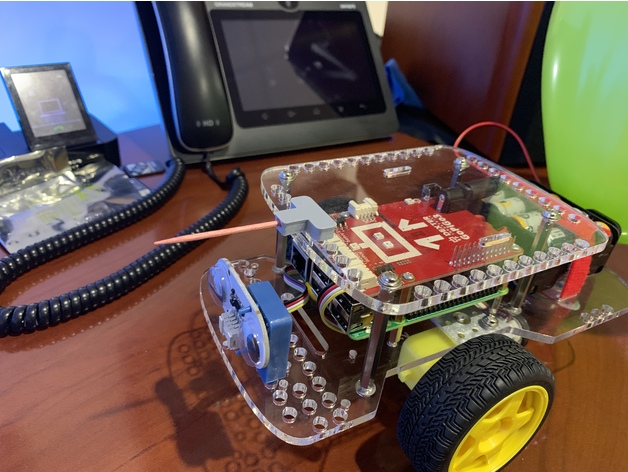
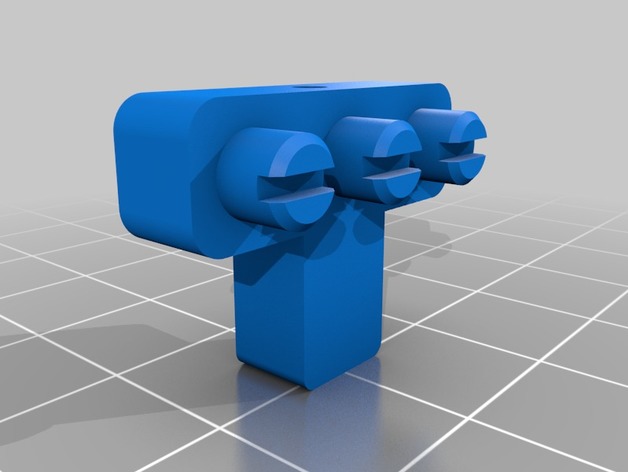
Finally, our community has made a lot of projects with 3D printing and the GoPiGo3, but one in particular is really fund for the classroom: competitive robot jousting. Daniel Chote, an active 3D printing and coding contributor, has made a 3D printed design that turns your robot into a balloon-popping machines. These are fun for classroom coding competitions where robots are programmed to pop each others balloons.
Curriculum and More!
We’re excited about how fast 3D printing is moving into the classroom and we are excited to introduce more new and exciting curriculum around the GoPiGo3, robotics, and 3D printing.
If you’re an educator and interested in incorporating 3D printing and robotics in your classroom, check out our FREE Teacher Trial Program here!