-
2. Prep The SD Card
Before You Begin The SD Card is the hard drive of the GoPiGo Robot. We will insert it into the Raspberry Pi (the green board). This will have basic information on preparing your SD Card for working with the BrickPi. A standard installation of Raspbian will not work without some modification; there are some modifications that must be made to...
July 2, 20130 -
Set up from a Mac
Connect to your Raspberry Pi from a Mac Using Ethernet This is a step by step guide to connecting your Raspberry Pi with your Mac. 1. First find your Network Preferences. In the upper right hand corner of your screen, click on the wifi icon. 2. Setup your Ethernet Preferences After clicking “Open Network Preferences”, select your Ethernet connection on...
-
Programming
This section has information to get you started programming the BrickPi. We assume you’ve gotten your BrickPi set up, the case built, and you’re to the point where you want to control some motors and sensors. Programming Options for the BrickPi and BrickPi+ Note: Not for the BrickPi3. Choose which programming language you are interested in exploring: Scratch Python...
-
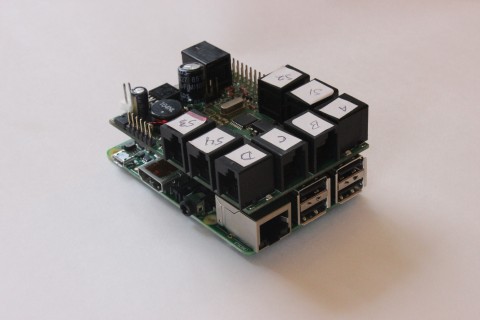
Assemble the BrickPi Basic Case with Raspberry Pi B
The BrickPi Basic Case is compatible with the Raspberry Pi B, B+ and 2. For instructions on how to assemble the Basic Case with the B+ & 2 look here. Assemble the BrickPi Basic Case with the Raspberry Pi B: You will need a Phillips head or flat head screw driver. 1). Unpack the hardware. The acrylic case comes...
-
BrickPi on HumansInvent
We were honored last week to be featured on HumansInvent.com We got a chance to talk a little bit about the BrickPi, how Dexter Industries got started, and where we came up with the idea for the BrickPi. See more on the website here: http://www.humansinvent.com/#!/12370/supercharging-lego-with-the-raspberry-pi/
-
Assemble the BrickPi Basic Case with Raspberry Pi B+ & 2
The BrickPi Base Case is compatible with the Raspberry Pi Model B+ & 2. Here’s a video showing how to assemble it, as it is a bit of a tight fit. If you are interested in a full 6-sided case, check out the Upgraded BrickPi Case. To use the BrickPi with the Raspberry Pi Model B+ & 2, just...
-
Getting Started
Congratulations on getting a BrickPi! This page and the sub-pages will help walk you through getting it setup and started. We recommend you go through each of them, in the following order: Assemble The Case The SD Card Powering Up Using the Raspberry Pi Controlling the BrickPi Attaching LEGO Programming Your Robot You can see step-by-step instructions for setting...
-
Set up from Windows
Windows: Setup your LAN Connection to Obtain IP address automatically. (Looking to connect from a Mac? Look here!) Find your “Network Sharing Center”. Find the “Change Adapter Settings” –> Local Area Connection, click on “Properties”. Click on Internet Protocol Version 4 (TCP/IPv4). Make sure that you’ve selected “Obtain an IP address automatically” Now, we setup the Raspberry...
-
1. Assemble the BrickPi Case
There are two different cases for the BrickPi. Please select which one you have to view the assembly instructions. BrickPi B+ and 2 Case: 6 sided acrylic case comes with BrickPi+ compatible only with Raspberry Pi B+ & 2 Assembly instructions Upgraded Case with Raspberry Pi B+ & 2 (Note: The upgraded case does not fit the older Raspberry Pi...