We set out a few months ago to make it easy to turn your Raspberry Pi into a Robot. We wanted to make getting started as easy and as quick as possible, especially for beginners. Over the past two months, we’ve published a few tutorials on projects you can use with the GoPiGo.
No technology is useful when hidden and our goal is to share, learn, and help others lean. These Raspberry Pi projects are simple projects that bring robotics to everyone! In the name of science, today, we are going to showcase a few of our favorite Raspberry Pi projects.
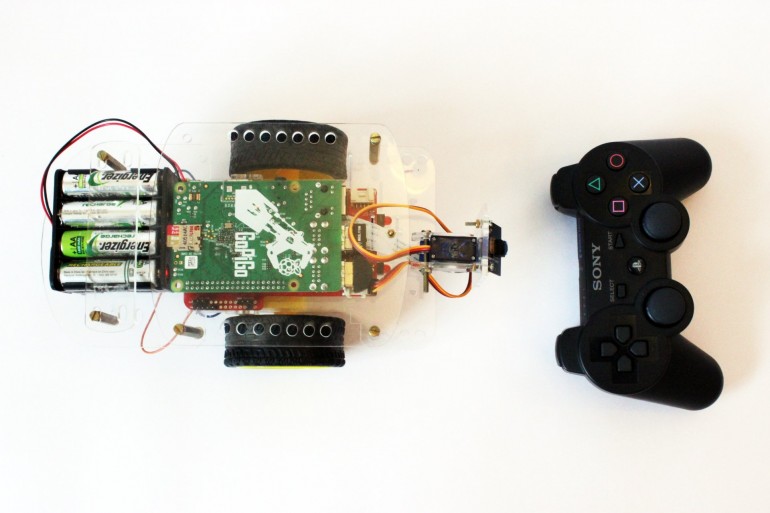
PS3 + Raspberry Pi = Control the GoPiGo
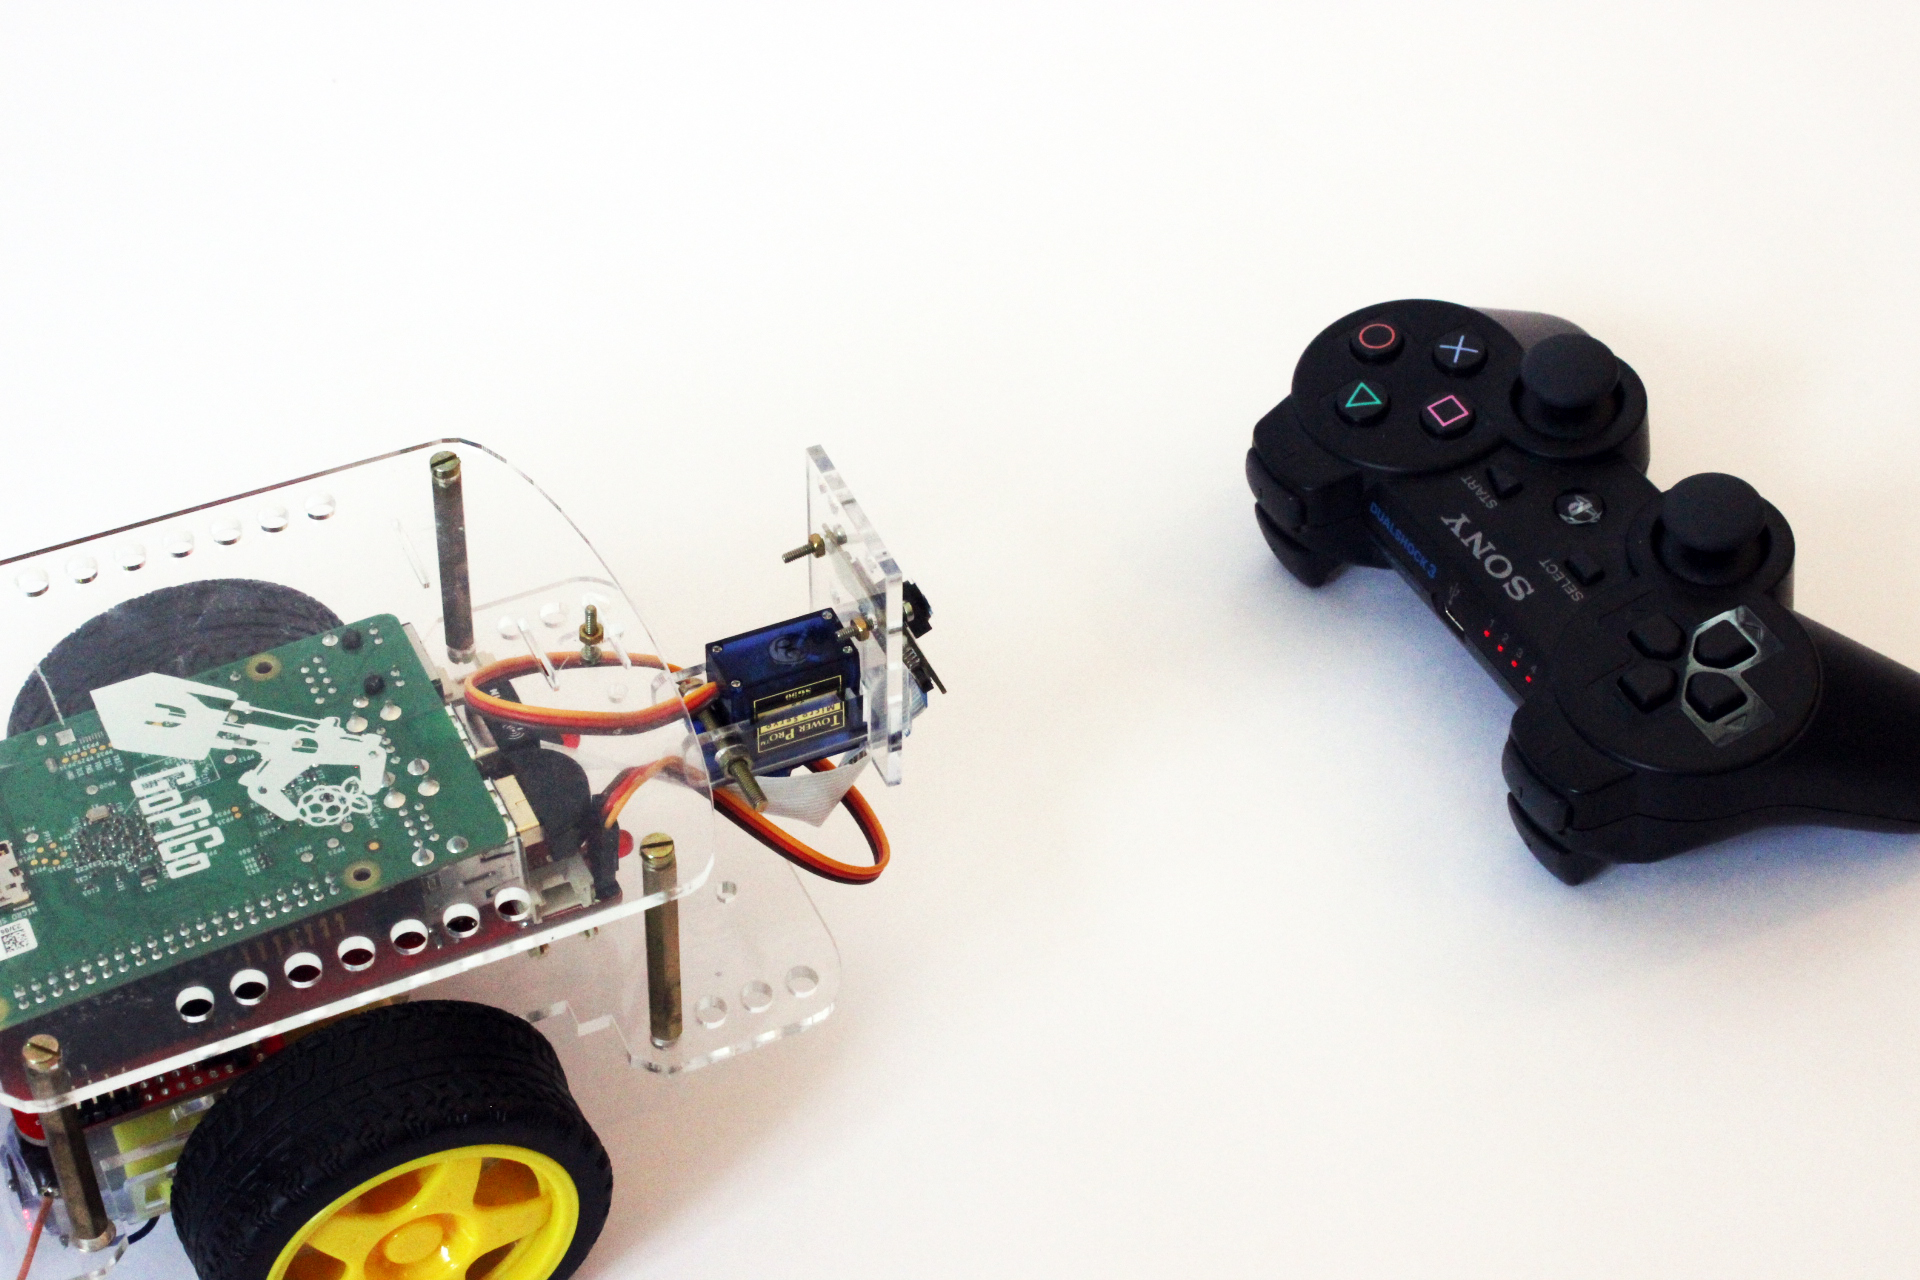
The PS3 Controller and the GoPiGo
Raspberry Pi project #1. In this project we take the Raspberry Pi, add a GoPiGo, and control it with the most popular and ubiquitous video game controllers: the Playstation 3 controller.
This tutorial walks you through how to use the PS3 as a control device for the Pi.
Why is this is a great project? We love it because you can use it for the GoPiGo, but it’s also a great example to control other robots, or just as a template for using the PS3 Controller. As with all of our projects, you can get the code on Github and use it however you like!
Mouse Controlled Raspberry Pi Robot
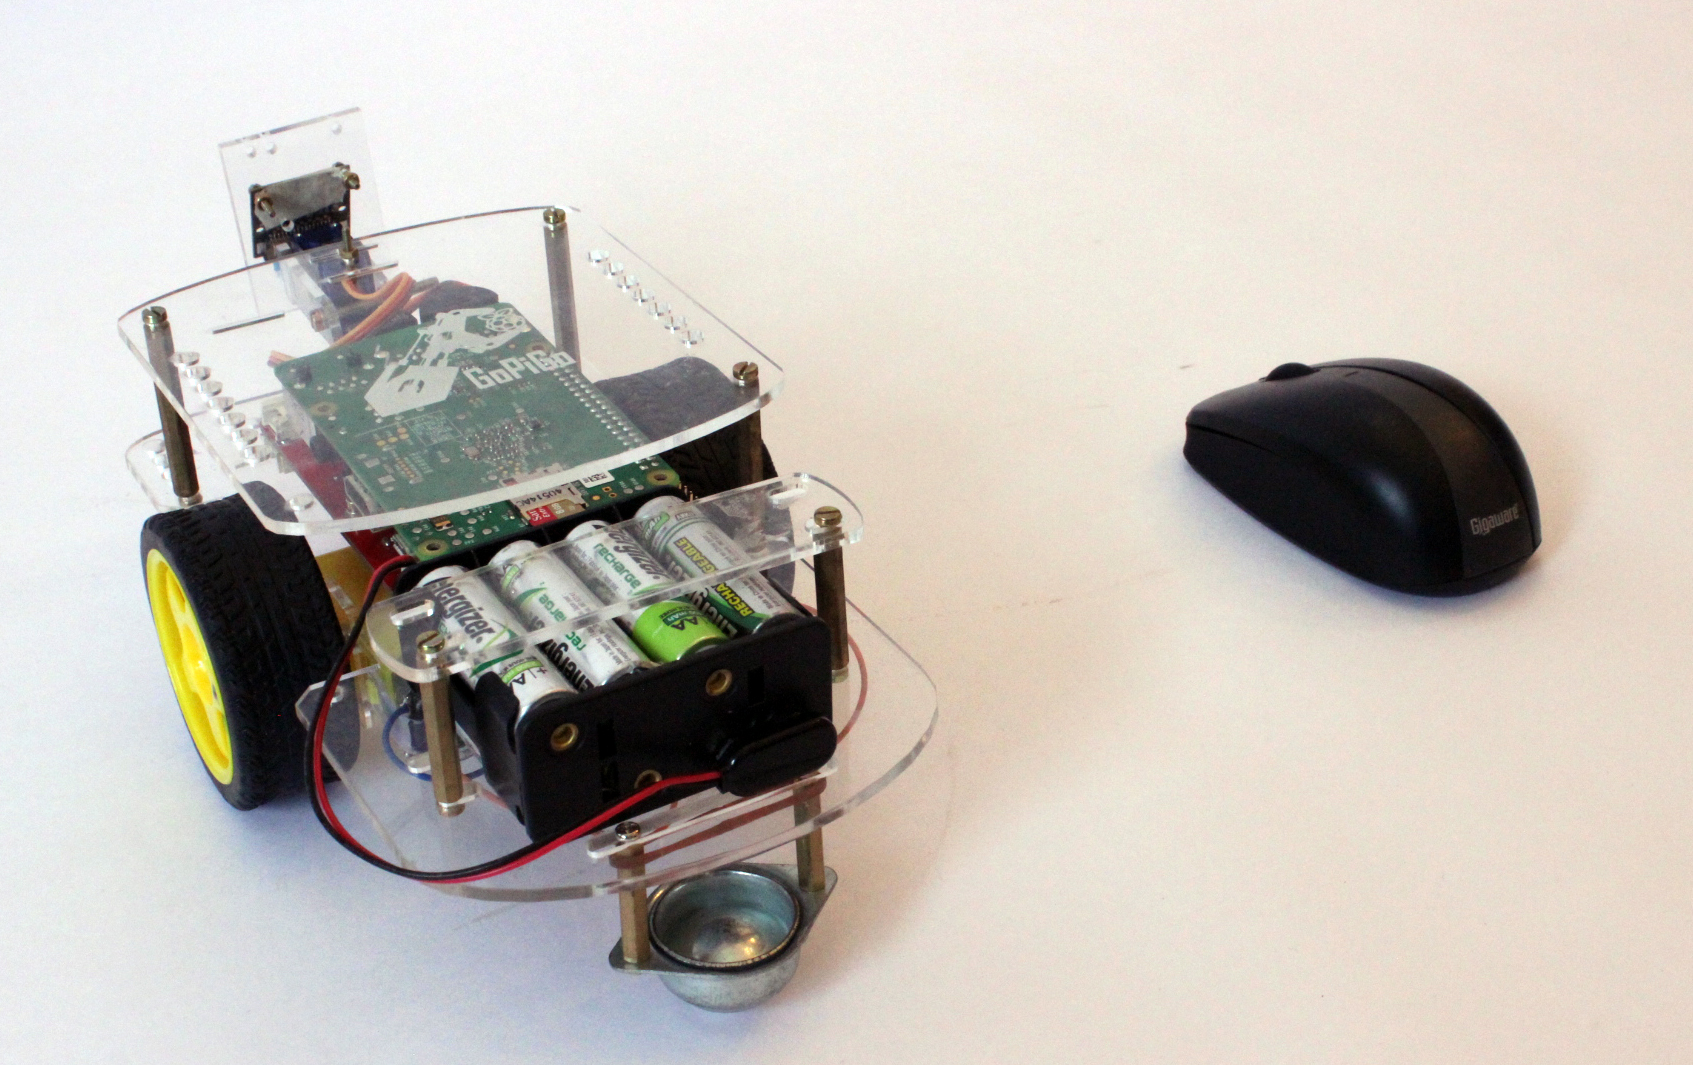
Turn the GoPiGo into a Raspberry Pi Mouse Controlled Robot.
If you don’t have a Playstation controller sitting around, chances are you DO have a computer mouse. And if you have a mouse, you have a very simple and elegant robot controller. This project combines a mouse, a GoPiGo, and a Raspberry Pi to give you a nice, easy to control robot.
Why is this a great project for the Raspberry Pi? We love this project because of its simplicity. Computer mice are not typically considered robot controllers. But the mouse does a really great job of controlling the robot. The project code is also really easy to understand and hack.
Ultrasonic Basic Obstacle Avoider

Avoid collisions with your Pi bot: use an Ultrasonic Sensor.
The classic robot project: an obstacle avoider. It’s probably one of the first projects every aspiring engineer does with a robot or anything that moves: find a way around the wall. This is a great learning project and also pretty practical. By adding an Ultrasonic sensor to the GoPiGo, you too can prevent robot accidents!
Why do we love this project? Besides nostalgia for some of our first robots, it’s a very practical first project. Getting a robot to stop at a wall or detect an obstacle is a great first project.
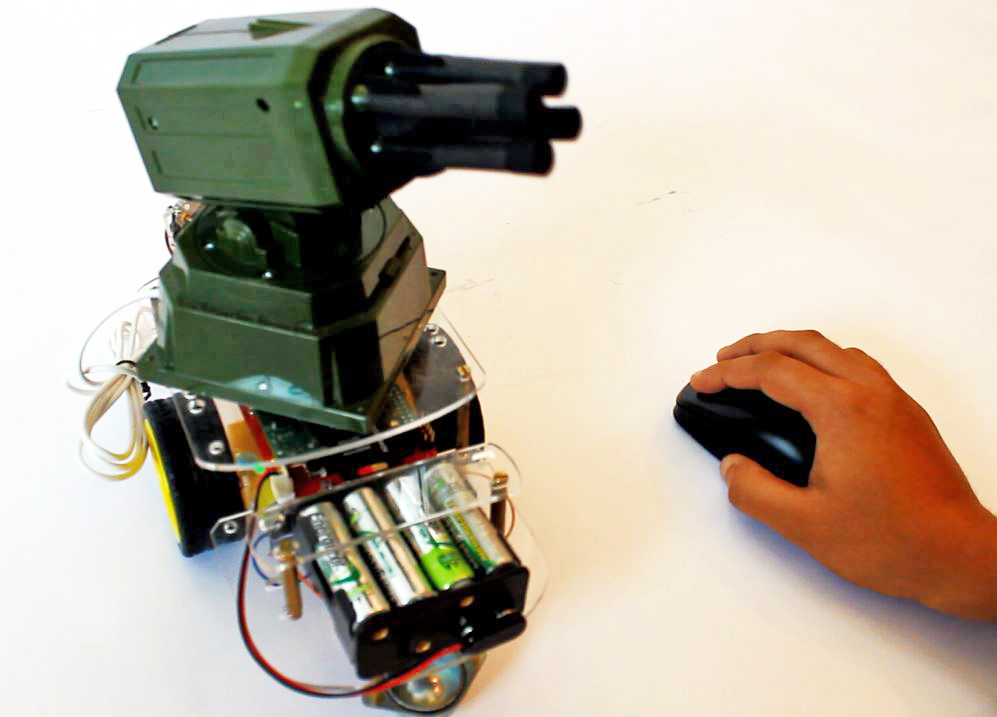
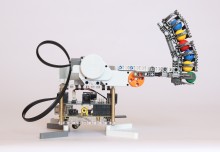
Militarized Raspberry Pi
Office Canon Drone
Ever wanted to start an office or classroom war? This project gives you all the tools to harass your colleagues, friends, and the family pet with a rocket launcher.
Seriously, there’s a lot of potential fun in this project!
We combine a few of the tutorials from above and make it easier to build yourself an office roaming drone with your Raspberry Pi and GoPiGo.
Why do we love it? This project weaponizes the Raspberry Pi without really hurting anyone. Hunt a cat or colleague: you have the tools to make an office drone with this project!
More!
We’re just getting started.
First, we’ve had a lot of folks show us their GoPiGo. You can see what others have done in our forums. If you’ve done something noteworthy (or not so noteworthy), show us what you’ve done with the GoPiGo!
We plan to continue to add examples and a few more tutorials for the GoPiGo over the next few weeks. We love requests, so again, send us your ideas or requests in the forum.
By the way, what’s your favorite tutorial? Did we miss something you like? See the complete list of GoPiGo projects here.
[google_plusone size=”standard” annotation=”none” language=”English (UK)”] [fbshare type=”button” width=”100″] [linkedin_share style=”none”][tweetmeme style=”compact”]
Related Articles
0 Comments
Leave a reply
You must be logged in to post a comment.