 Welcome to the Quick Start Guide to the
GrovePi.
If you don’t have the GrovePi, you can purchase it here. If you want to know the advanced technical details about how it was designed and works, you can find all the design files in our Github Repository.
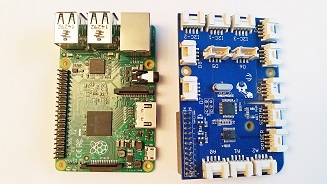
1. Connect the GrovePi to the Raspberry Pi
Be sure to remove the colored foam that comes protecting the GPIO pins on the GrovePi!
First, mount your GrovePi (blue board) on the Raspberry Pi (green board). The GrovePi has a black plastic piece on the bottom, which fits perfectly with the metal pins sticking out of the Raspberry Pi. Slide the GrovePi board onto the pins on the Raspberry Pi as shown in the pictures below. The GrovePi fits both the Raspberry Pi A, B, B+, and Raspberry Pi 2.
Ensure that the pins are properly aligned when stacking the GrovePi, and push down until they go in all the way.
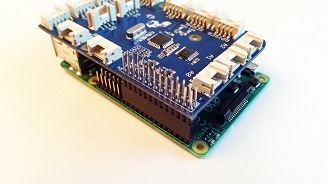
Assemble the GrovePi Case to keep your GrovePi protected.

2. Setup the Software
The software that allows you to code the GrovePi lives on the microSD card that goes into your Raspberry Pi (green board).
If you purchased an SD card from Dexter Industries, you already have our custom software called “Raspbian for Robots” and you can skip to Step 3.
You can download and setup the SD card here. Raspbian for Robots comes with all GrovePi software fully installed and we recommend it for new users.
If you did not buy an SD card from Dexter Industries, you will need to install the software on your own microSD card. There are two options for installation:
- New users should use our custom software called “Raspbian For Robots” (this is the software, which we call an “image” that you will put on your SD card). You can download and install on your own SD card using these directions. You will need a minimum of 4GB SD Card for this installation. Once you have done this, you can move on to Step 3.
- Advanced users, can, if they choose to, use their own image. If you already have your own flavor of linux running on the Raspberry Pi, you can use our bash script to setup for the GrovePi. Configuring your own image following the steps below:
1. In the command line type:
sudo curl -kL dexterindustries.com/update_grovepi | bash2. Restart the Raspberry Pi.
sudo reboot
Your SD card now has what it needs to start using the GrovePi!
3. Connect your computer to the GrovePi
- Insert the microSD card in the Raspberry Pi (green board) and make sure it is securely in place.
- Make sure the GrovePi is connected securely to the Raspberry Pi.
- Plug one end of the ethernet cable into the Raspberry Pi, and the other end into your computer. (note: if you don’t have an ethernet port on your computer, use an ethernet to USB adapter) Turn your computer on and connect to your local wifi network so you are connected to the internet.
- Plug the micro USB power adapter into the Raspberry Pi. Plug the other end into the wall, and that will turn on the GrovePi. You should see lights come on the Raspberry Pi and GrovePi.
- If you are using a Dexter Industries SD card marked “2015.03.20” or earlier (before March 20th), please follow instructions here to get connected. If you downloaded the newest software or have an updated SD card, please continue following the instructions below.
- Open a web browser on your computer and in the address bar, type “http://dex.local”, and hit enter. Note: If you are using a touchscreen laptop, please use Firefox, as certain vital features will not work in other browsers.
- It may take a minute for your computer to see the GrovePi that is connected, so just try for a few minutes until you see a welcome note.
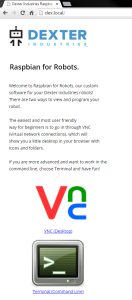
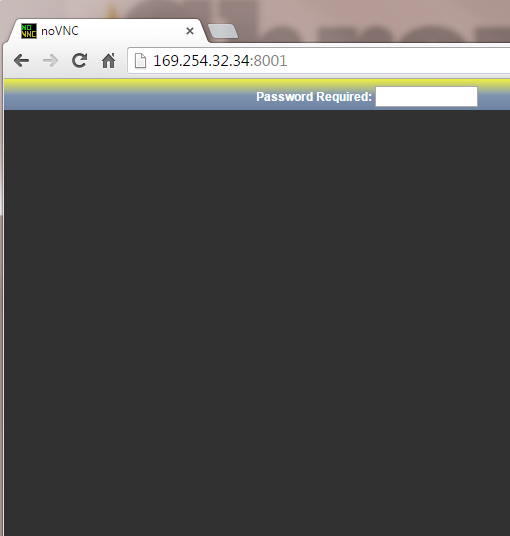
- Double click on the “VNC” icon.
- Enter the password “robots1234”

- You should see the Dexter Industries desktop, where you will set up the wifi so you can program and control your GrovePi remotely.
- Insert your Mini Wifi Dongle into one of the USB ports on the Raspberry Pi.
- Double click on the “Wifi Setup” icon on the top left side of the screen.

- Hit the Scan button.
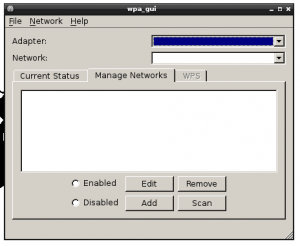
- From the list that shows up, double click on the the wifi network you want to connect the GrovePi to. It should be the same network your computer is on so you can connect to it and control with your computer.

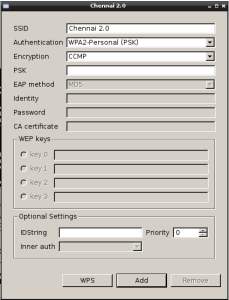
- Enter the wifi password in the “PSK” section, if there is a password for your wifi. Click the OK button and that box will close. Close the other “Scan” dialog box that is still open to view the first setup dialog box.
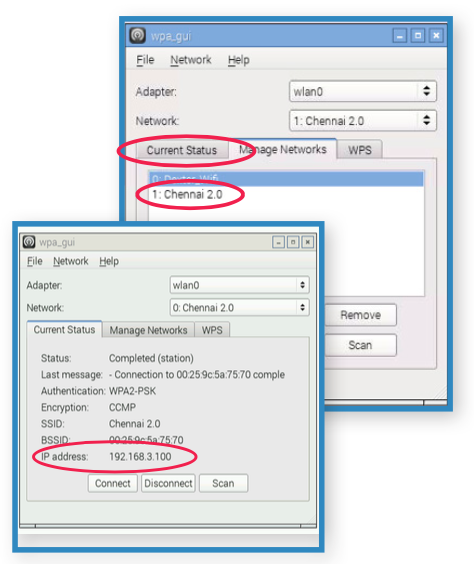
- In this dialog box you should see it saying that it is trying to connect. Wait until you see an IP address show up. This can take a few minutes so be patient.
 If you don’t get an IP address, go back through this process and re-enter the PSK password.
 - Once you have an IP address showing up, it means your GrovePi is connected to the internet!
- Now you can take out the Ethernet Cable. This will disconnect your current connection, but just open a new web browser, type in http://dex.local, and wait for the welcome note screen.

- Next, we are going to update the GrovePi software and test the GrovePi and make sure everything is working properly.


4. Update & Test the GrovePi
Update the Software
- Make sure your computer is connected to the GrovePi (http://dex.local)
- Double click VNC to take you to the Dexter Industries Desktop
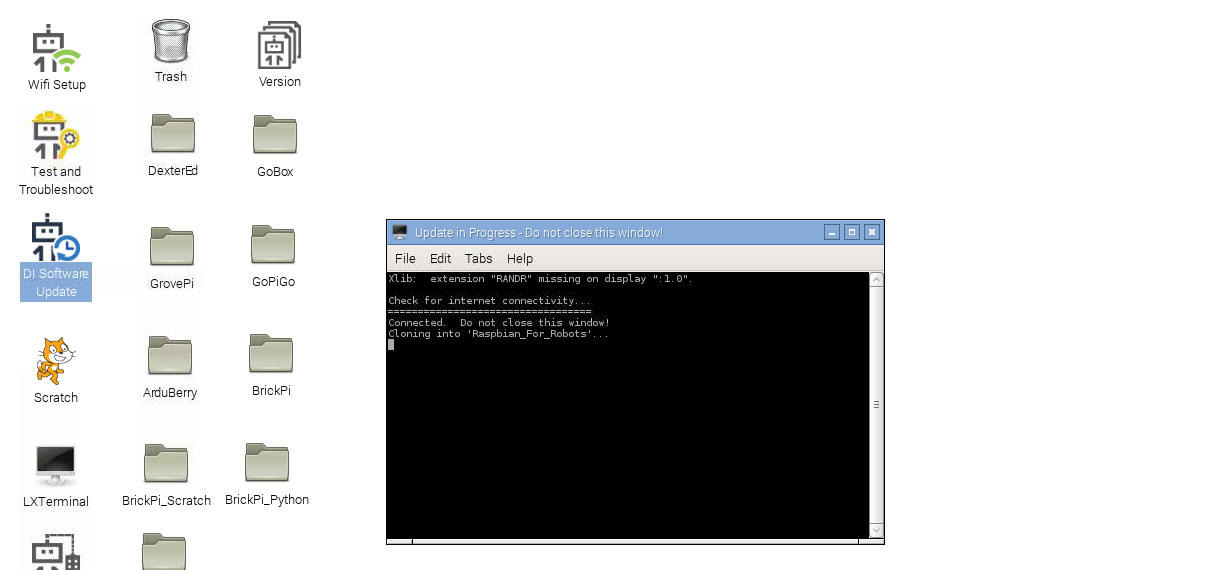
- Double click on the “DI Software Update” icon.

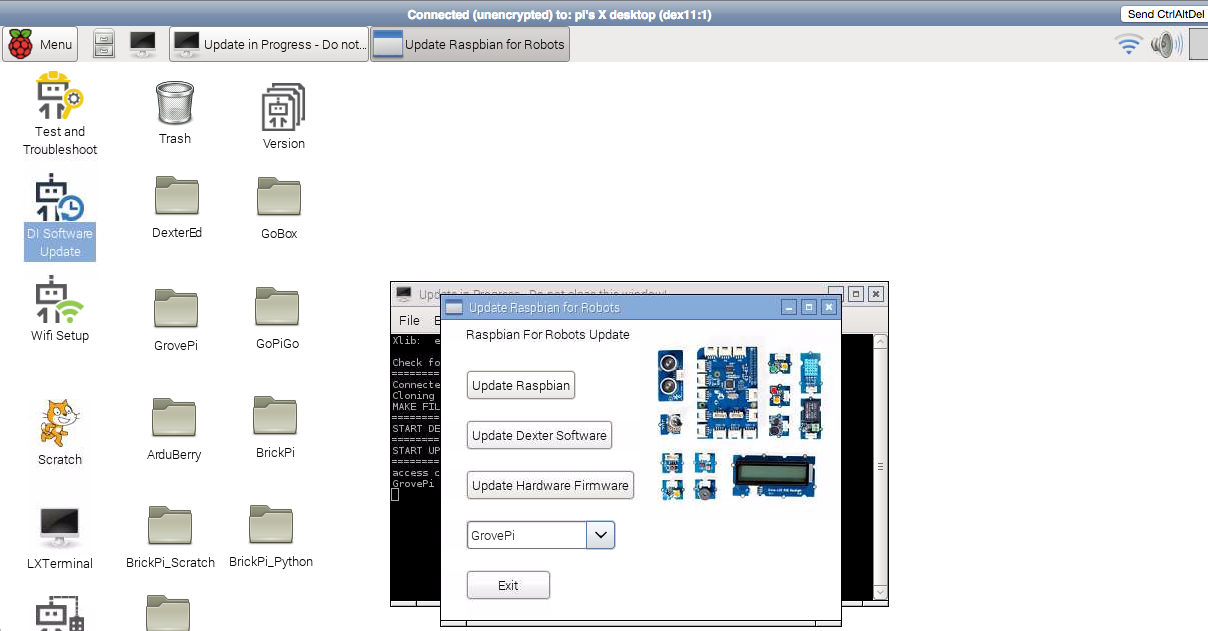
- Choose the GrovePi from the drop down list at the bottom of the window.

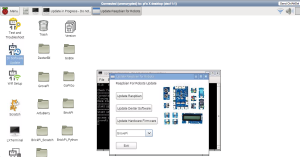
- Click the “Dexter Software” button.
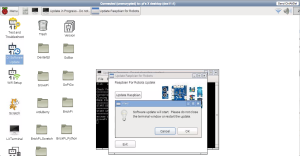
- A dialog warning box will come up alerting you not to close any terminal windows while this update is going on.
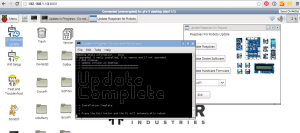
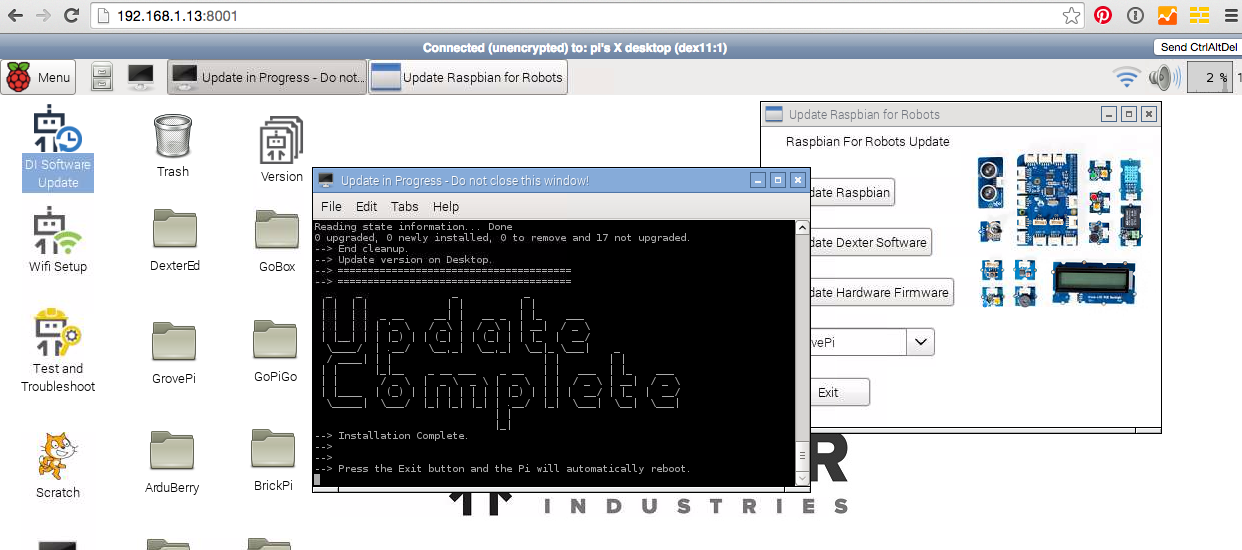
- Wait until you see that the update has finished. You will see this message appear in the Terminal screen.
- Hit the “Exit” Button. Make sure to save and close everything else you were working on before you hit OK.
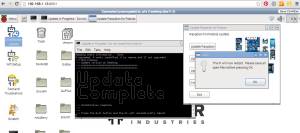
- Your GrovePi will restart, so your connection will be lost and once it turns back on you will have to connect to http://dex.local again.


Update the Firmware
Test the GrovePi
- This time, double click on the “Terminal” option which is located below the VNC icon on the welcome screen (not the VNC icon as we did before). (If you’ve already chosen the VNC option, just hit the back arrow on your web browser to go back to the welcome note.)
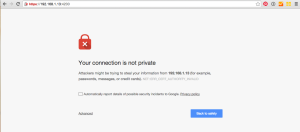
- You may get a warning screen. Just proceed through it because we know that it is just the GrovePi you are connecting to, and nothing dangerous.
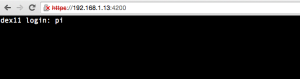
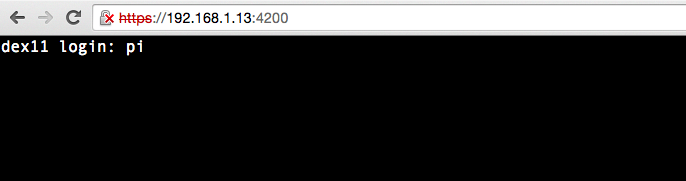
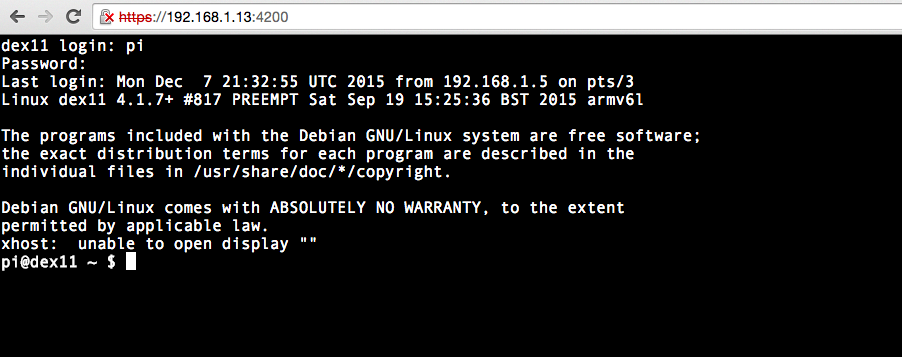
- When you open Terminal it is going to ask you for a username.
- Login using the username: pi (and hit enter)
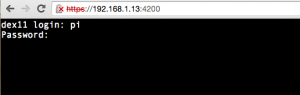
- enter the password: robots1234 (and hit enter) Note: the password will not show anything on the screen as a security measure, but it is getting whatever you type in.
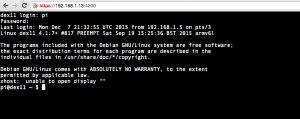
- You should see something like this show up in your Terminal window (except yours will say pi@dex):
- We’ll now run an example to check if we can read data from the GrovePi. A simple example is checking the version of the firmware on the GrovePi.


To check the firmware version:
- Go to the Python folder in the GrovePi repository by typing in:
cd Desktop/GrovePi/Software/Python/
hit enter
- Now run the “grove_firmware_version_check.py” program to check the firmware version by typing:
sudo python grove_firmware_version_check.py
hit enter
If you can see a response like the one above, the firmware is properly running. Continue with the next step. If you see an error, there may be a problem with the firmware. You should run the command to update the firmware. You can find those instructions here.
2. Next we will check to see if we can get a response from the GrovePi. The Raspberry Pi and GrovePi talk to eachother, so we want to check and see if the Raspberry Pi is able to detect the GrovePi. To do this, we will run a command called i2cdetect by typing in the following:
sudo i2cdetect -y 1

hit enter
Note: if you have an Original Raspberry Pi (Sold before October 2012) – the I2C is port 0 (per below):
sudo i2cdetect -y 0
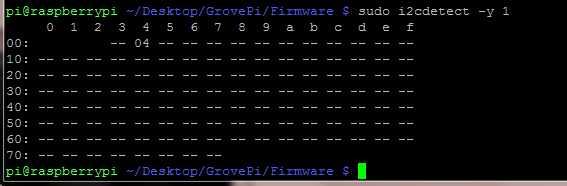
If you can see a “04” in the output, this means the Raspberry Pi is able to detect the GrovePi! Hooray!
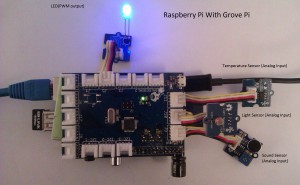
3. Blink an LED. To test the Grove Pi, connect a Grove LED to port D4 and run the blink example.
To do this, type:
cd /home/pi/Desktop/GrovePi/Software/Python

hit enter
sudo python grove_led_blink.py

hit enter

If everything is installed correctly (and the LED is connected to the GrovePi port labeled D4), the LED should start blinking. Type “ctrl + c” to stop the program from running.
Assemble the Case
Example Projects
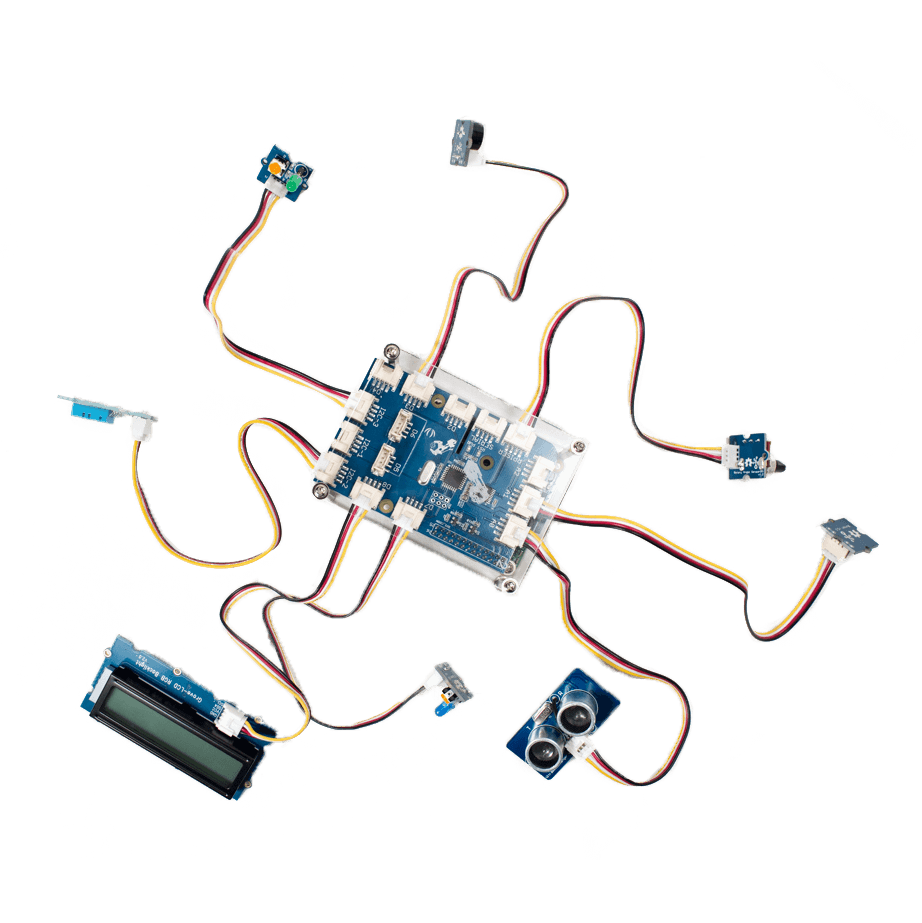
Once you have your Raspberry Pi configured to work with the GrovePi, it’s time to see it in action.
We have developed three simple projects to illustrate how the GrovePi works.
This example uses a potentiometer to give a fade effect to an LED connected to the GrovePi. Use the potentiometer to increase and decrease the brightness of the LED.
This example shows how you can easily collect sensor data and tweet it live using the GrovePi.
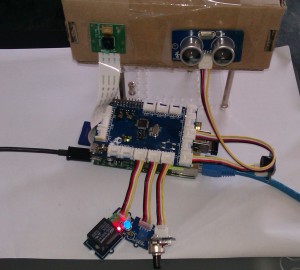 This example shows the capability of the GrovePi combined with the Raspberry Pi. In this project the ultrasonic sensor detects at the door, snaps their picture with the Raspberry Pi Camera and emails it to your inbox.
Hints
- Attach Grove Sensors Before Startup. It is good practice to attach the Grove Sensors that you want to use before powering on the RaspberryPi. The Raspberry Pi may restart if you attach a sensor when the Raspberry Pi is powered.
Useful Links
- For more information about the Python Library, Click Here.
- To know more about the internal working of the GrovePi, Click Here.
- To see some of the supported sensors, Click Here.
Questions and Feedback
Have a question? If you have any questions, comments, or suggestions, please ask on our forum.
If you’re looking for more information on how the GrovePi works under the hood, we have the code and design up at Github.