 This tutorial will show you how to download and install Dexter Industries software, either GoPiGo OS or Raspbian for Robots on an SD Card. We show you how to install the image on the Raspberry Pi using a Mac and a PC.
Before beginning, make sure you are using a 8GB microSD Card or larger (we recommend a 8 GB card). You will need:
- A minimum 8GB card to install this image.
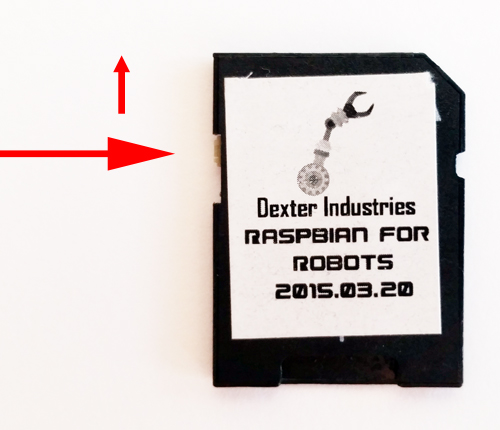
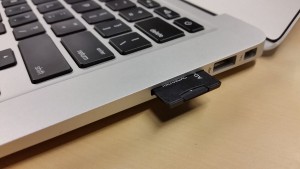
- If you’re using a microSD Card, you may need a microSD card adapter (shown to the right) to fit the card into your computer.
Using a PC
First, download a copy of the image.
Choose between GoPiGo OS if you have a GoPiGO, or Raspbian for Robots.
- GoPiGo OS: (GoPiGo2 and GoPiGo3 only!) version 3.0.0
- Raspbian for Robots: official release (does not support the Pi4). Experimental release (for the Pi4)
After the file is downloaded, there is no need to uncompress it.
Next, make sure your SD Card adapter is unlocked.
Next, put the micro SD card into your micro SD card adapter. Put the SD card into your SD card reader. Insert the SD Card into your PC SD Card reader.
Insert the SD Card into your PC SD Card reader.
Next, we will install Etcher. Go to etcher.io in your web browser.
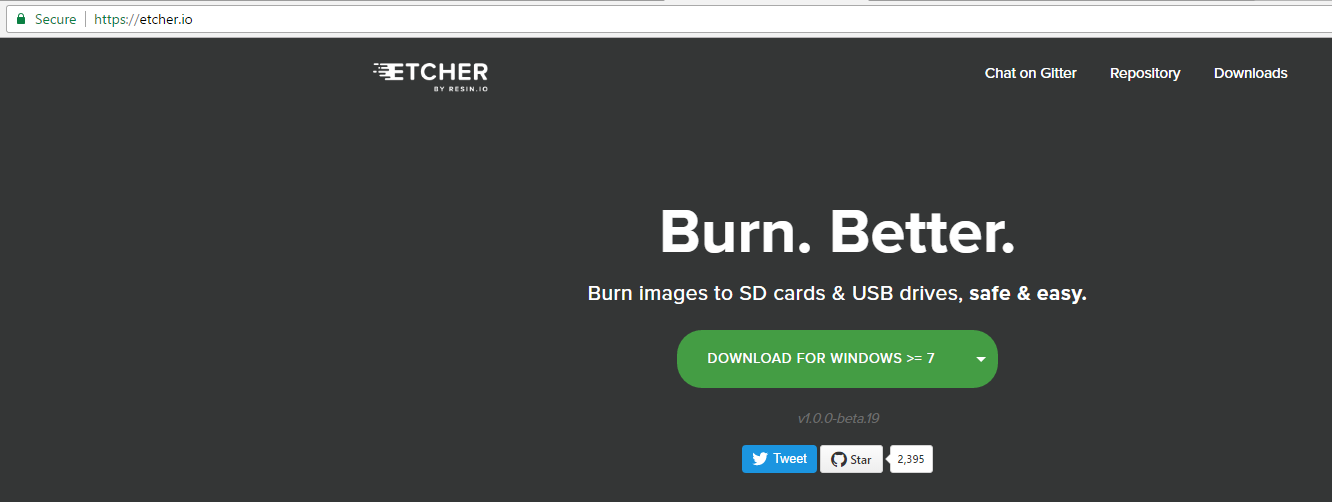
Select “Etcher for PC” or “Download for Windows >= xx”, on the big green button in the middle of the page. This should begin your download. The total size of the download is about 80 MB. This should download a file named something like `Etcher-1.0.0-beta.19-win32-x64.exe` Once the download is complete, double click on the “.exe” file and follow the directions to install Etcher on your PC.
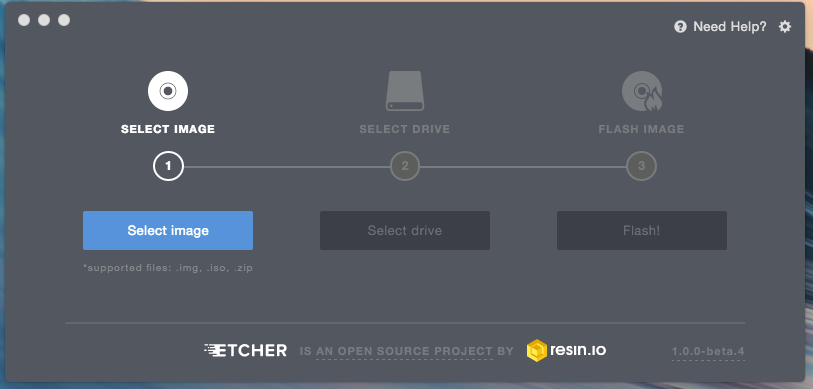
Start etcher. The main Etcher program should appear.
Now, find the file we downloaded earlier. Drag this file over to the blue “Select Image” button on the Etcher program. You can also click the blue “Select Image” button and find the file on your file directory.
If you haven’t inserted your SD card at this point, please do. You should see it automatically pop up, and the red “Connect a Drive” button will disappear, replaced with information about your SD Card location.
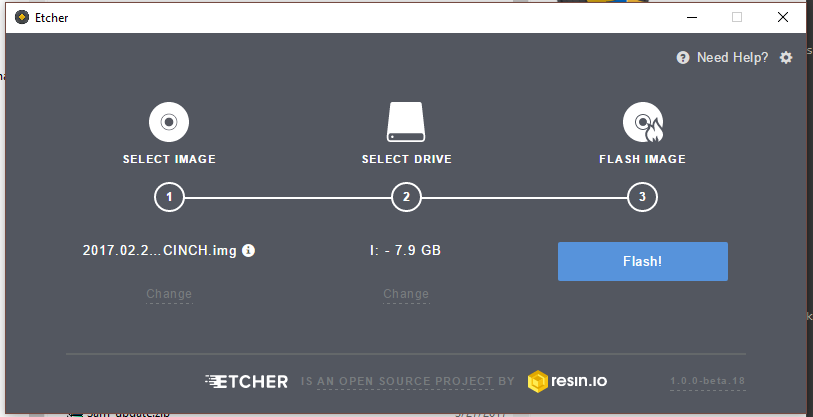
Note a few things on Step 2 at this point. First, the disk location is showing. In our case it is `I: – 7.9 GB`. Your drive might be different, depending on your computer. Also, our SD Card is 8.0 GB, yours may be a different size. If you see a number that is much larger than your SD Card, stop and seek help.
At this point, we’re ready to flash the image onto the SD card. Press the blue “Flash!” button.
After a few seconds, you should see progress. Note in the picture below the image has 9% written, and the speed is shown below the blue button. Depending on the SD card you are using and your PC, the time to flash the image may take some time.
Finally, after the image is flashed, the Etcher software will check to make sure it is properly written to the SD card (this is called Validating).
The validation process should be much quicker than writing to the SD Card. You will see progress in the Validating progress bar.
Finally the entire process should be complete. You will see a screen that looks like the following with “Flash Complete!” at the top.
Remove the SD Card from your PC, place it into your Raspberry Pi, and turn on your Raspberry Pi.
Using a Mac
First, download a copy of the image.
Choose between GoPiGo OS if you have a GoPiGO, or Raspbian for Robots.
- GoPiGo OS: version 3.0.0
- Raspbian for Robots: official release (does not support the Pi4). Experimental release (for the Pi4)
Next, make sure your SD Card adapter is unlocked.
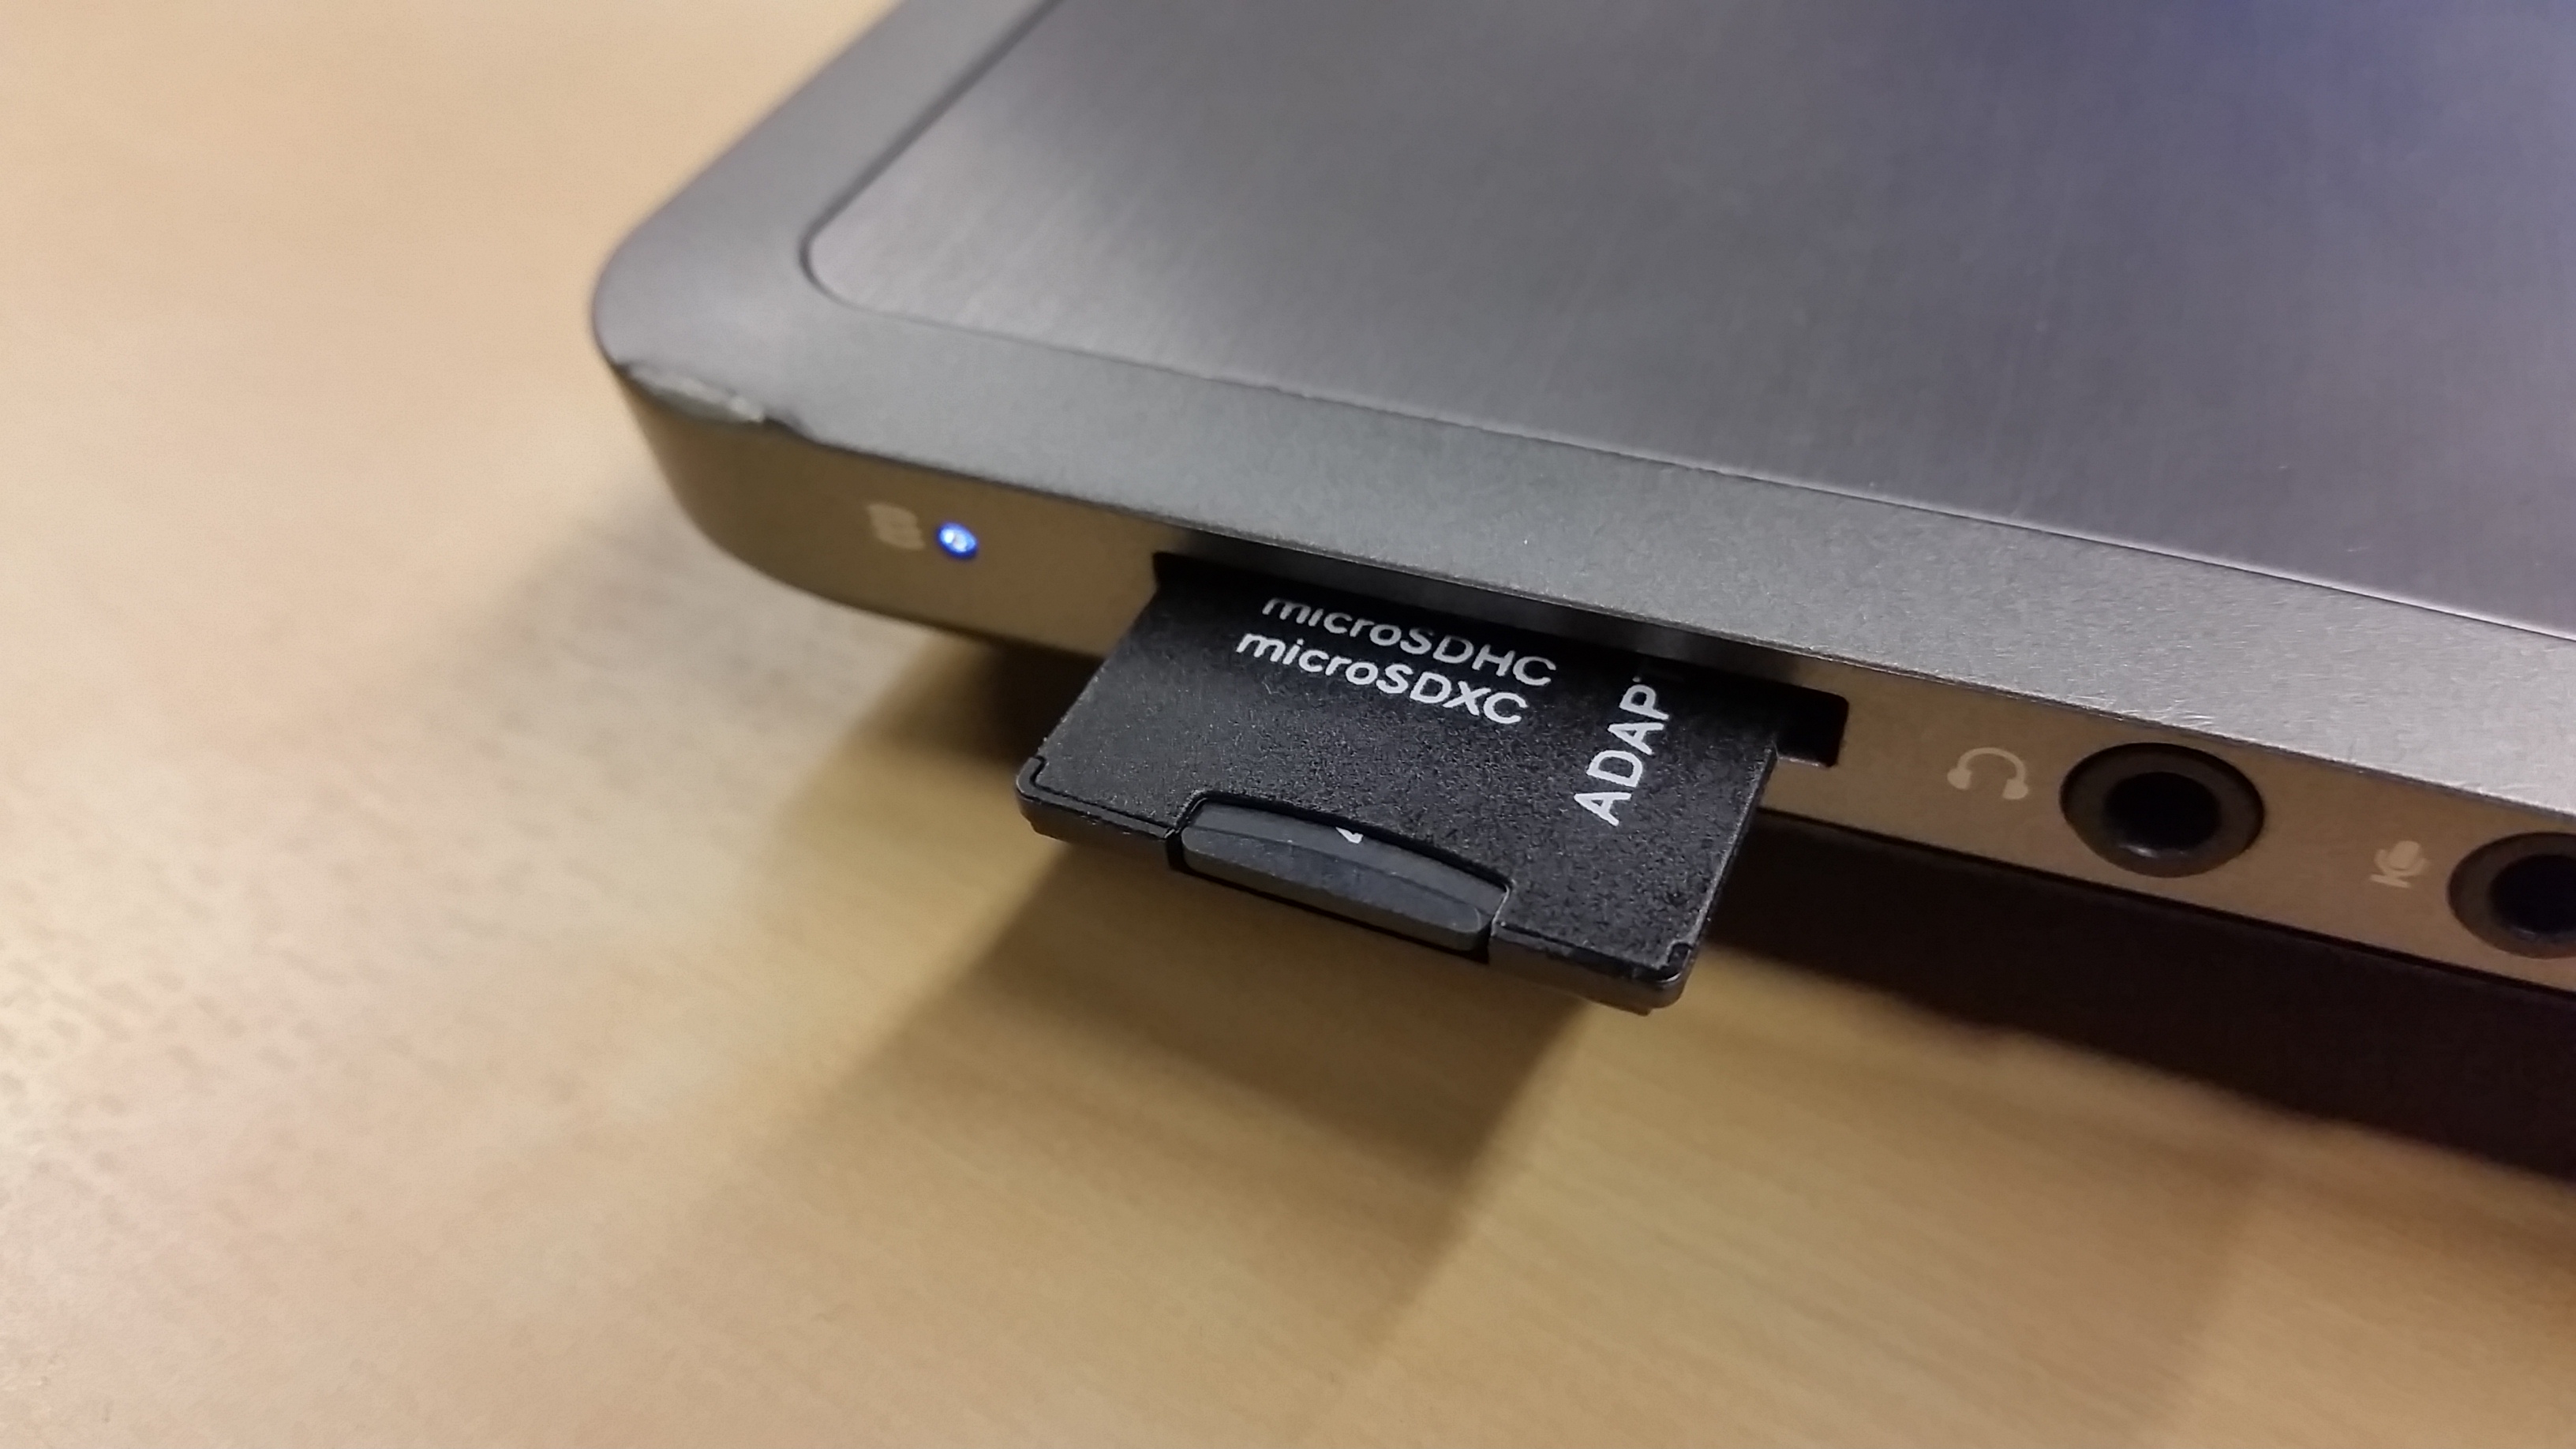
The SD Card inserted into the Mac SD Card reader port.
Next, put the micro SD card into your micro SD card adapter. Put the SD card into your Mac SD card reader. If your Mac does not have an SD Card Reader, you may need to use a USB SD Card reader.
Next, we will install Etcher. Go to etcher.io in your web browser.
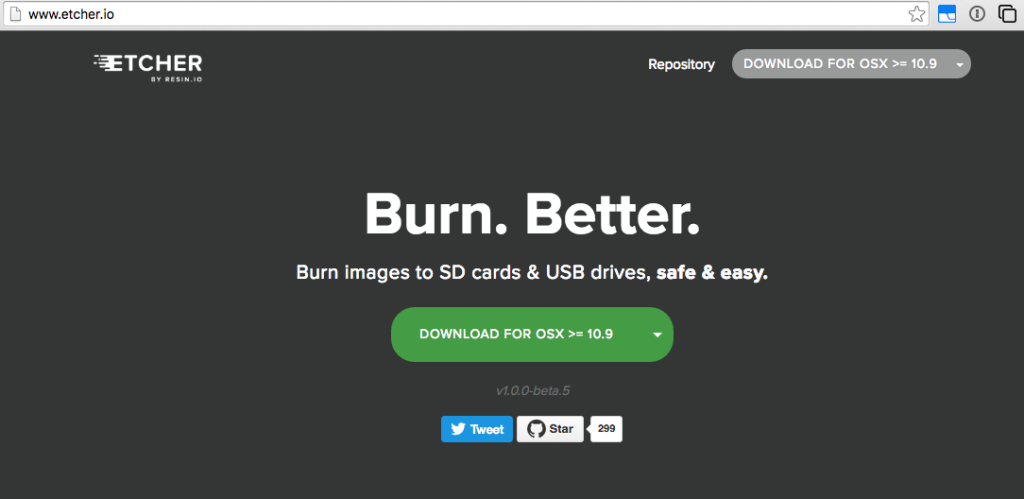
Select “Etcher for Mac” or “Download for OSX >= xx”, on the big green button in the middle of the page. This should begin your download. The total size of the download is about 80 MB. Once the download is complete, double click on the “.dmg” file and install Etcher on your Mac.
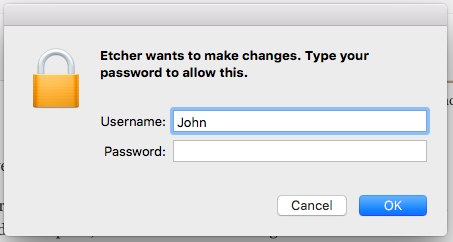
Start etcher. You may be prompted for your computer login information. Enter it.
The main Etcher program should appear.
Now, find the unzipped “.img” file we uncompressed earlier. Drag this file over to the blue “Select Image” button on the Etcher program. You can also click the blue “Select Image” button and find the “.img” file on your file directory.
If you haven’t inserted your SD card at this point, please do. You should see it automatically pop up, and the red “Connect a Drive” button will disappear, replaced with information about your SD Card location.
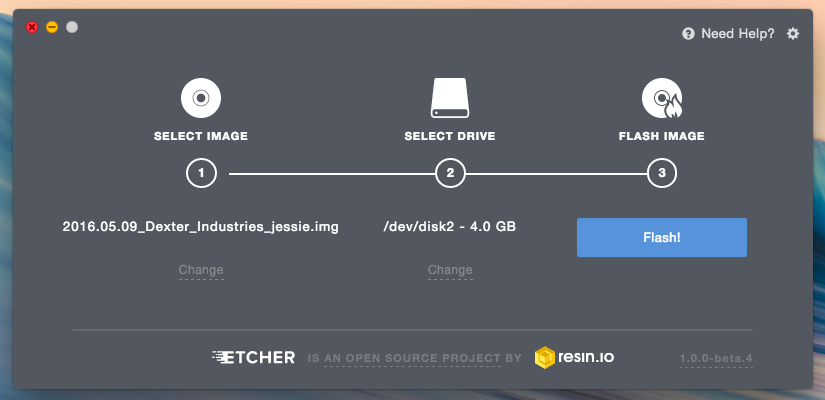
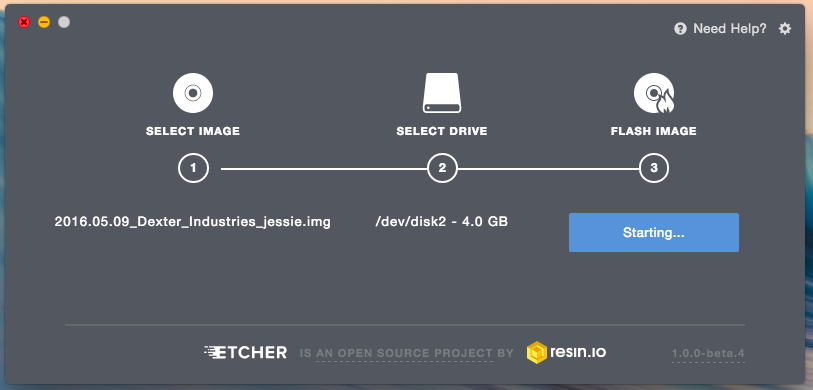
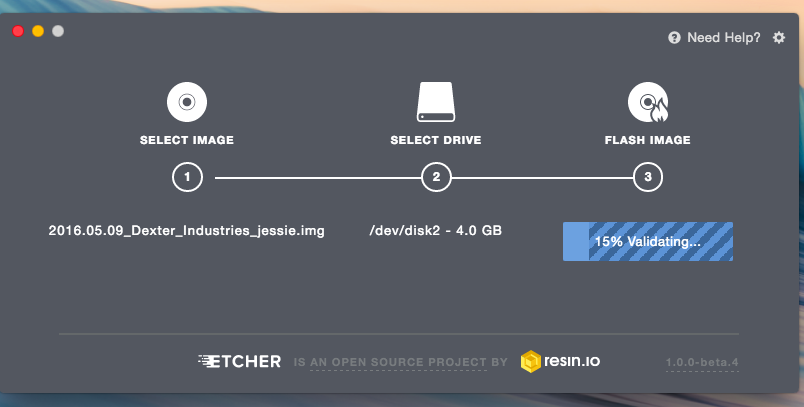
Note a few things on Step 2 at this point. First, the disk location is showing. In our case it is “/dev/disk2”. Your disk# might be different, depending on your computer. Also, our SD Card is 8.0 GB, yours may be a different size. If you see a number that is much larger than your SD Card, stop and seek help.
At this point, we’re ready to flash the image onto the SD card. Press the blue “Flash!” button.
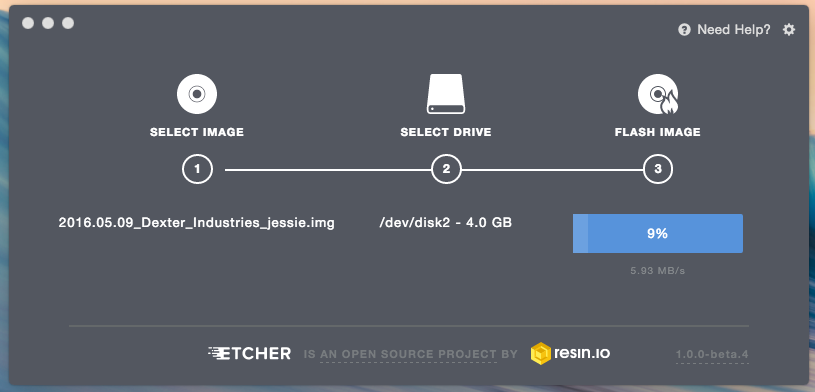
After a few seconds, you should see progress. Note in the picture below the image has 9% written, and the speed is shown below the blue button. Depending on the SD card you are using and your Mac, the time to flash the image may take some time.
Finally, after the image is flashed, the Etcher software will check to make sure it is properly written to the SD card (this is called Validating).
The validation process should be much quicker than writing to the SD Card. You will see progress in the Validating progress bar.
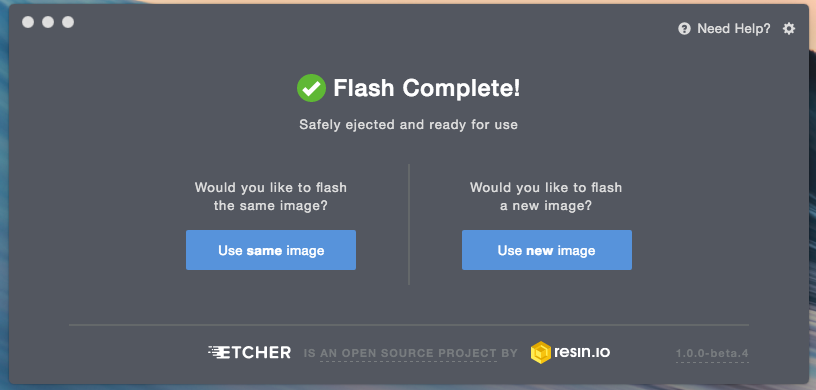
Finally the entire process should be complete. You will see a screen that looks like the following with “Flash Complete!” at the top.
Remove the SD Card from your Mac, place it into your Raspberry Pi, and you can begin using the new SD Card.
Advanced: Using a PC and Win32 Disk Imager
You can watch the video, or follow the written instructions below.
First, Download the image. We keep the latest compressed file on Sourceforge and Google Drive. You can download the file from one of the below links:
Next, un-compress the File. In windows, we use a free program called WinRAR, freeware you can download here.
Un-compress the downloaded .zip or .rar file.
We will also need a program to install the image on the SD Card. Download and install Win32DiskImager. Download Win32DiskImager to your PC. You may need to run this program “As Administrator” by right clicking on the file, and selecting “Run as Administrator.”
Large files can often be corrupted during download. You can check that your file was not corrupted by calculating the MD5 sum (a helpful explanation of what’s going on is here). Open Win32DiskImager and check the MD5 sum of the file. Check the MD5 sum by clicking “MD5 Hash”
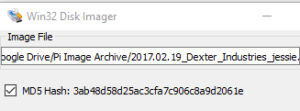
The hash of a complete, undamaged, and unzipped image is included with the zip download of the latest version of Raspbian for Robots.
Next, we figure out the drive letter our SD card is registered as.
Make sure the lock is off on your SD Card Adapter.
Insert the SD Card into your PC SD Card reader.
Insert the SD Card into your PC SD Card reader.
Find the drive letter for your SD Card.
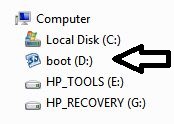
In this case, our SD Card is drive letter “D”.
Install the image on your SD card. Be careful!! If you select the wrong drive you can destroy your computer’s hard disk or other information!
Select the drive where your SD Card is located. In this case, we’re selecting drive “D”.
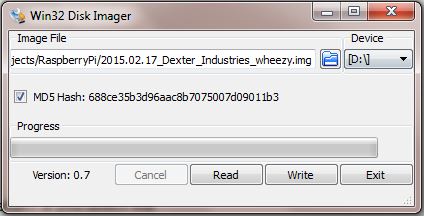
Selecting the D Drive
Finally, press “Write”. You’ll be prompted to double check your drive selection. If everything is correct and you’re sure you’ve selected the SD Card, press “Yes”.
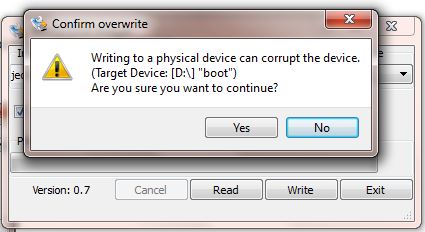
Double check your drive selection and then press “Yes”.
Installation time will depend on the speed of your SD Card writer. You will see a progress bar move across the screen though.
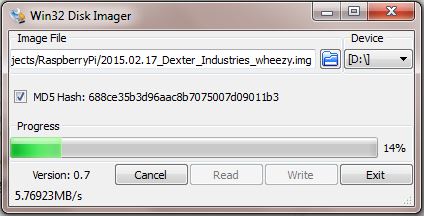
Making progress on installation: the green bar moves across the screen. Note the MD5 Hash is for an earlier version of the image! If you downloaded the latest, you will not have a different Hash!
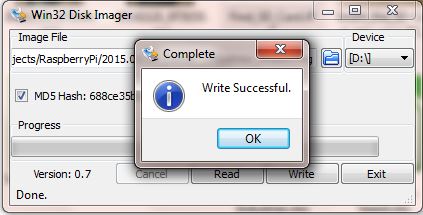
At the end of the SD Card burn, an alert pops up to let you know that installation is complete! Don’t remove the SD Card or stop the burn process until you see this dialog!
Your First Time Running the New SD Card
The first time you run the new SD Card in your Raspberry Pi, you should make a few adjustments.
First login to your Raspberry Pi and pull up the command line. The image only took up about 3.5 GB of your SD Card, but you can expand the file system to use the entire SD Card. You will not be able to use the full 8 GB (or bigger if you have your own card) of the card unless you expand the image.
You can do this by expanding the image to the full size of your SD Card. First type the following to log in to your Raspberry Pi:
ssh pi@dex.local
Enter the password: robots1234
Then type:
sudo raspi-config
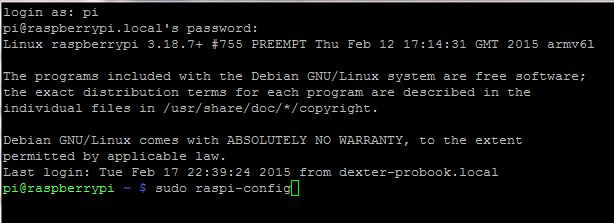
On the command line type “sudo raspi-config”
The Raspberry Pi Configuration console will appear.
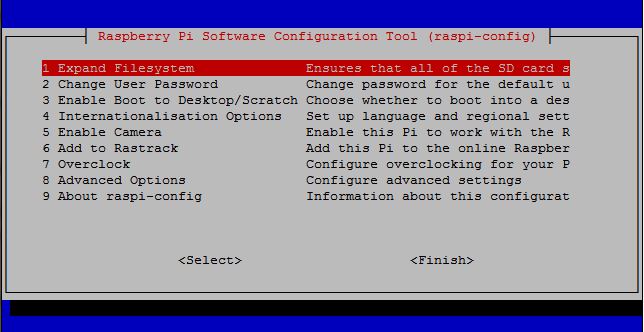
Select the first option and press return.
Next, select “Expand Filesystem” by pressing enter to use all available space on the SD Card.
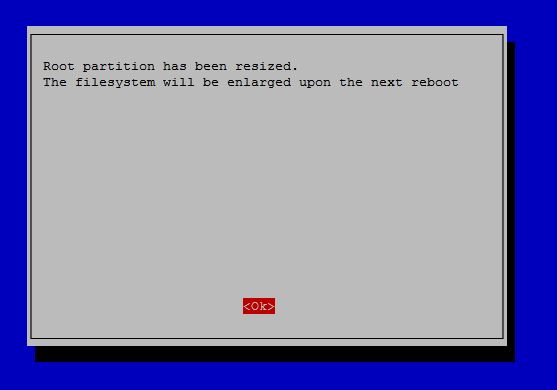
Success! You’ll see a little motion on your screen.
Finally, after success, you select “Ok” by hitting the enter key. This will take you back to the main Raspberry Pi Configuration Menu.
![]()
Update your Raspberry Pi
Finally, make sure you get the latest version of the operating system. You can update your operating system and hardware profiles by connecting to the internet and typing in the following commands:
sudo apt-get update
sudo apt-get upgrade
Questions?
We’re here to help! Ask on our forums!
EDUCATORS
Check out our DexterEd page to learn about our Classroom Kits, Curriculum and Teacher Trial program.