
Raspberry Pi and Camera
The Raspberry Pi Camera is useful for all of Dexter products, be it the GoPiGo, the BrickPi, or the GrovePi. So here’s a step-by-step explanation about how to connect that useful little magical eye!
Before we begin to Install the Raspberry Pi Camera:
It is best to install the camera to the Raspberry Pi without the extra boards. In other words, remove the Pi from the GoPiGo, or the GrovePi board, in order to have just the Pi.
This is a step-by-step explanation but we also have a video explanation if you prefer.
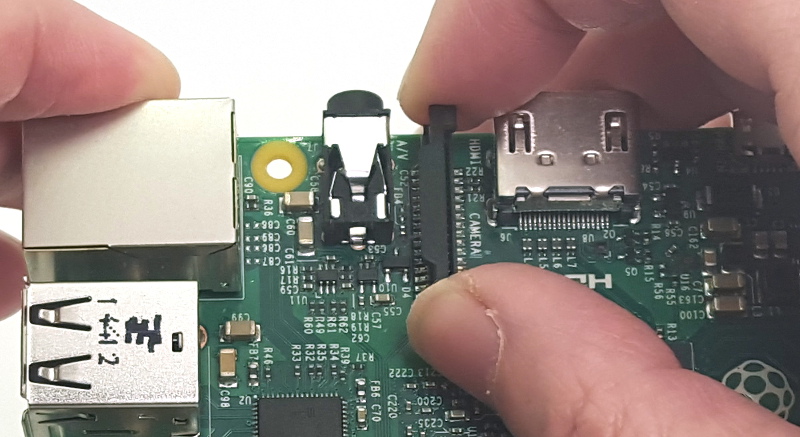
Open the Camera Port on the Raspberry Pi:
On the Raspberry Pi B+, 2 and 3, the camera port is between the audio port and the HDMI port. On the original Raspberry Pi B, it is between the Ethernet port and the HDMI port. To open the port, use two fingers and lift the ends up slightly. Please note that there is another port on the Pi board that looks just the same, but that other one is not meant for the camera.
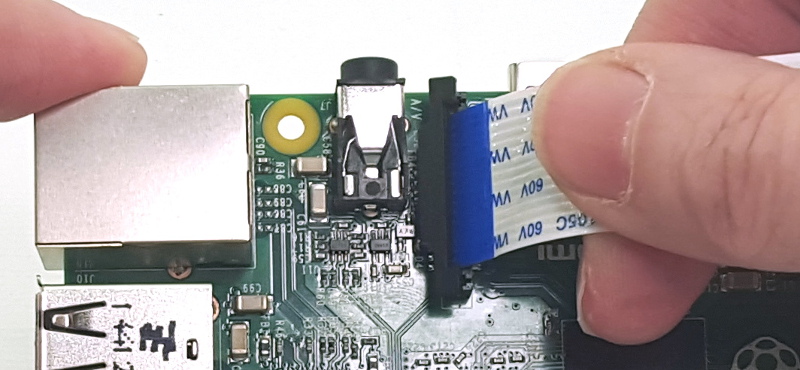
Insert the Camera Cable:
The cable has to be inserted with the right orientation: the blue has to face the Ethernet port, and the silver side is facing the HDMI port. Insert the cable so that almost no blue is showing. This photo shows the beginning of the insertion.
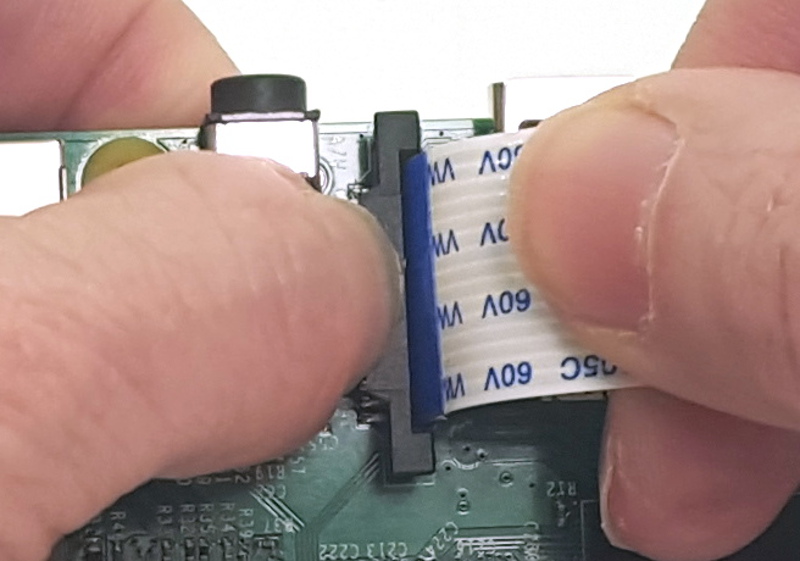
Close the Camera Port:
To close the port and keep the cable snugly in place, push the top of the port while holding the cable with the other hand. Because you’re pushing it down, more blue will be exposed. That’s okay.
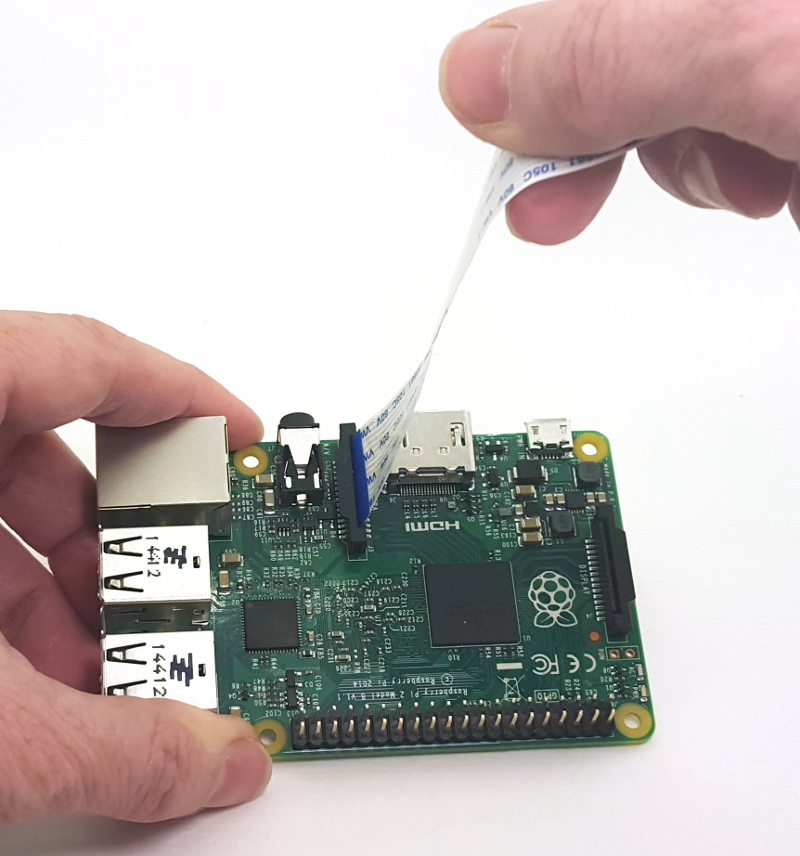
Verify the Connection:
Hold the Pi in one hand, and the camera cable in the other. Give a gentle tug. No force is needed, really. If the cable is not properly held in place, it will slide out of the port. You will feel a resistance if it’s inserted solidly. Just a little pull is enough.
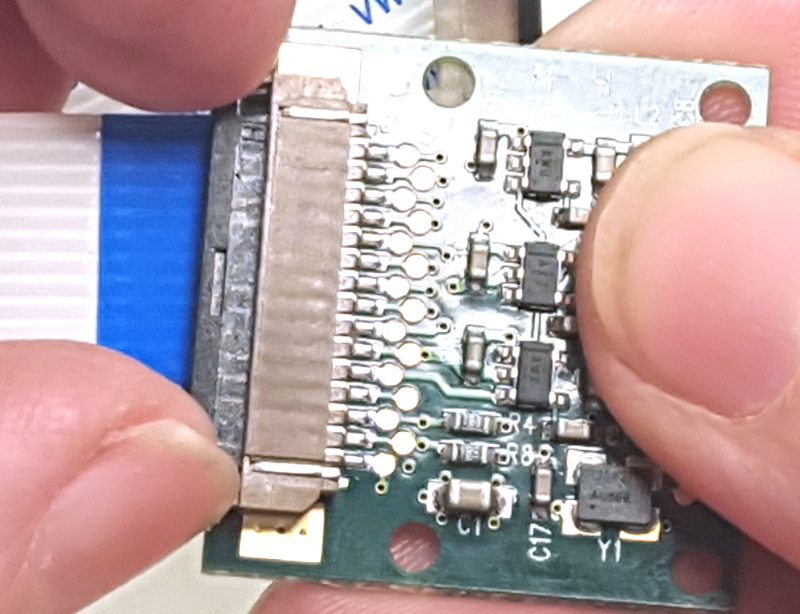
Removing the Cable from the Camera Itself:
On the back of the camera, you will find a similar cable port. It opens and closes the same way as the one on the Raspberry Pi but it’s requires a little bit more pressure to get it opened than the one on the Pi.
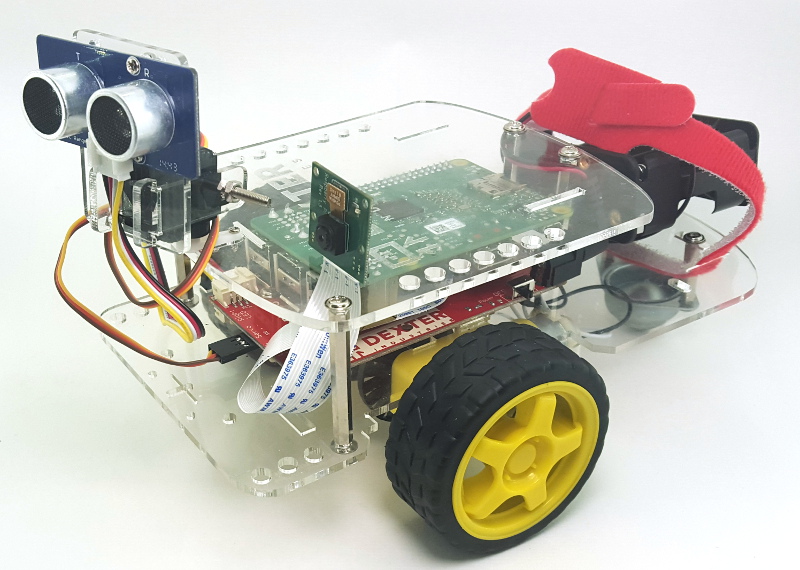
GoPiGo Installation:
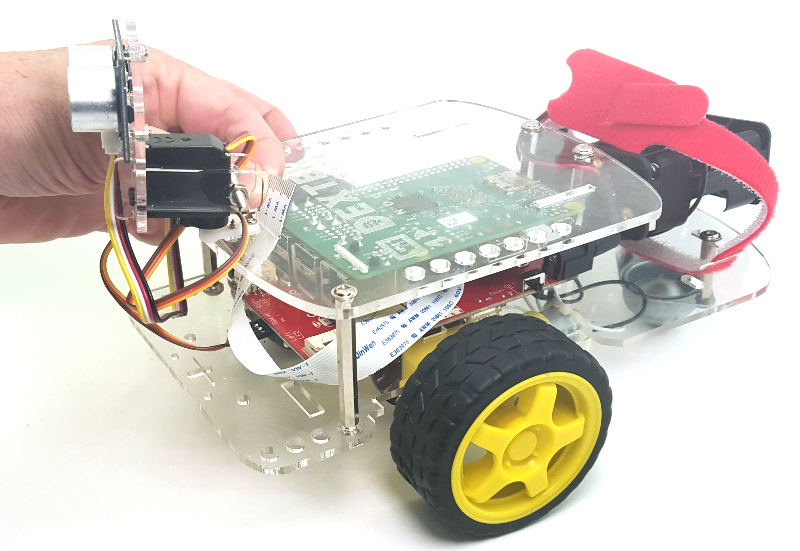
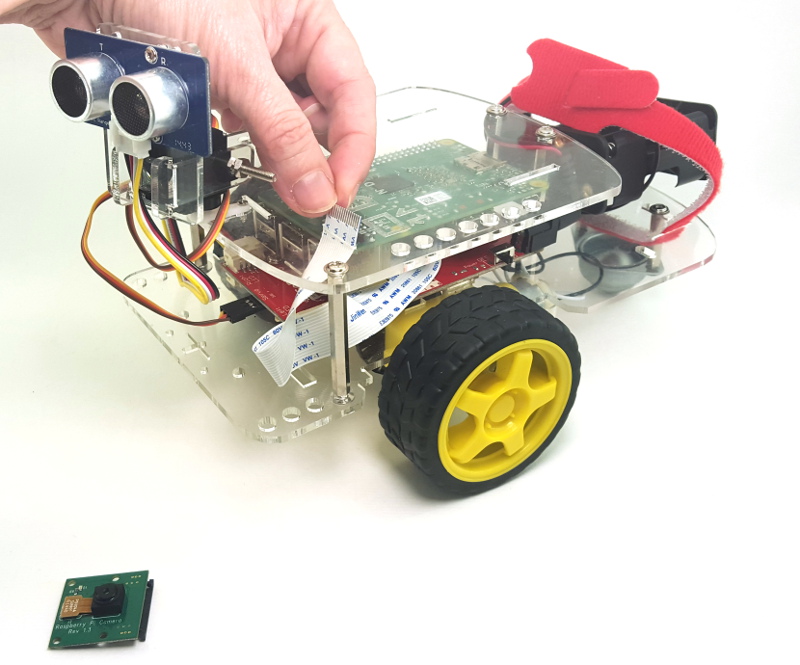
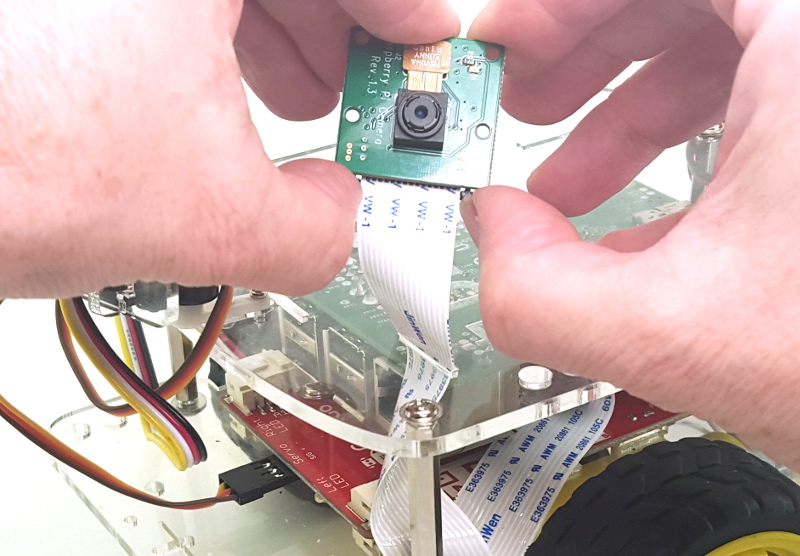
The case for GoPiGo has two slots where the camera cable can go through. One is to the side and is usually used when there’s also an ultrasonic sensor on the servo. The other one is in the center and is usually used when the camera is attached to the servo motor instead of the ultrasonic sensor.
Both are a tight fit for the camera cable. Make sure that when you pull the cable through, the metal side of the connector is facing forward, and not the blue side, unless you want the camera to check the robot’s back. This implies that the cable has to be twisted once.
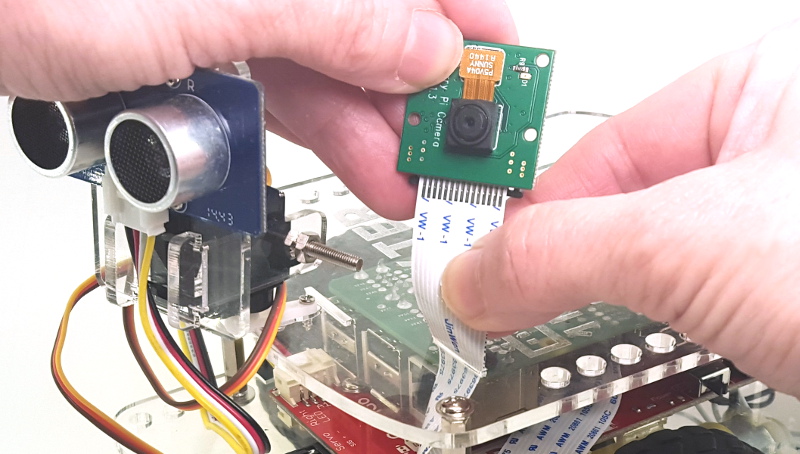
Once the cable has been passed through, it’s time to re-attach the camera. The metal side of the cable is facing in the same direction as the camera itself. Push tight on the connector to close it. Again. this is a tighter fit than the one on the Raspberry Pi. Once the cable is back in place, you can secure the camera to the GoPiGo as you see fit.
GrovePi+ Installation:
The GrovePi+ board has a slot where the camera cable can be inserted. Just pull it through, then re-attach the GrovePi+ to the Raspberry Pi for regular use. Re-attach the camera to the cable, the same way we just did for the GoPiGo.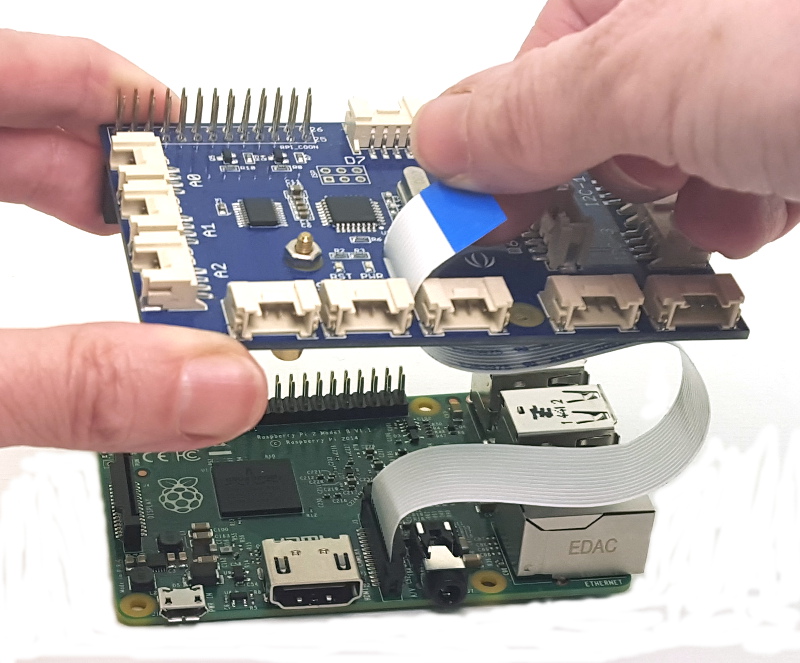
Video explanation:
This video will walk you through all the steps, including how to mount the camera to the servo motor on the GoPiGo.
Learn More!
If you liked this tutorial, consider buying the Raspberry Pi Camera here and the GoPiGo Starter kit here.
EDUCATORS
Check out our DexterEd page to learn about our Classroom Kits, Curriculum and Teacher Trial program.