 It’s Hard to Leave Home
If you’ve ever tried to setup your Raspberry Pi as an Internet of Things device, you’ll know that unless you jump through some massive hoops, you’re stuck serving web pages and data on your local network. Getting information from your Pi on your phone, or while you’re at work or school . . . it’s nearly impossible.
 There are a lot of ways to work your way out to the internet. They’re often painful . . . ISP’s block ports, you need to setup port forwarding, you might violate your terms of sevice with your ISP, and you might need to customize your router.
Weaved solves all of these problems.
The easiest way we’ve seen to open up your Raspberry Pi as an Internet of Things device is to use the service Weaved.
Weaved provides an IoT (Internet of Things) Kit for the Raspberry Pi. The kit provides really simple tools for connecting your Pi to the cloud, receiving notifications, and turning your Pi into an Internet of Things Kit. They offer a few services that let you connect from a distance:
- SSH – You can login to your Pi from anywhere over SSH.
- Web (http) on port 80 – You can view a web page your Raspberry Pi serves up from anywhere.
- WebIOPI – Control your Raspberry Pi GPIO pins using their custom software.
- iOS and Android App – They have a beautiful app you can use with your iPhone or your Android (soon!). Receive push notifications!
Setup Weaved on the Raspberry Pi
1). Get a Free Account. You can get a free account at Weaved on their website. At the time of our writing, the service is in Beta and everything is free.
2). Fire up your Raspberry Pi and connect to the internet.
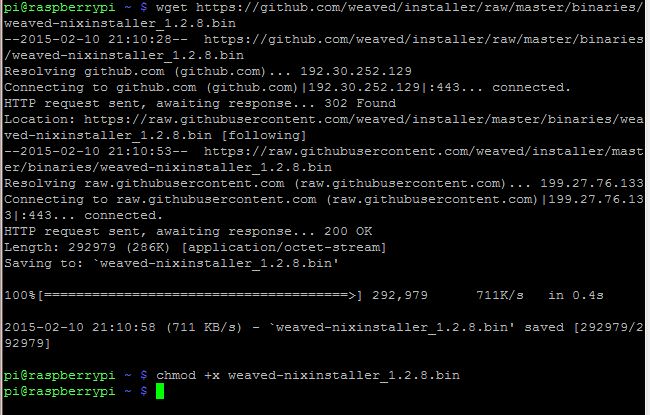
3). Download the Weaved Software to your Pi.
wget https://github.com/weaved/installer/raw/master/binaries/weaved-nixinstaller_1.2.13.bin
(Note: In the future this version may be outdated please visit https://github.com/weaved/installer/raw/master/binaries/
In order to see what version is the latest and substitute that version in for every ‘1.2.13’ in the tutorial.)
4). Make the Weaved Software Executable.
chmod +x weaved-nixinstaller_1.2.13.bin
5). Launch the Installer.
./weaved-nixinstaller_1.2.13.bin
The software will run a few tests, and boom: first question.
6). Choose a service. When you first start, you’ll be asked to install one of the Weaved services: SSH on port 22, Web (http) on port 80, WebIOPi on port 8000, VNC on port 5091 (tested with tightvncserver), or A custom TCP service on your port of choice.
We’ll choose the second option, http on port 80.
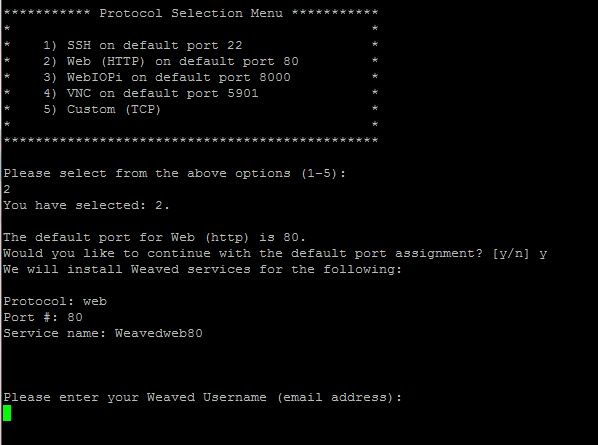
7). Enter your Weaved Login information.
Be sure: not your Raspberry Pi login information, but the information for your weaved account (which you setup in Step 1!).
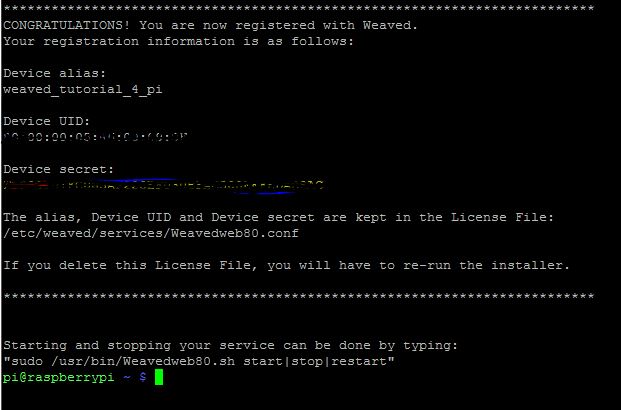
You’ll be prompted for a device name. Name your pi wisely . . .
![]()
For this experiment, we chose “weaved_tutorial_4_pi” . . . and success!
8). Install a Webserver.
We won’t go into depth on how to do this. The Raspberry Pi foundation has a great tutorial for installing an Apache server on your Pi.
sudo apt-get update
sudo apt-get install apache2 -y
9). Now, let’s check that the new device is online.
Go to https://developer.weaved.com/portal/members/betahome.php
We can see that the device we just setup is usable and can be connected to!

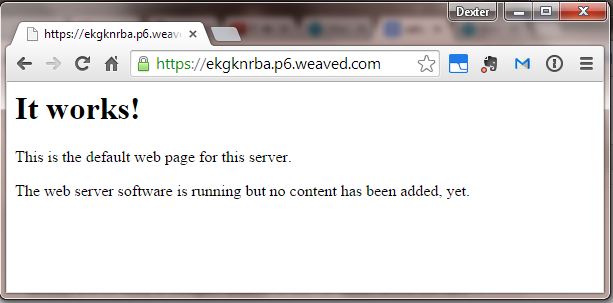
10). Check out your website.
Click “Connect” and a new window will be opened up. It works! If we type in the address you see after https:// in the browser below, you can see it in your mobile phone, or from anywhere on the internet!
Bonus! 11). Modify Your Web Page
Did you know you can rewrite the web page? If you know html, simply:
cd /var/www/
sudo nano index.html
Simply edit the text in the html file, save it, and you’re on your way to serving up web pages on the Pi!
Have a question? About weaved or the Pi or anything else? Ask us on the forums!
Learn More!
If you liked this tutorial, consider getting our SD Card with Raspbian for Robots here and also checkout our tutorial on Access your Pi away from your home or local network.