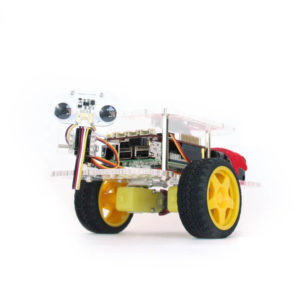
Introduction to the Line Follower
This page will show you how to setup and program your GoPiGo Line Follower. If you are looking for instructions on assembly, please head over to our GoPiGo Line Follower Getting Started page.
We have two sets of instructions: Get Started in Scratch, and Get Started in Python.
Setup the Course
best Line Follower Tape for the Raspberry Pi
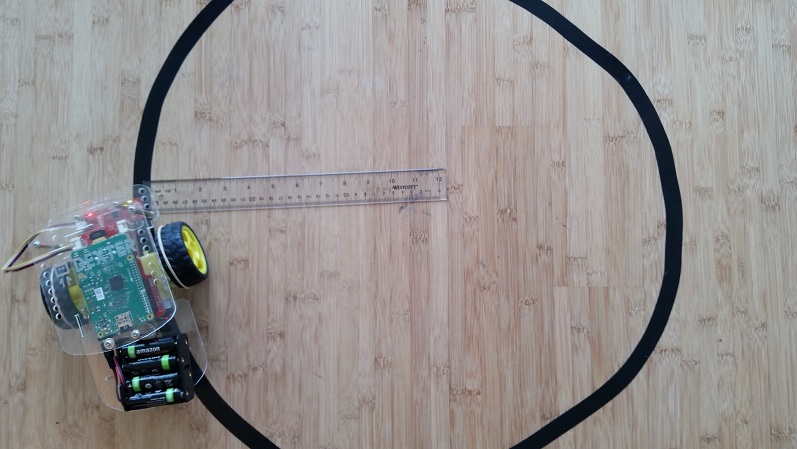
Setting up the course for the line follower is all about laying down the line. We are going to talk about how to properly put a line down for your GoPiGo to follow. You will want to follow a few rules of thumb for BEST results:
- Your line should be no thinner than 0.5 inches, or 1.5 cm wide.
- Your line should be no wider than 1 inch, 2.0 cm wide.
- Use a dark line on a white background.
- The greater the contrast between the line and the background, the better.
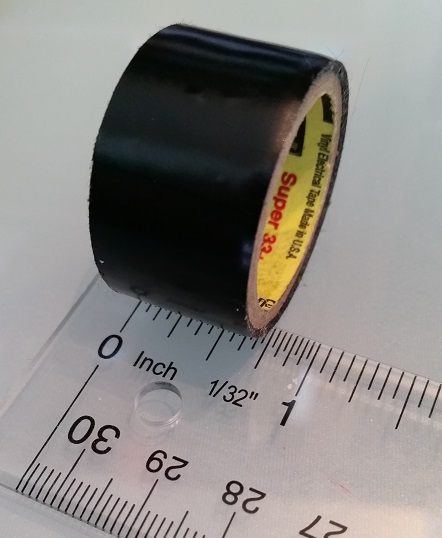
- We have had great results with 3/4″ black electrical tape on a light colored floor.
Be careful! Some tapes leave a residue on your floor! Be sure to not leave the tape down long term as it can damage your floor.
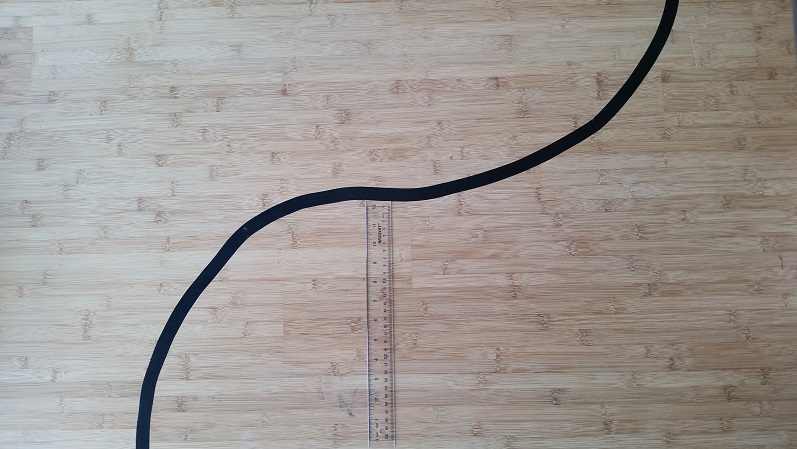
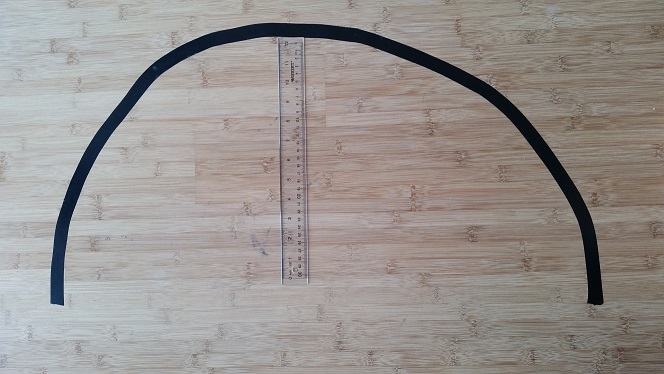
Curve Design: the line follower will have trouble following a line tighter than a 1 foot radius. Below are a few pictures.
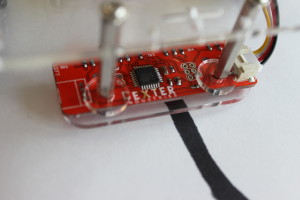
Get Started in Scratch: Calibrate the Sensor
To get started in Scratch, we first have to calibrate the sensor. Each line you set, and each surface you drive on may be slightly different. If you don’t show the Line Follower what your “black” looks like and your “white” looks like, it won’t be able to determine where the line is.
In this first step, we will show you how to calibrate the sensor. We assume that you have installed Raspbian for Robots, our custom version of Raspbian. If you haven’t, you can get your free download here, and see setup instructions on getting started and connected here.
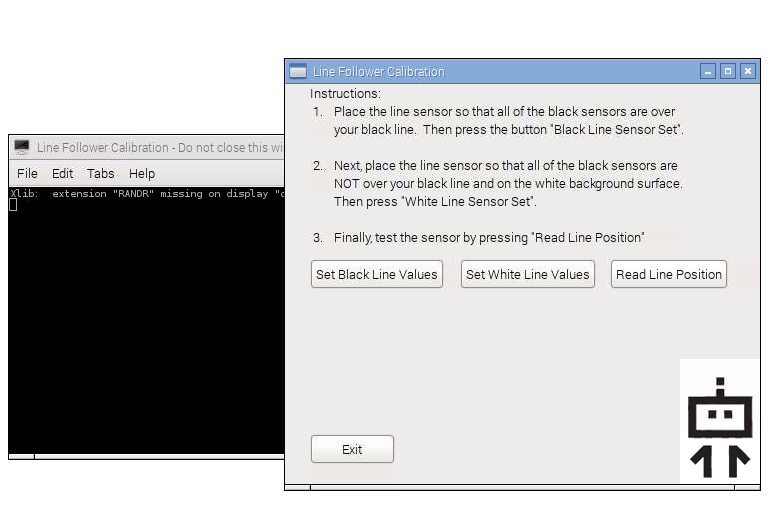
1). Start the Calibration Program
Double click the “Line Follower Calibration” icon on the Desktop. If you do not see this icon, you may need to run an update on Raspbian for Robots.

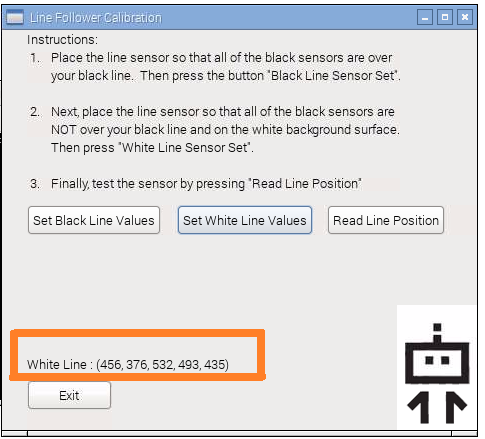
2). Calibrate Over White
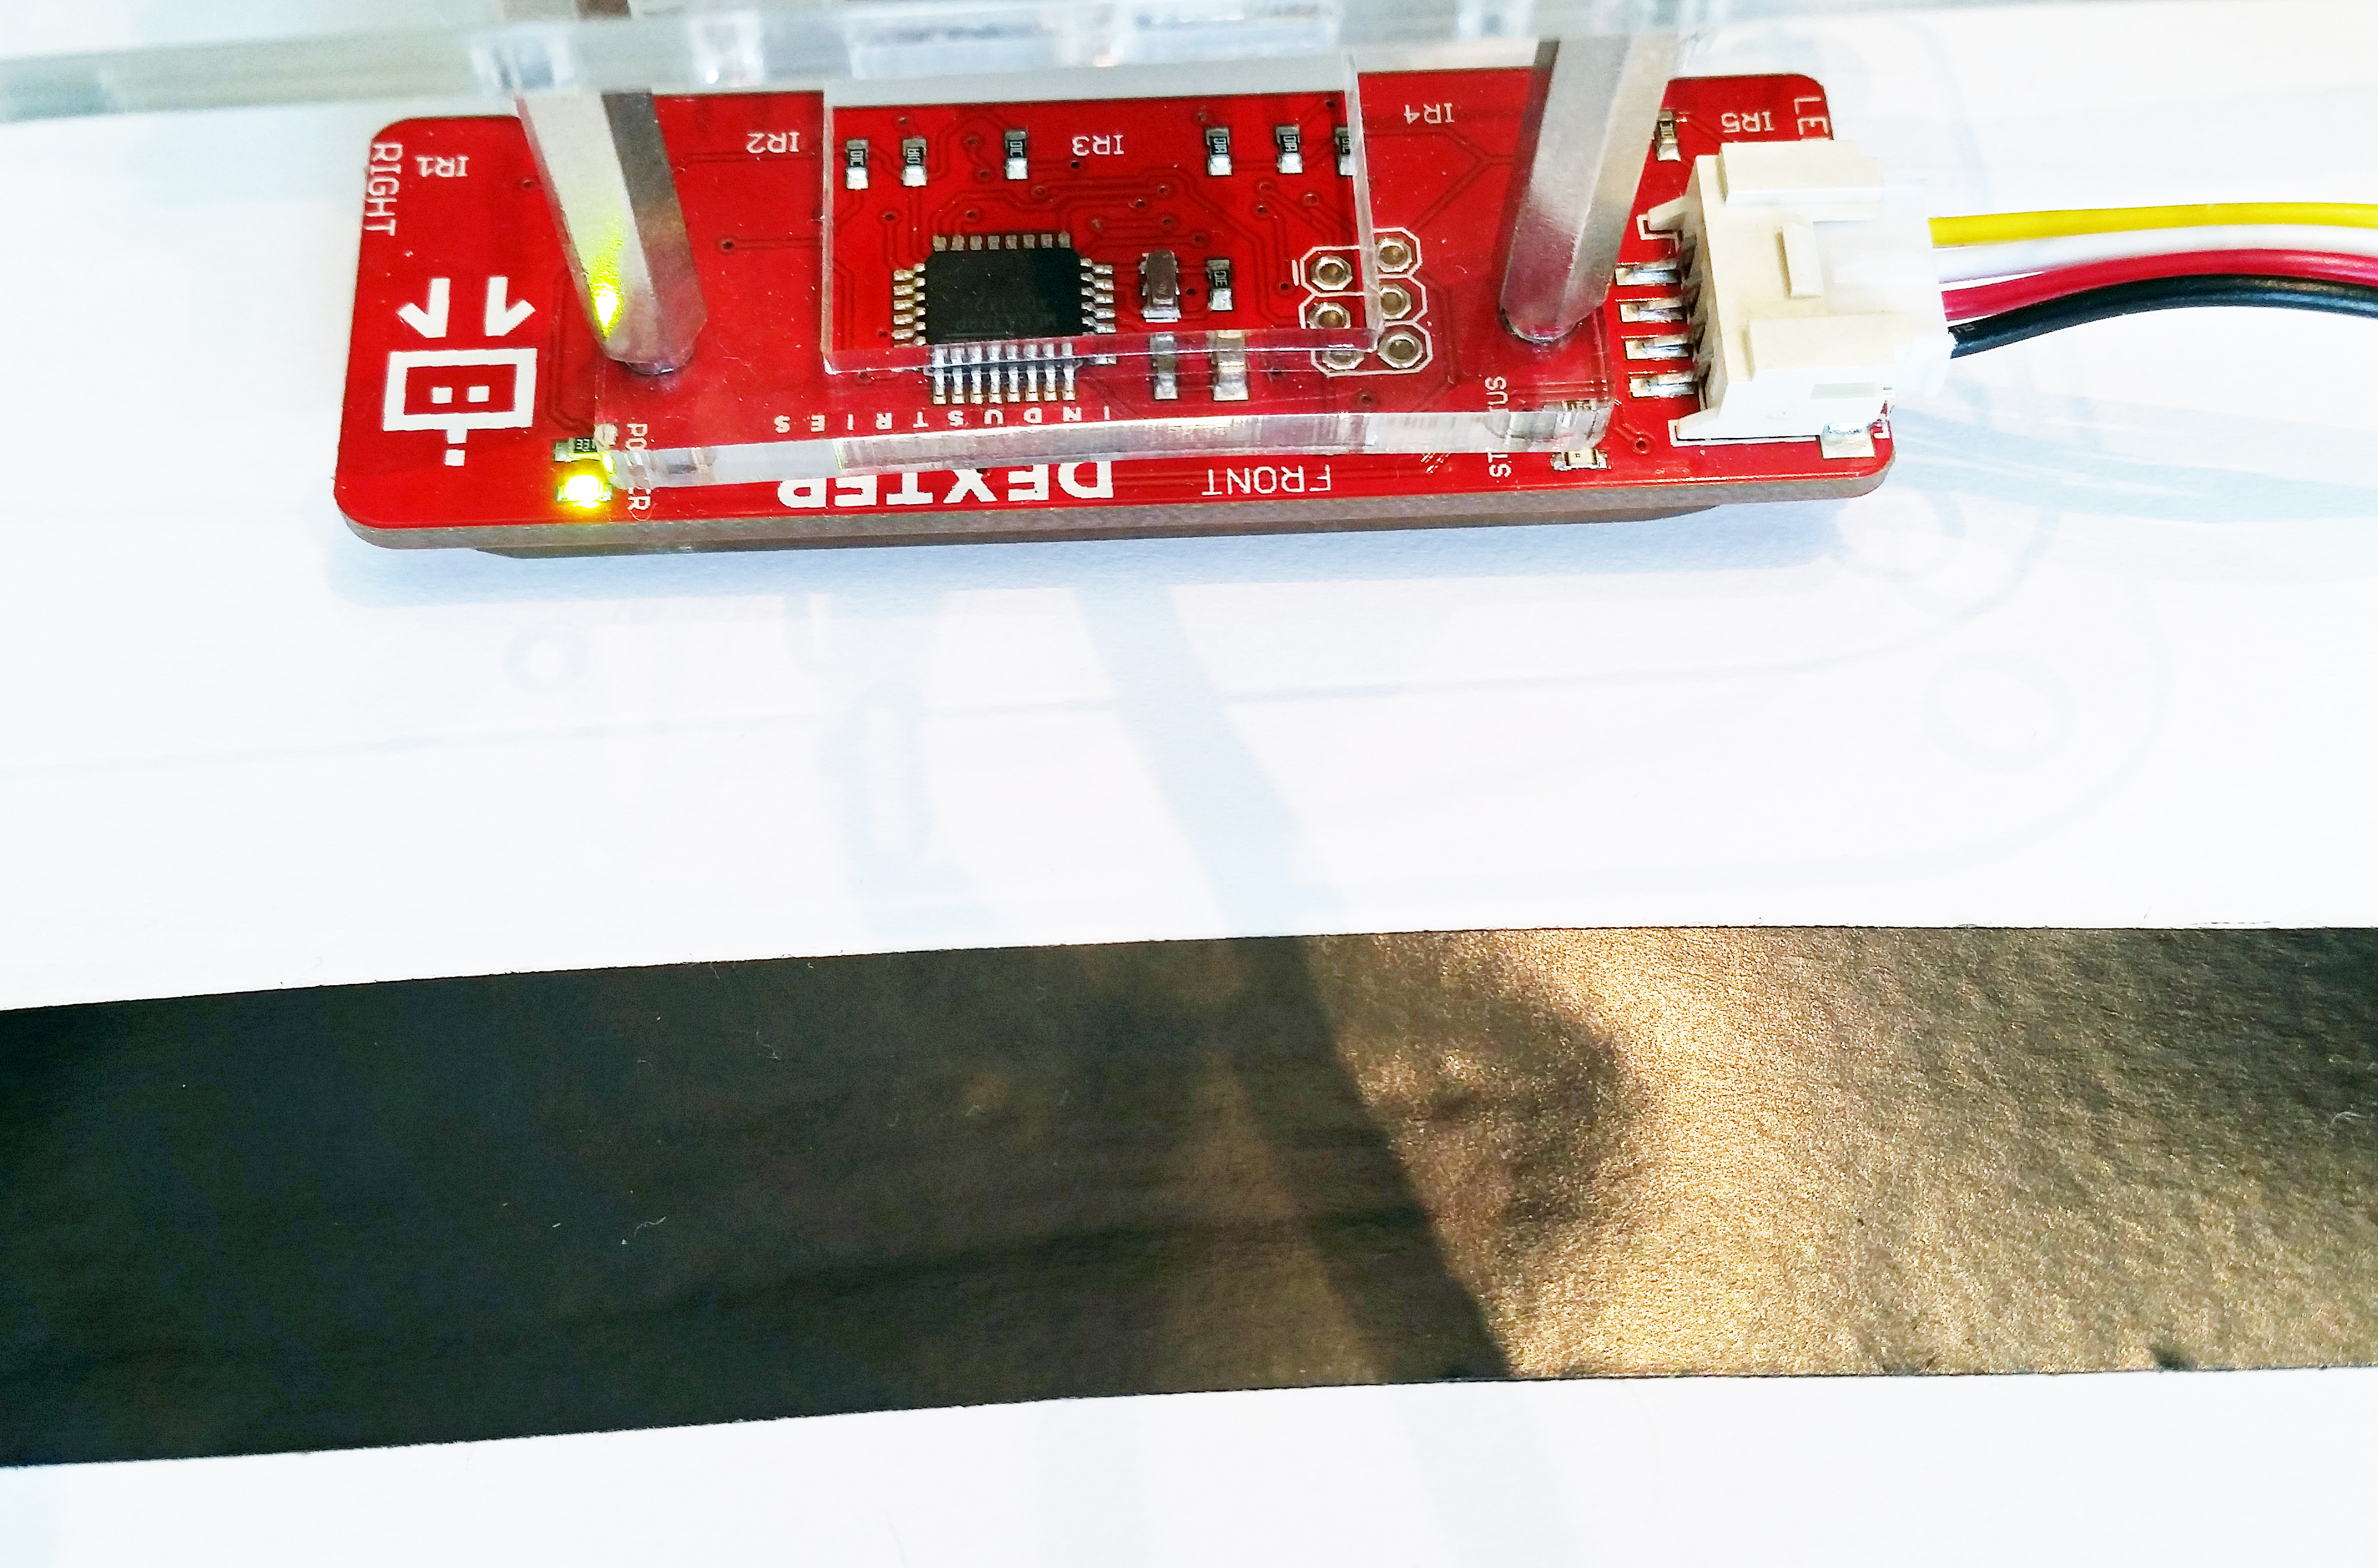
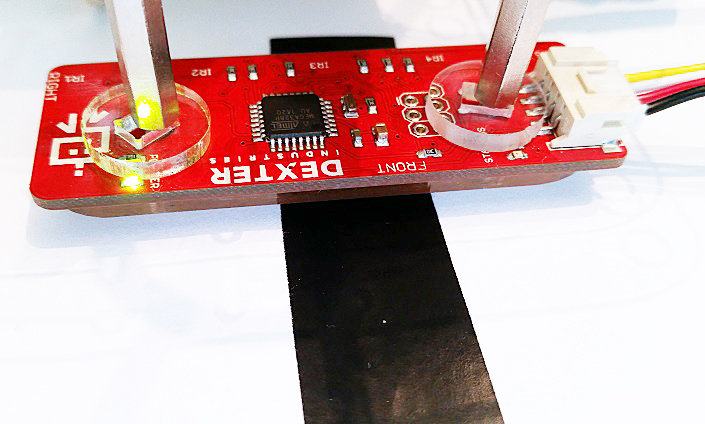
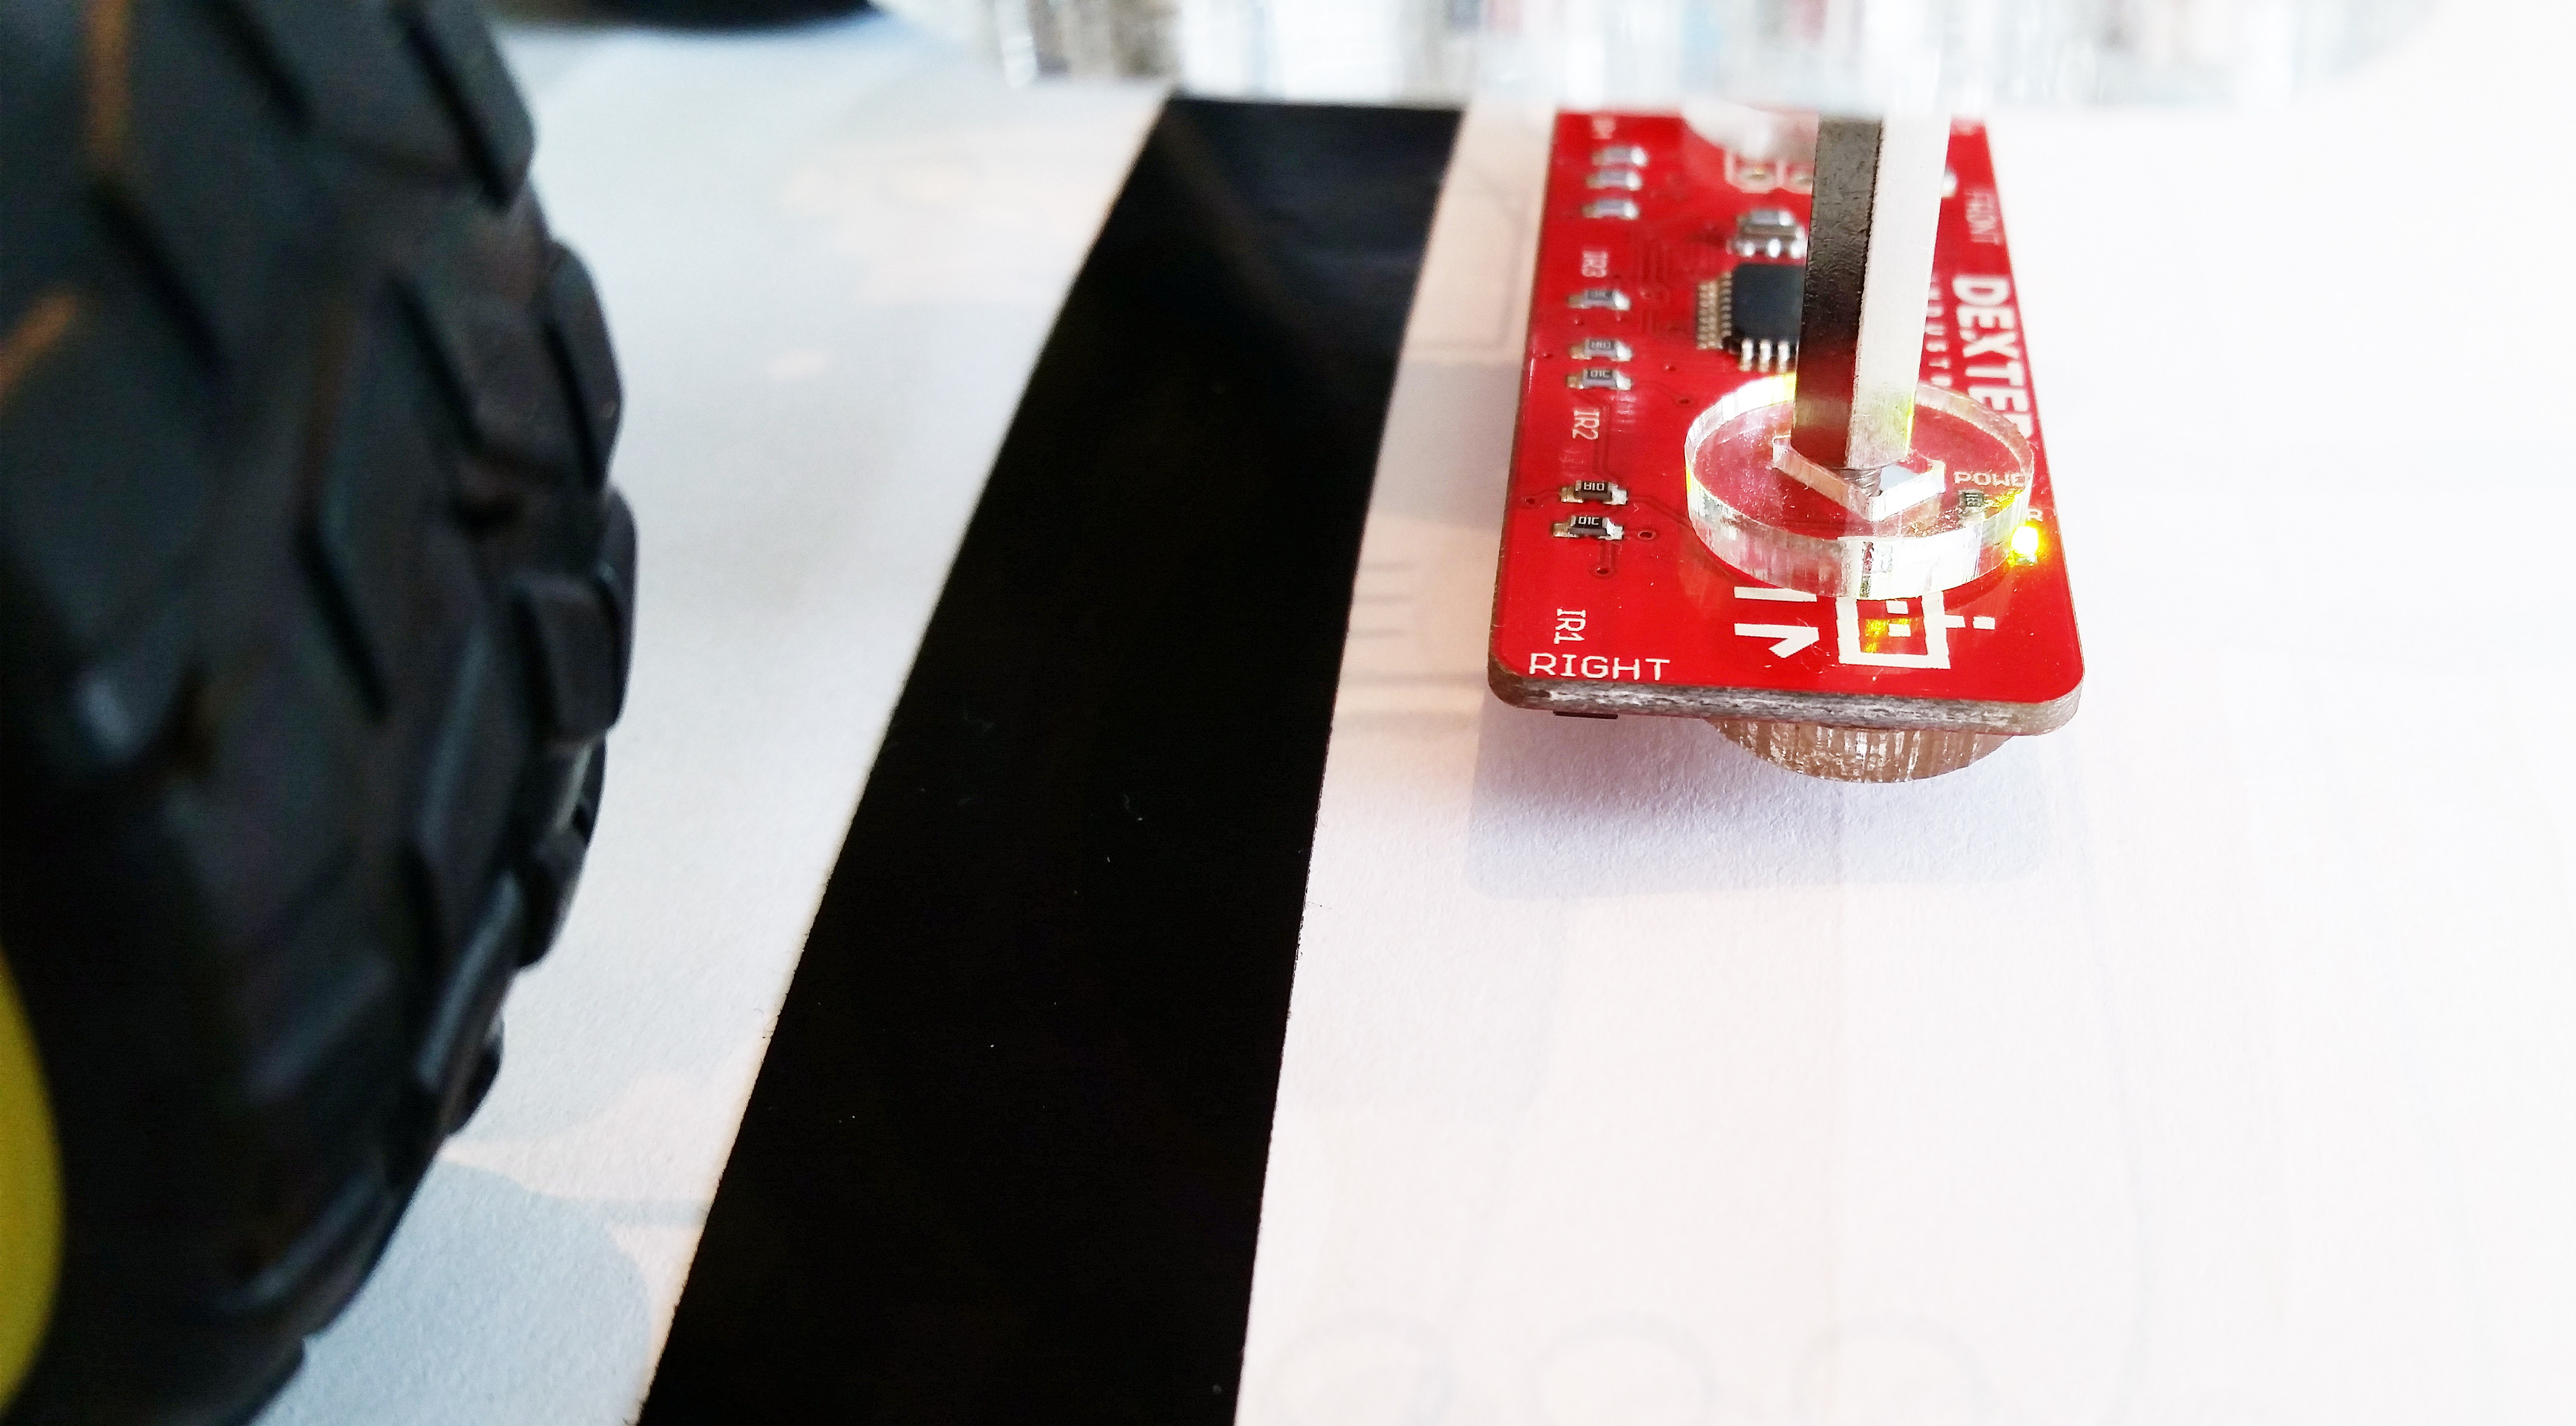
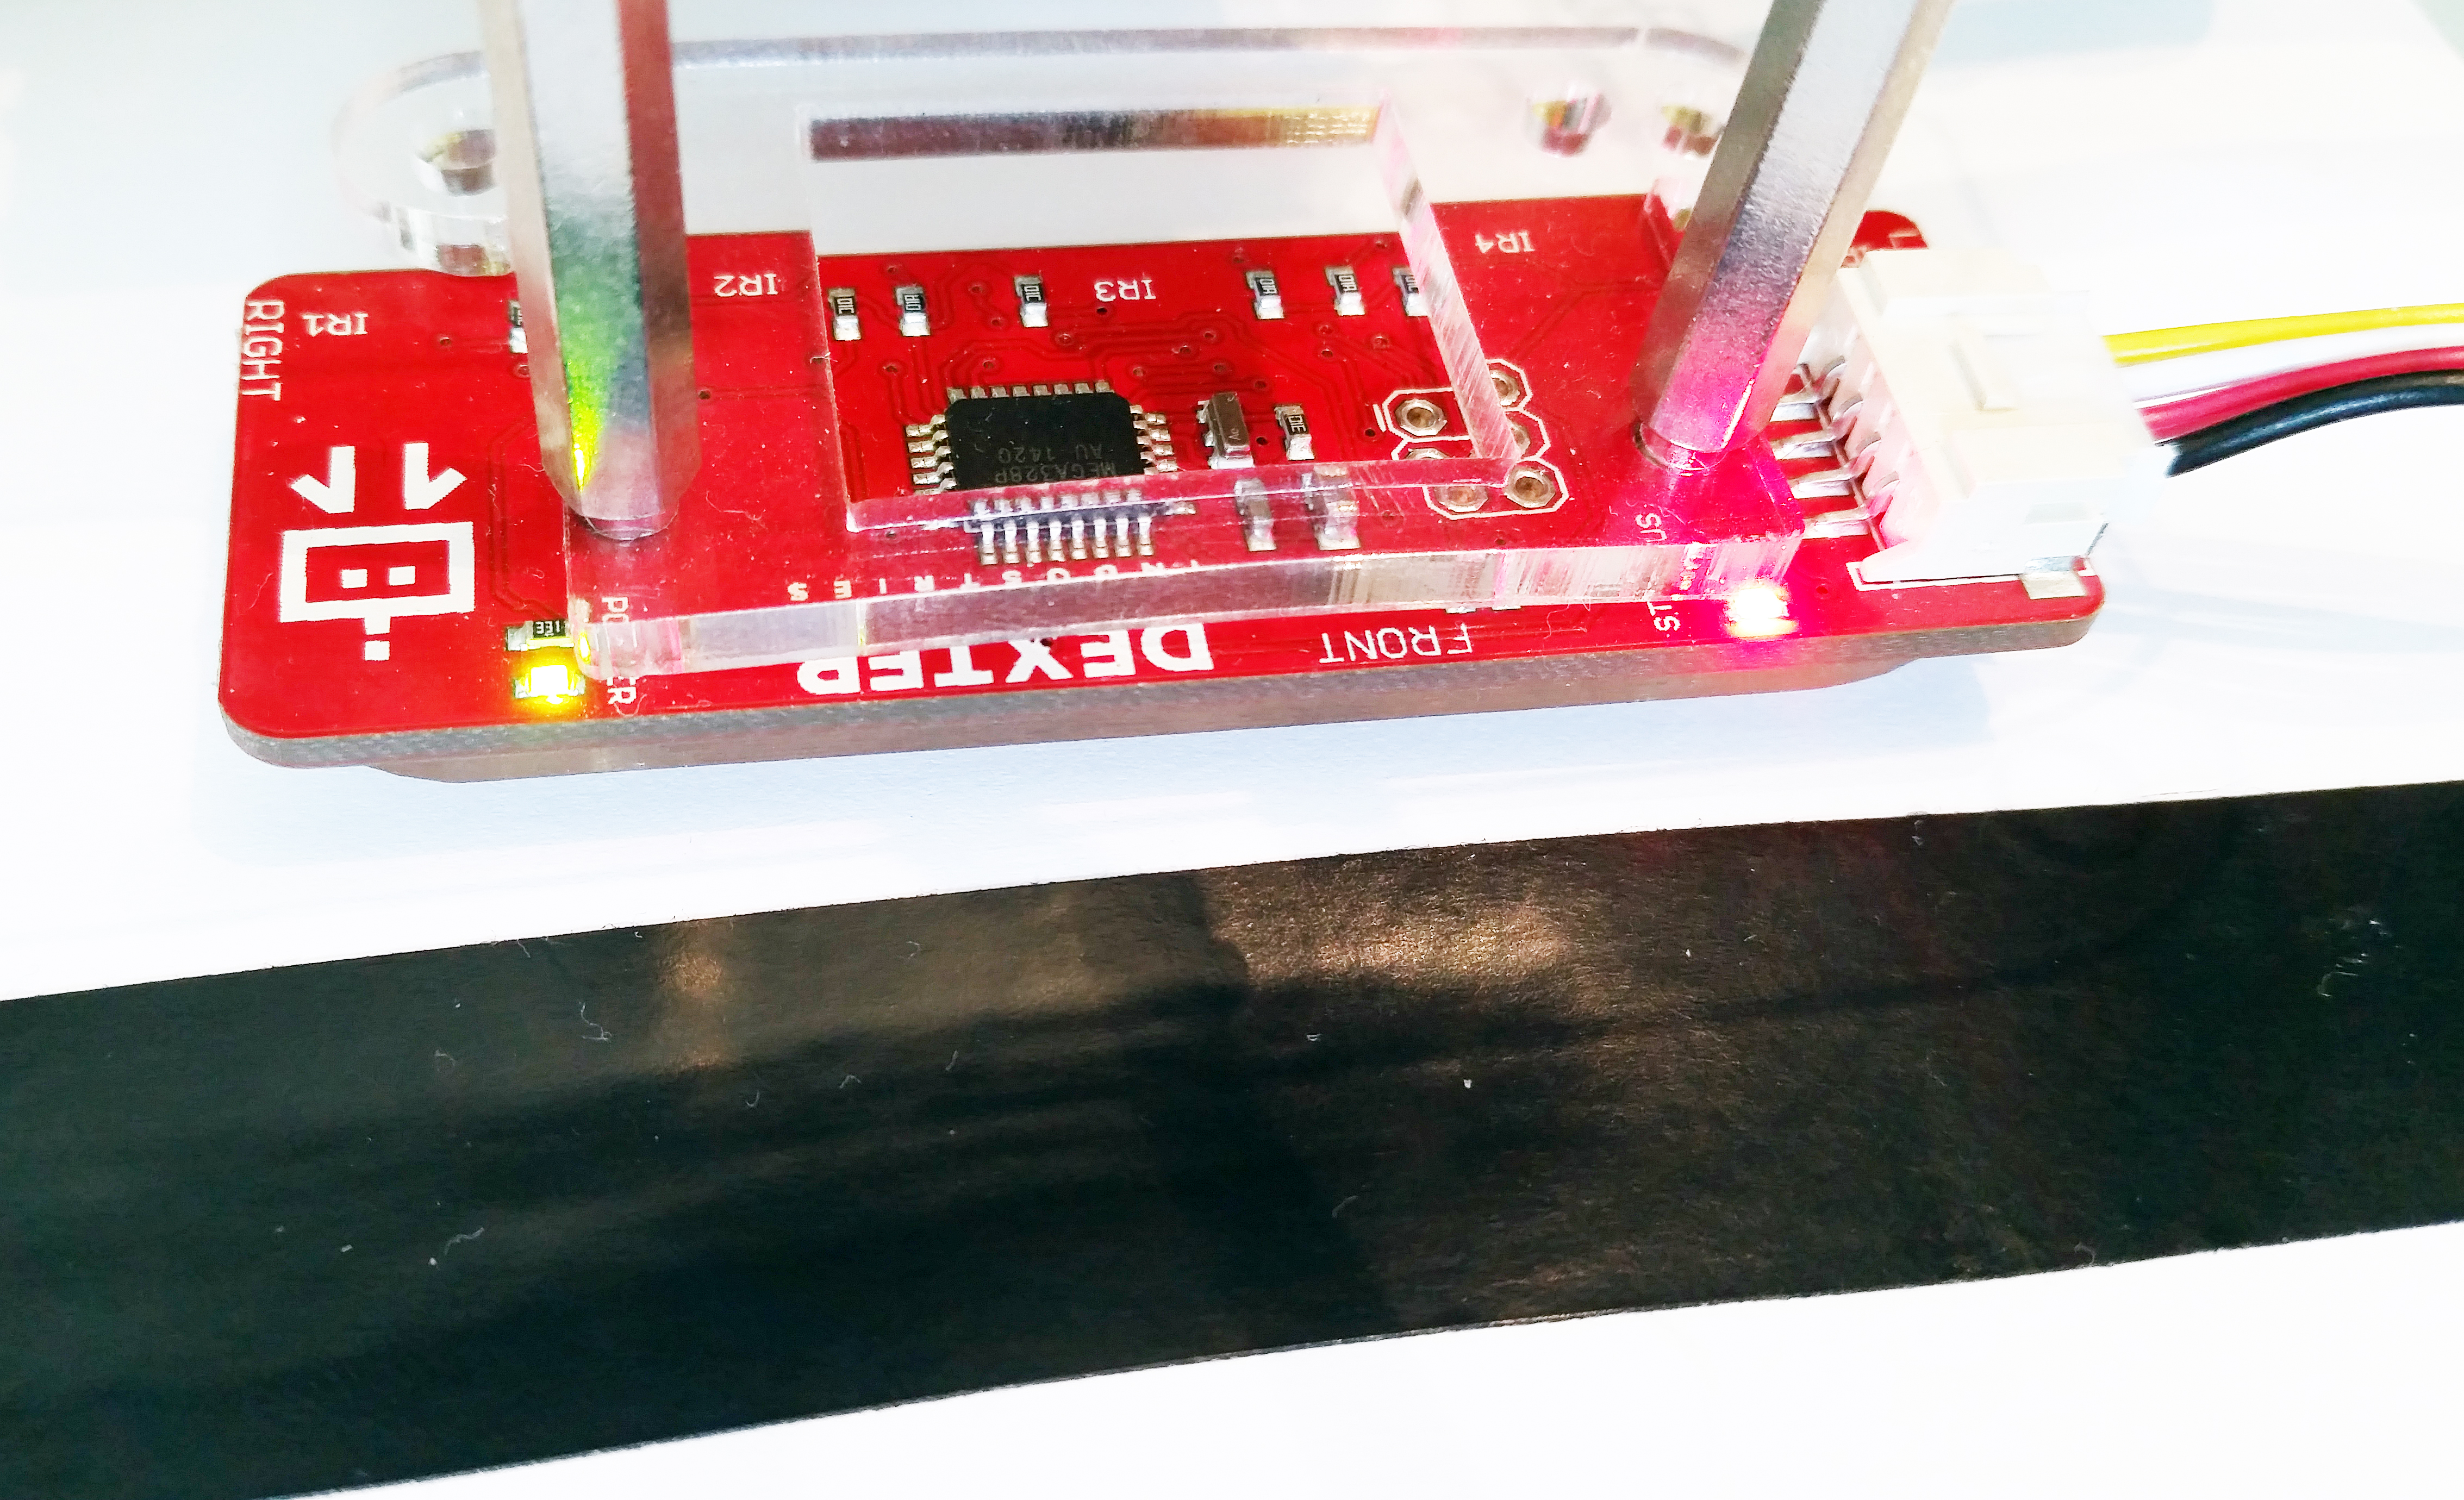
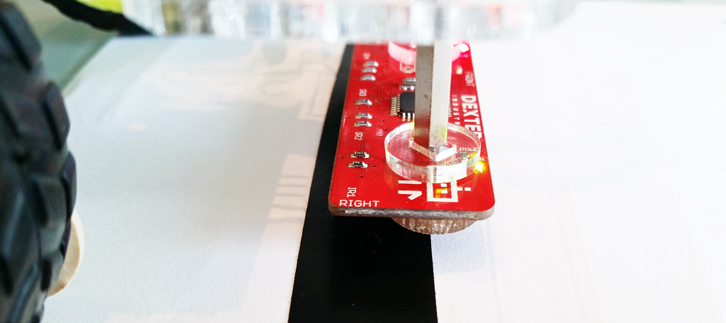
Move the GoPiGo onto the course. Place the sensors over the light or white area of the course. The black sensors on the bottom of the line follower are aligned along the “RIGHT” and “LEFT” labels on the line sensor. Make sure that these are all over the white area of the course.


Press the “Set White Line Values” button. 5 Values should appear at the bottom of the window, above the “Exit” button. These are the raw values read by the sensor.
The values should all be within about 100 of each other. If they are not, readjust the Line Follower position on the line. If the values are skewed to one side, your sensor may be tilted off the ground.
3). Calibrate Over Black
Now, place the sensors over the dark or black area of the course (in our case it is the black line). The black sensors on the bottom of the line follower are aligned along the “RIGHT” and “LEFT” labels on the line sensor. Make sure that these are all over the dark area of the course (again, in our case, this is the black line).

Press the “Set Black Line Values” button. 5 Values should appear at the bottom of the window, above the “Exit” button. These are the raw values read by the sensor.

The values should all be within about 100 of each other. If they are not, readjust the Line Follower position. If the values are skewed to one side, your sensor may be tilted off the ground.
4). Test Run
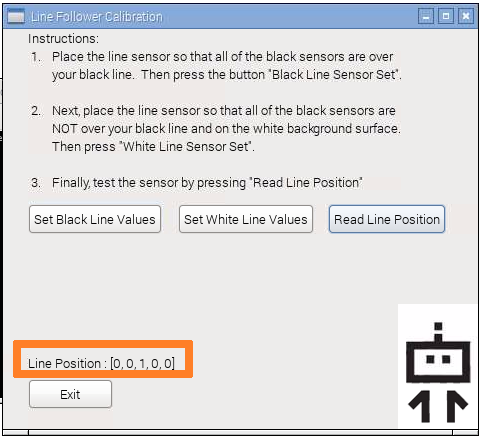
Finally, test the calibration. Place the line follower over the line, with the line running perpendicular to the sensor, right in the middle.
Press the “Read Line Position” button. With the sensor in the middle, the line position should read “[0,0,1,0,0]”.
5). Exit.
Your sensor is now calibrated! Click exit and the calibration data will be saved.
Program The Line Follower In Scratch
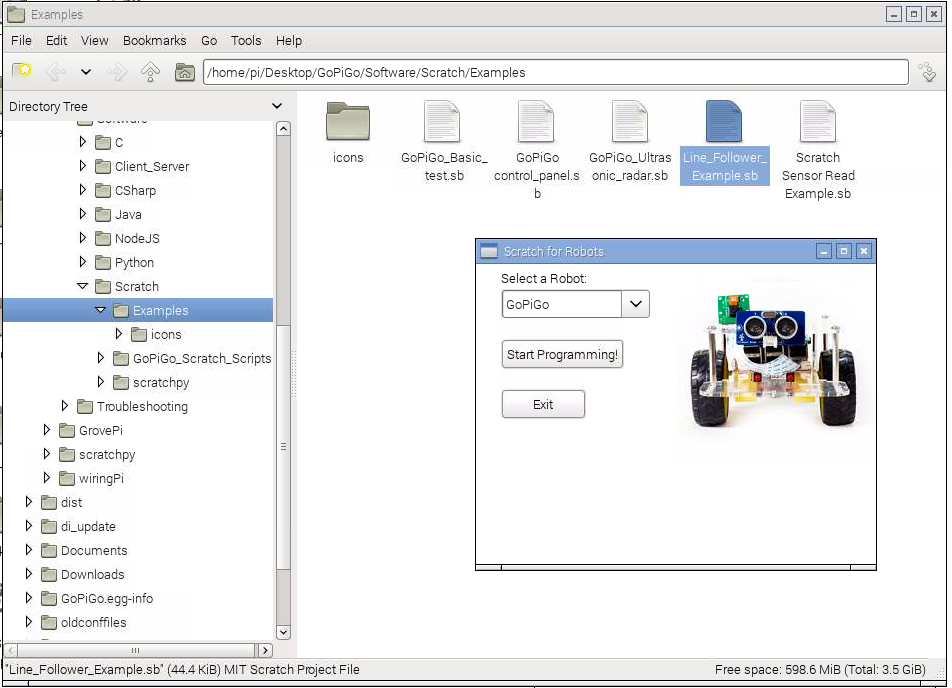
Click the Scratch Icon to start.
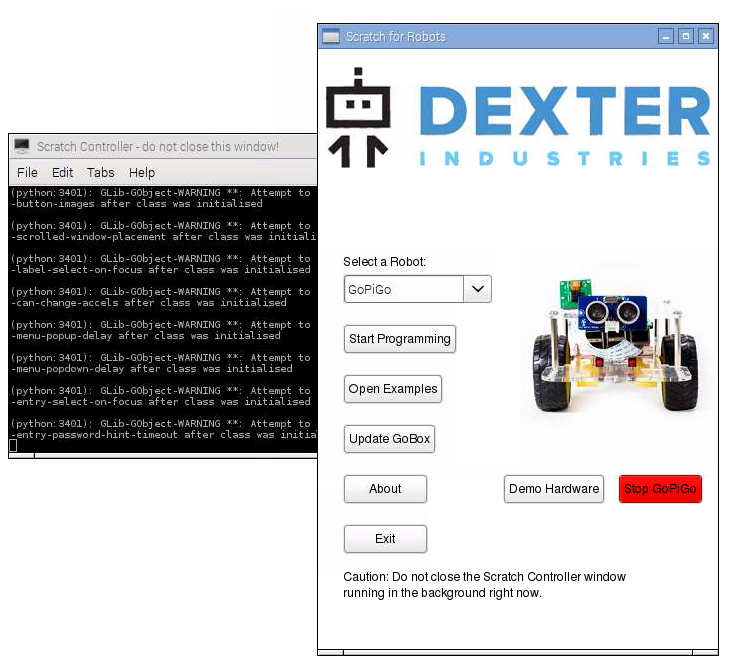
Select the GoPiGo in the dropdown box. Click “Open Examples”. Select “Line_Follower_Example.sb” and then click the “Start Programming!” button in the Scratch for Robots box.
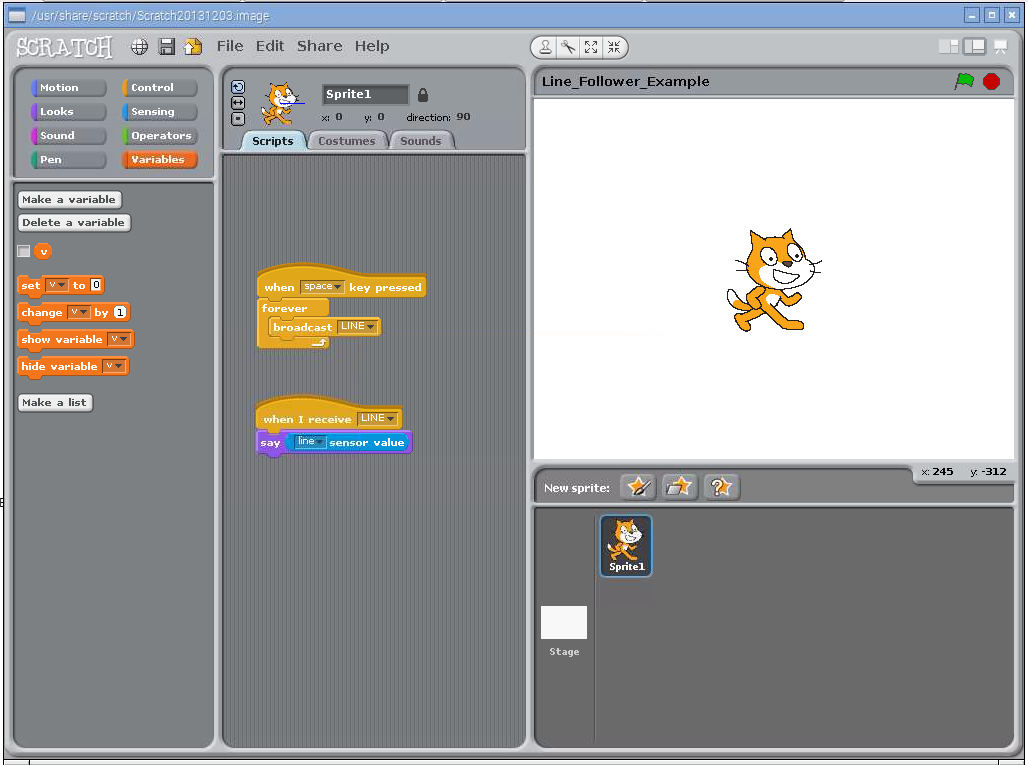
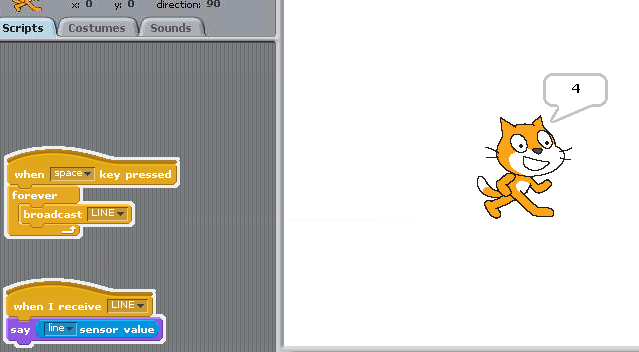
The program reads the line follower, and the Scratch Cat says the position of the line follower.
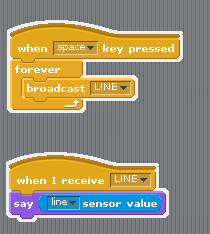
To start the program, press the space bar. The Scratch Cat will say a number between -4 and 7.
- -4 means the line is all the way to the right of the line follower.
- 0 means the line is right in the middle of the line follower.
- 4 means the line is all the way to the left of the line follower.
- 5 means the line follower sees nothing but black.
- 6 and 7 mean the line follower sees nothing but white.
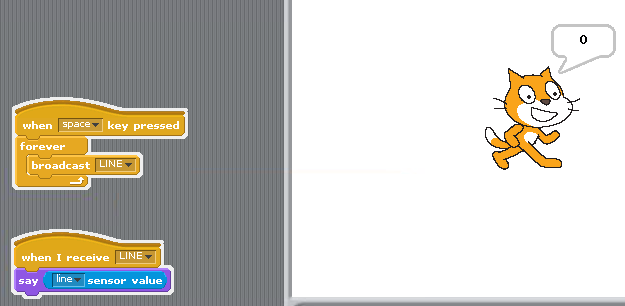
Line follower placed with the line in the middle.
With the line in the middle of the line follower, the Scratch cat should read 0.
Below the sensor readings all the way to the right and all the way to the left.
Sratch Example With the Line on the Left of the Line Follower.
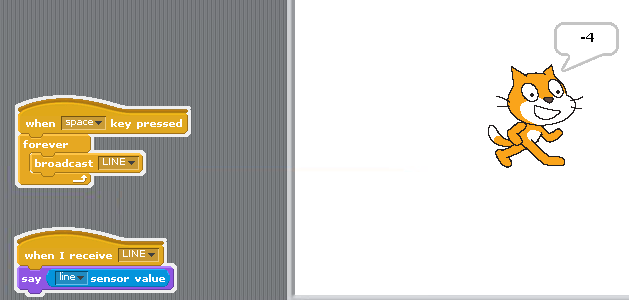
Sratch Example With the Line on the Right of the Line Follower.
Calibrate the Line Sensor in Python
In this tutorial we will calibrate the line sensor using the command line.
Change directories to the Python line follower:
cd /home/pi/Desktop/GoPiGo/Software/Python/line_follower/
Run the Threshold Set program in python:
sudo python line_threshold_set.py
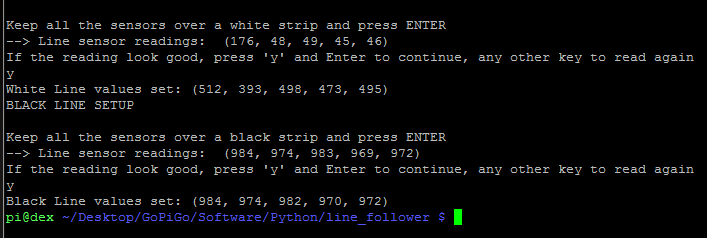
Place the line sensor over white space.
Then press Enter. All five values should all be within 100 of each other. The numbers may be off if the sensor is slanted; adjust the sensor to be level with the ground. Once the sensor values are all within 100, press y.
![]()
Place the sensor over black space (such as your line). Press Enter. Again, the values should all be within 100 of each other.
Press Y again and the sensor will be calibrated.
Program the Line Follower in Python
You can find a python library for the Line Follower in the GoPiGo Github repository. Below are the key files in the repository.
Calibration and Utilities
- line_threshold_set.py: Use this program to set the black/white values. Run once.
- black_line.txt: Holds the black line values.
- white_line.txt: Holds the white line values.
- range_line.txt: Holds the range of values.
- line_sensor.py: Library for the Line Follower.
- line_follow.py: Basic GoPiGo example to use the Line Follower.
Examples
- basic_example.py: This example shows a basic example to read sensor data from the Line Follower.
- check_line_sensor.py: Checks the I2C bus for the Line Follower for the Raspberry Pi.
- line_follow.py: A very basic example using bang-bang control.
- line_follow1.py: An advanced example of line following using arrays and proportional response.
- line_position.py: This example reads the position of the line the sensor is positioned over.
Questions
Have a question about the GoPiGo Line Follower? Ask in our forums!