 Now it’s time to turn on and connect to your GoPiGo3 from a computer or tablet. If you are looking for instructions on assembling the GoPiGo3, please click here.
Power Up and Connect to Your GoPiGo3
Expand out the each step below to learn how to power your GoPiGo3.
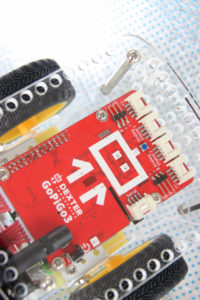
Power Up the GoPiGo3
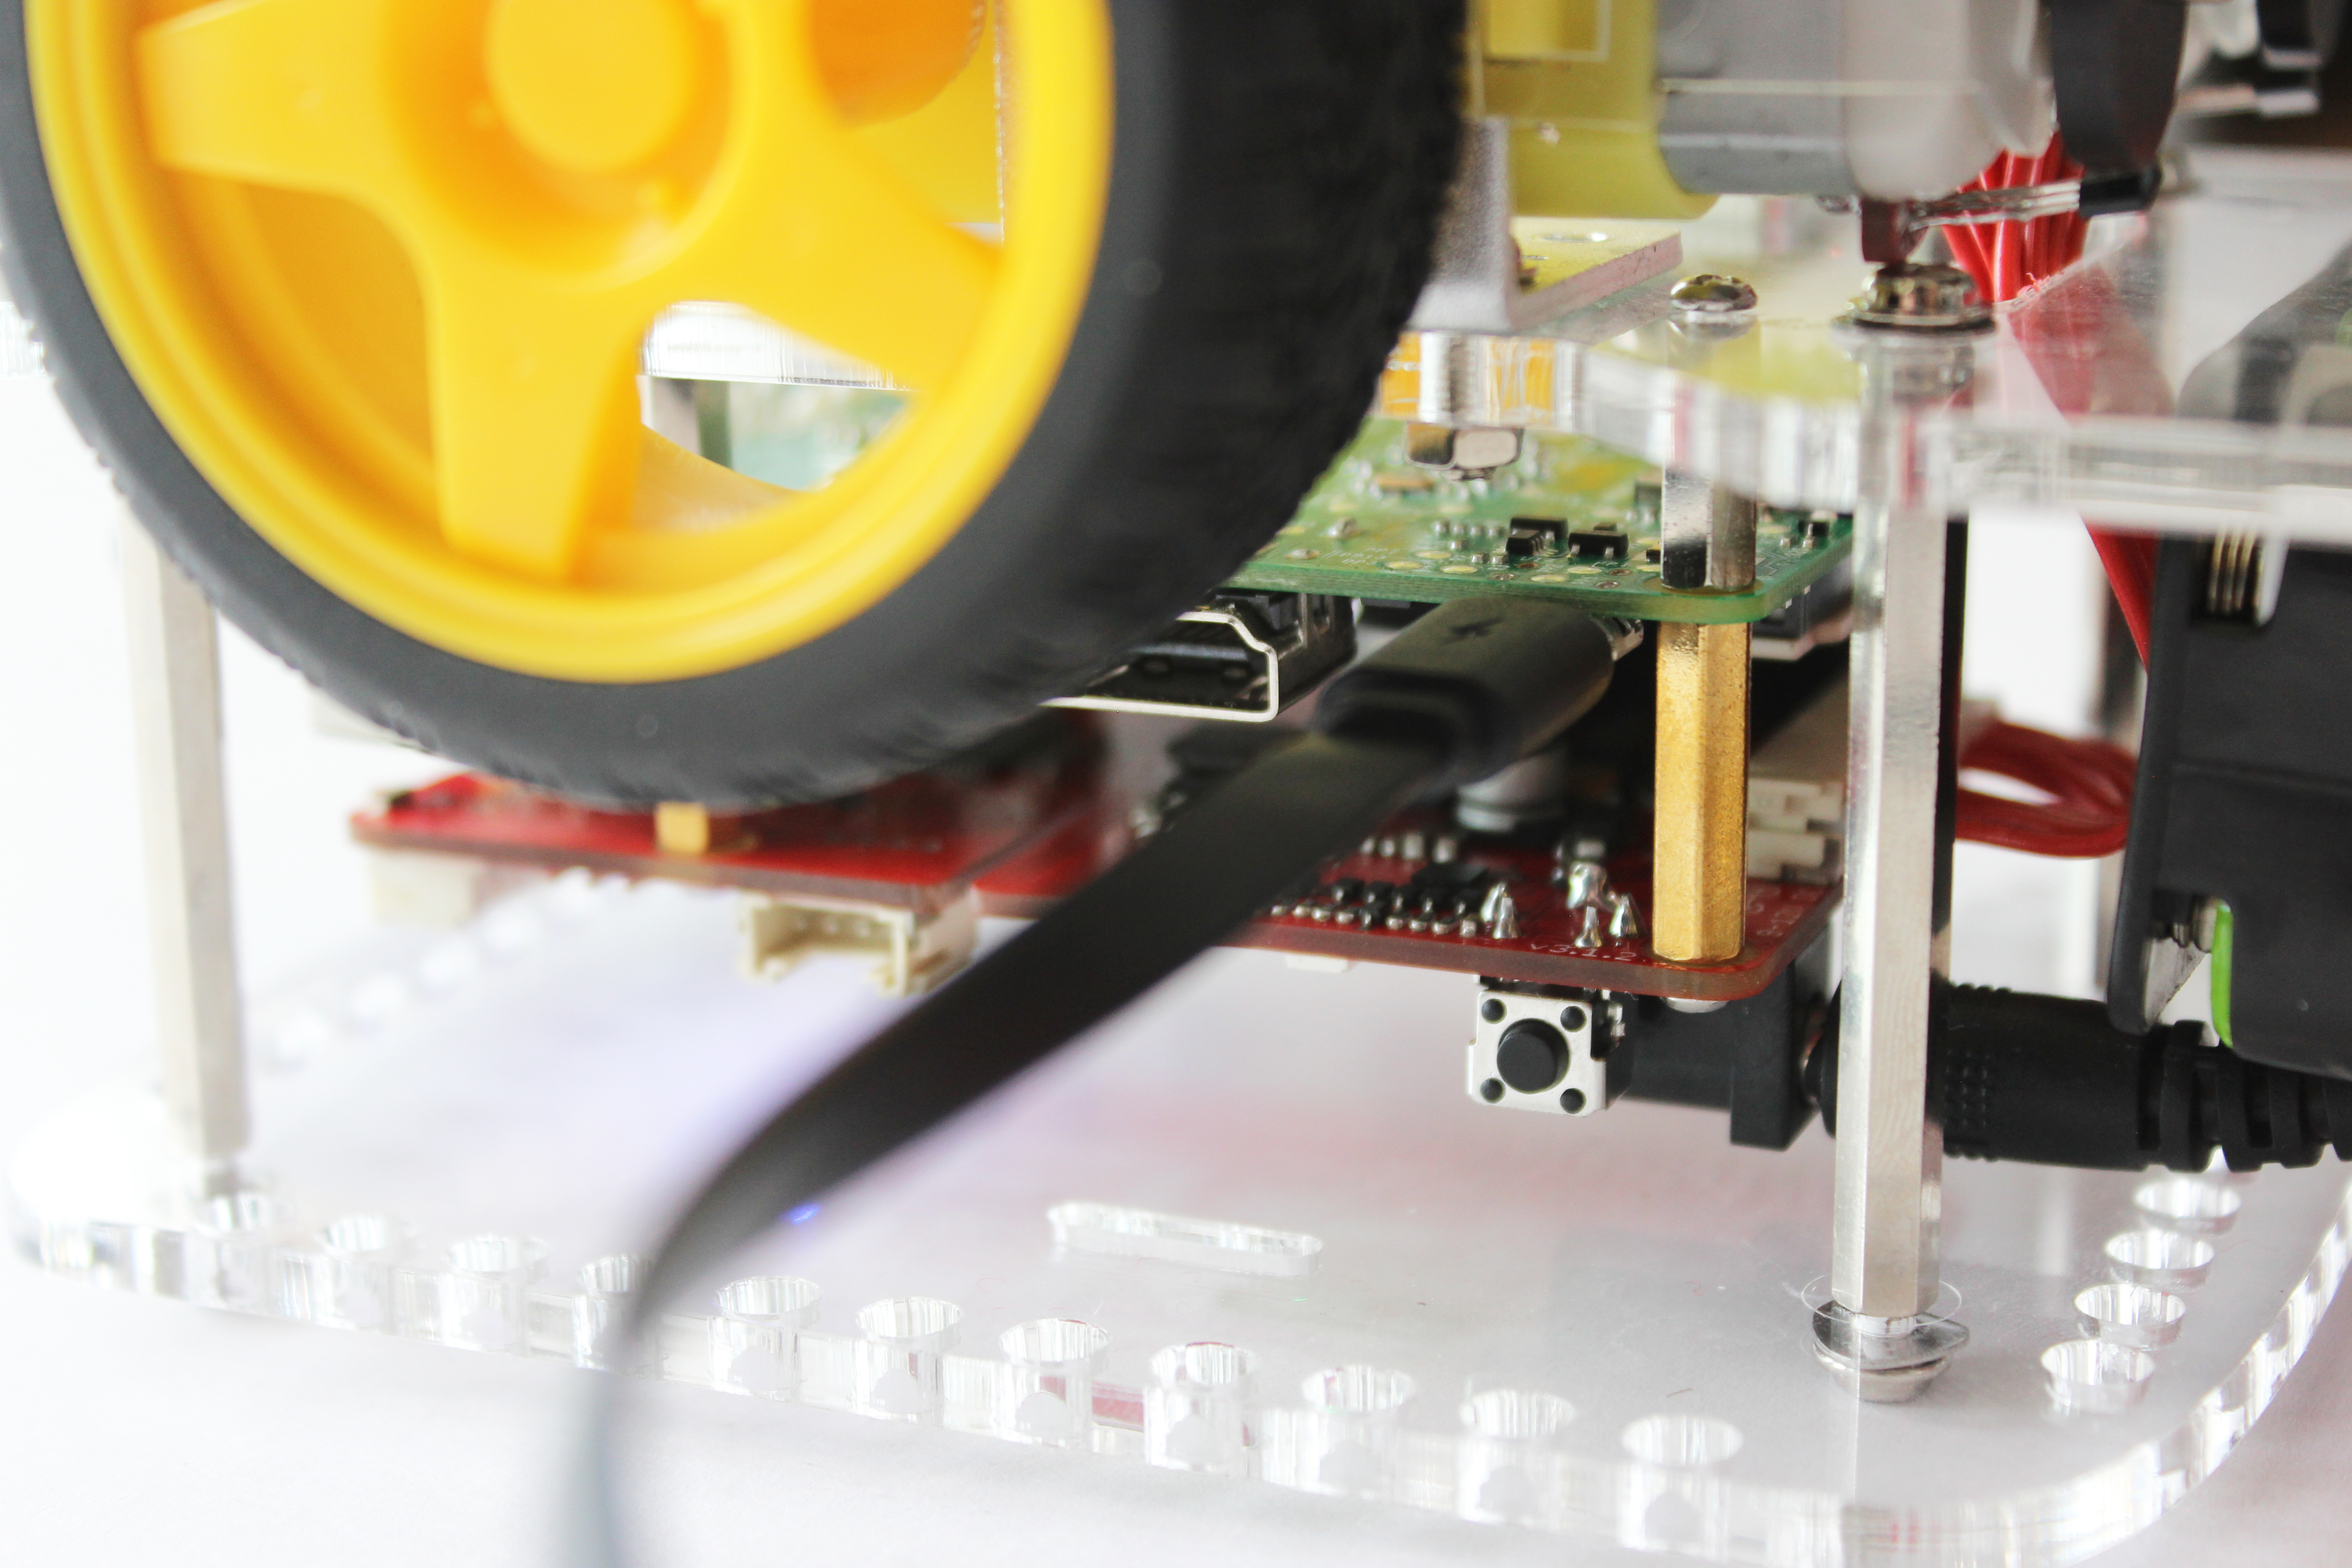
- Before you begin, make sure you have fully charged batteries in your battery pack, and the battery pack is connected to the GoPiGo3. Reminder: The SD card, Wifi Dongle and USB Drive should already be in the Raspberry Pi (see assembly instructions for more information).
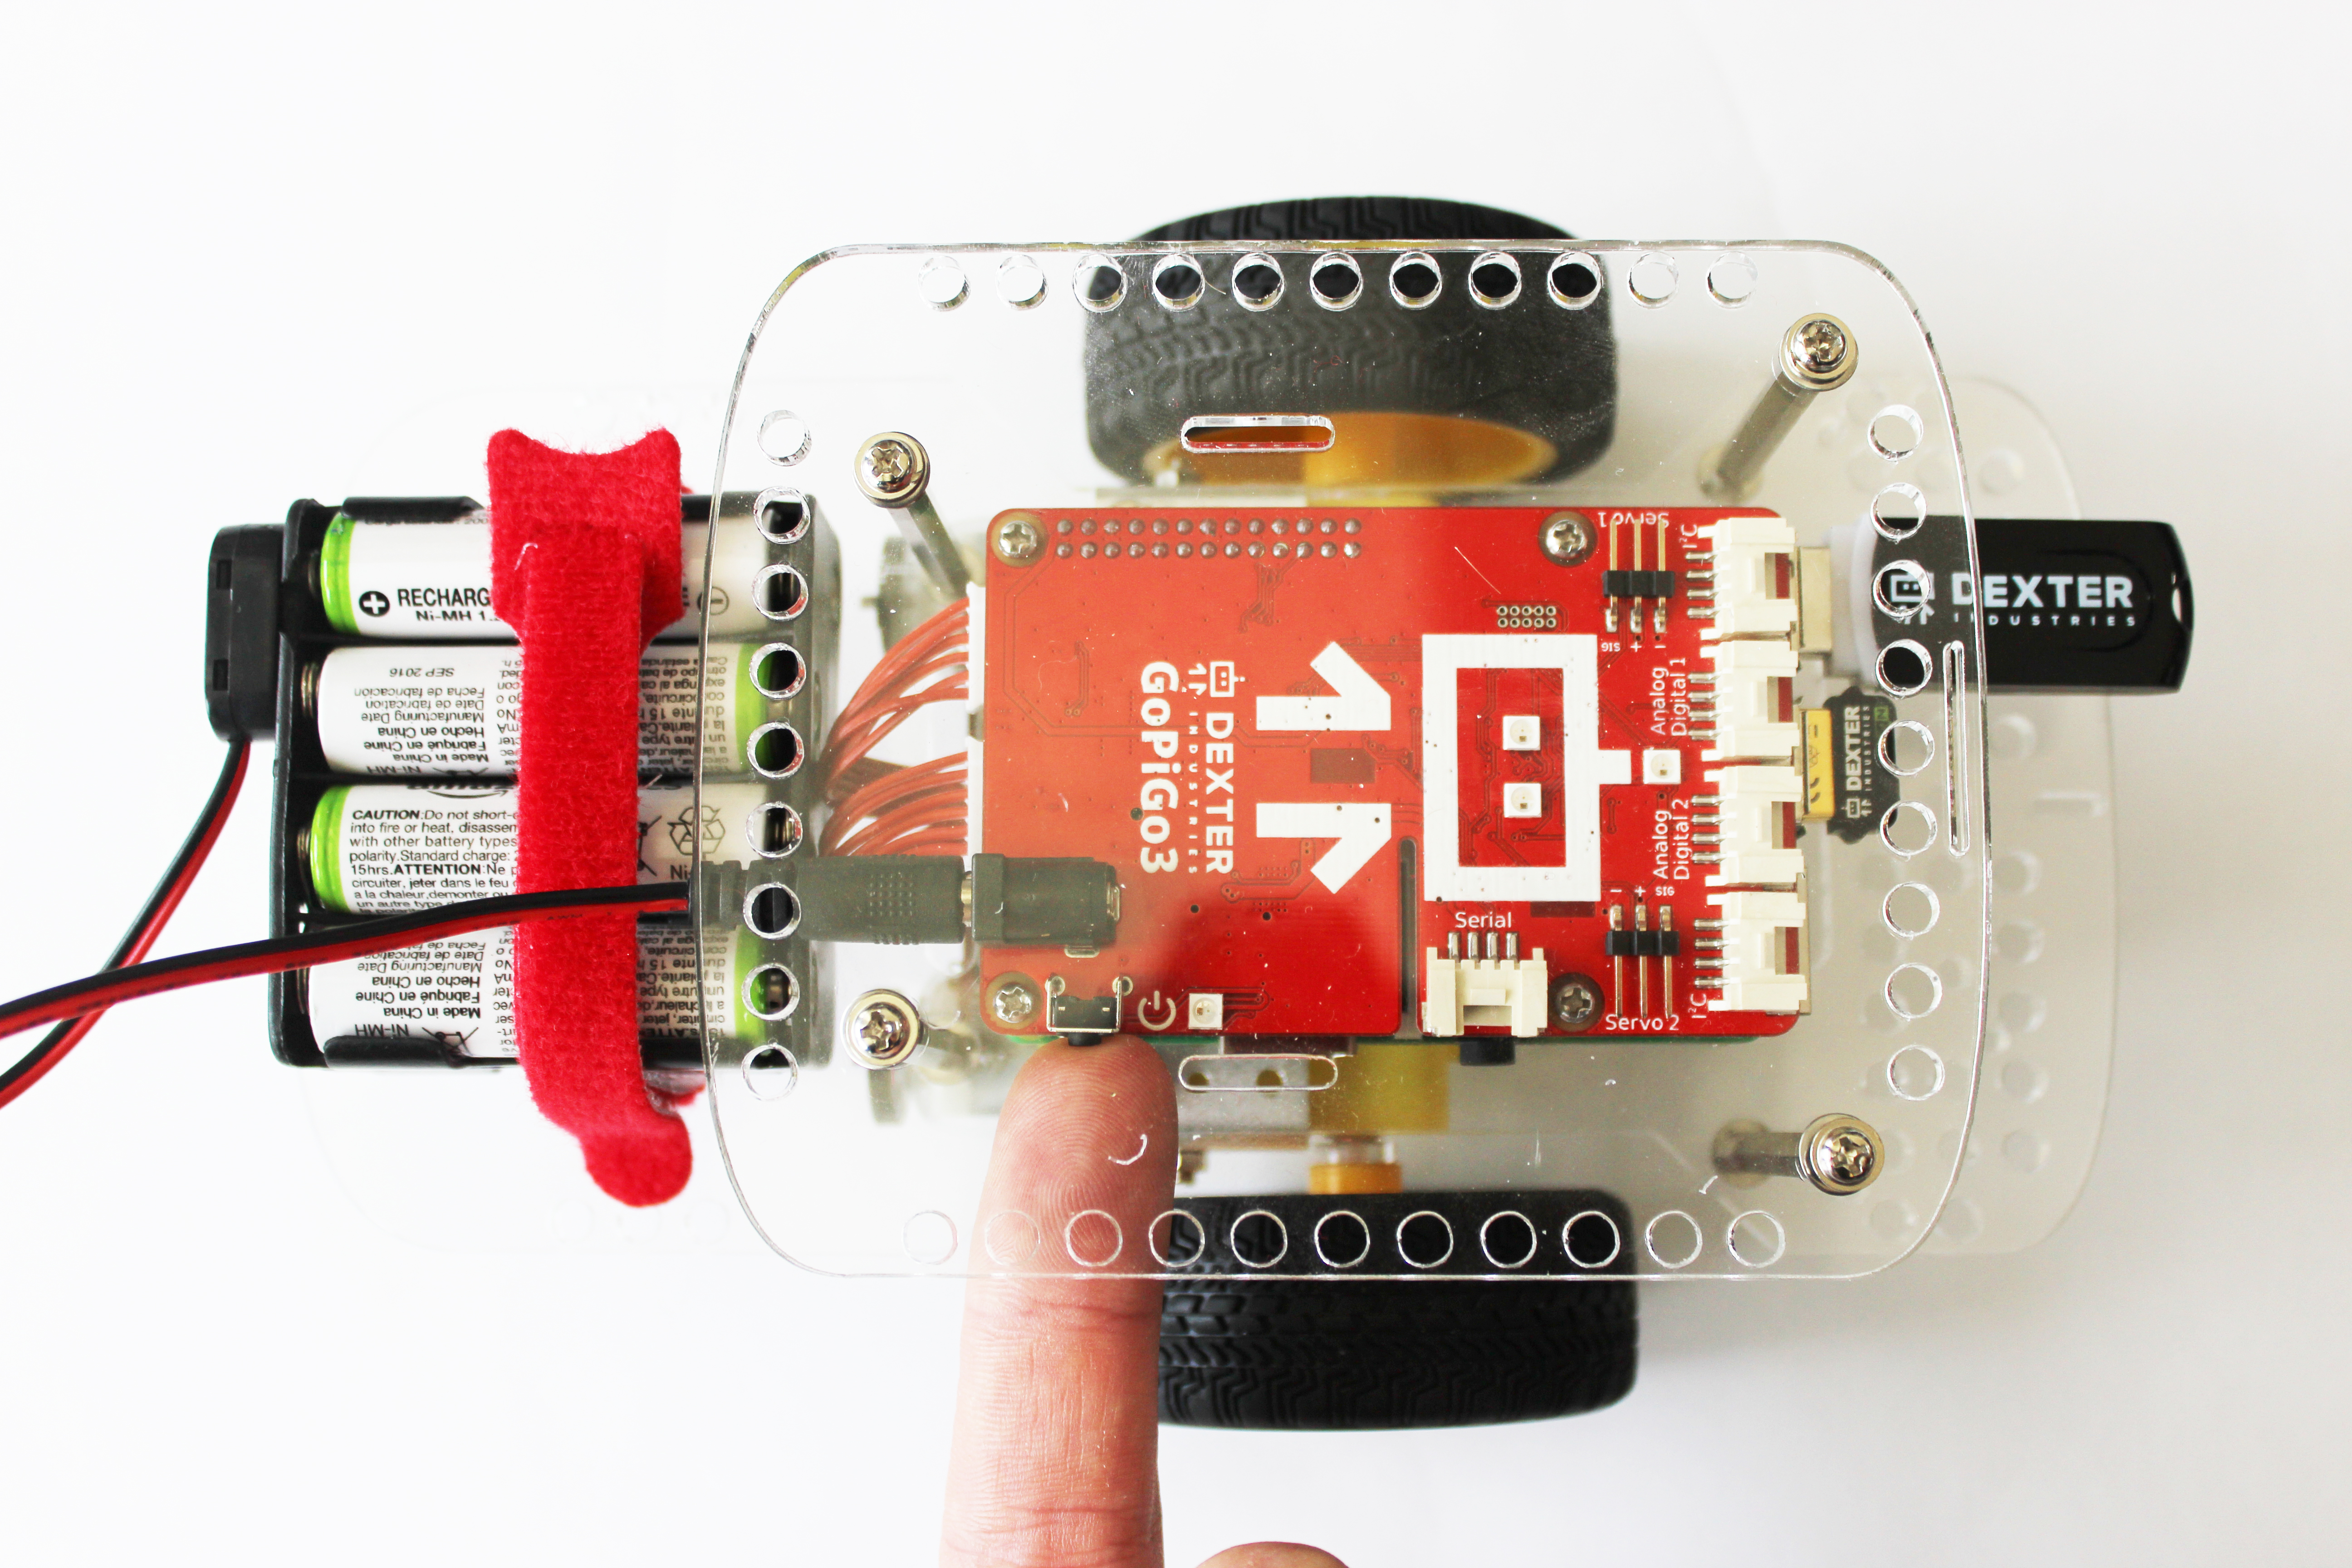
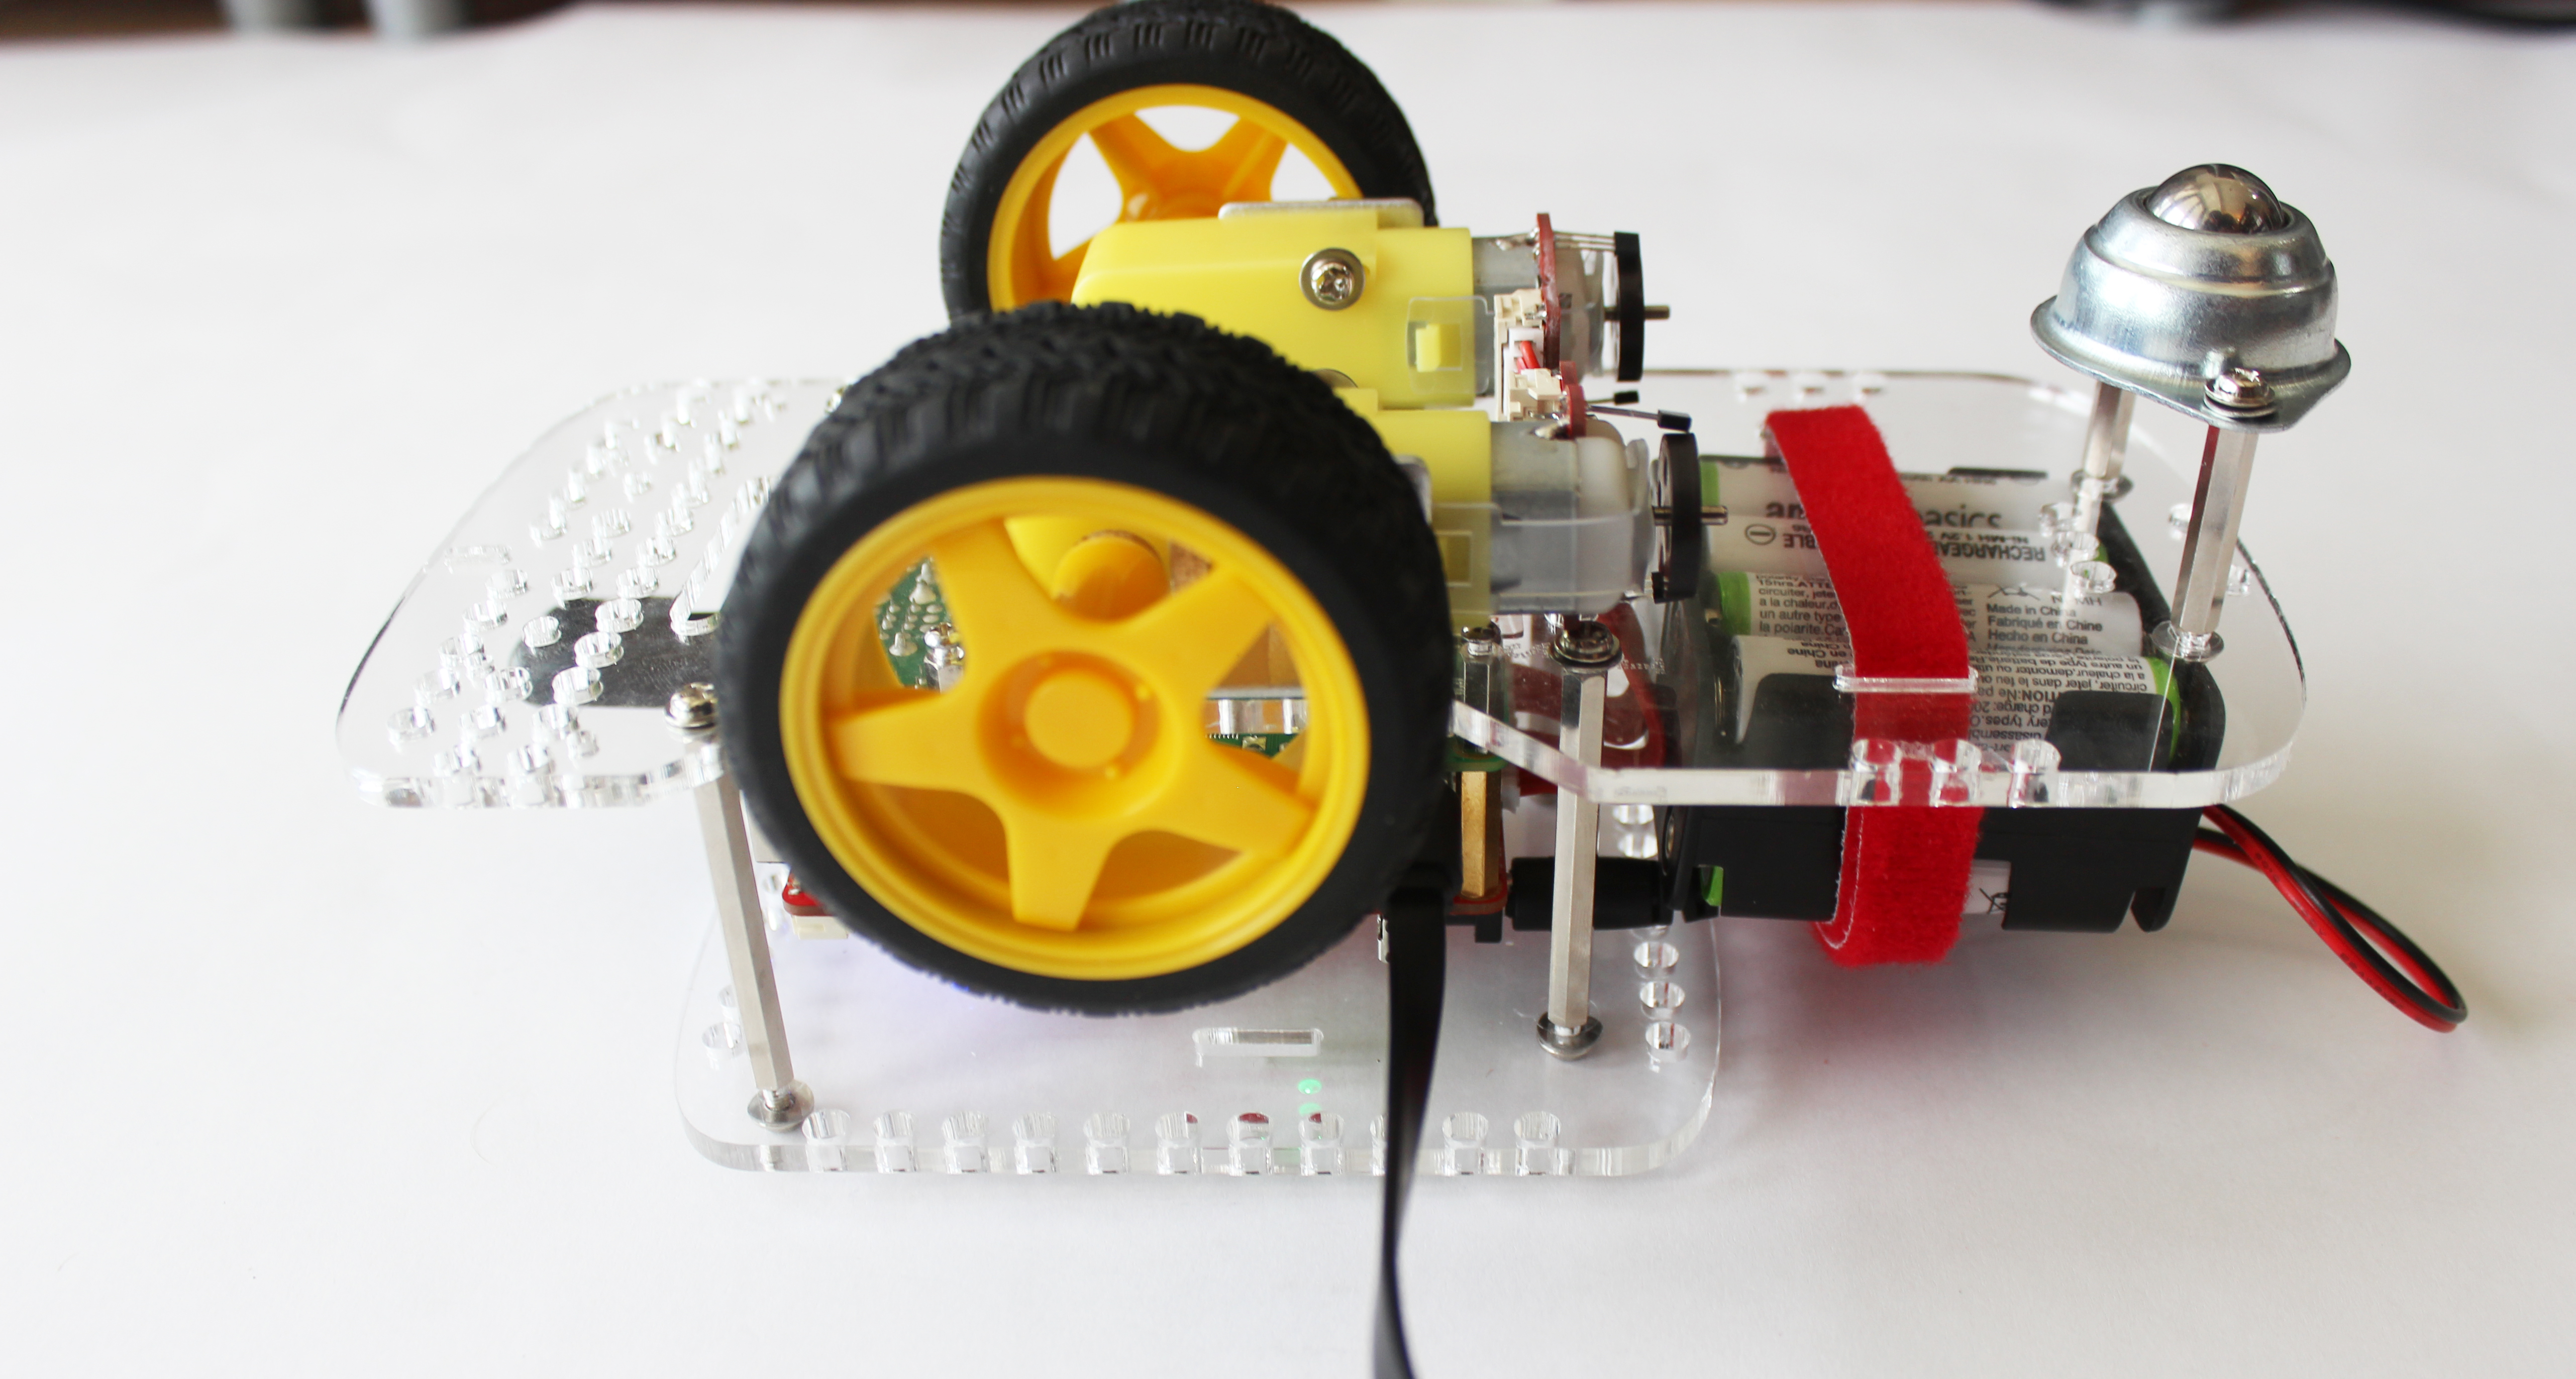
- Press the power button located on the GoPiGo (red board) located next to the battery cable jack.
- If you are using DexterOS: When the power button is pressed, the LED next to the button will blink green as the robot powers on, and will turn solid green when it is full booted up and ready to go. (for more details on how the power LED acts, see below, after the picture)
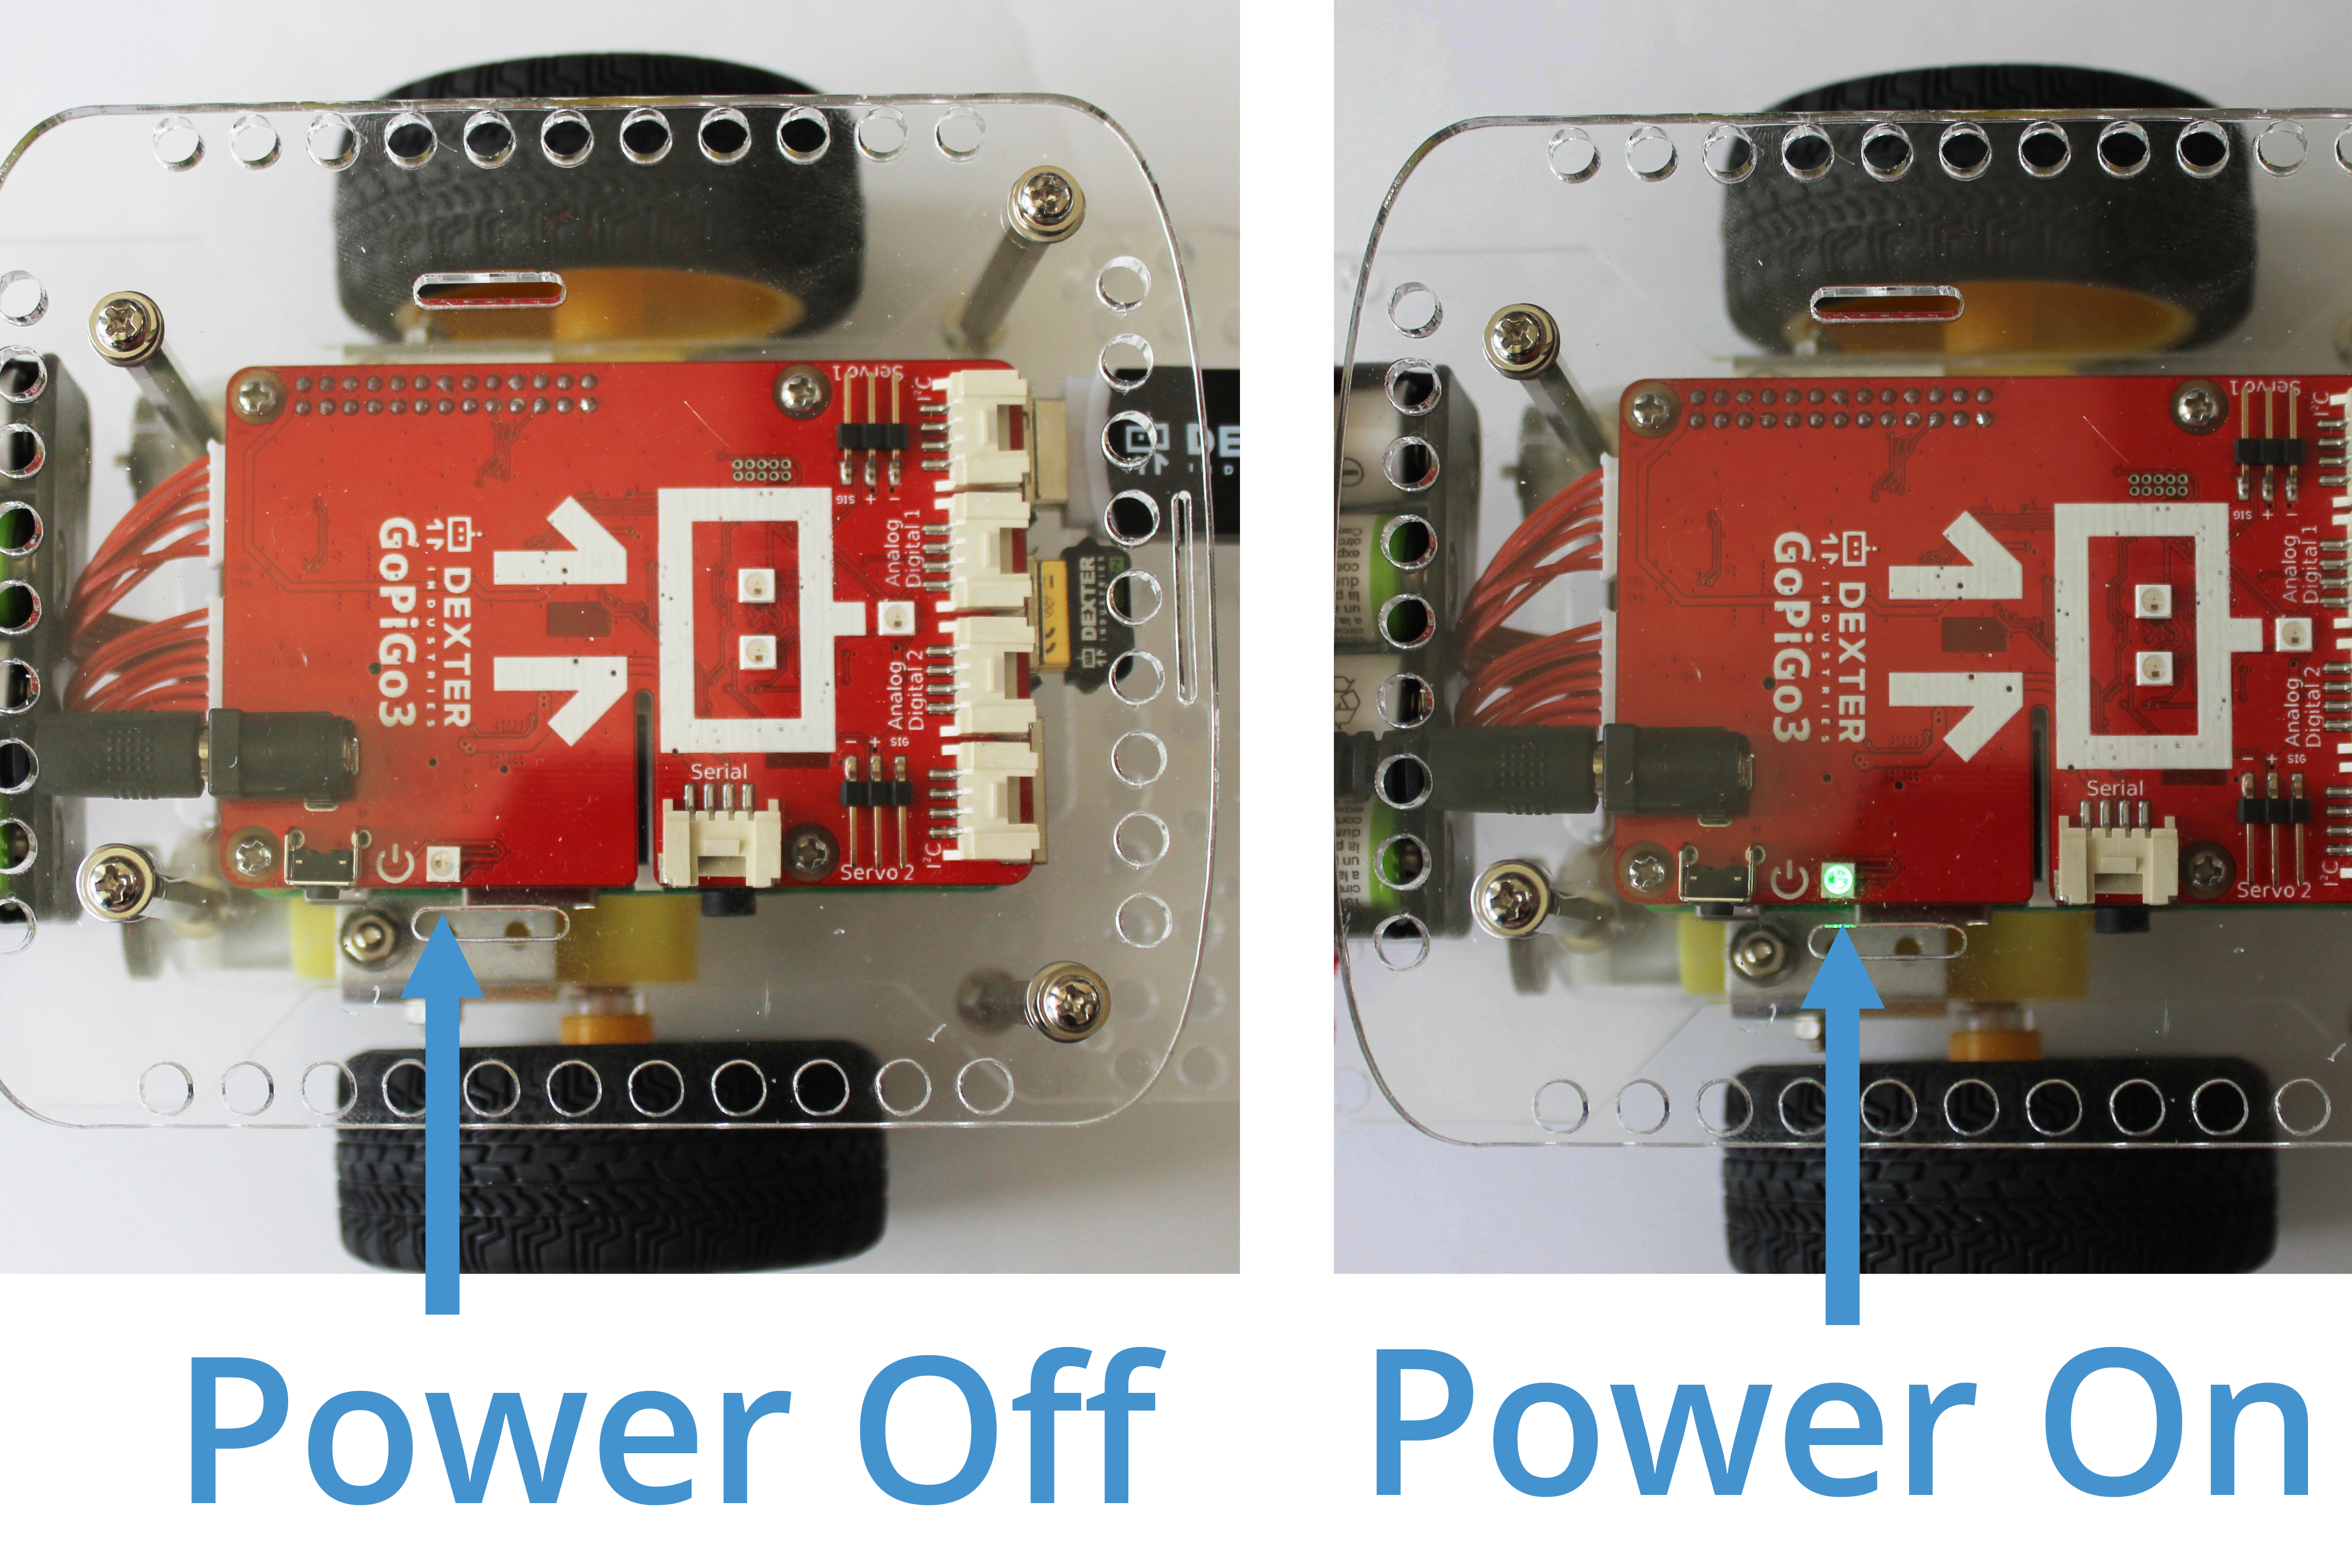
Power LED Details:
With batteries only (no USB):
- Off: Power LED is off.
- Turning on (pressed power button, but Raspberry Pi isn’t booted yet): GoPiGo power LED flashes (color indicates battery voltage).
- When GoPiGo is on (RPi is booted): Power LED solid (color indicates battery voltage).
- Turn GoPiGo off (pressed power button, but Raspberry Pi isn’t fully shut down): Power LED flashes red, then turns off when Raspberry Pi is shut down.
With USB power adapter directly to the Raspberry Pi (with or without batteries):
- Raspberry Pi booting up: GoPiGo power LED is flashes (color indicates battery voltage).
- Raspberry Pi already booted: GoPiGo power LED solid (color indicates battery voltage).
- GoPiGo power button was pressed and Raspberry Pi booted (turning off): Power LED flashes red.
- GoPiGo power button is pressed and Raspberry Pi is shut down: Power LED flashes purple (Raspberry Pi and GoPiGo both try to turn off power). Since the power is coming from USB, there’s no way to actually kill power (other than unplug the USB power).
Regarding the color that indicates battery voltage, it will be red (low voltage), yellow (moderate voltage), or green (good voltage).
Connect to Your Robot
Beginners: Connect using GoPiGo OS: If you’re using GoPiGo OS (or the older DexterOS), here are the directions on how to connect to your GoPiGo3.

Advanced: Connect using Raspbian for Robots If you’re using Raspbian for Robots, here’s how to setup and connect to your GoPiGo3.

Shut Down
You can shut down your robot by pressing the power button again. You will see the power LED begin to blink red and it will shut off.
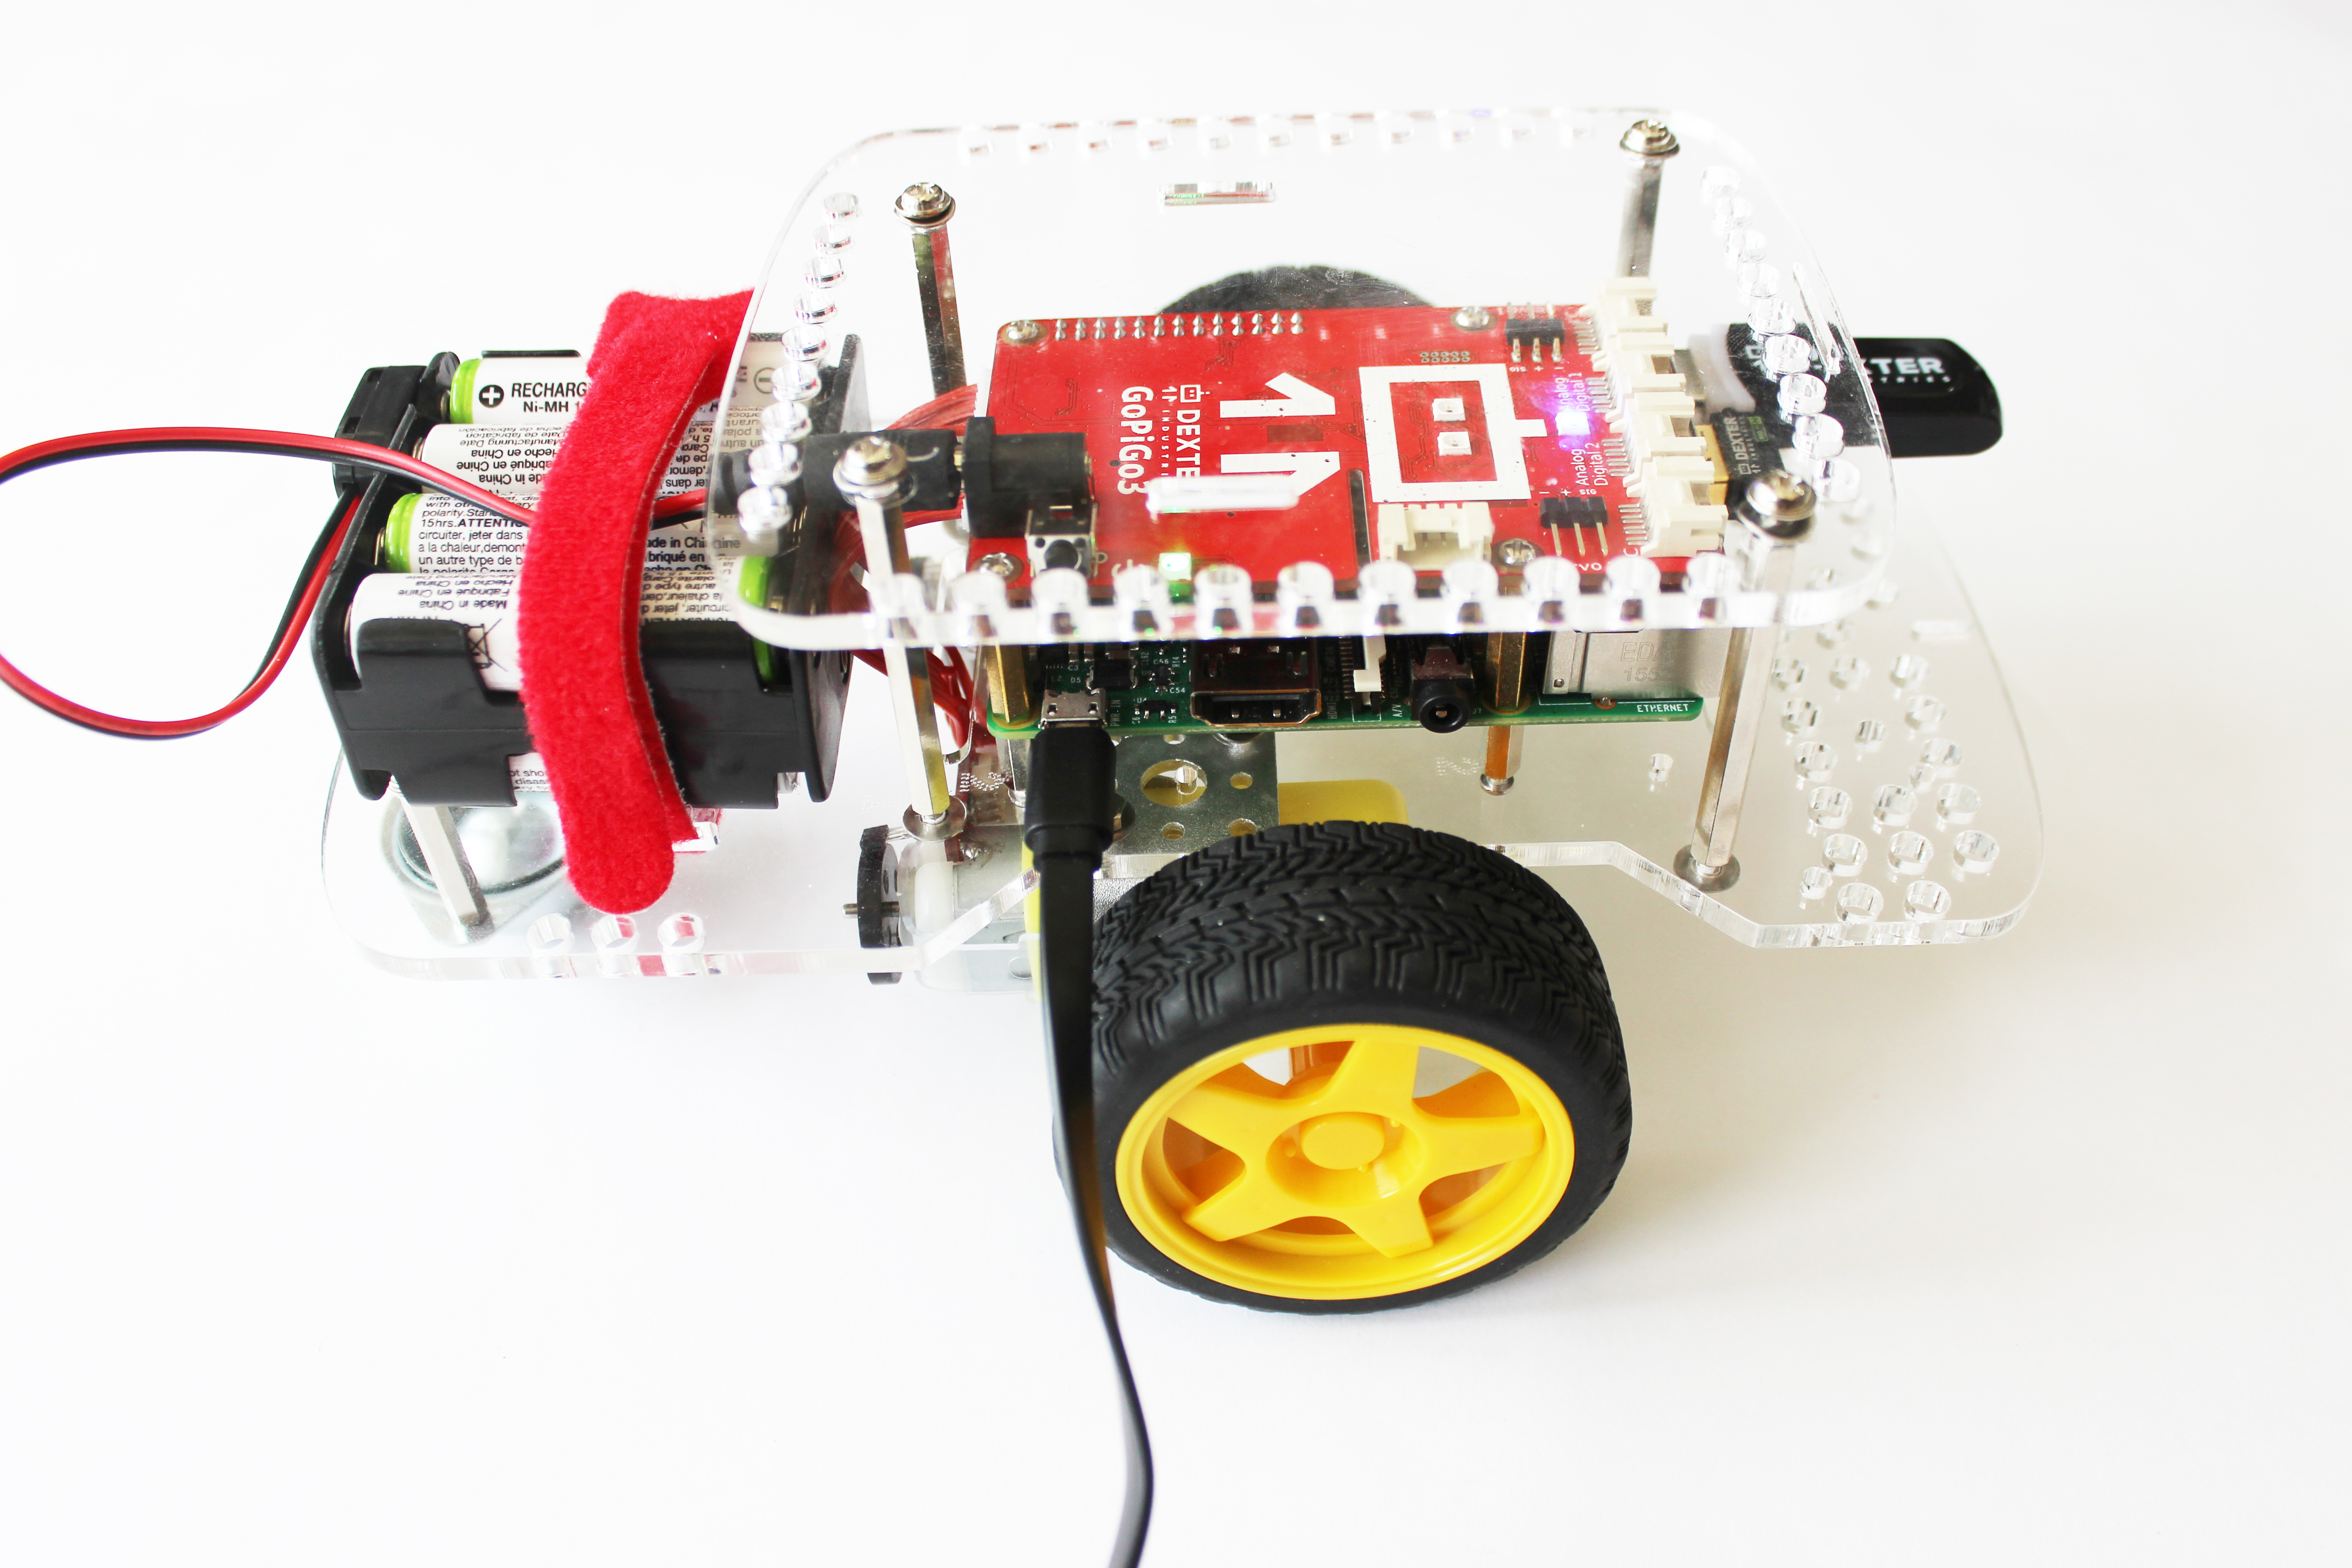
USB Power While Programming
When you aren’t driving the GoPiGo around, we recommend connecting the USB/wall power adapter to save your battery power. Flip the GoPiGo upside down on your desk while you are working on a new program, plug in the USB/wall adapter, and unplug your battery pack. Note: when the battery pack is unplugged, the motors will not run. This is a safety feature, so if you want to test a program, just plug back in the battery pack!
NOTE: The USB Wall Power Adapter does not charge the batteries.
Connected? Now Program!
Now with your GoPiGo3 assembled and connected, you are ready to move on to programming to your robot. Click here to learn how to connect to your robot.
Questions?
Need some help? Have a question or a suggestion? Contact us.