First, download a copy of the latest Raspbian for Robots image from Sourceforge here or Google Drive here.
On Sourceforge, click “Files” and you should see a screen like below.
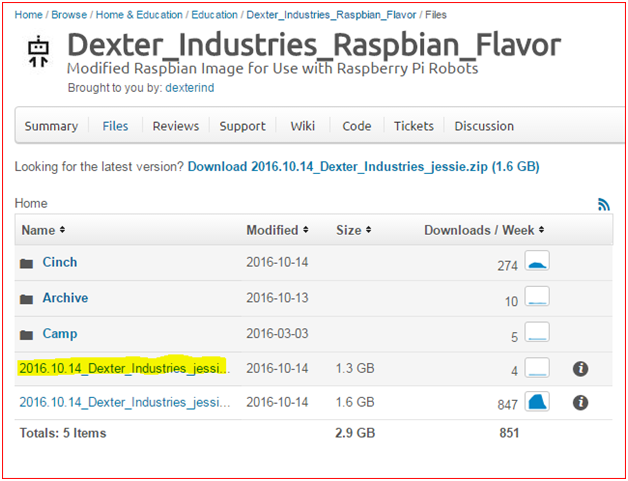
Files for download on Sourceforge.
Ubuntu users should download the latest ZIP compressed file. Files in this directory are arranged and named by date. Select the latest file, and hover your mouse over the file name. Choose the latest file that ends in “.zip”, click on it, and download the file.
After the file is downloaded, we need to uncompress it.
You can use the default Archive manager in Ubuntu or install the zip package using
sudo apt-get install zip unzip
To extract files using zip package from command line, navigate to the zip file location and type the following
sudo unzip <filename>
If you are using the default archive manager then right-click on the downloaded ZIP file -> Extract
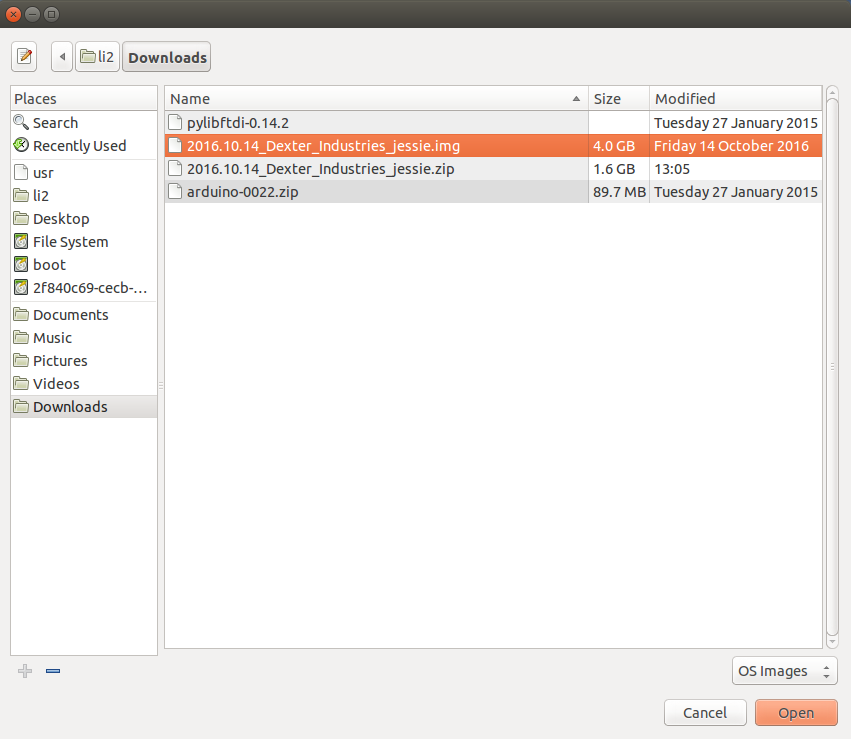
Then you will be able to see the extracted image
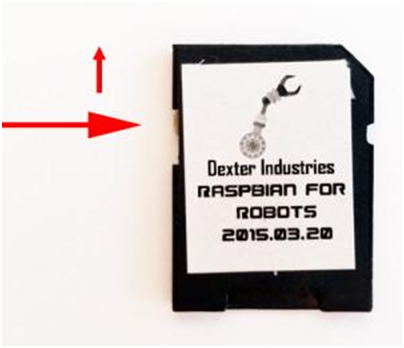
Next, make sure your SD Card adapter is unlocked.
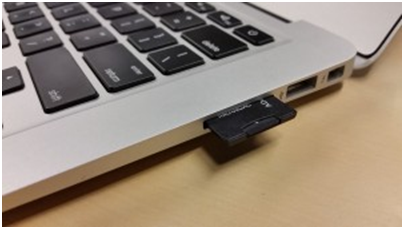
The SD Card inserted into the SD Card reader port.
Next, put the micro SD card into your micro SD card adapter. Put the SD card into your SD card reader. If your computer does not have an SD Card Reader, you may need to use a USB SD Card reader.
Next, we will install Etcher. Go to etcher.io in your web browser.
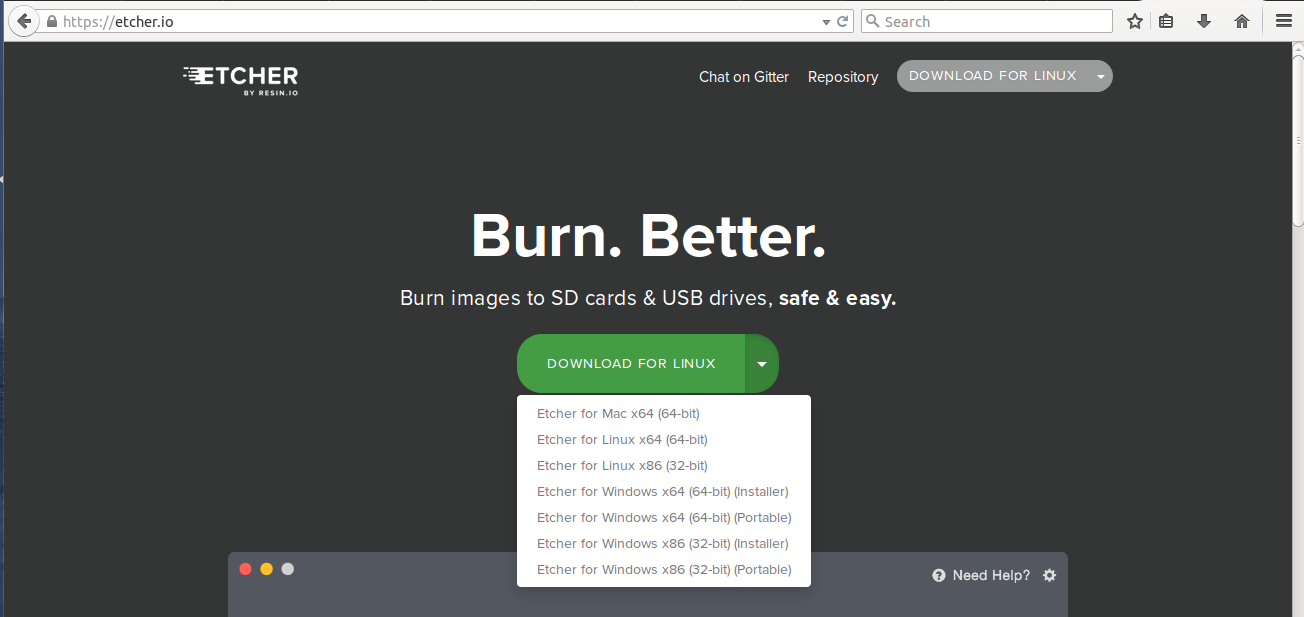
Select “Etcher for Linux” , on the big green button in the middle of the page and choose the option based on the system type (32 bit and 64 bit). This should begin your download. Once the download is complete, right click on the “.zip” file and click extract.
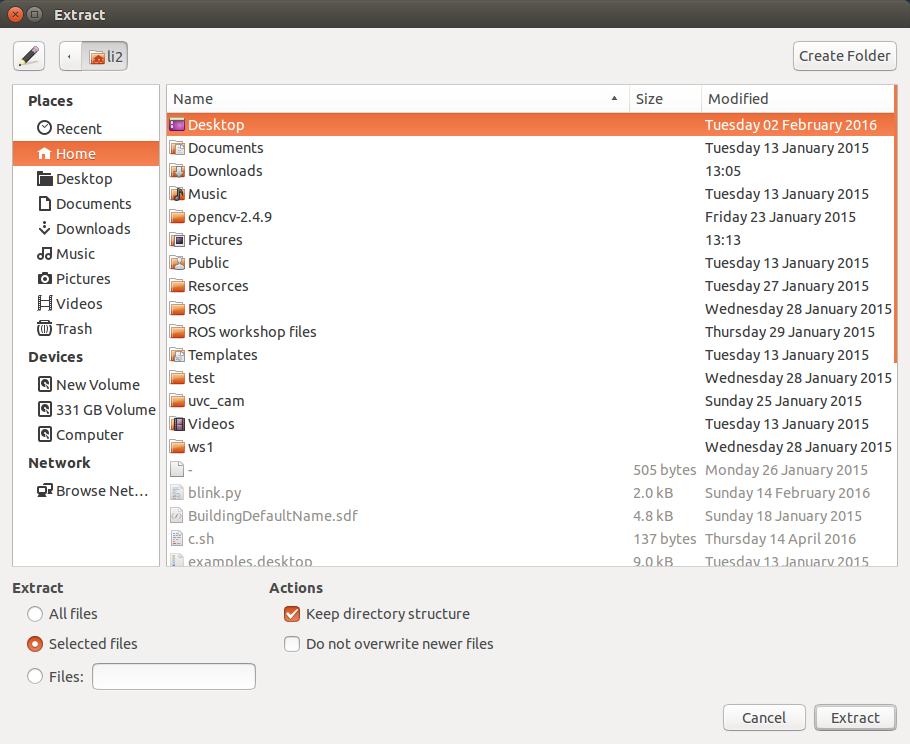
Choose the location and click Extract and you can see this window after extracting.
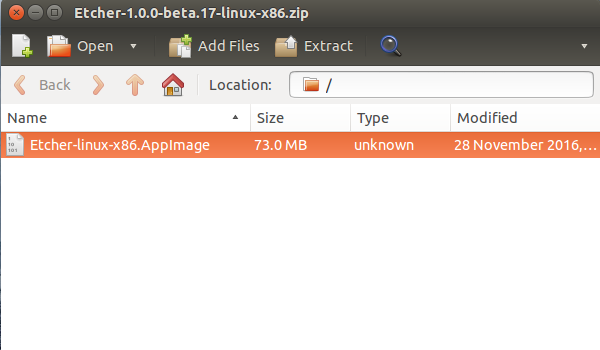
Open the Terminal by pressing Ctrl+Alt+T and navigate to the location where you have extracted the Etcher application and type the following to run the Etcher Application.
![]()
The main Etcher program should appear.
Now, find the unzipped “.img” file we uncompressed earlier. Drag this file over to the blue “Select Image” button on the Etcher program. You can also click the blue “Select Image” button and find the “.img” file on your file directory.
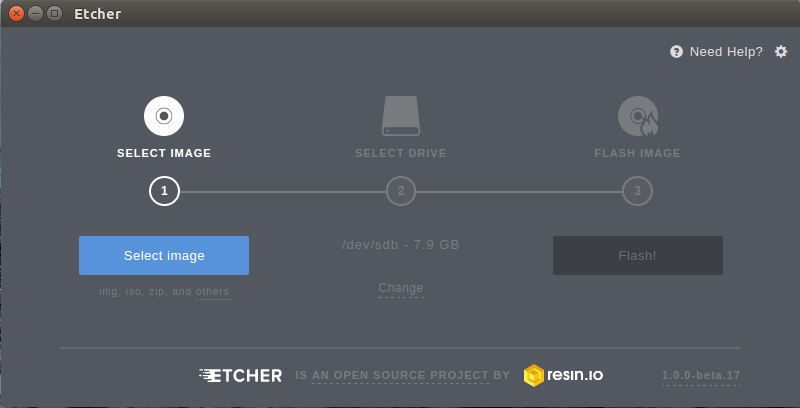
If you haven’t inserted your SD card at this point, please do. You should find the information about your SD Card location under “Select Drive”.If you don’t then click “Change” and choose your SD Card and click “Continue”.
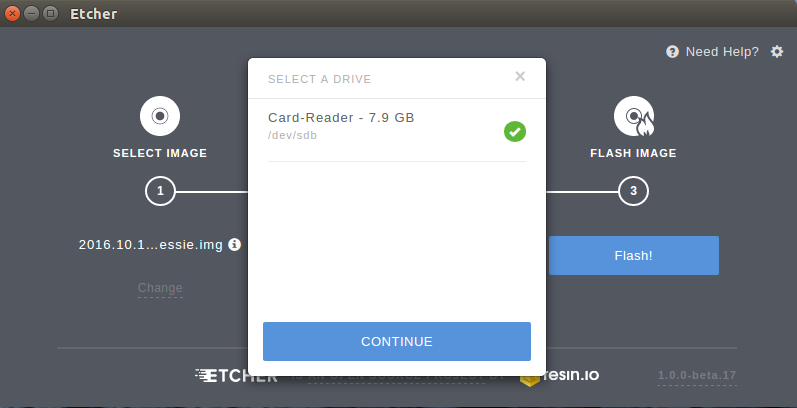
Note a few things on Step 2 at this point. First, the disk location is showing. In our case it is “/dev/sdb”. Your disk# might be different, depending on your computer. Also, our SD Card is 8.0 GB, yours may be a different size. If you see a number that is much larger than your SD Card, stop and seek help.
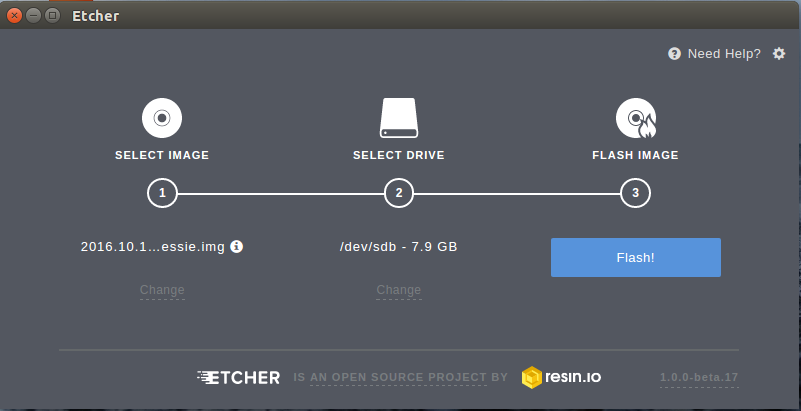
At this point, we’re ready to flash the image onto the SD card. Press the blue “Flash!” button.
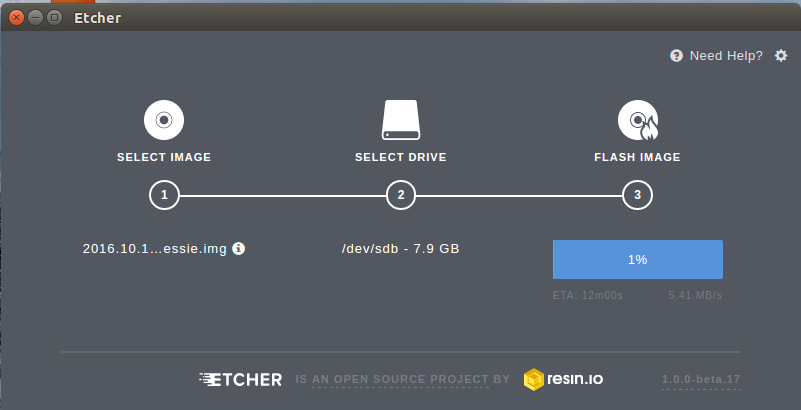
After a few seconds, you should see progress. Note in the picture below the image has 1% written, and the speed is shown below the blue button. Depending on the SD card you are using and your computer, flashing the image may take some time.
After the image is flashed, the Etcher software will check to make sure it is properly written to the SD card (this is called Validating).
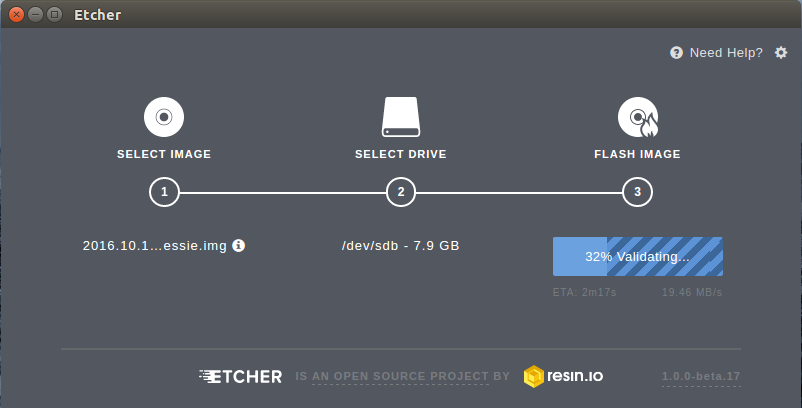
The validation process should be much quicker than writing to the SD Card. You will see progress in the Validating progress bar.
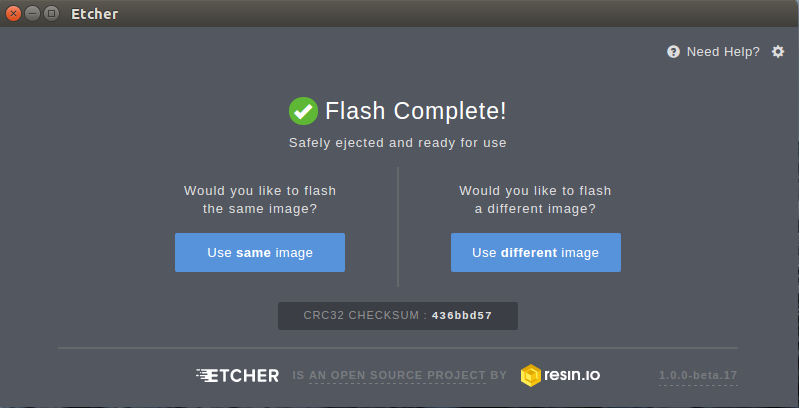
Finally the entire process should be complete. You will see a screen that looks like the following with “Flash Complete!” at the top.
Remove the SD Card from your computer, place it into your Raspberry Pi, and you can begin using the new SD Card.