Since we first got the Raspberry Pi, we have wanted to make a robot out of it. There aren’t many kits out there yet that let you do that (yet). This HowTo Raspberry Pi Project shows you how we hacked together a motor controller from the Raspberry Pi and used it to control LEGO MINDSTORMS Motors.
The LEGO MINDSTORMS system comes with 3 motors that are run at 9V. The LEGO MINDSTORMS motors run by applying 9V power to the White or Black wires in the Mindstorms jack. If you apply 9V to the black wire, the motor moves in one direction. If you apply 9V to the white wire, the motor moves in the opposite direction. And thus you’re able to get the motor to turn, depending on the voltage put across either of the the two wires.
Hardware
 Because the Raspberry Pi can’t control 9V, and is not designed to control the kind of amperage the motors can consume (up to 1 Amp per motor), we needed a switching device that could do that for us. Enter the SN754410NE from Texas Instruments (datasheet). This quadruple H-bridge can control up to 1 amp. Furthermore, because it’s an H-bridge rated for 9V, we can use the Raspberry Pi to control the logic.
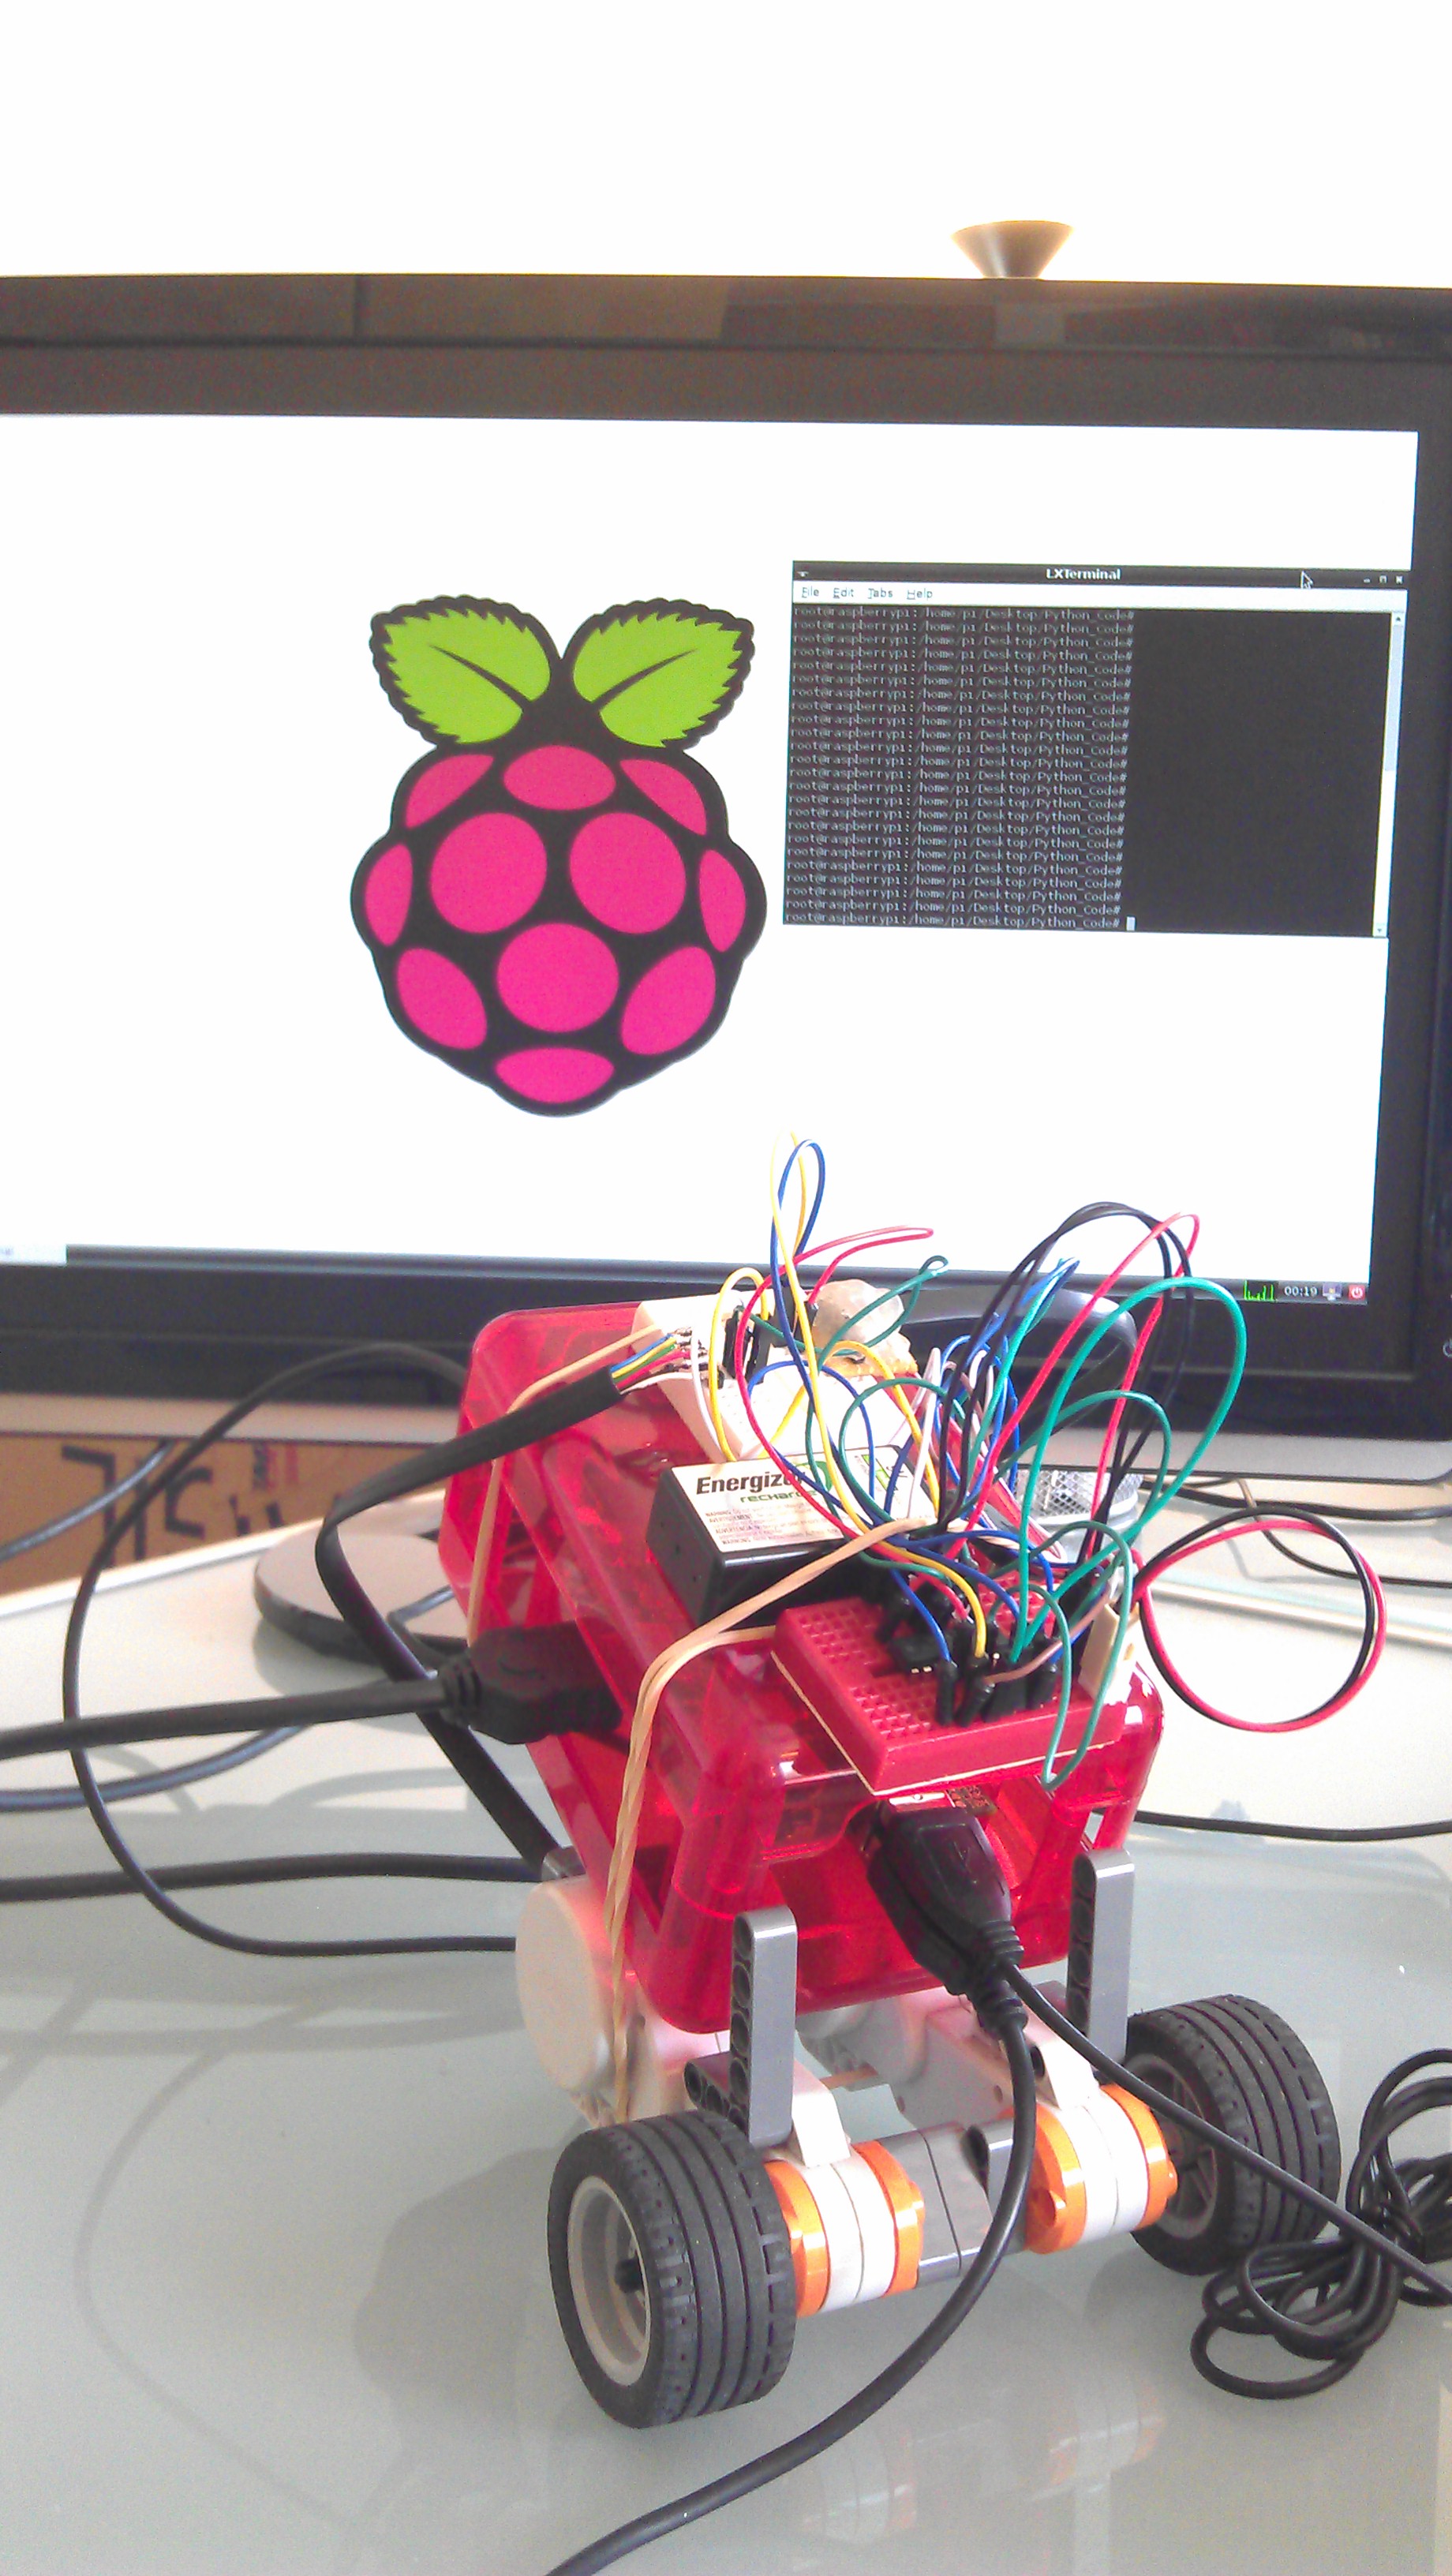
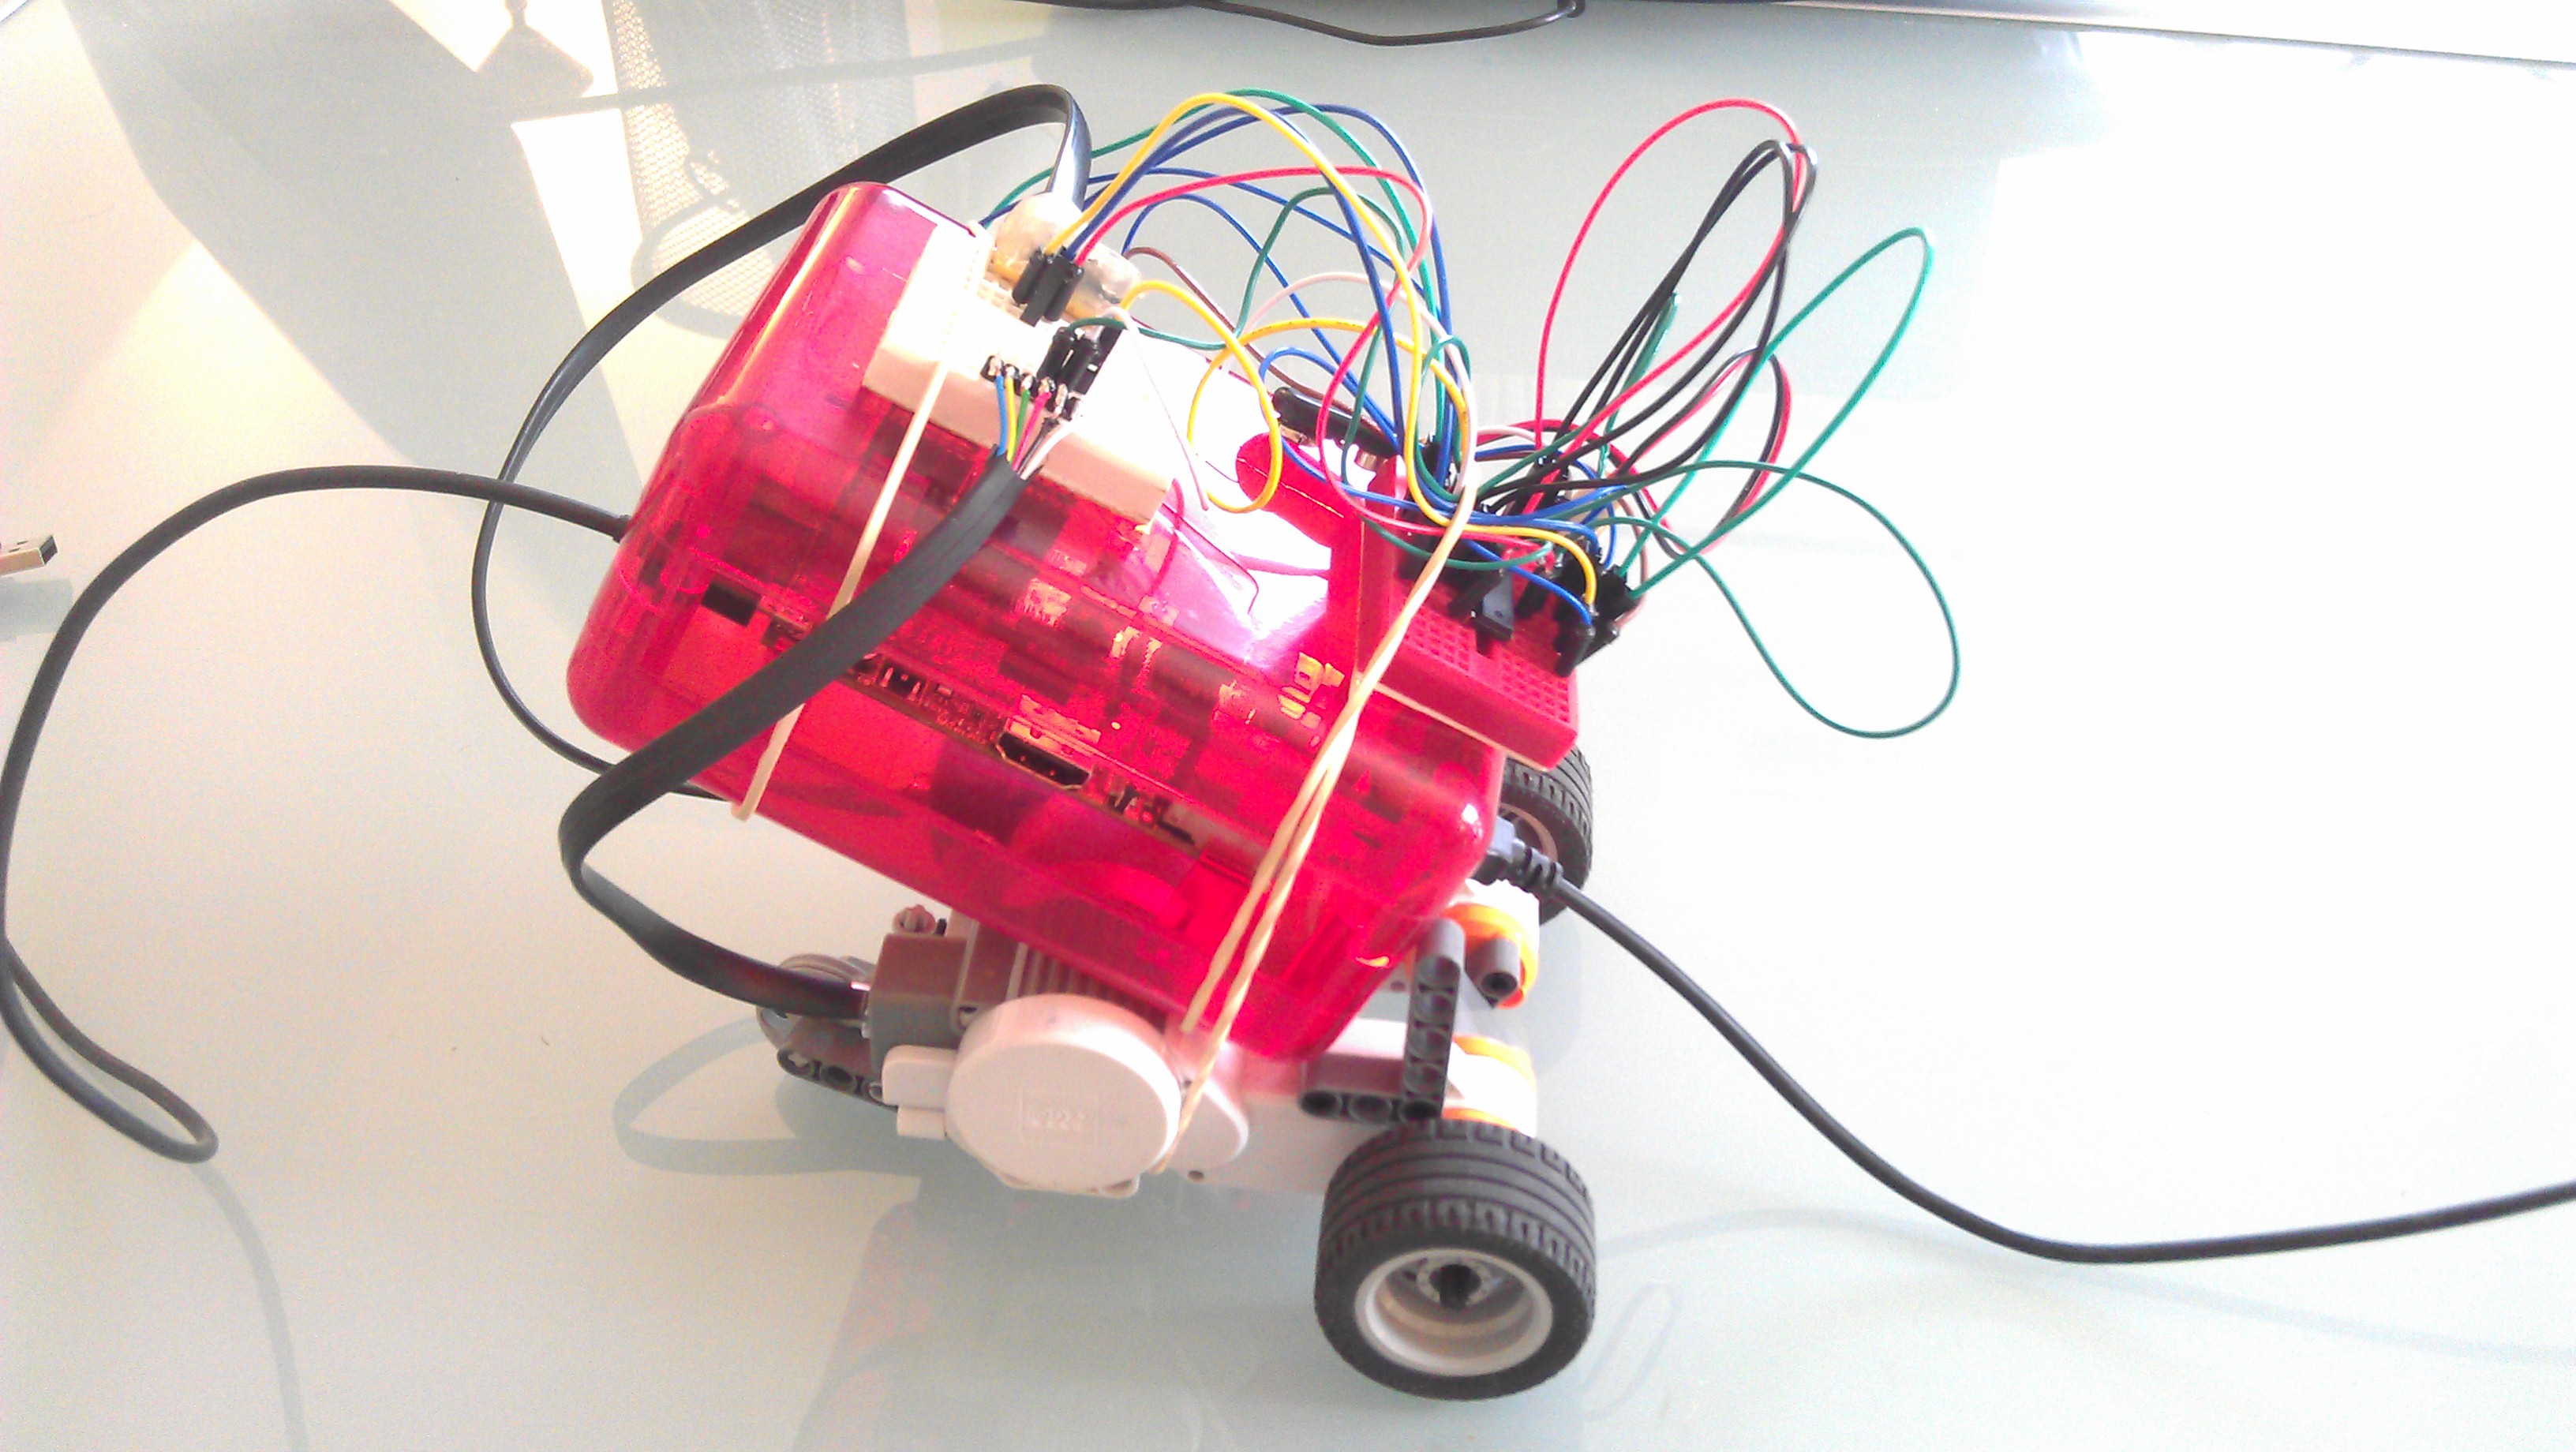
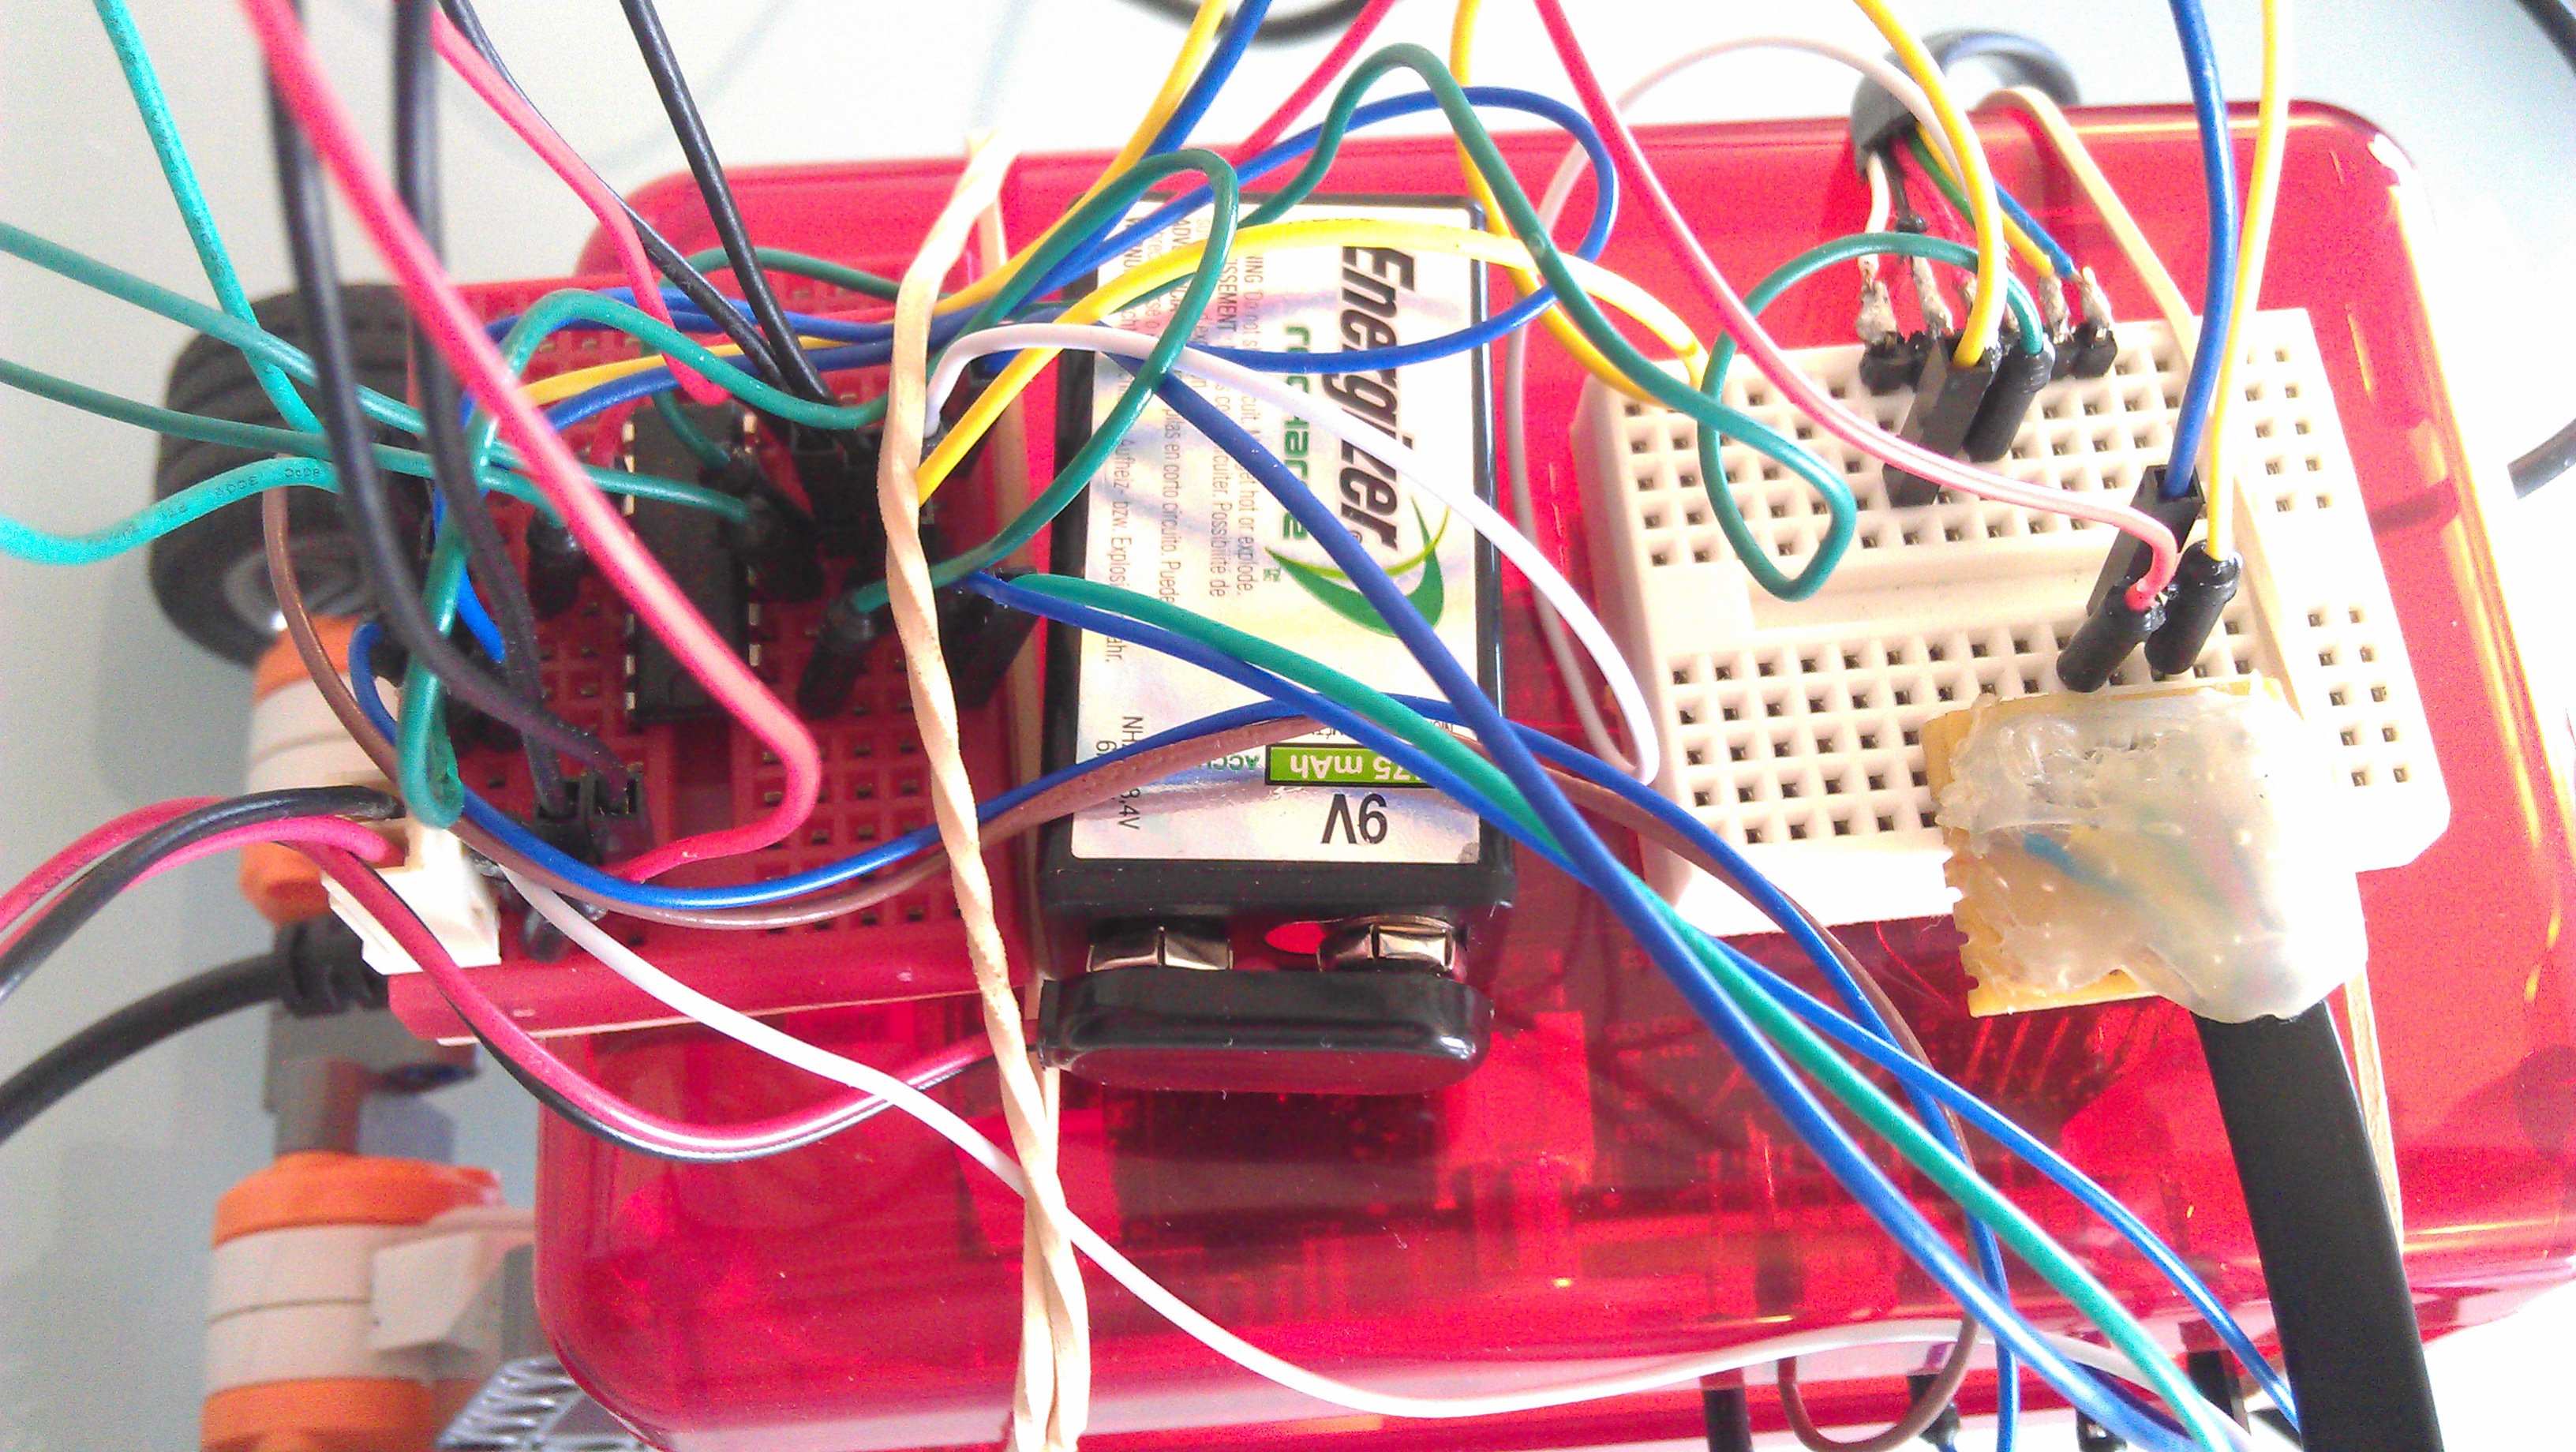
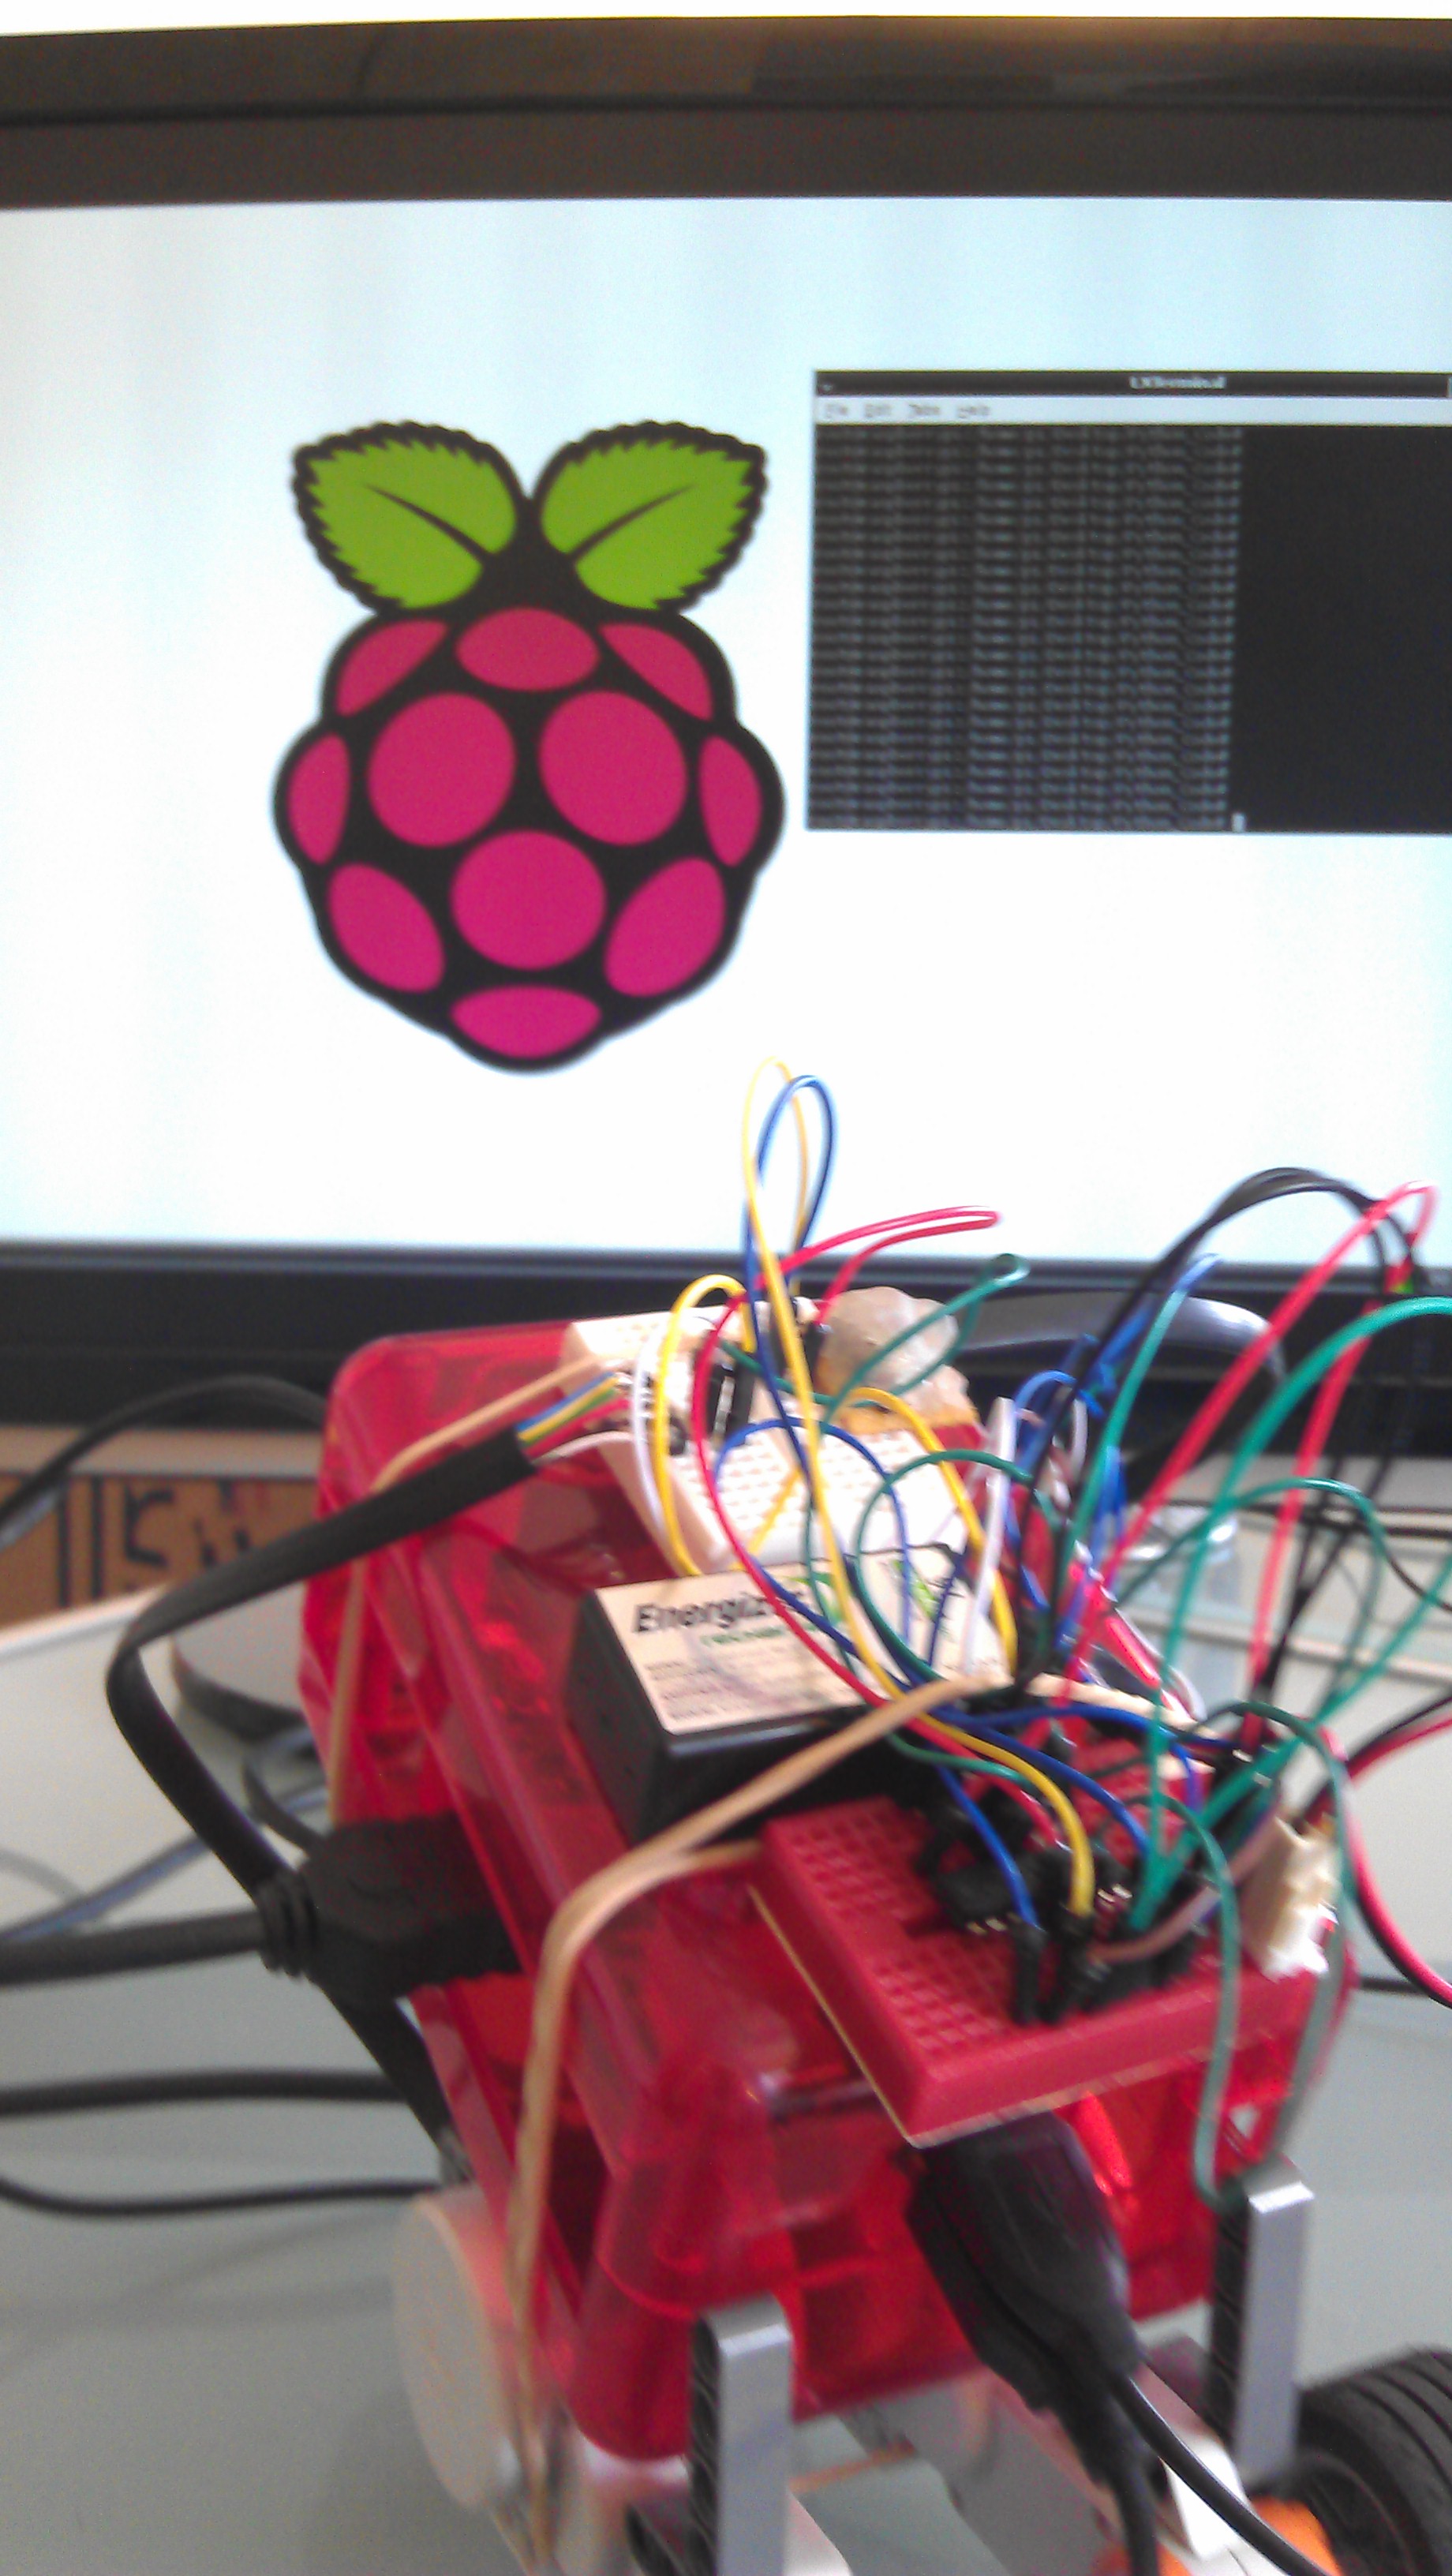
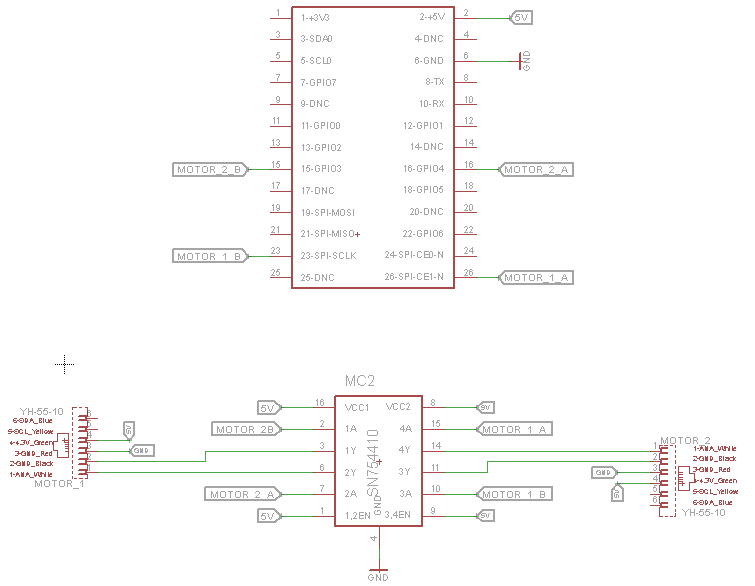 We used a 9V battery and the SN754410NE and a rats-nest of jumpers to get this thing working. Below are some pictures, and to the right you can click on the full circuit diagram. You can also download an Eagle File here.
We used a Pi case from Element14 to cover up the Raspberry Pi and built the chassis out of LEGOs.
 Finally, we wrote some simple Python code for controlling the motors. As the Raspberry Pi gets a motor command, it rolls forward, backward, turns, and veers. Because we tested this on a desk, and we didn’t have a very long cable to power up the Pi with, we kept the motions short: when a command is sent, the wheels spin a few turns, and then stop.
The Code:
*Note because this uses the GPIO import, you will need to run it in Root Terminal.
[sourcecode language=”python”] import RPi.GPIO as GPIOimport time
def setup_pin():
#GPIO.setmode(GPIO.BCM) # Use Raspberry Pi Board Pin Numbers
GPIO.cleanup()
GPIO.setmode(GPIO.BOARD) # Use Raspberry Pi Board Pin Numbers
GPIO.setup(16, GPIO.OUT) # Setup Motor 2.
GPIO.setup(15, GPIO.OUT) # Setup Motor 2.
GPIO.setup(23, GPIO.OUT) # Setup Motor 1.
GPIO.setup(26, GPIO.OUT) # Setup Motor 1.
# GPIO 0 is also connected to ANA on the NXT Breadboard Adapter
# GPIOS Available: 22, 21, 11, 7,
# GPIOS Unavailable: 0,1,4,17, 10, 9, 8
def motor_1_fwd():
GPIO.output(16, GPIO.LOW)
time.sleep(0.01)
GPIO.output(15, GPIO.HIGH)
time.sleep(0.01)
def motor_1_rev():
GPIO.output(15, GPIO.LOW)
time.sleep(0.01)
GPIO.output(16, GPIO.HIGH)
time.sleep(0.01)
def motor_2_fwd():
GPIO.output(23, GPIO.LOW)
time.sleep(0.01)
GPIO.output(26, GPIO.HIGH)
time.sleep(0.01)
def motor_2_rev():
GPIO.output(26, GPIO.LOW)
time.sleep(0.01)
GPIO.output(23, GPIO.HIGH)
time.sleep(0.01)
def motor_1_stop():
GPIO.output(15, GPIO.LOW)
time.sleep(0.01)
GPIO.output(16, GPIO.LOW)
time.sleep(0.01)
def motor_2_stop():
GPIO.output(26, GPIO.LOW)
time.sleep(0.01)
GPIO.output(23, GPIO.LOW)
time.sleep(0.01)
def keyboard_input():
try:
mode=int(raw_input(‘Input:’))
except ValueError:
print “Use the Keyboard!”
return mode
def main():
setup_pin()
time.sleep(1) # Sleep 1 second
motor_1_stop()
motor_2_stop()
while True:
input_variable = input(‘Direction?’)
if input_variable == 8:
motor_1_fwd()
motor_2_fwd()
elif input_variable == 2: #Backwards
motor_1_rev()
motor_2_rev()
elif input_variable == 4: #Left
motor_1_fwd()
motor_2_rev()
elif input_variable == 6: #Right
motor_1_rev()
motor_2_fwd()
elif input_variable == 5: #Stop
motor_1_stop()
motor_2_stop()
elif input_variable == 7: #Bear Left
motor_1_fwd()
motor_2_stop()
elif input_variable == 9: #Bear Right
motor_1_stop()
motor_2_fwd()
else:
motor_1_stop()
motor_2_stop()
time.sleep(0.5)
motor_1_stop()
motor_2_stop()
#if __name__==’__main__’:
main()
[/sourcecode]
Room for Improvement:
The most obvious room for imporvement here is to get some Pulse Width Modulation on the pins. Right now our robot simply sets the motor logic to high for the direction it wants to go in. By using PWM, we could vary the speed of the motors a bit.
We need a battery pack for this. We could clearly use a battery pack: our model is tethered to the computer and really can’t go very far.
We could use a bluetooth keyboard: for the same reason. Our model can’t wander further than a keyboard wire’s length from us.
Video
And we made a quick video recapping the LEGO robot with Raspberry Pi Brains.
Learn More!
If you liked this tutorial, consider purchasing the Breadboard Adapter for LEGO Mindstorms here.