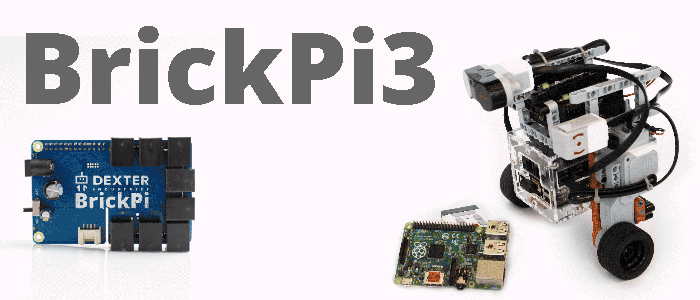
Getting Started
Welcome to the BrickPi3 Getting Started guide! We’ll walk you through getting it setup and started with these step-by-step instructions.
If you have the older, BrickPi+, please go here for those instructions.
We recommend you go through each step below, in the following order:
- Assembly: Insert the SD Card, Assemble the Case, Power Up!
- Connect to the BrickPi3
- Build your robot: Attach LEGO MINDSTORMS (NXT/EV3) sensors, motors & TECHNIC parts
- Program your Robot
- Troubleshoot the BrickPi3.
- Technical and Design Details for the BrickPi3

Programming
This section has information about programming the BrickPi. At this point, we assume you’ve gotten your BrickPi setup, built the case, and you’re ready to program the BrickPi to tell some sensors and motors what to do! If not, please start with the Getting Started guide above.
Choose one of the languages below:


How the BrickPi Works
- The Raspberry Pi (which is where you’re writing and executing these programs) sends orders to the BrickPi3. The BrickPi3 processes these orders, and sends commands to the motors and sensors, and sends back information to the Raspberry Pi.
Projects
Here are a few projects for the BrickPi3!
BricKuber Project – A Raspberry Pi Rubiks Cube Solving Robot
The BricKuber is an open source Rubik’s cube solving robot you can build yourself. (Note: this project is still doable but needs updates)
BrickPi3 BalanceBot – A Segway With the Raspberry Pi