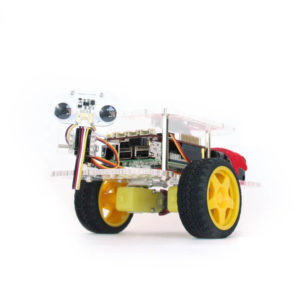
 As mentioned in the firmware section, the BrickPi is powered by Arduino. It is very close to the Arduino Uno and uses the Atmel Atmega 328 for the microcontroller.
(These are older instructions that use the AVRISP mkII. For more up-to-date instructions using our Arduino programmer, see our github repo here: https://github.com/DexterInd/BrickPi/tree/master/Firmware_BrickPi/Updating_the_Firmware)
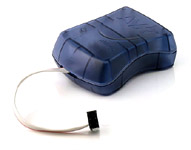
To keep things simple, we left off the USB communication for the Arduino and it must be programmed with the ISP programmer. We use the AVRISP mkII from Atmel.
The following steps should lead you to success:
- Download the latest firmware code from our GitHub repository.
- Open the file in Arduino and compile it (that’s the check-mark on the left side of the Arduino window).
- Find the .hex file that was compiled. According to the Arduino site: The .hex file is the final output of the compilation which is then uploaded to the board. During a “Verify” the .hex file is written to /tmp (on Mac and Linux) or Documents and Settings<USER>Local SettingsTemp (on Windows).
- You’ll want to use your favorite AVR programmer. We’re comfortable with Atmel Studio 6, but you can use the more lightweight avrdude or winavr.
- First, erase the chip. You can skip the next two steps if you know how to install an Arduino bootloader, or you can look at a much better tutorial here: https://www.sparkfun.com/tutorials/247
- Next, burn the fuses. The fuses should be set to:
- Low – 0xFF
- High – 0xDE
- Extended – 0x05
- Burn the Arduino bootloader. You must burn this first.
- Burn the hex file we compiled with Arduino.
- Finally burn the EEPROM files (two separate files) to each Arduino chip. You must burn two separate files: if the two files are the same, half of your sensors and motors will not work.