BrickPi3 Getting Started – Step 2 – Connect to the BrickPi with a Mac
If you’re using our CINCH SD card, please proceed to the CINCH setup instructions, here.
If you’re using the regular Raspbian for Robots SD card, please continue below.
1. First find your Network Preferences.
In the upper right hand corner of your screen, click on the wifi icon.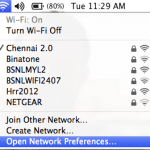
2. Setup your Ethernet Preferences
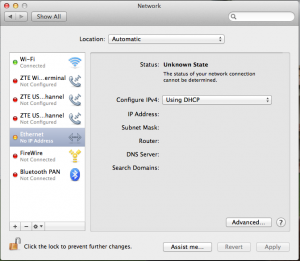
After clicking “Open Network Preferences”, select your Ethernet connection on the left hand side of the box. Check that you have “Using DHCP” selected for “Configure IPv4” option. And check that “Location” at the top of the dialog box has “Automatic” selected for your network configuration.
3. Setup the Hardware.
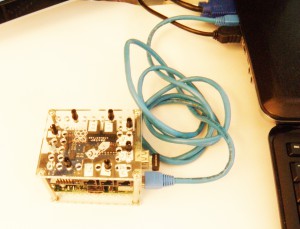
Plug one end of your ethernet cable into the ethernet port on the Raspberry Pi, and the other into your computer ethernet port. On your MacBook Air you may need and ethernet cable adapter.
Next, power the BrickPi3 up by attaching the battery pack or the wall power adapter — then turn the power switch on the BrickPi3 to “on”. You should see the “PWR” LED solid, and the “ACT” LED on the Raspberry Pi begin to blink (not solid). The lights on the ethernet port of the Raspberry Pi should turn on.
4. Test for Connection
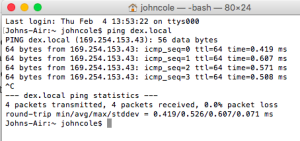
To test if your Pi is connected on the network open the Terminal program on your Mac and use the command line. If you don’t know where the Terminal program is, use the finder and type “Terminal”. The program is also located under Applications/Utilities in most Macs. In the command line type:
ping dex.local
(then hit enter)
If there is a response that keeps printing out numbers like above it means that you are connected to your robot! Stop this by pressing “ctrl-c”. Close out of Terminal.
If you do not get a response, please visit our forums for help connecting your Mac and BrickPi.
5. Connect to your BrickPi Using a Web Browser
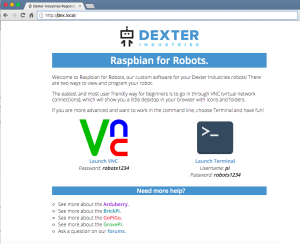
Open a web browser window (Chrome preferably). Go to http://dex.local (if you just type in dex.local, some browsers will search for dex.local. Be sure to type in “http://dex.local”, and be sure to include the “http://”). Tip: If this doesn’t work, go to “10.10.10.10:8001”.
Choose “VNC” by clicking on the icon that says VNC. You will be prompted for a password at the top of the screen. The password is “robots1234” + enter.
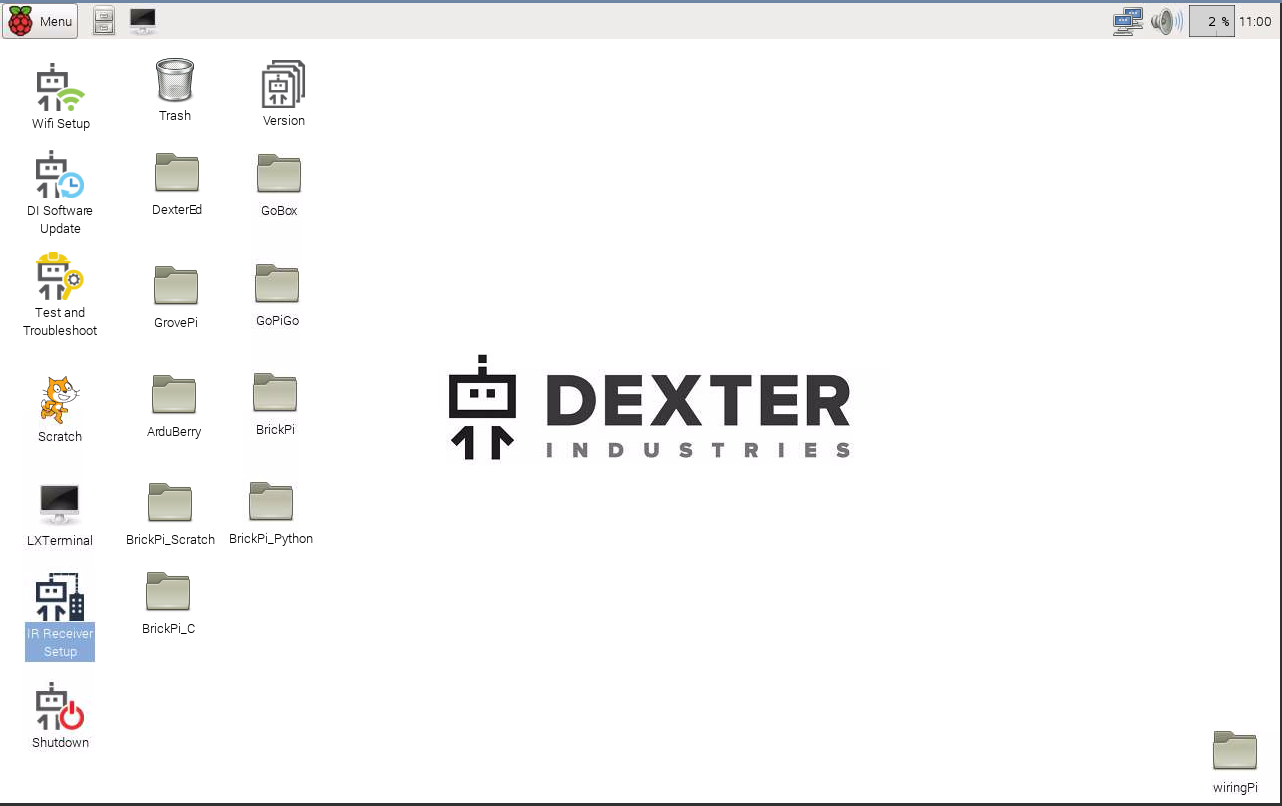
After logging in, you should see the Dexter Industries Desktop.
Now you’re ready to setup Wifi on your BrickPi!
Advanced Users
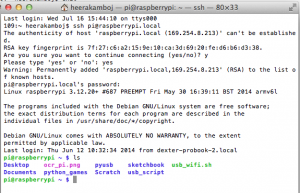
You can log into your Raspberry Pi using Bash on your Mac. Again, we’ll open up a new terminal: Press “Command Space”, which opens Spotlight. Type “Terminal” and the terminal will come to the top. Click on the terminal icon. In Bash, type
ssh pi@dex.local
You’ll be prompted to verify you’re trying to login to the Raspberry Pi. Type “yes” an press return. Type the password. The default password for the BrickPi image is “robots1234”. Type “robots1234” and press return.
Connect to your Raspberry Pi Using VNC
If you’re more comfortable working in the Raspberry Pi Desktop environment, you can use a program called VNC to login and run programs on the Raspberry Pi.
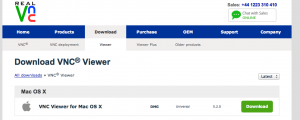
First, install VNC Viewer on your Mac. VNC Viewer is free. You can download VNC Viewer here.
Click download on the “VNC Viewer for Mac OS X”. You will be prompted for a name and e-mail address.
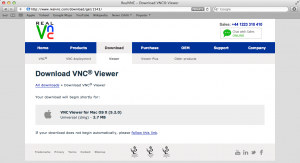
Agree to the terms and click “Download”.
Install VNC Viewer by double clicking on the downloaded file.
When VNC View opens, type the following into the VNC Server box:
dex.local:1
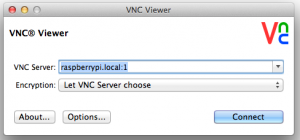
Disregard the “raspberrypi.local” unless you’re using a very old version of Raspbian for Robots. You should type “dex.local:1” in the VNC Server Line.
The colon and number 1 afterwards are important, don’t leave them out!
Click “Connect”
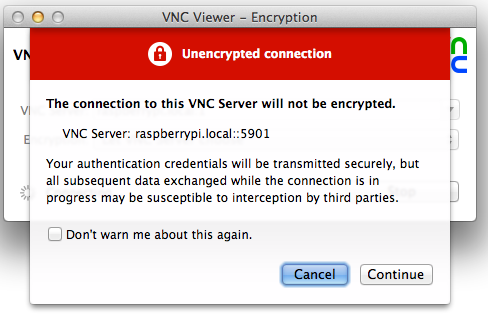
Finally, continue through VNC’s warning message about the un-encrypted connection.
When prompted for the password, the password is “robots1234” Congratulations! You’re in!


