BrickPi3 Getting Started – Step 2 – Connect to the BrickPi3 with a PC
(Looking to connect from a Mac? Look here!)
If you’re using our CINCH SD card, please proceed to the CINCH setup instructions, here.
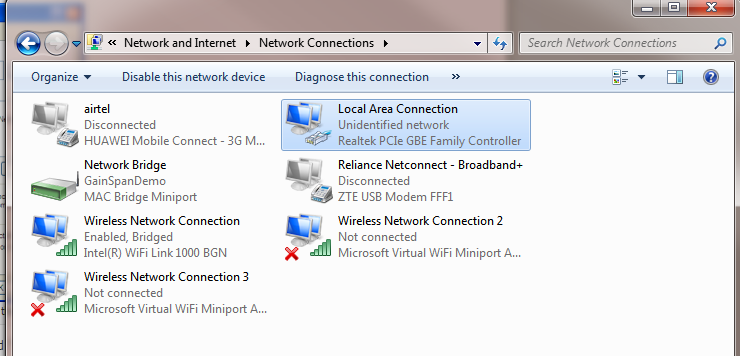
Windows: Set up your LAN Connection to Obtain IP address automatically.
- Find your “Network Sharing Center”.
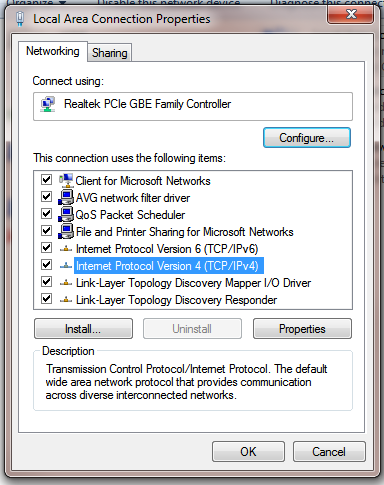
- Find the “Change Adapter Settings” –> Local Area Connection, click on “Properties”.
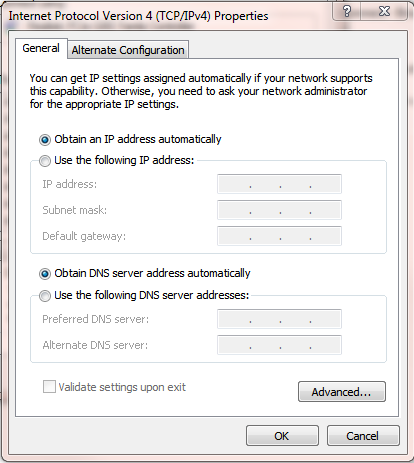
- Click on Internet Protocol Version 4 (TCP/IPv4). Make sure that you’ve selected “Obtain an IP address automatically”
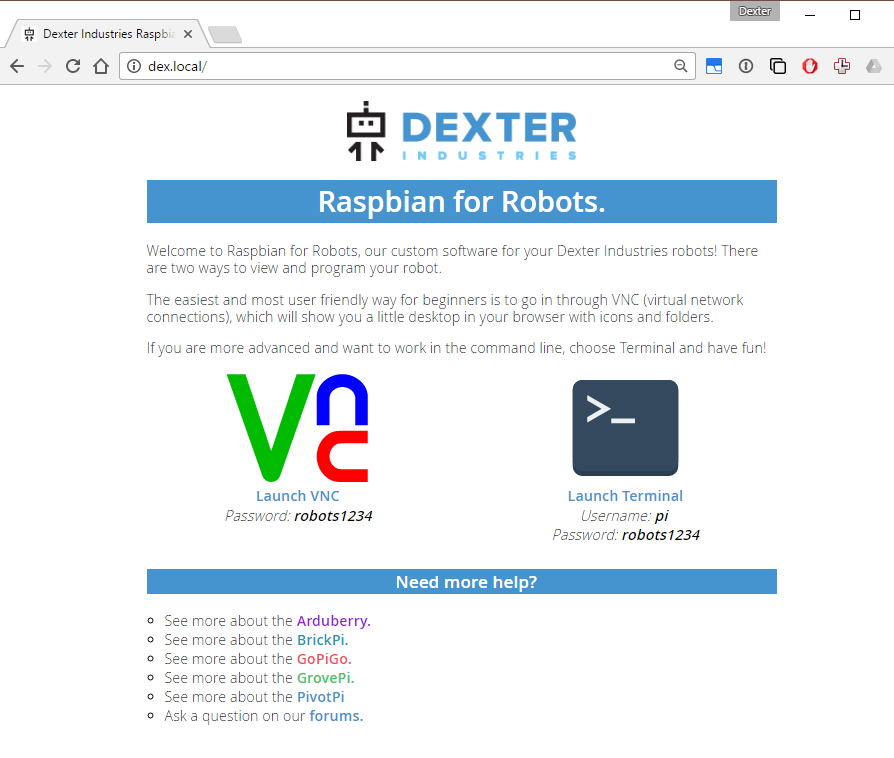
Now, we will connect to the robot!
Useful information:
Your Login name will be “pi”.
Your login password will be “robots1234”.
The hostname for the latest image is “dex.local” (or if nothing shows up, go to “10.10.10.10:8001”)
The latest SD Card software has everything you need and will allow the robot to show up on your network on the “dex.local” as your IP address. If you have the latest software, skip step 1 below.
- If you are using older software, Install Bonjour. If you have installed iTunes on your PC,(it already has Bonjour printer services installed) you can move on to step 2.
- Make sure your SD card is plugged in to the Raspberry Pi (green board). Now, plug one end of your ethernet cable into your Raspberry Pi, and the other into your computer ethernet card.
- Power the robot up. You can power it with an 8xAA battery pack connected to the BrickPi3, or you can use a USB power supply rated for at least 2A. Turn on the BrickPi3 power switch!
- You should see all of the lights flashing on the Raspberry Pi! The ACT light on the Pi should blink, and the power light should be on. If you are successfully connected to a PC, both of the lights on the ethernet port should be on or blinking.
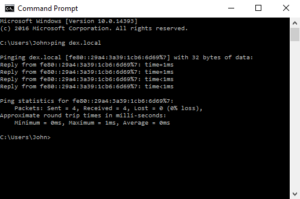
- Ping the Raspberry Pi. In the windows command prompt type “ping dex.local” You should see a response from the Raspberry Pi that looks similar to the image below.
- In the latest version of Raspbian for Robots, you should be able to to connect to both through your browser. Simply type “http://dex.local” into the browser on your PC. If you are connected, you should see the dex.local page. (If that doesn’t work, try “10.10.10.10:8001”) Click on the VNC icon for the desktop (on the left), or the terminal icon (on the right) to open up terminal. (If you are using an older version of the software, you should be able to connect to the IP via Putty or VNC)