Introduction to the Raspberry Pi LED Tutorial
This tutorial shows the simplest thing that you can do with the GrovePi: Blink a LED. This is a great first project to learn how to connect hardware to the Raspberry Pi. The blinking LED is the hardware version of the software world’s “Hello World” program. Once mastered, you can move on to more complicated projects like connecting a display to the Raspberry Pi or other sensors.
This example is meant to be your first project with the GrovePi. All the parts used in this project are available in the GrovePi Starter Kit.
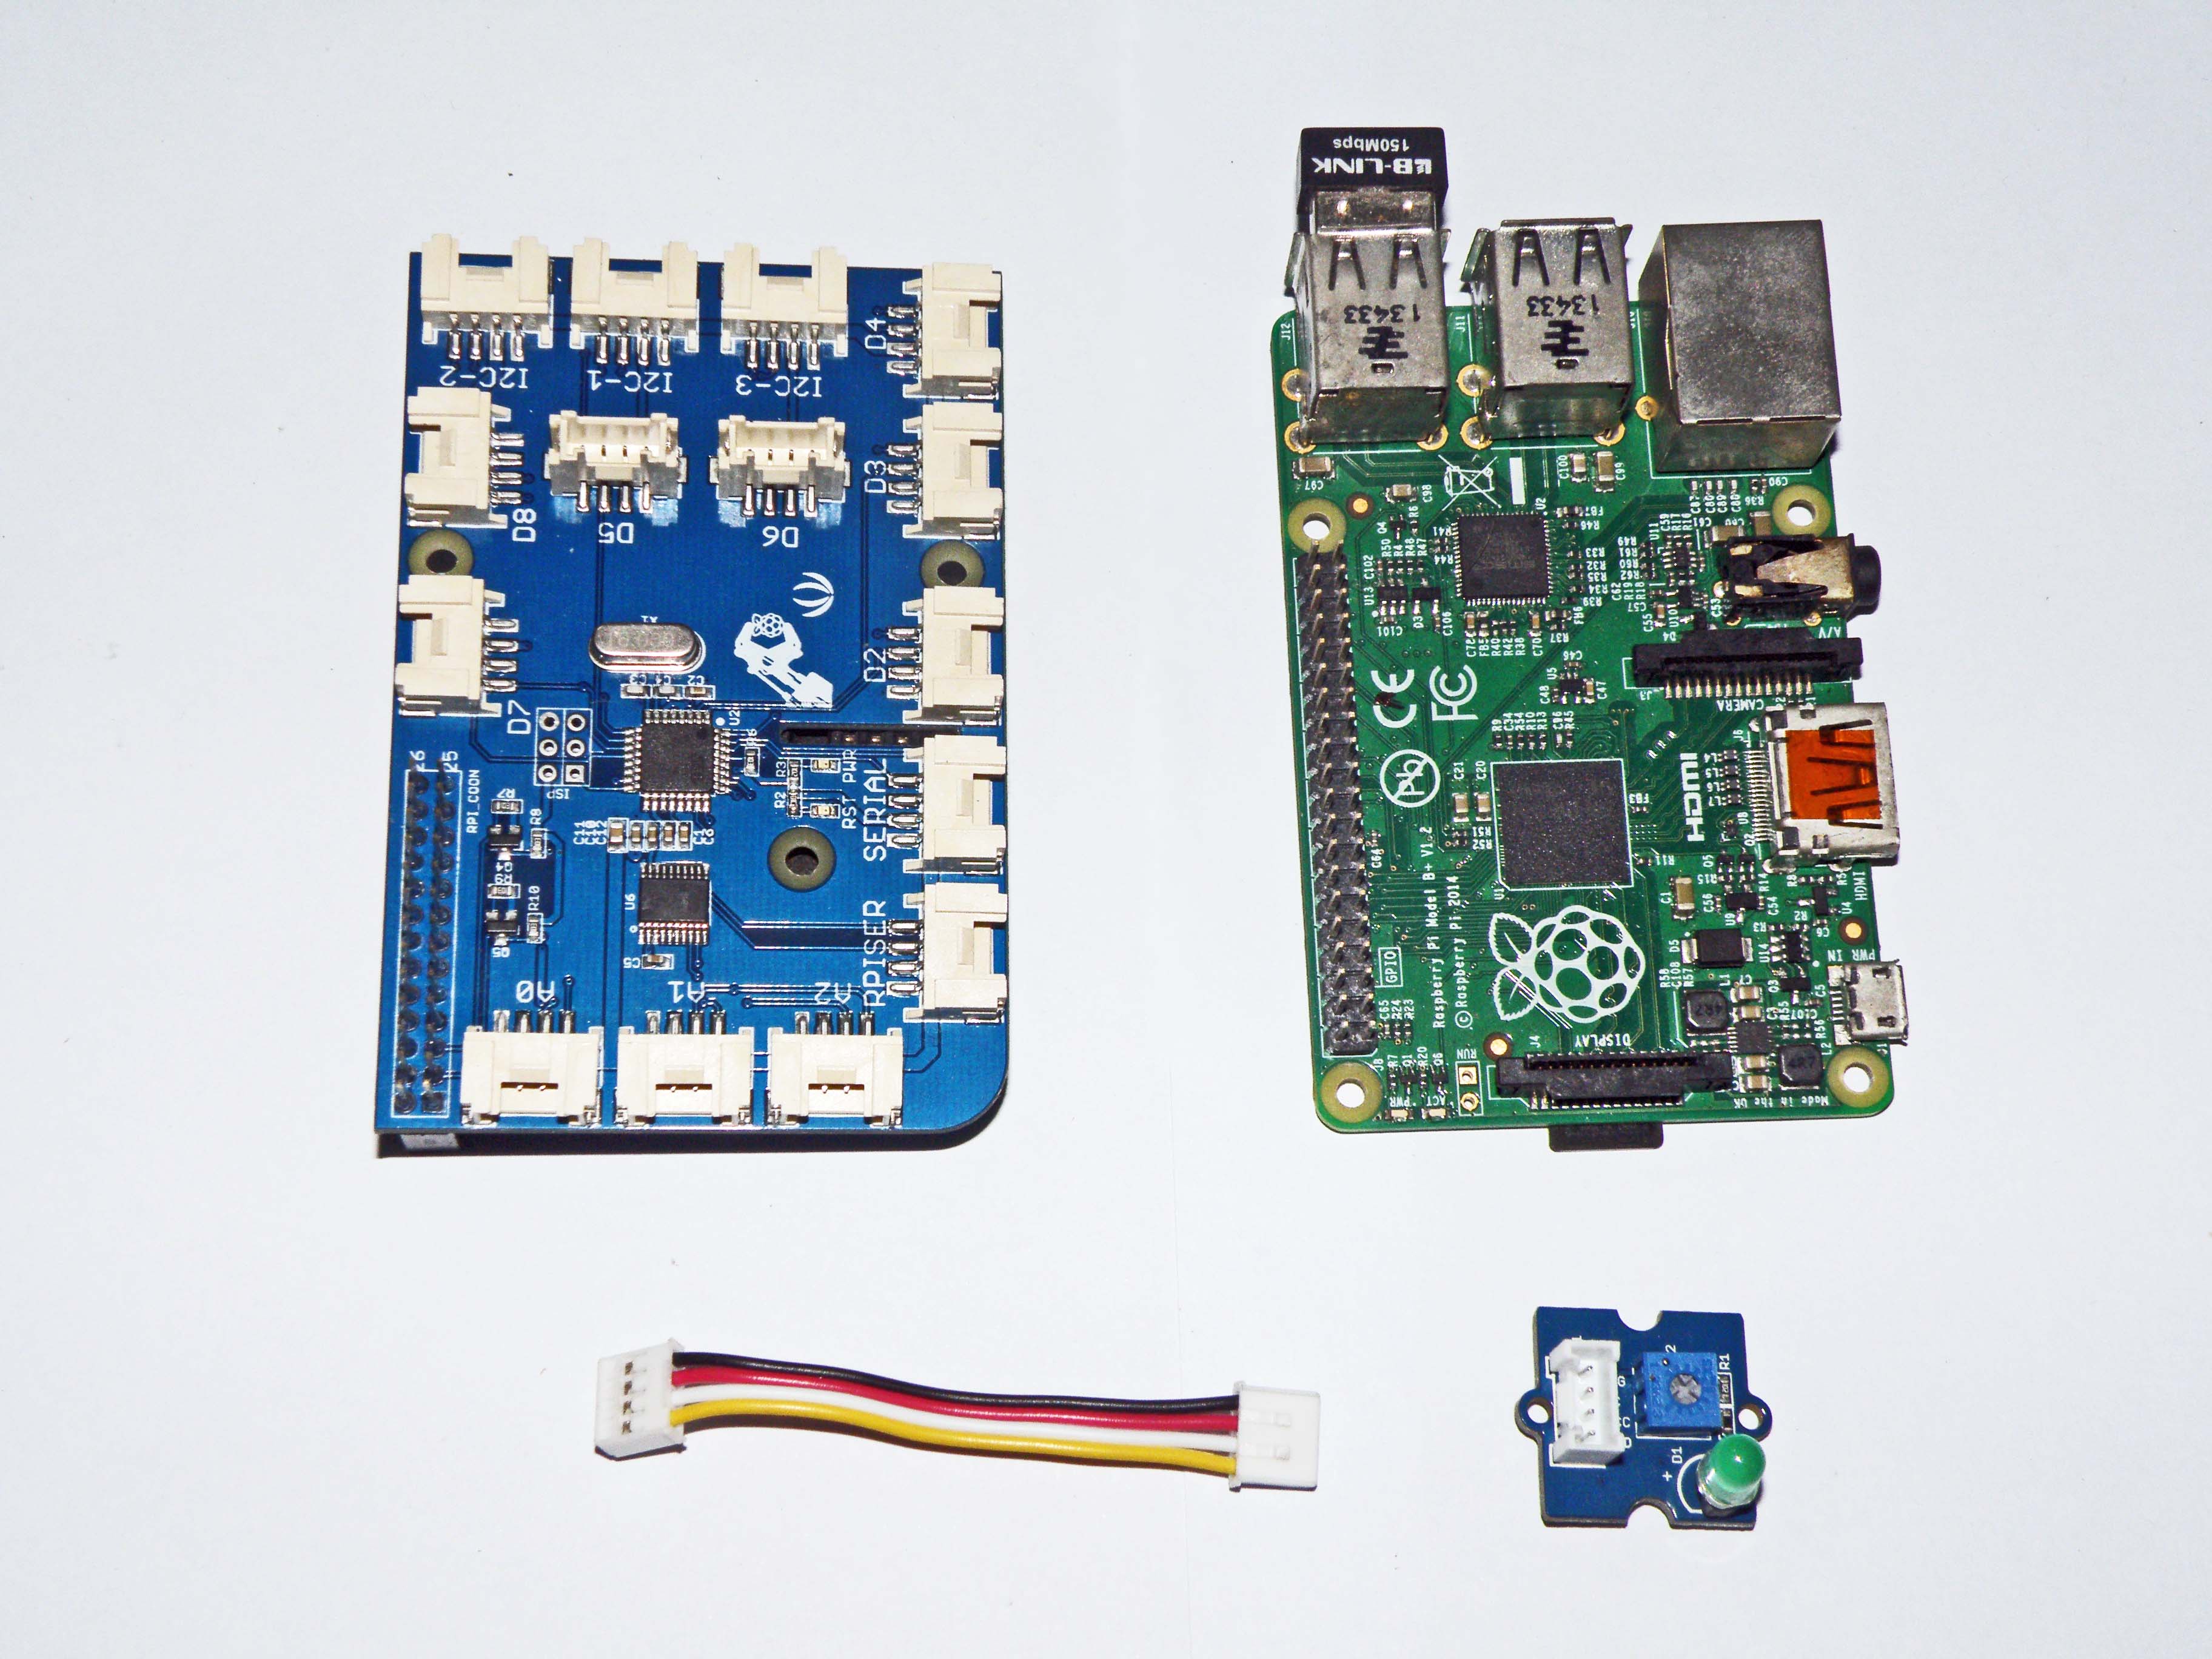
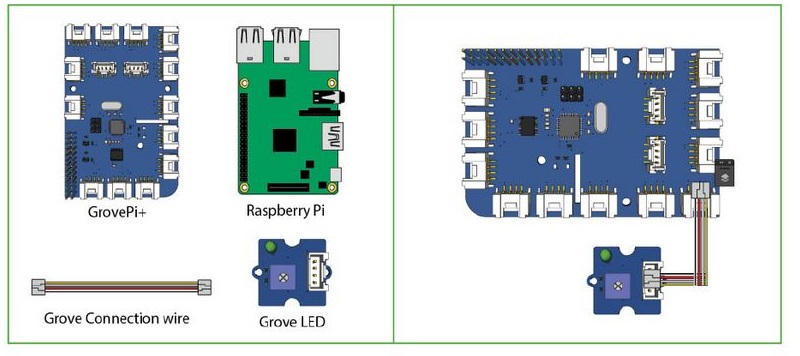
 Hardware for This Tutorial
All of the hardware comes with the GrovePi starter kit. Specifically, for the Raspberry Pi LED Tutorial, you’ll need:
- The Raspberry Pi
- GrovePi
- Grove LED
- One Grove Connection wire
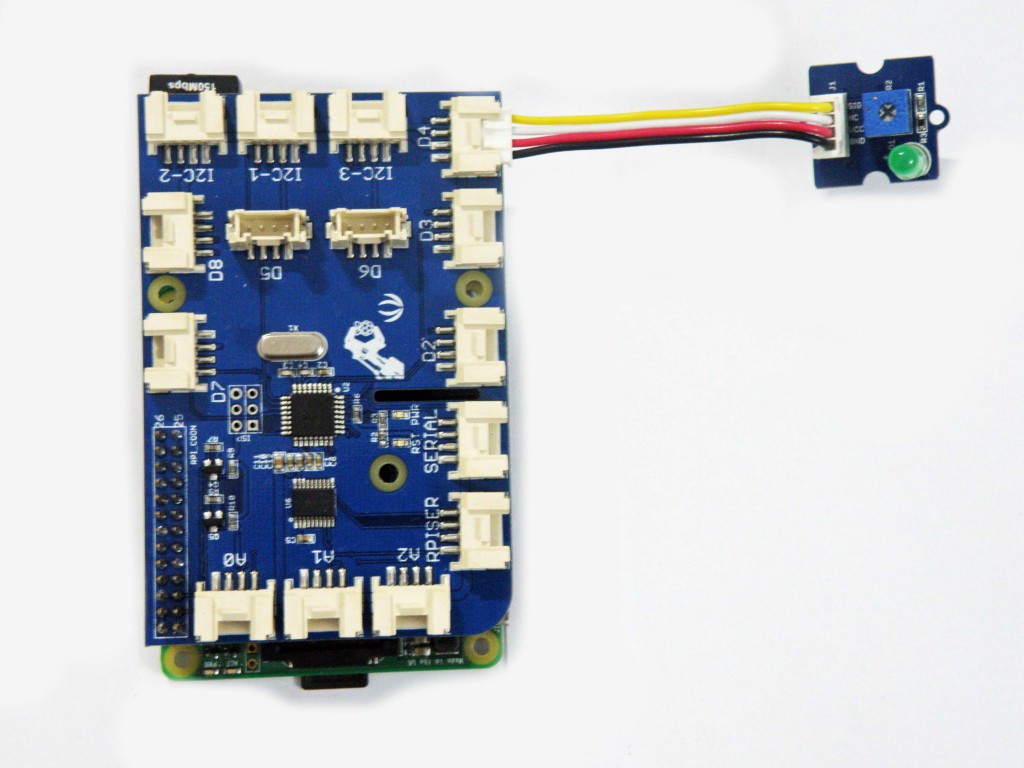
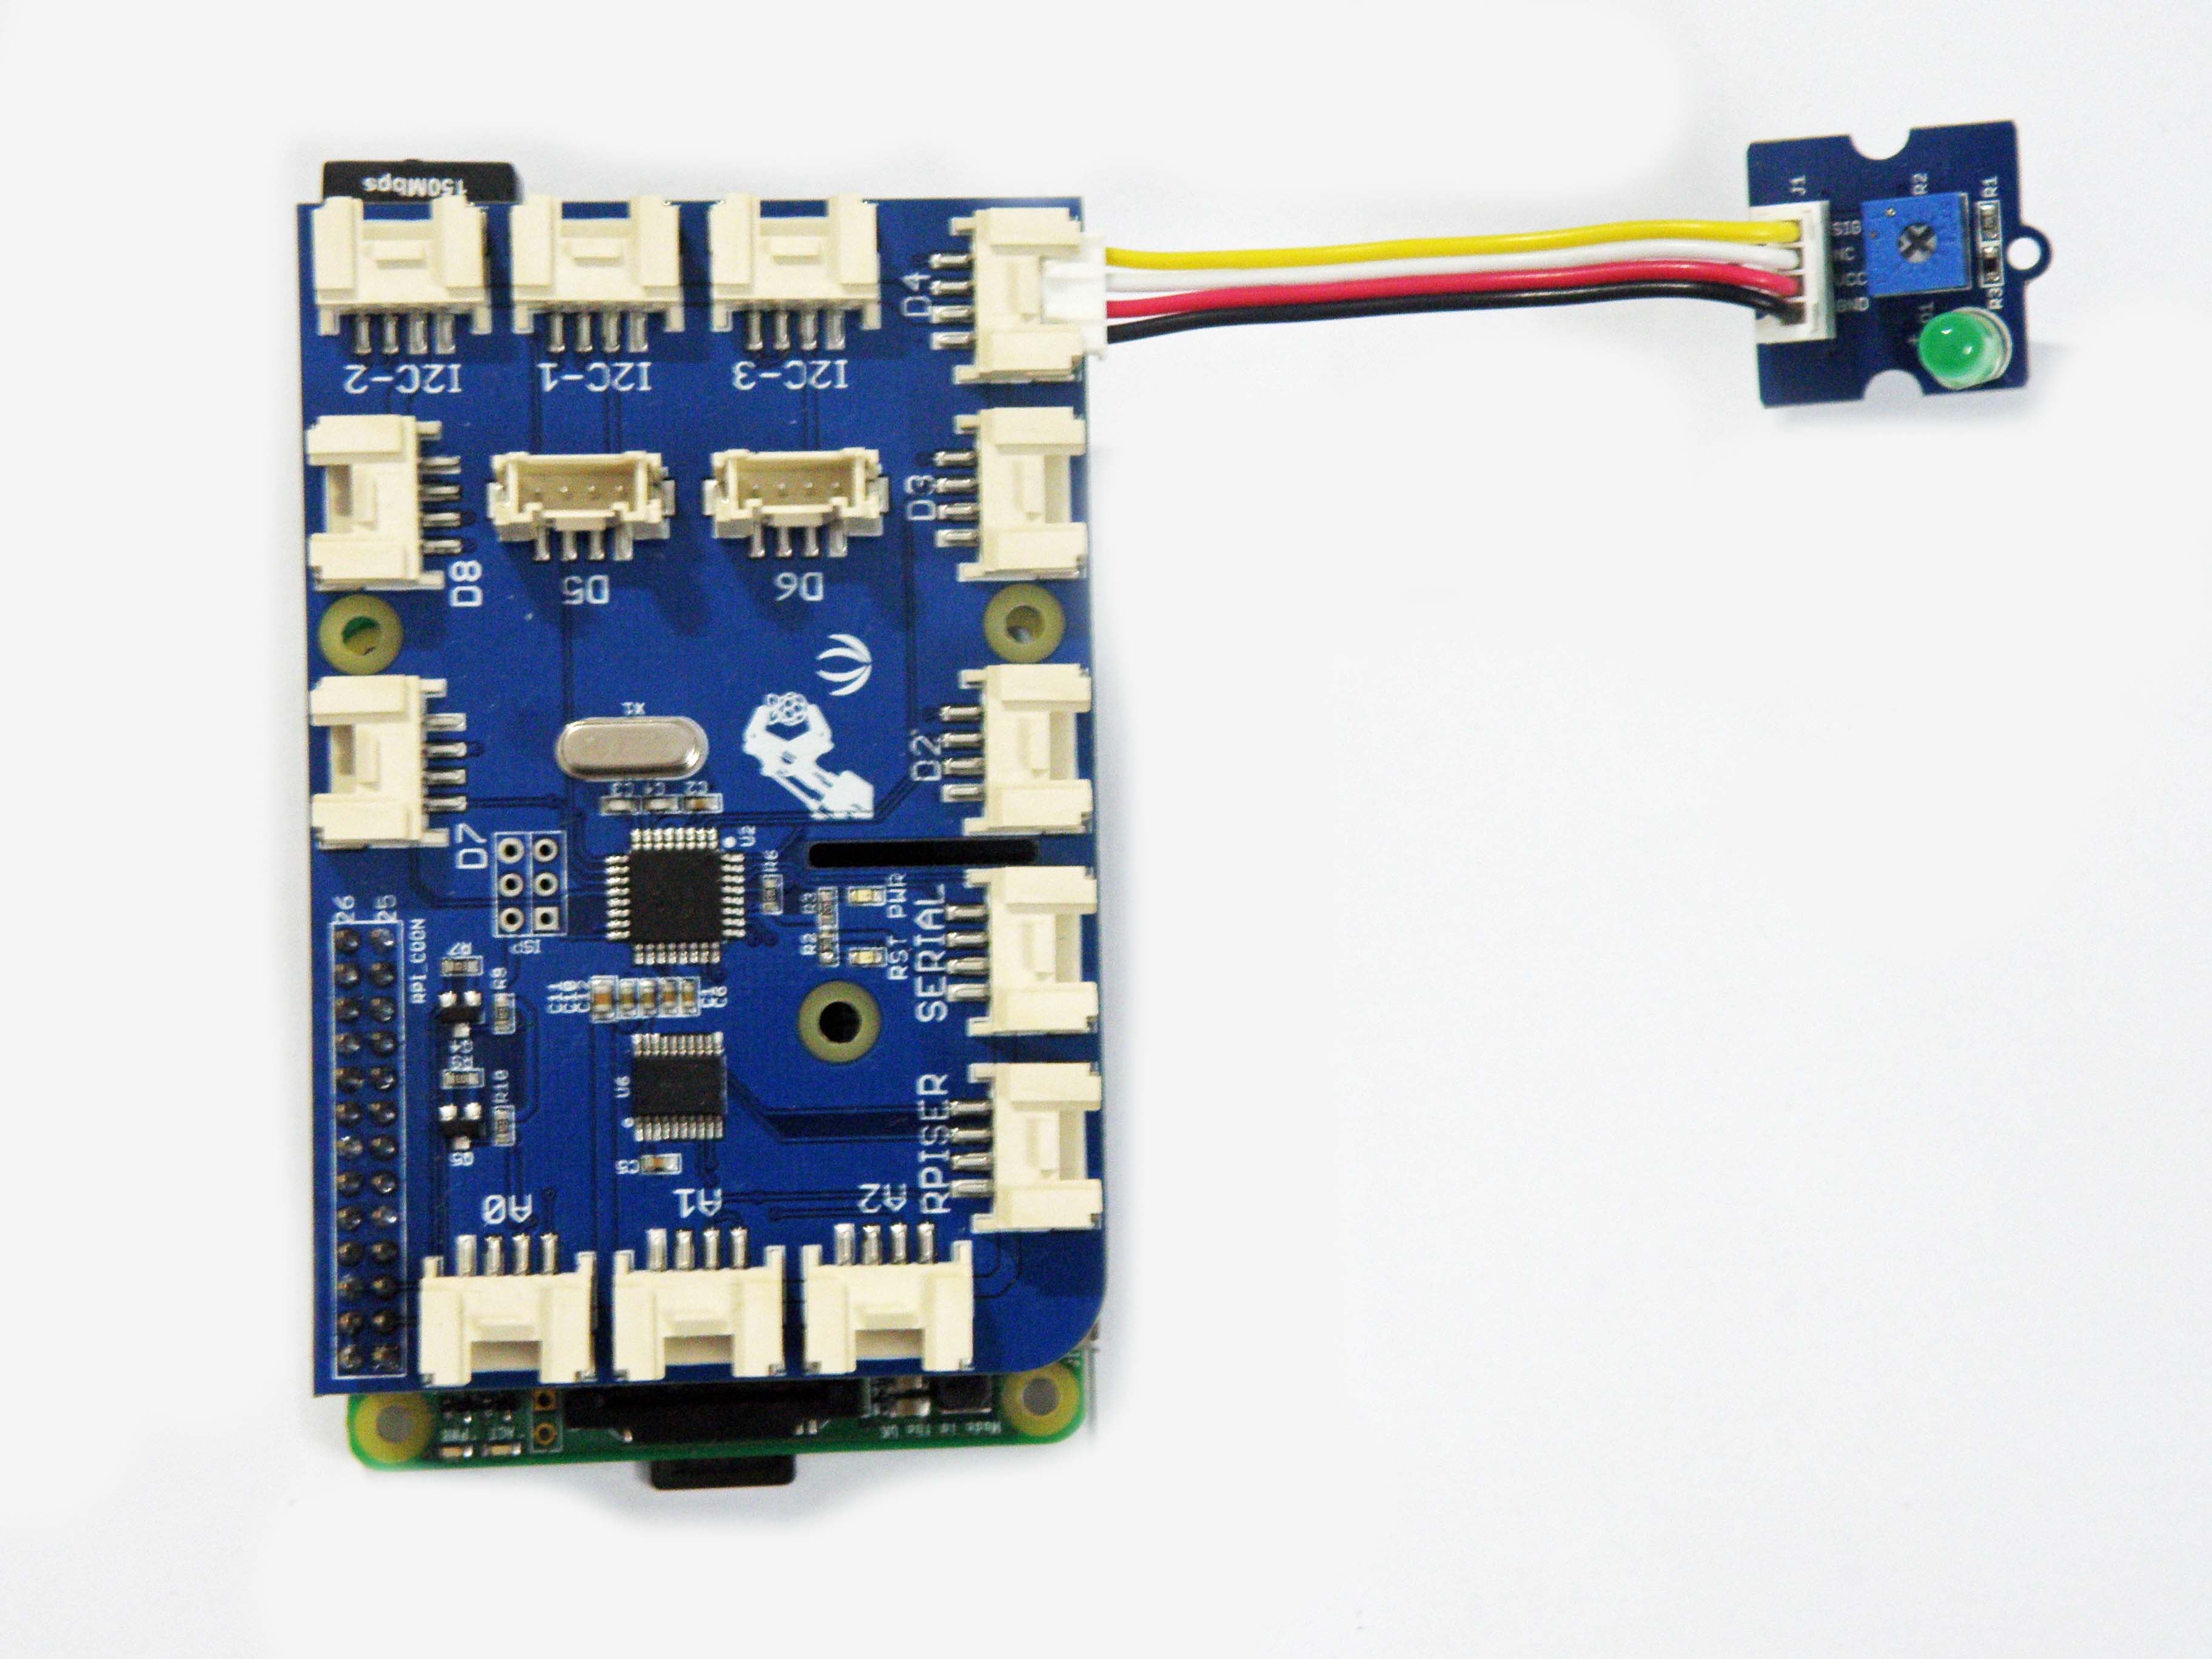
Hardware Setup: Connecting the LED to the Raspberry Pi
 Connect the LED to Port D4 and power on the Raspberry Pi, using the Grove wire connector.
Software: Running the Program
The example program for this project is shown below. To run the program, change directory on your Raspberry Pi to the GrovePi/Software/Python folder.
cd /GrovePi/Software/Python
Run the grove_led_blink.py python program:
sudo python grove_led_blink.py
The Grove LED will start blinking.
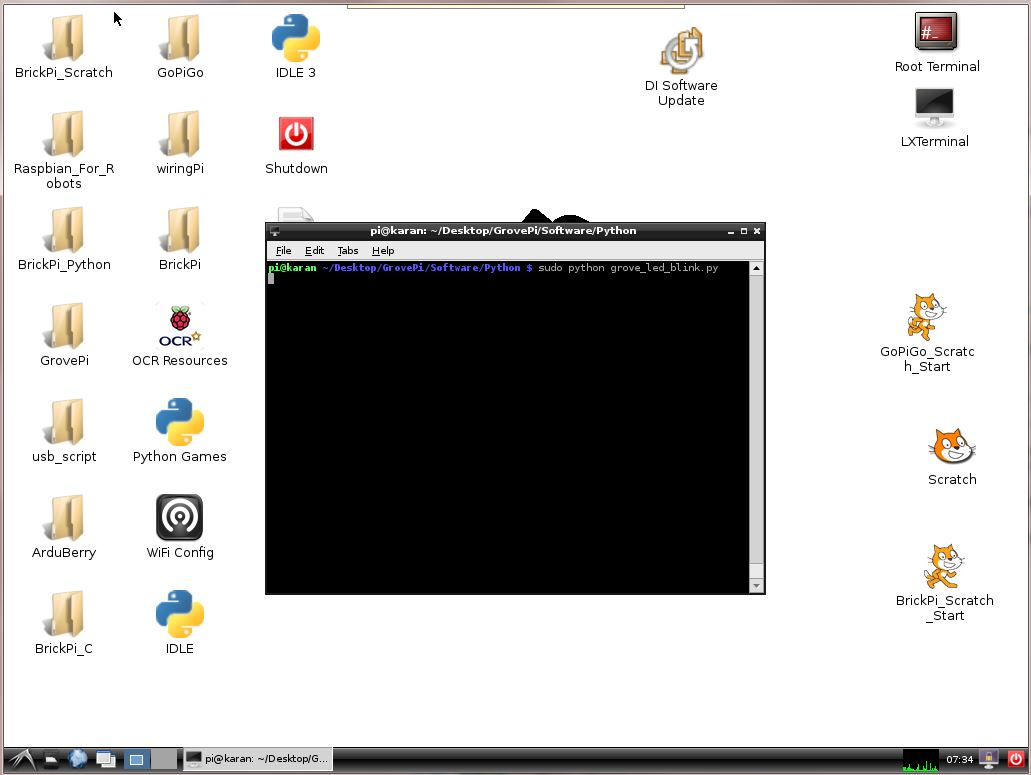
Running the tutorial example program on the Raspberry Pi.
Source Code
The source code for the example can be found here.
Have a question or a problem? Post it on the forums and we’ll help you out.