 How to use The Scratch Programming Language with the BrickPi: a quick and easy introduction to BrickPi Scratch.
Our purpose here is to get you up and running using Scratch on the BrickPi. Below we will walk you through a step-by-step on how to setup and run Scratch. If you’re using our latest image for the BrickPi, you will have everything you need to get started on your SD card already.
Scratch is a graphical programming language available on the Raspberry Pi that “helps young people learn to think creatively, reason systematically, and work collaboratively . . .” Scratch was developed at MIT to help young programmers get started, and is free for all to use. Find more information on Scratch here.
Before Starting
We want to make Scratch as easy as possible to start up and run. To follow these directions, you must use the Dexter Industries image. You can find the image already written to an SD card on our website here. Or you can download and install our Raspberry Pi image here.
Step 1: Connect to your Pi
If you haven’t already, see our guide to connecting to your Raspberry Pi. You can setup the BrickPi as a desktop with a monitor and keyboard, connect to a PC or laptop with an Ethernet cable, or connect to it via wifi. You can use any of these three ways to program BrickPi in Scratch.
Step 2: Start Your Raspberry Pi
Step 3: Connect to your Raspberry Pi
See our directions here. You should see the Raspberry Pi Desktop.
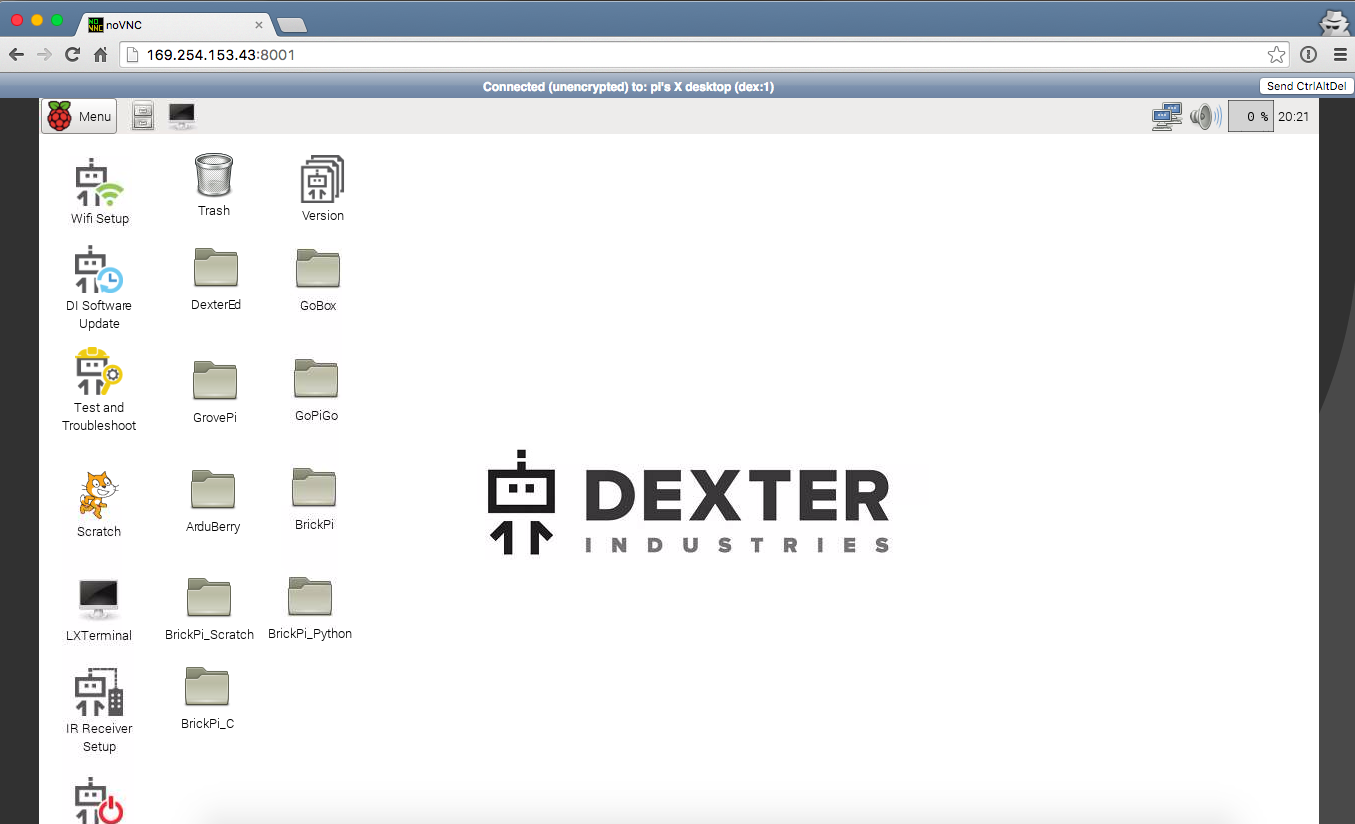
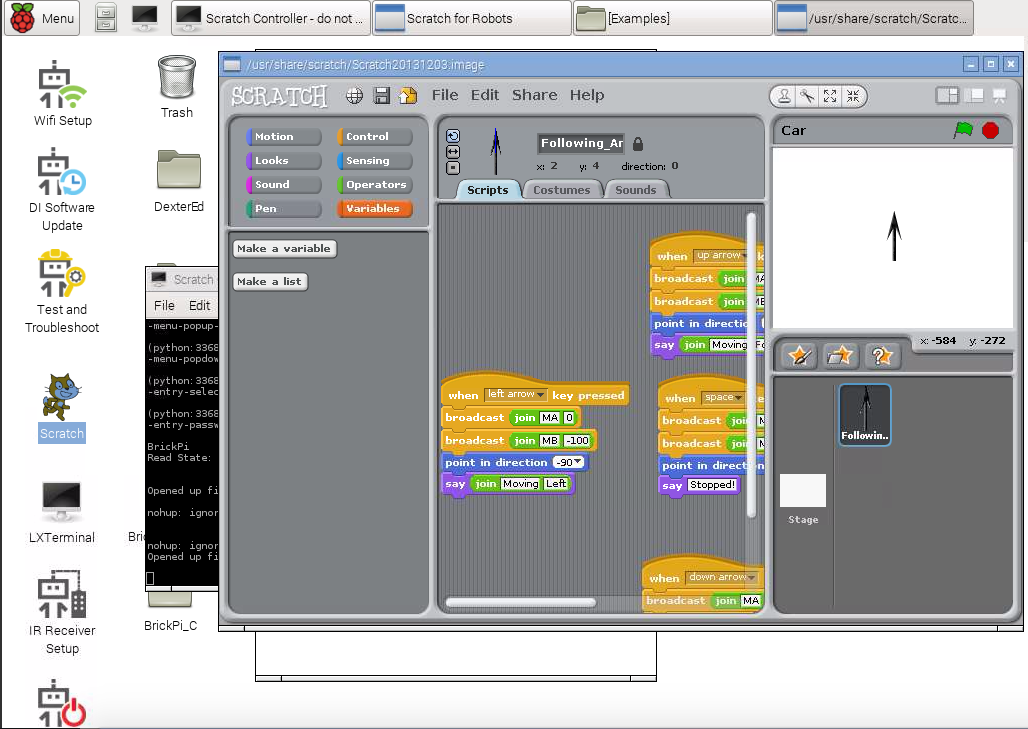
Step 4: Start Scratch
Double click the Scratch icon and the Scratch For Robots interface will appear.
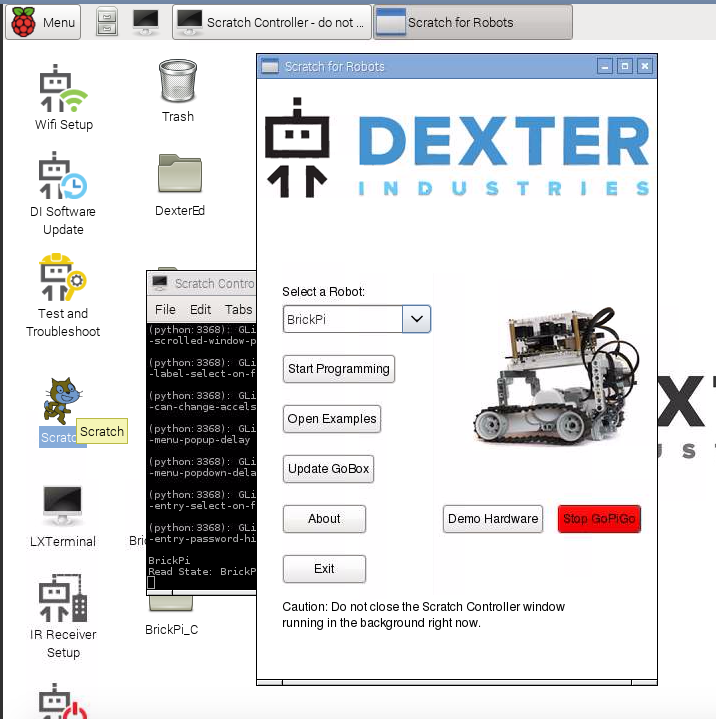
Select the BrickPi robot from the dropdown menu under “Select a Robot”.
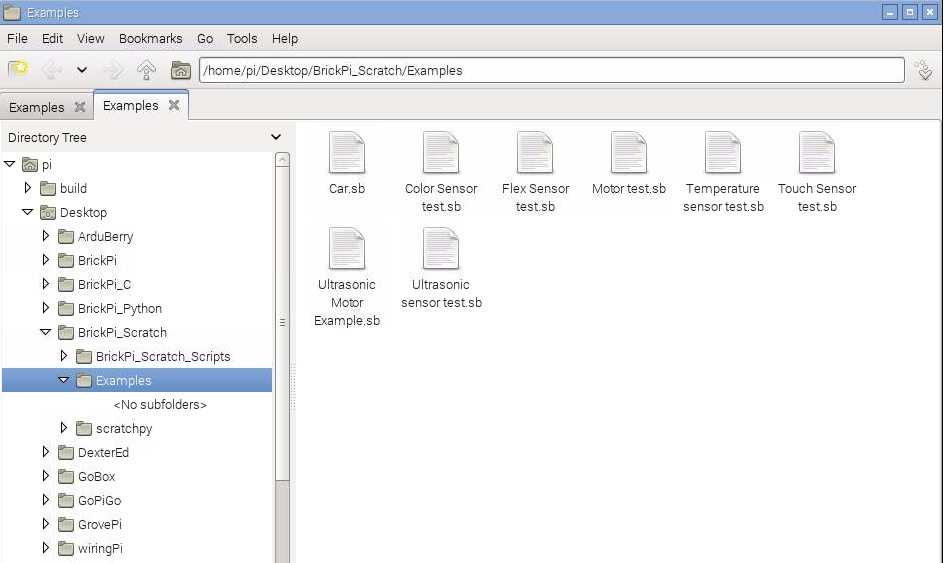
Step 5: Open an Example
Next, click “Open Examples”. This will open the directory of Scratch examples for the BrickPi. Double click on one of the examples and it will open the example in Scratch.
A dialogue box to select your robot will appear. Change the robot to “BrickPi”. Then click “Start Programming”.
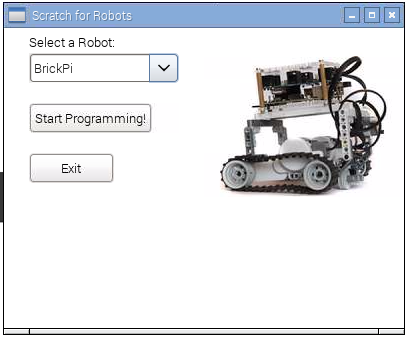
Step 6: Start Programming
The best place to start is to look through our example programs, or one of the two documents below.
- Check out our Scratch Programming Language Introduction in November’s MagPi here, on Page 12.
- We have a small guide to understanding more about how Scratch and the BrickPi work, here.
While we’ve learned a lot about Scratch the past few months, we aren’t experts. We are looking for your feedback, and your improvements. Please post questions, ideas, and problems to our forum here.
Notes
BrickPi_Scratch is written for Scratch1.4 (Linux) and may not work on other version.
Questions?
Point out a problem, suggest a solution, or contribute on our forum here.