Introduction
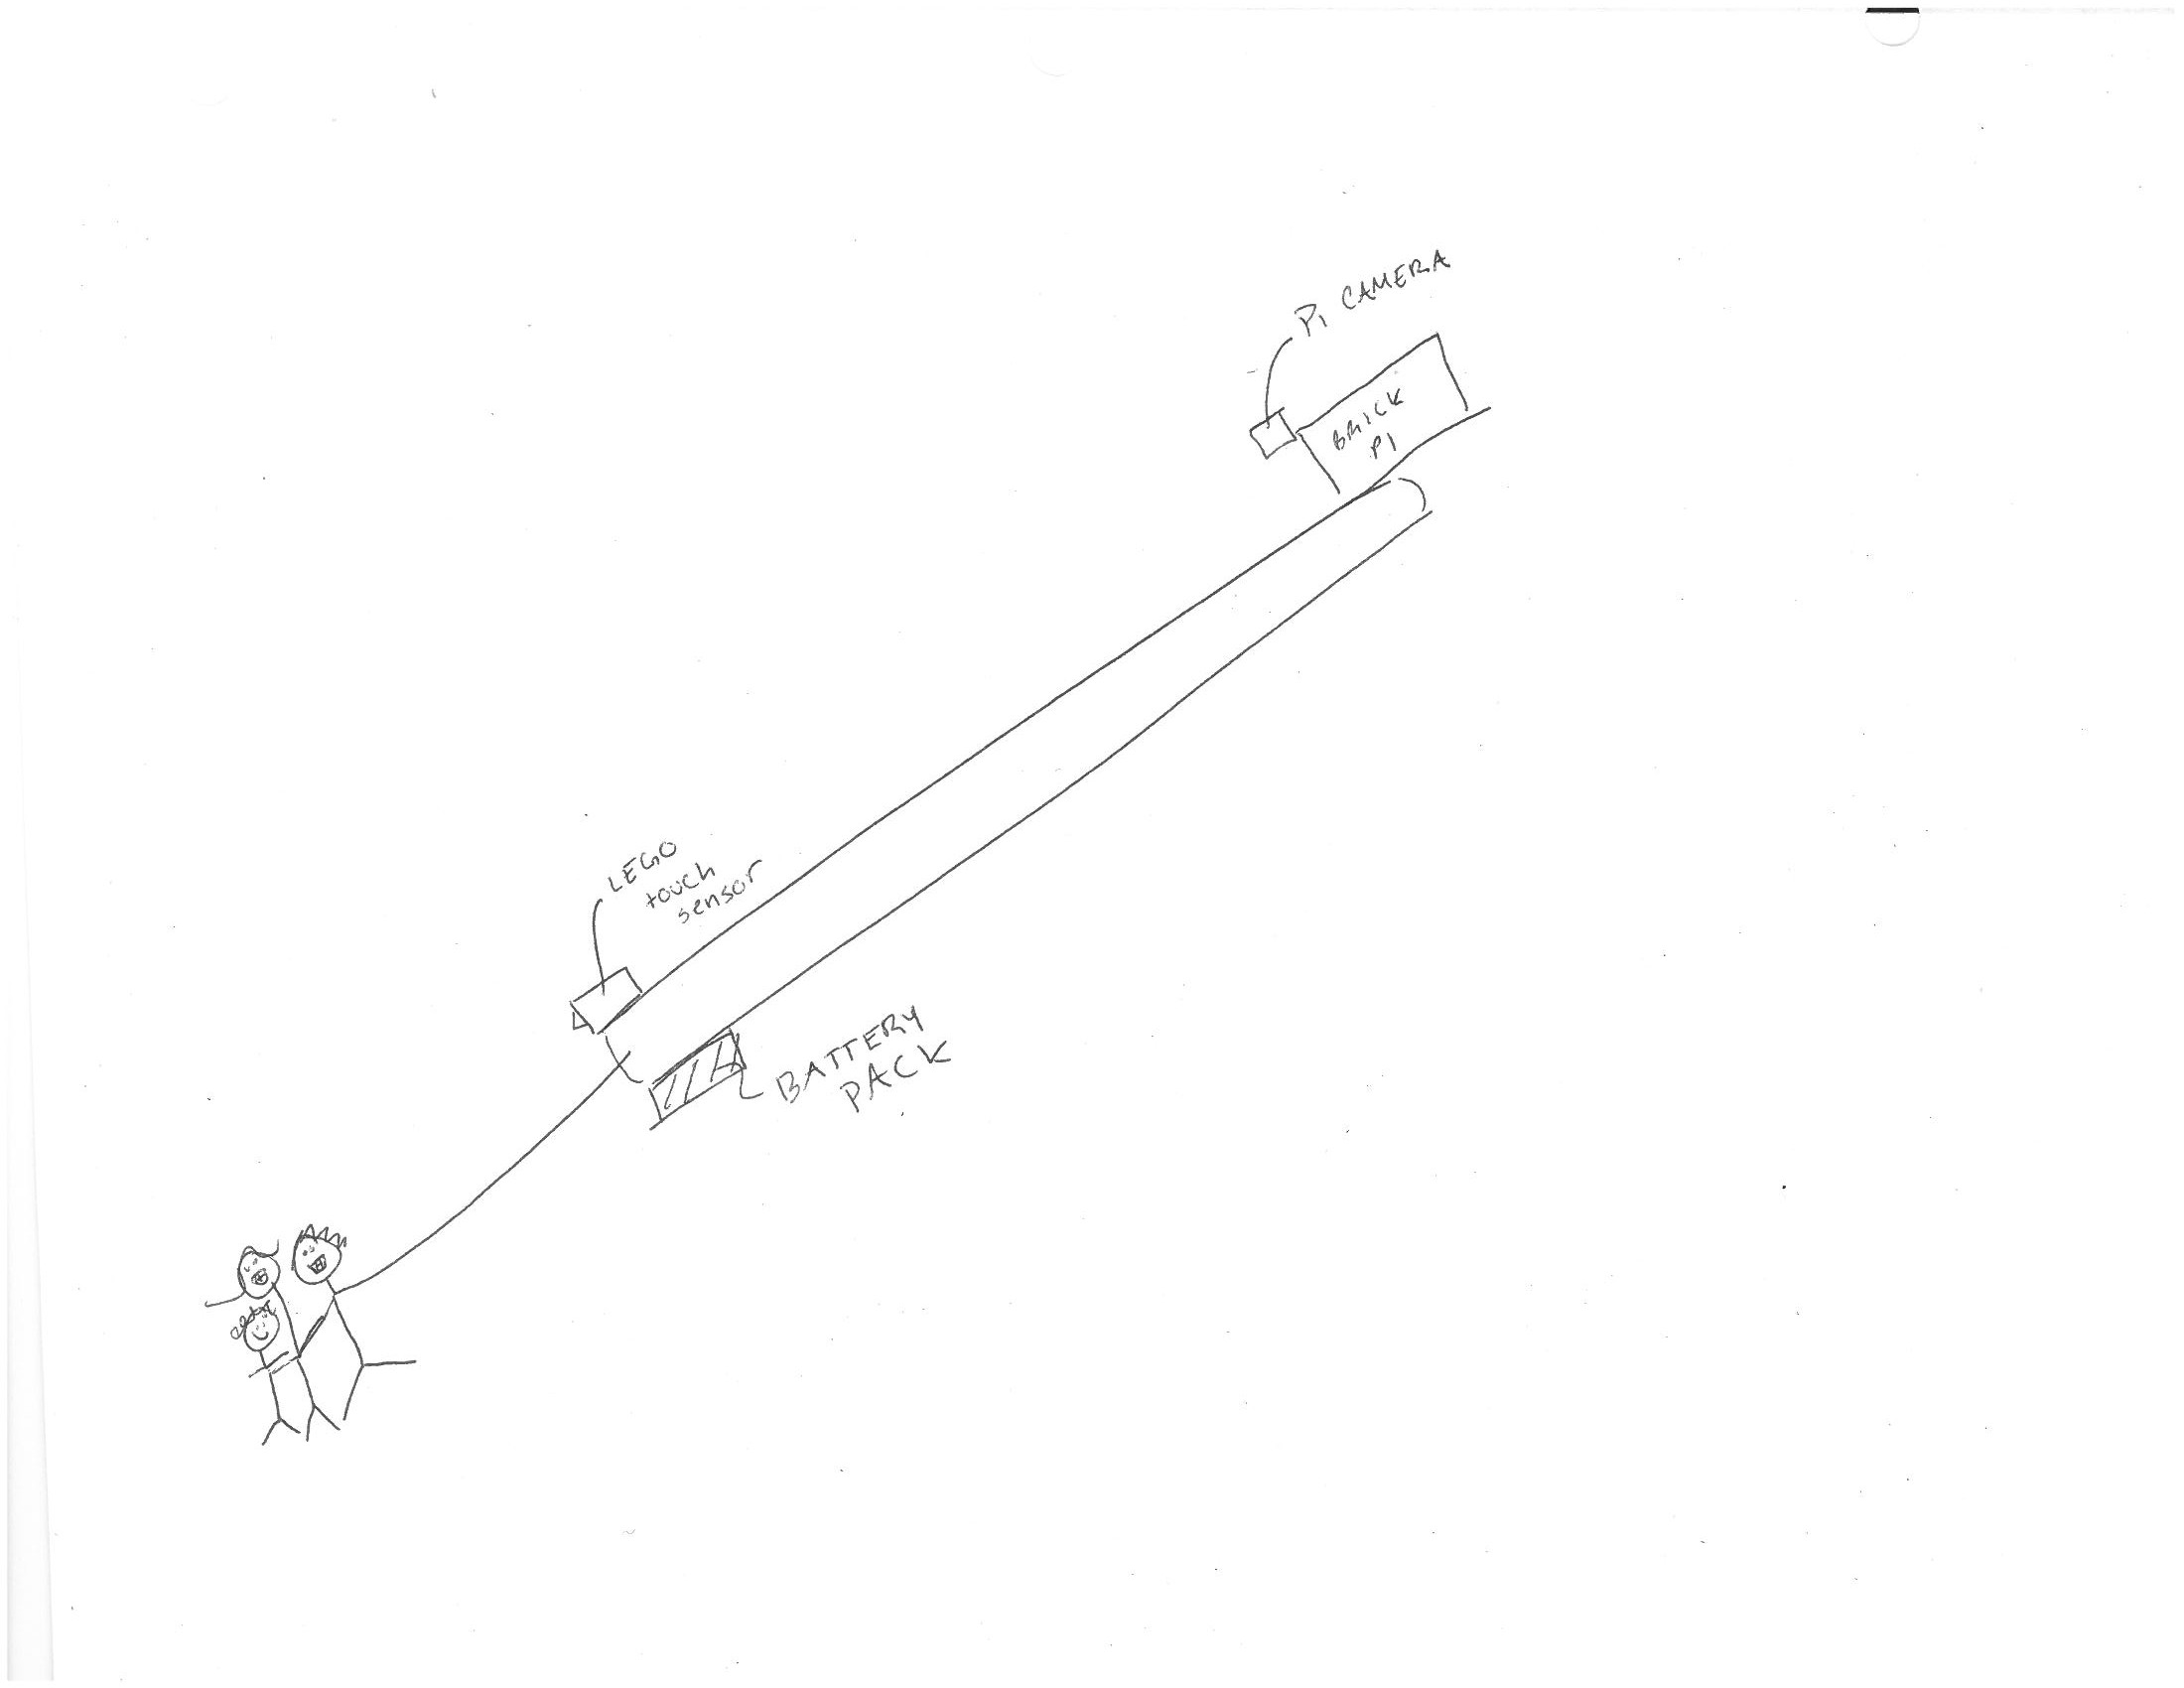
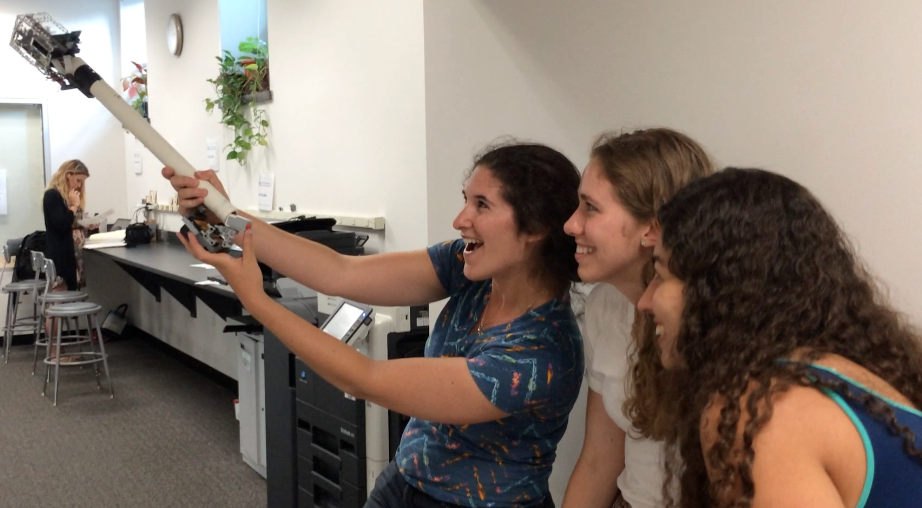
Turn your Brick Pi into a Selfie Stick! Because… why not?? The selfie stick is an absurd trend sweeping the world, and so we bring shame to the Raspberry Pi community by converting a beautiful, useful piece of technology into a crude tourist sensation.
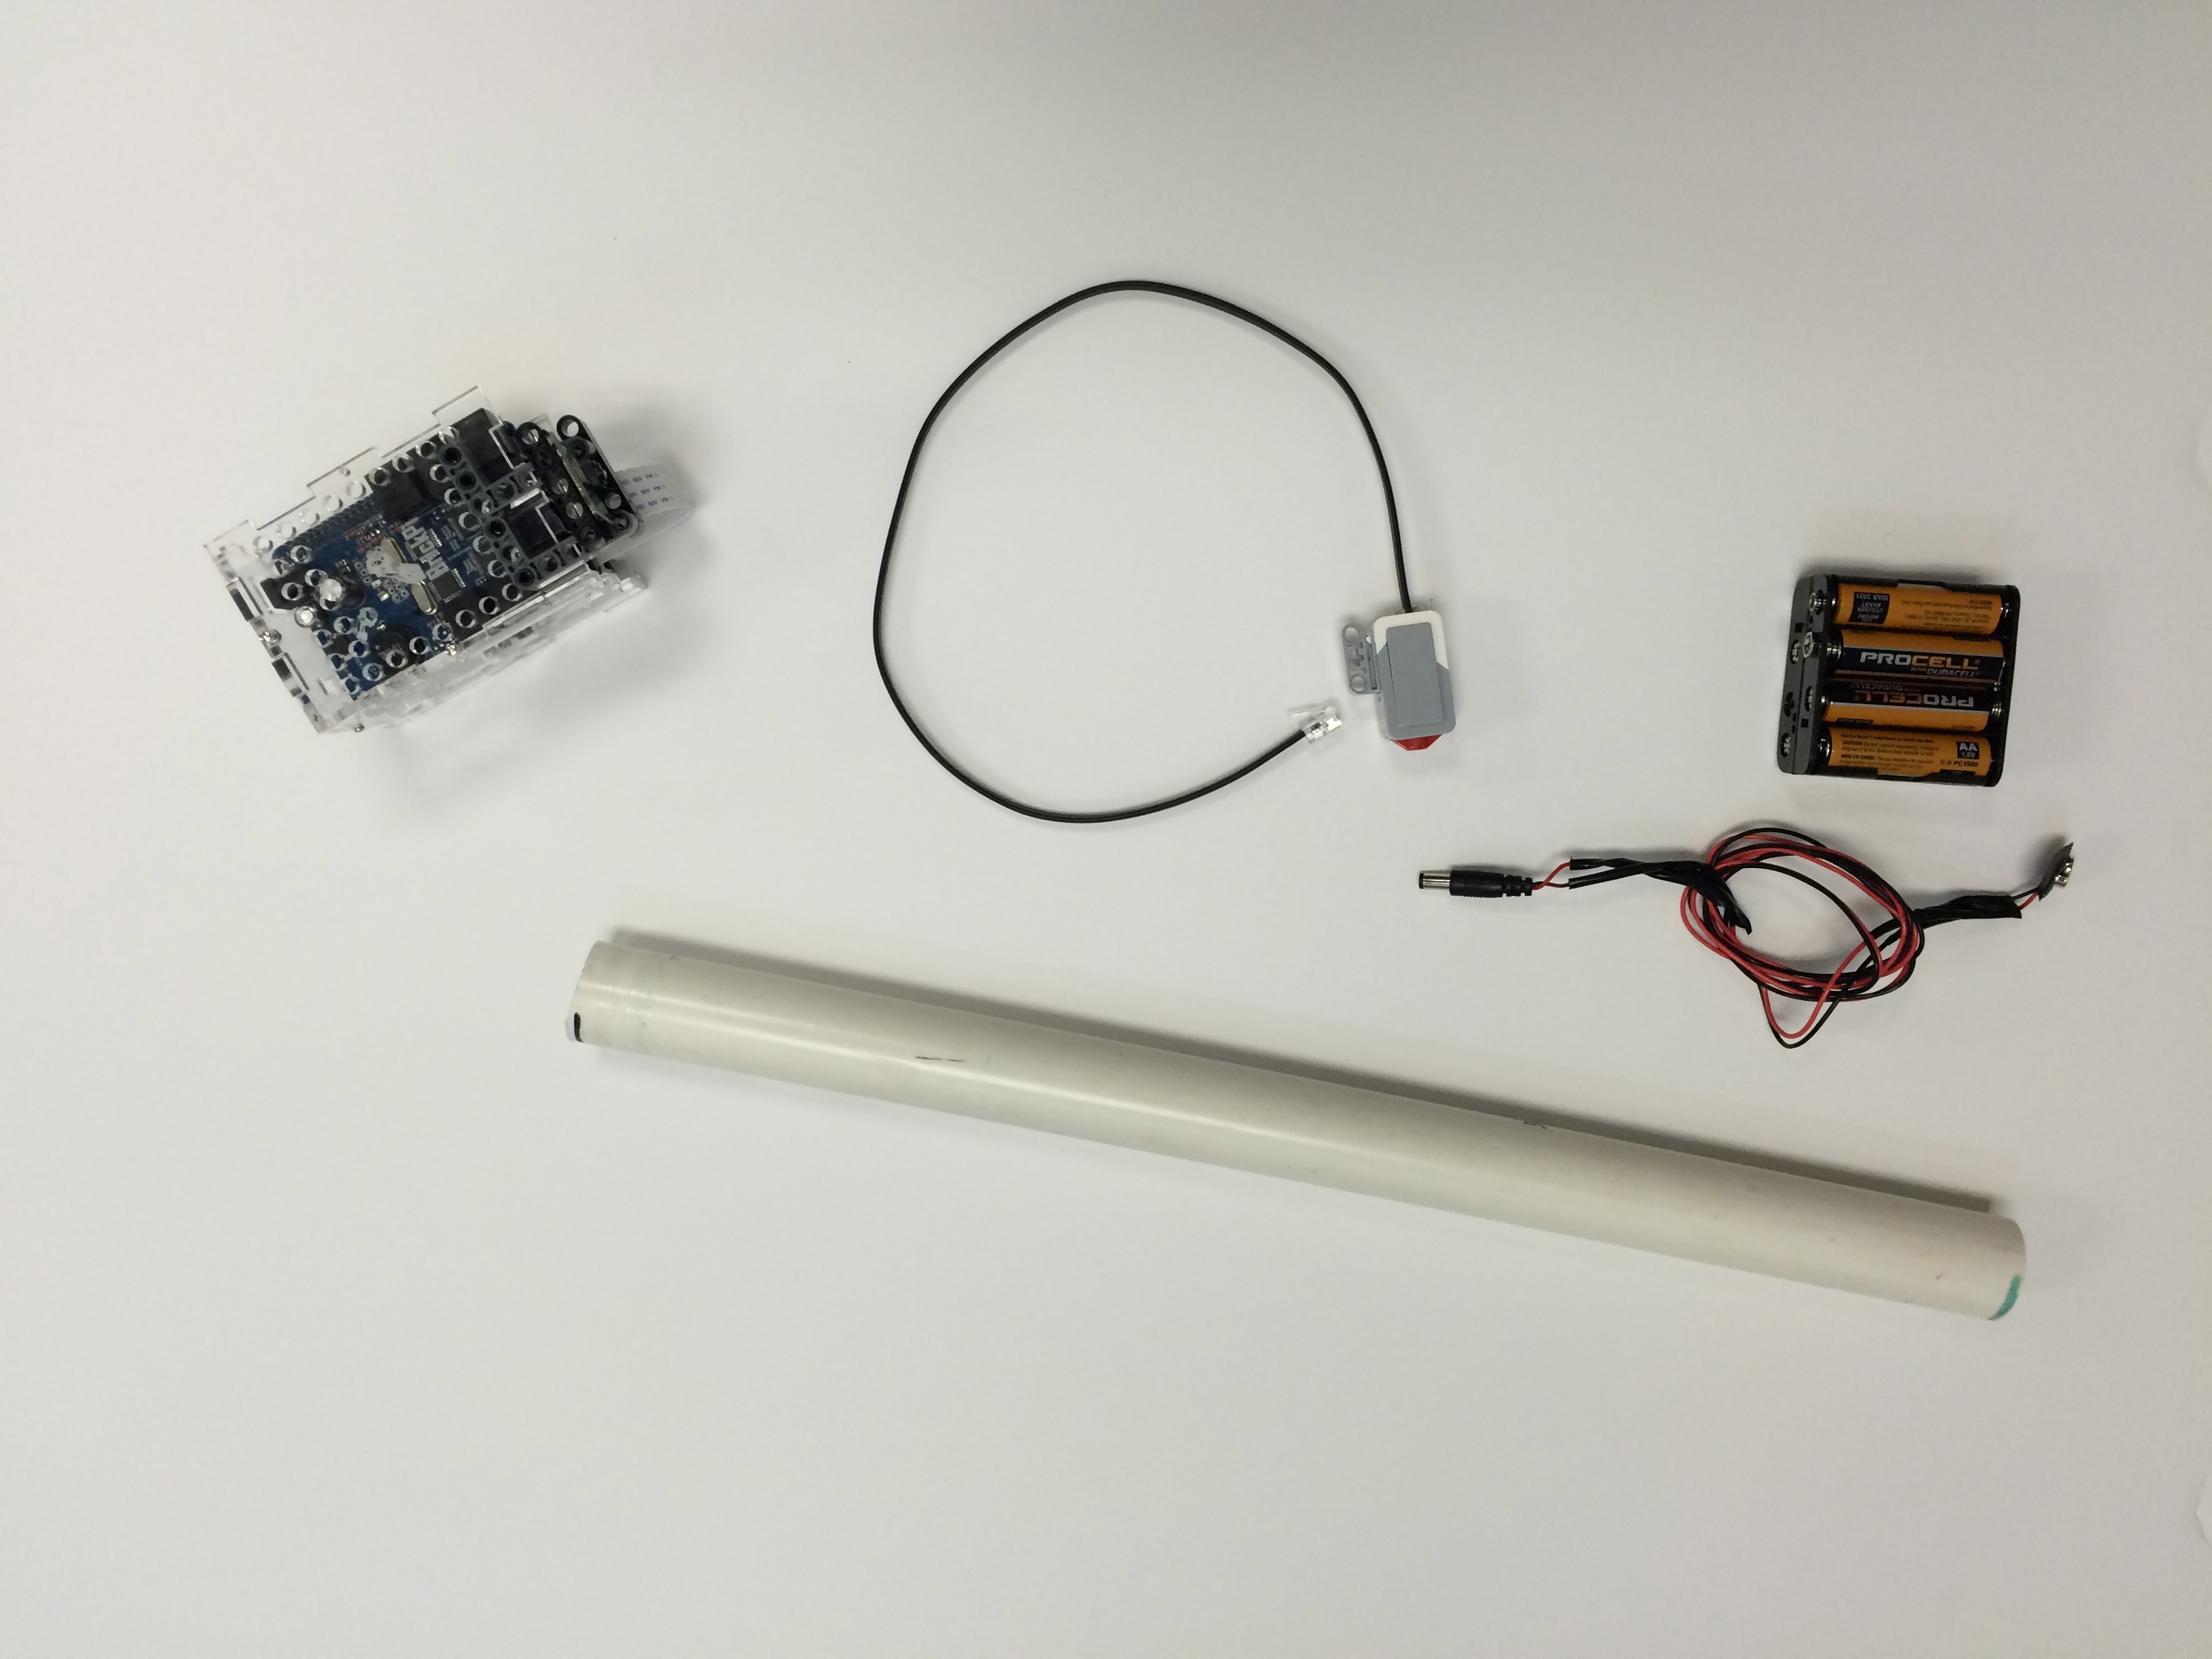
What you’ll need:
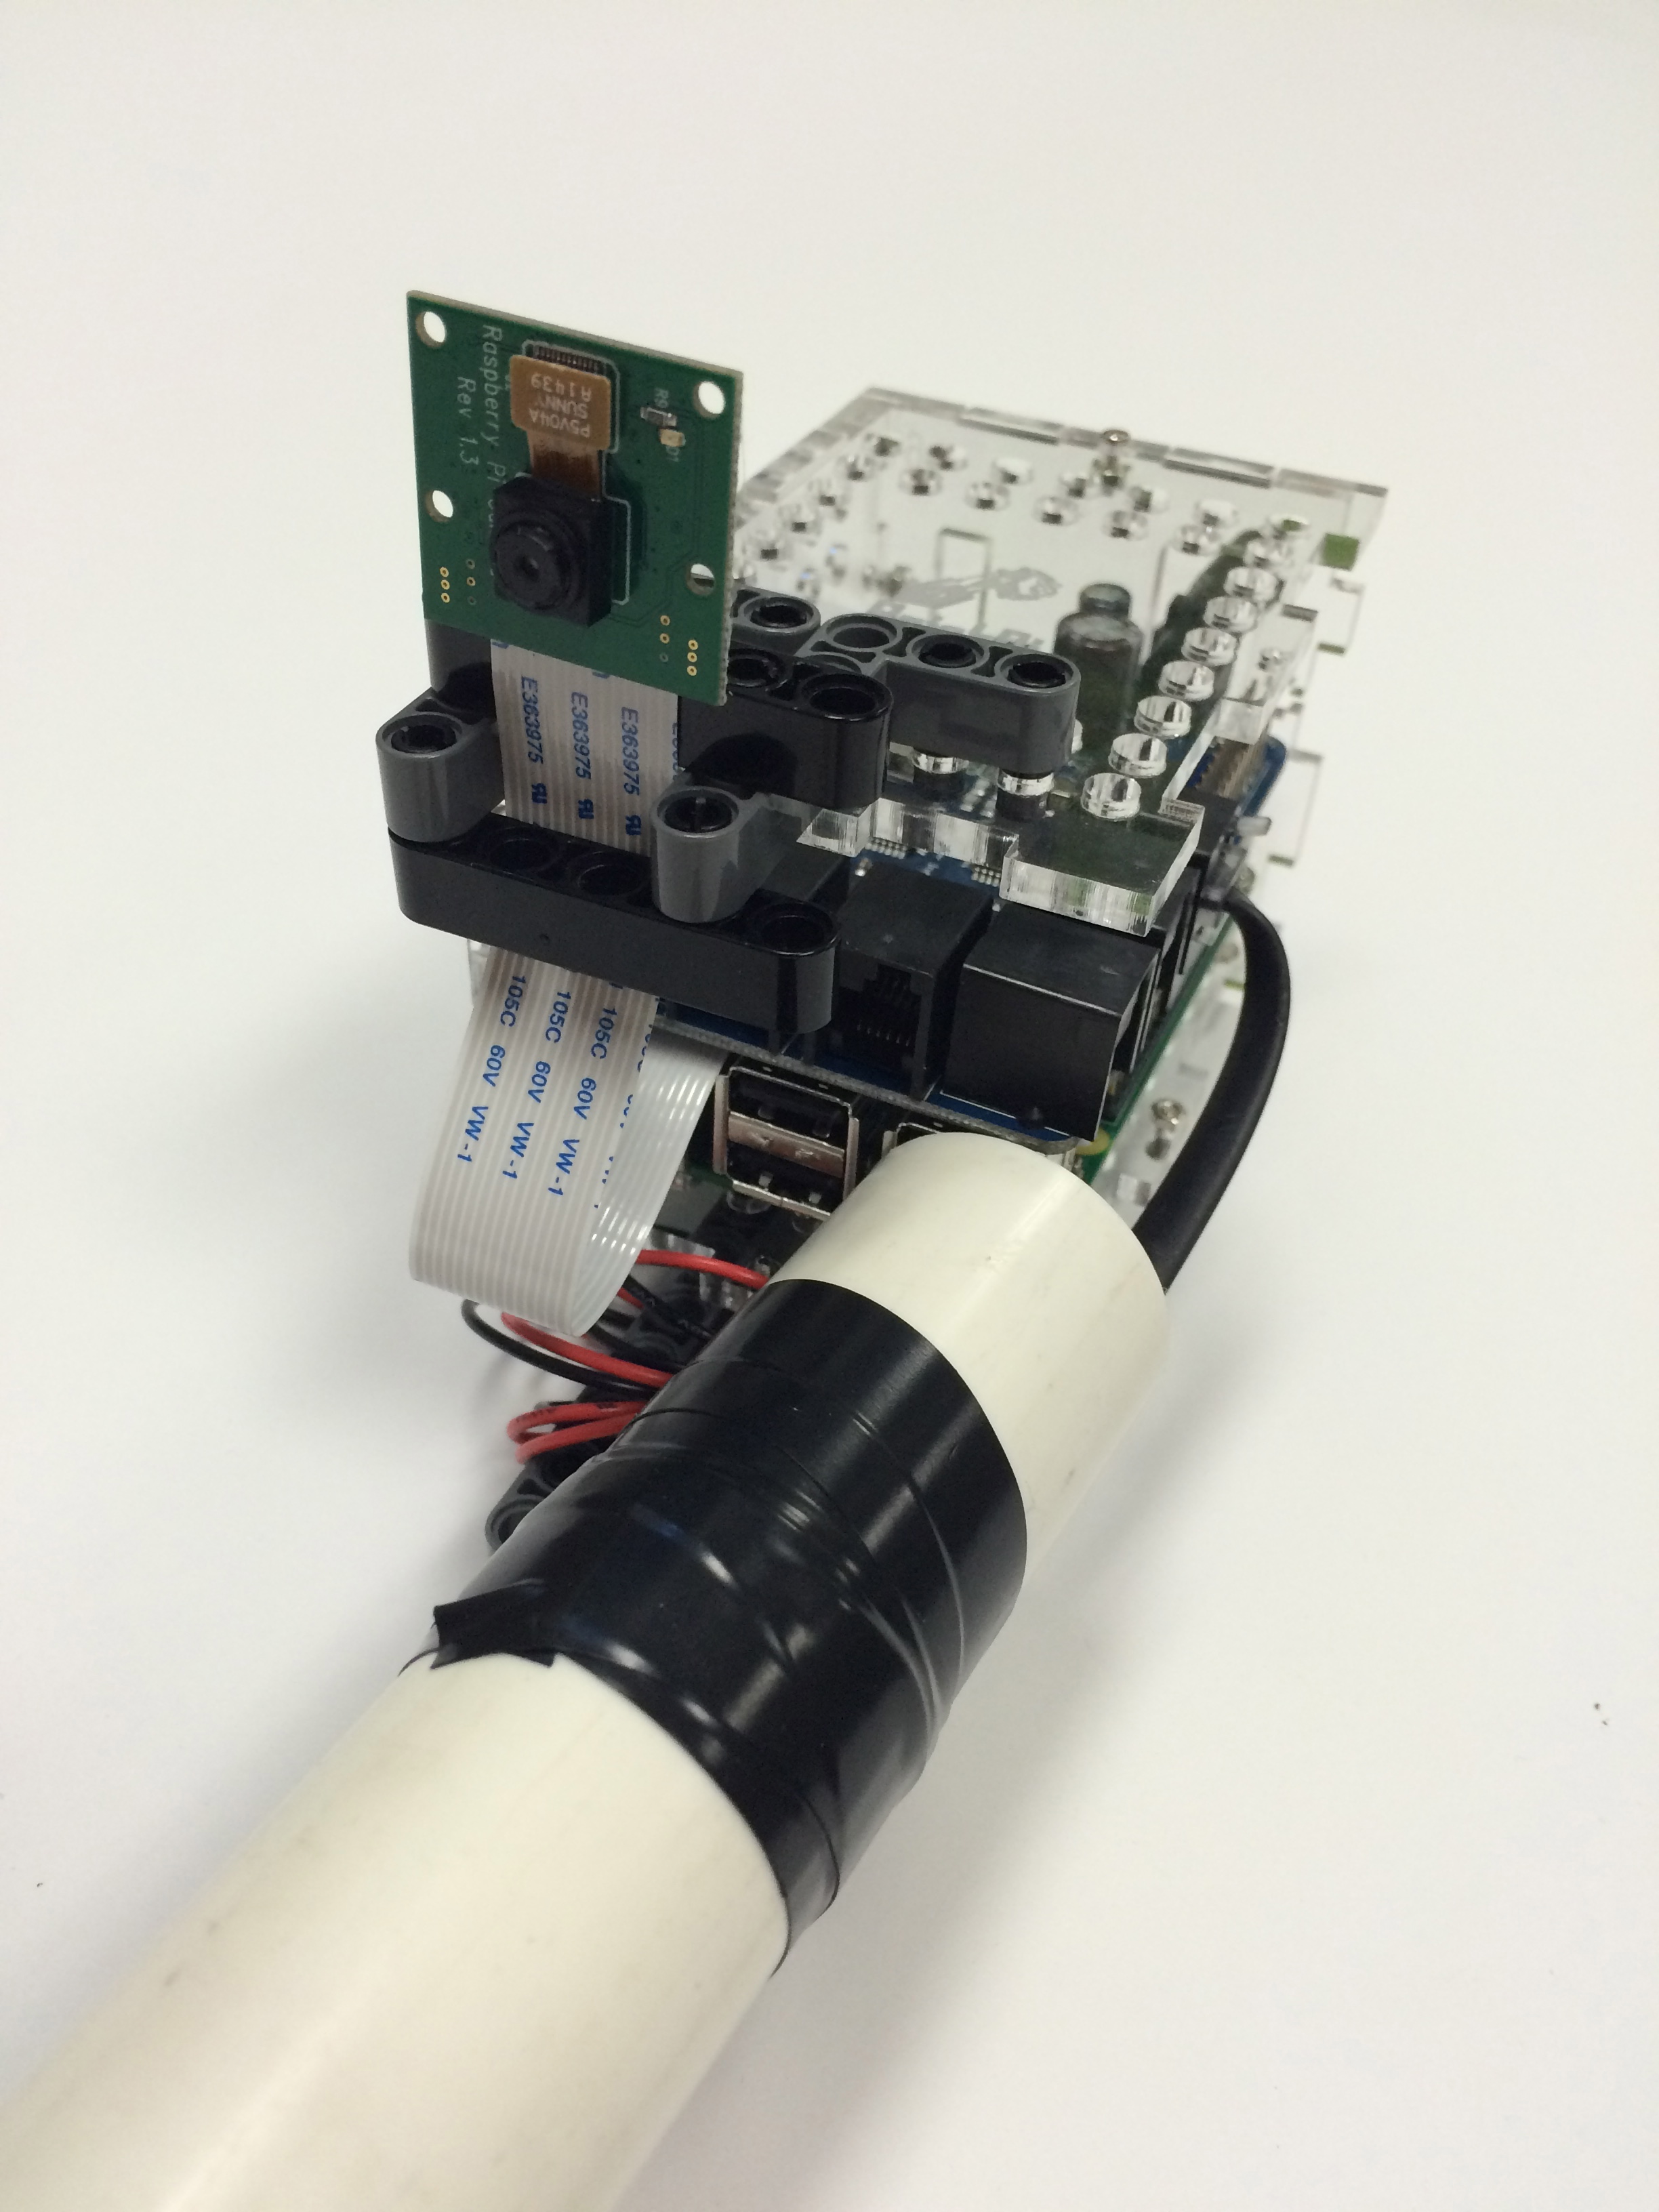
- Raspberry Pi
- SD card (with Dexter Industries Brick Pi image installed)
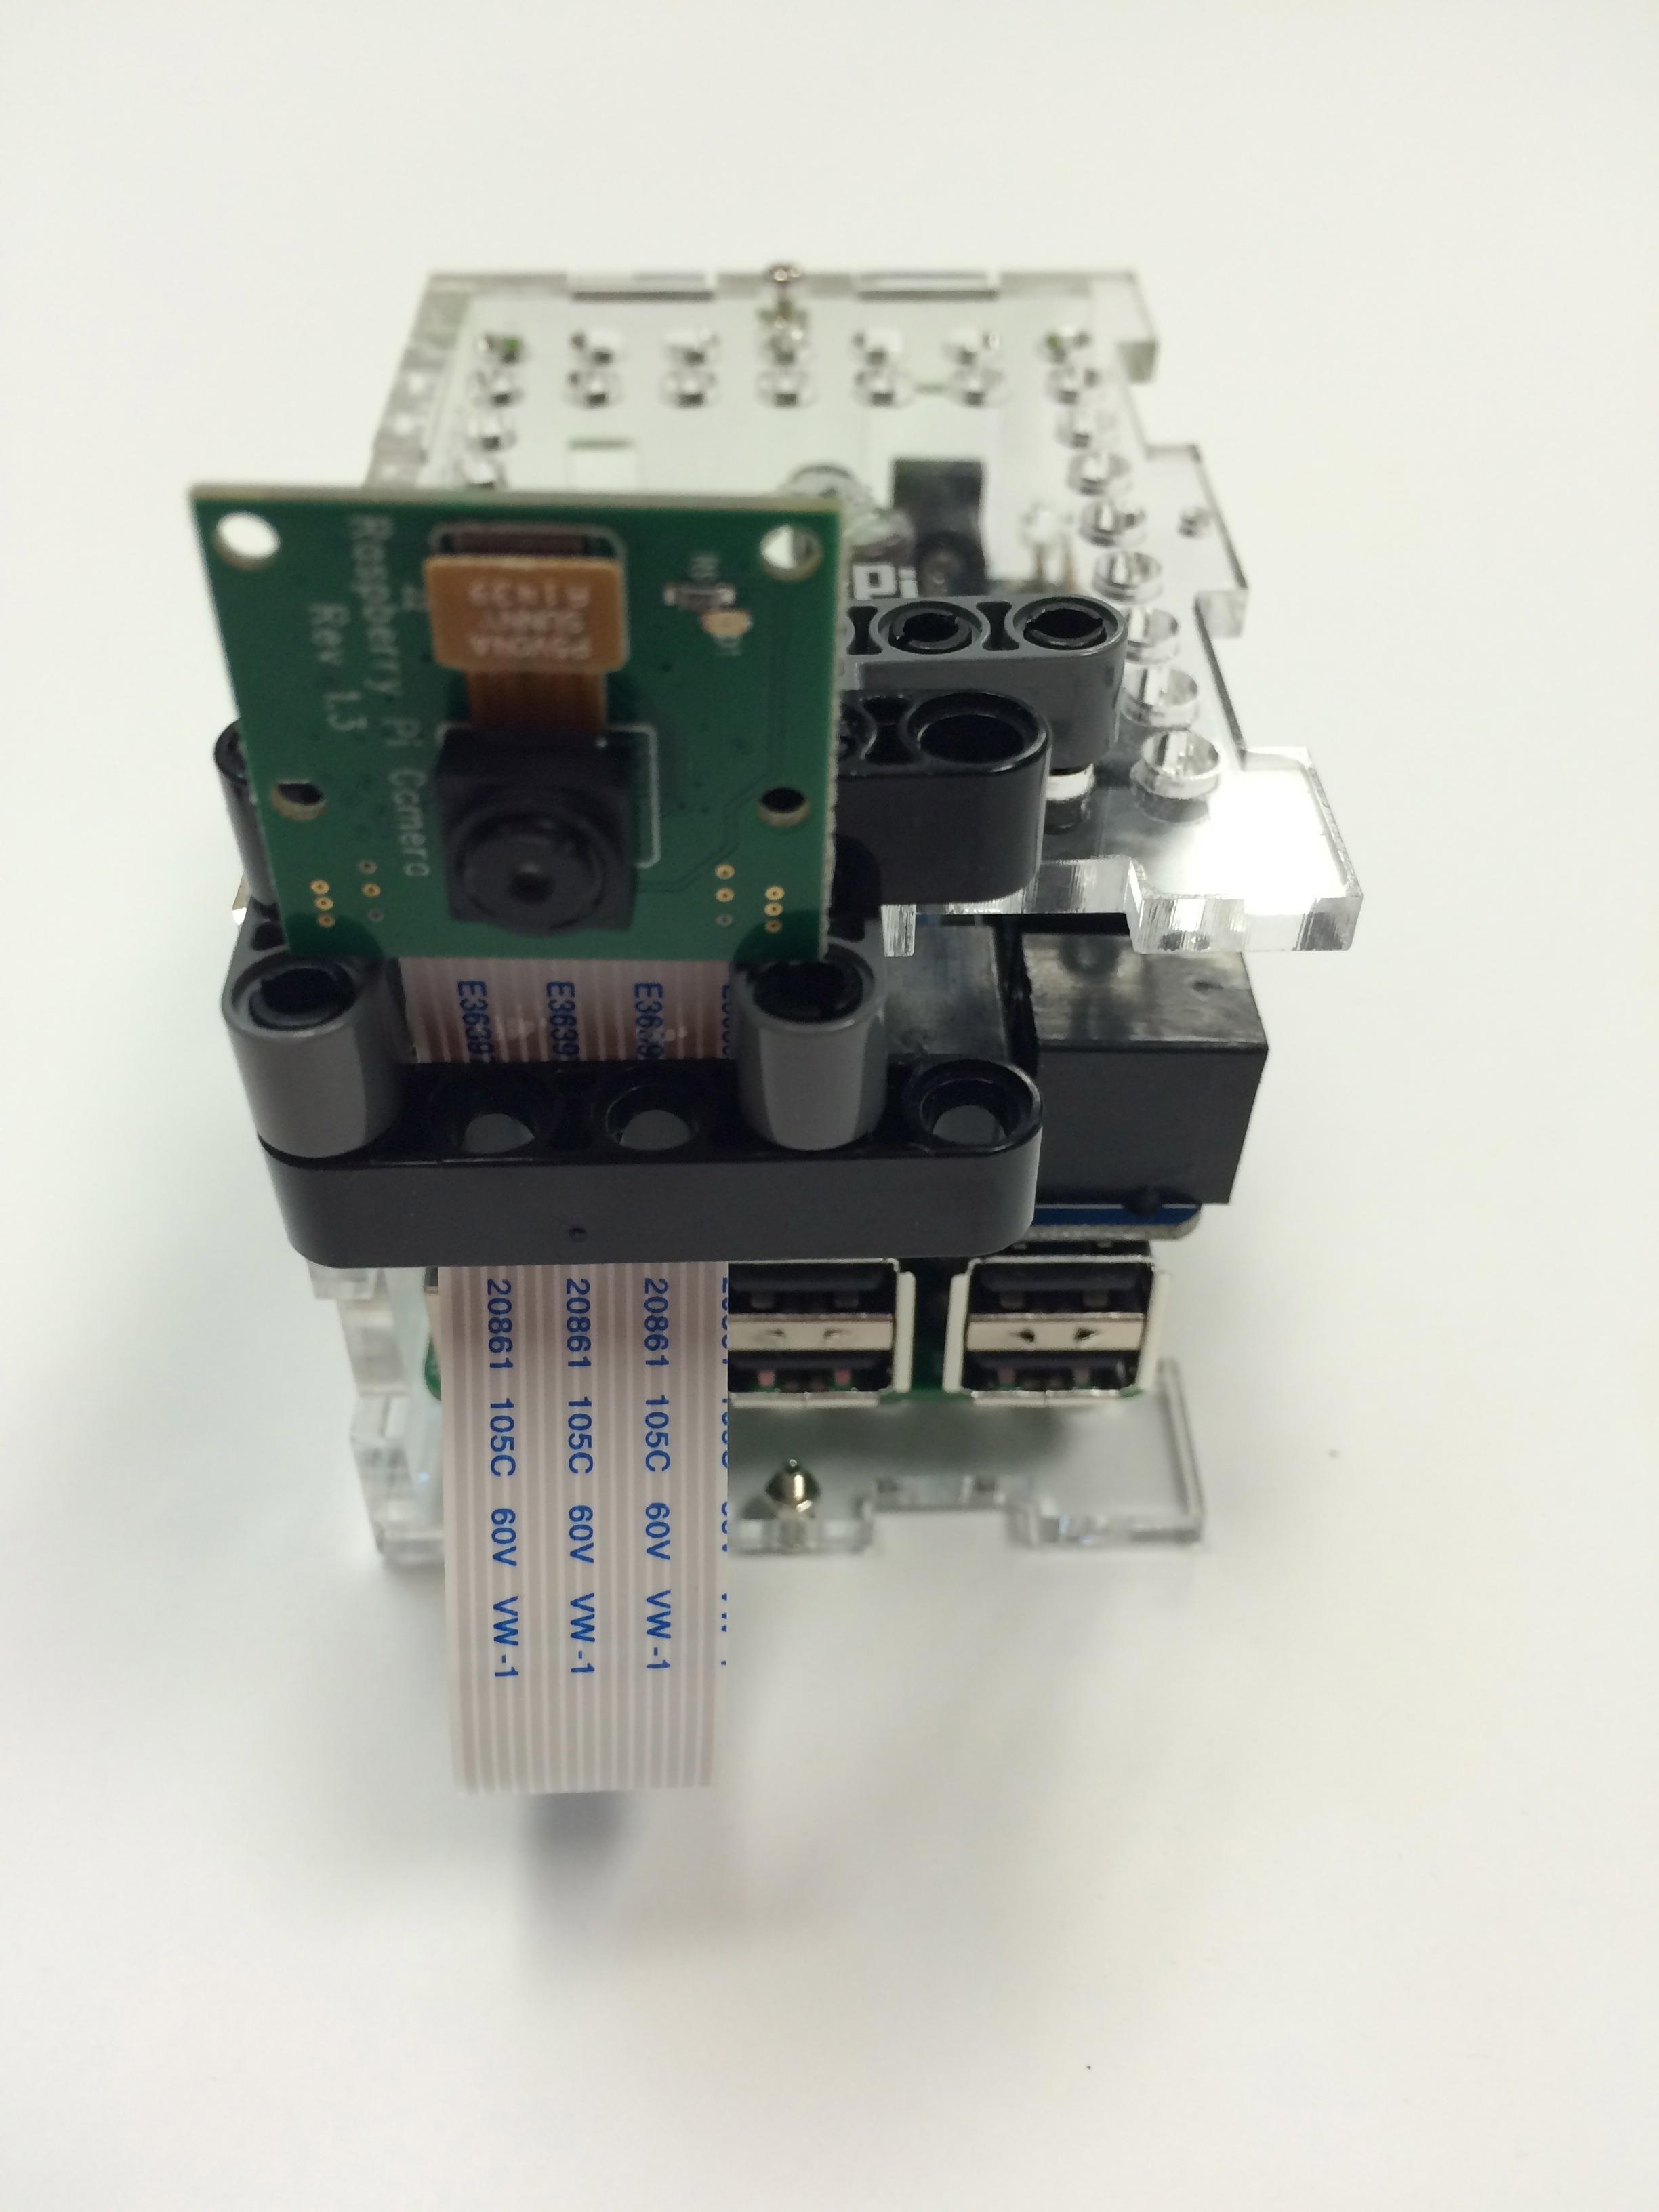
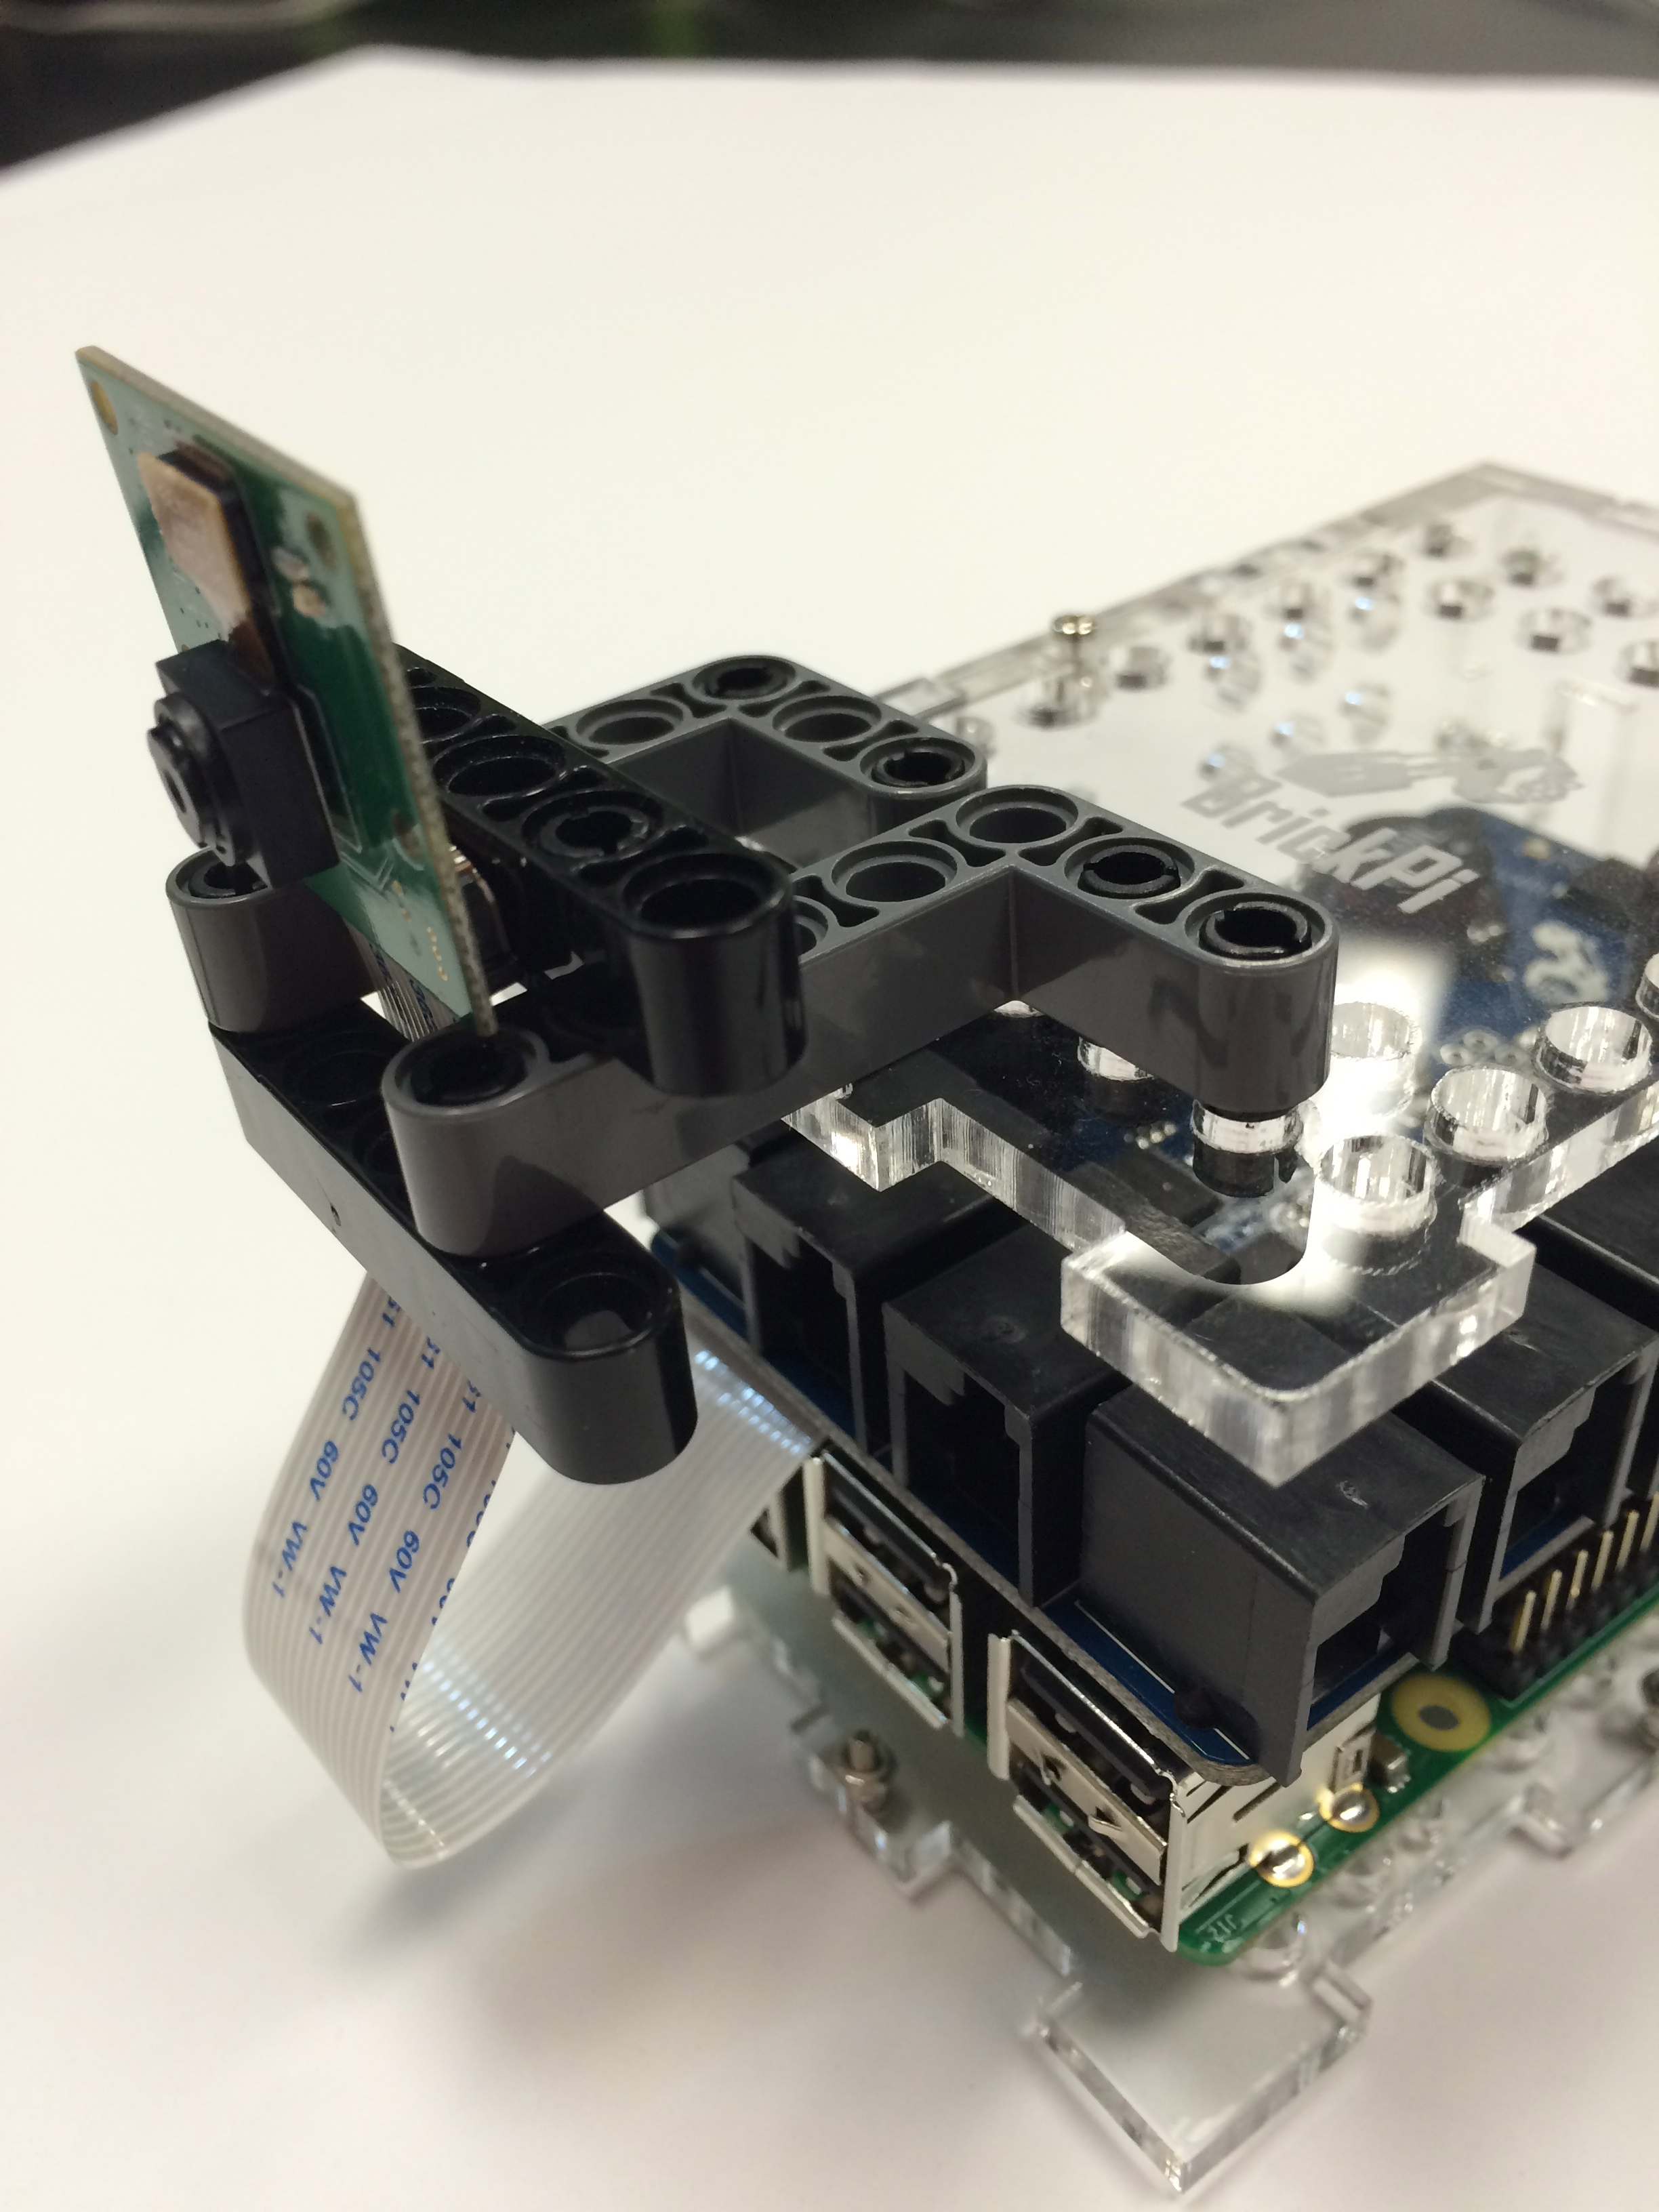
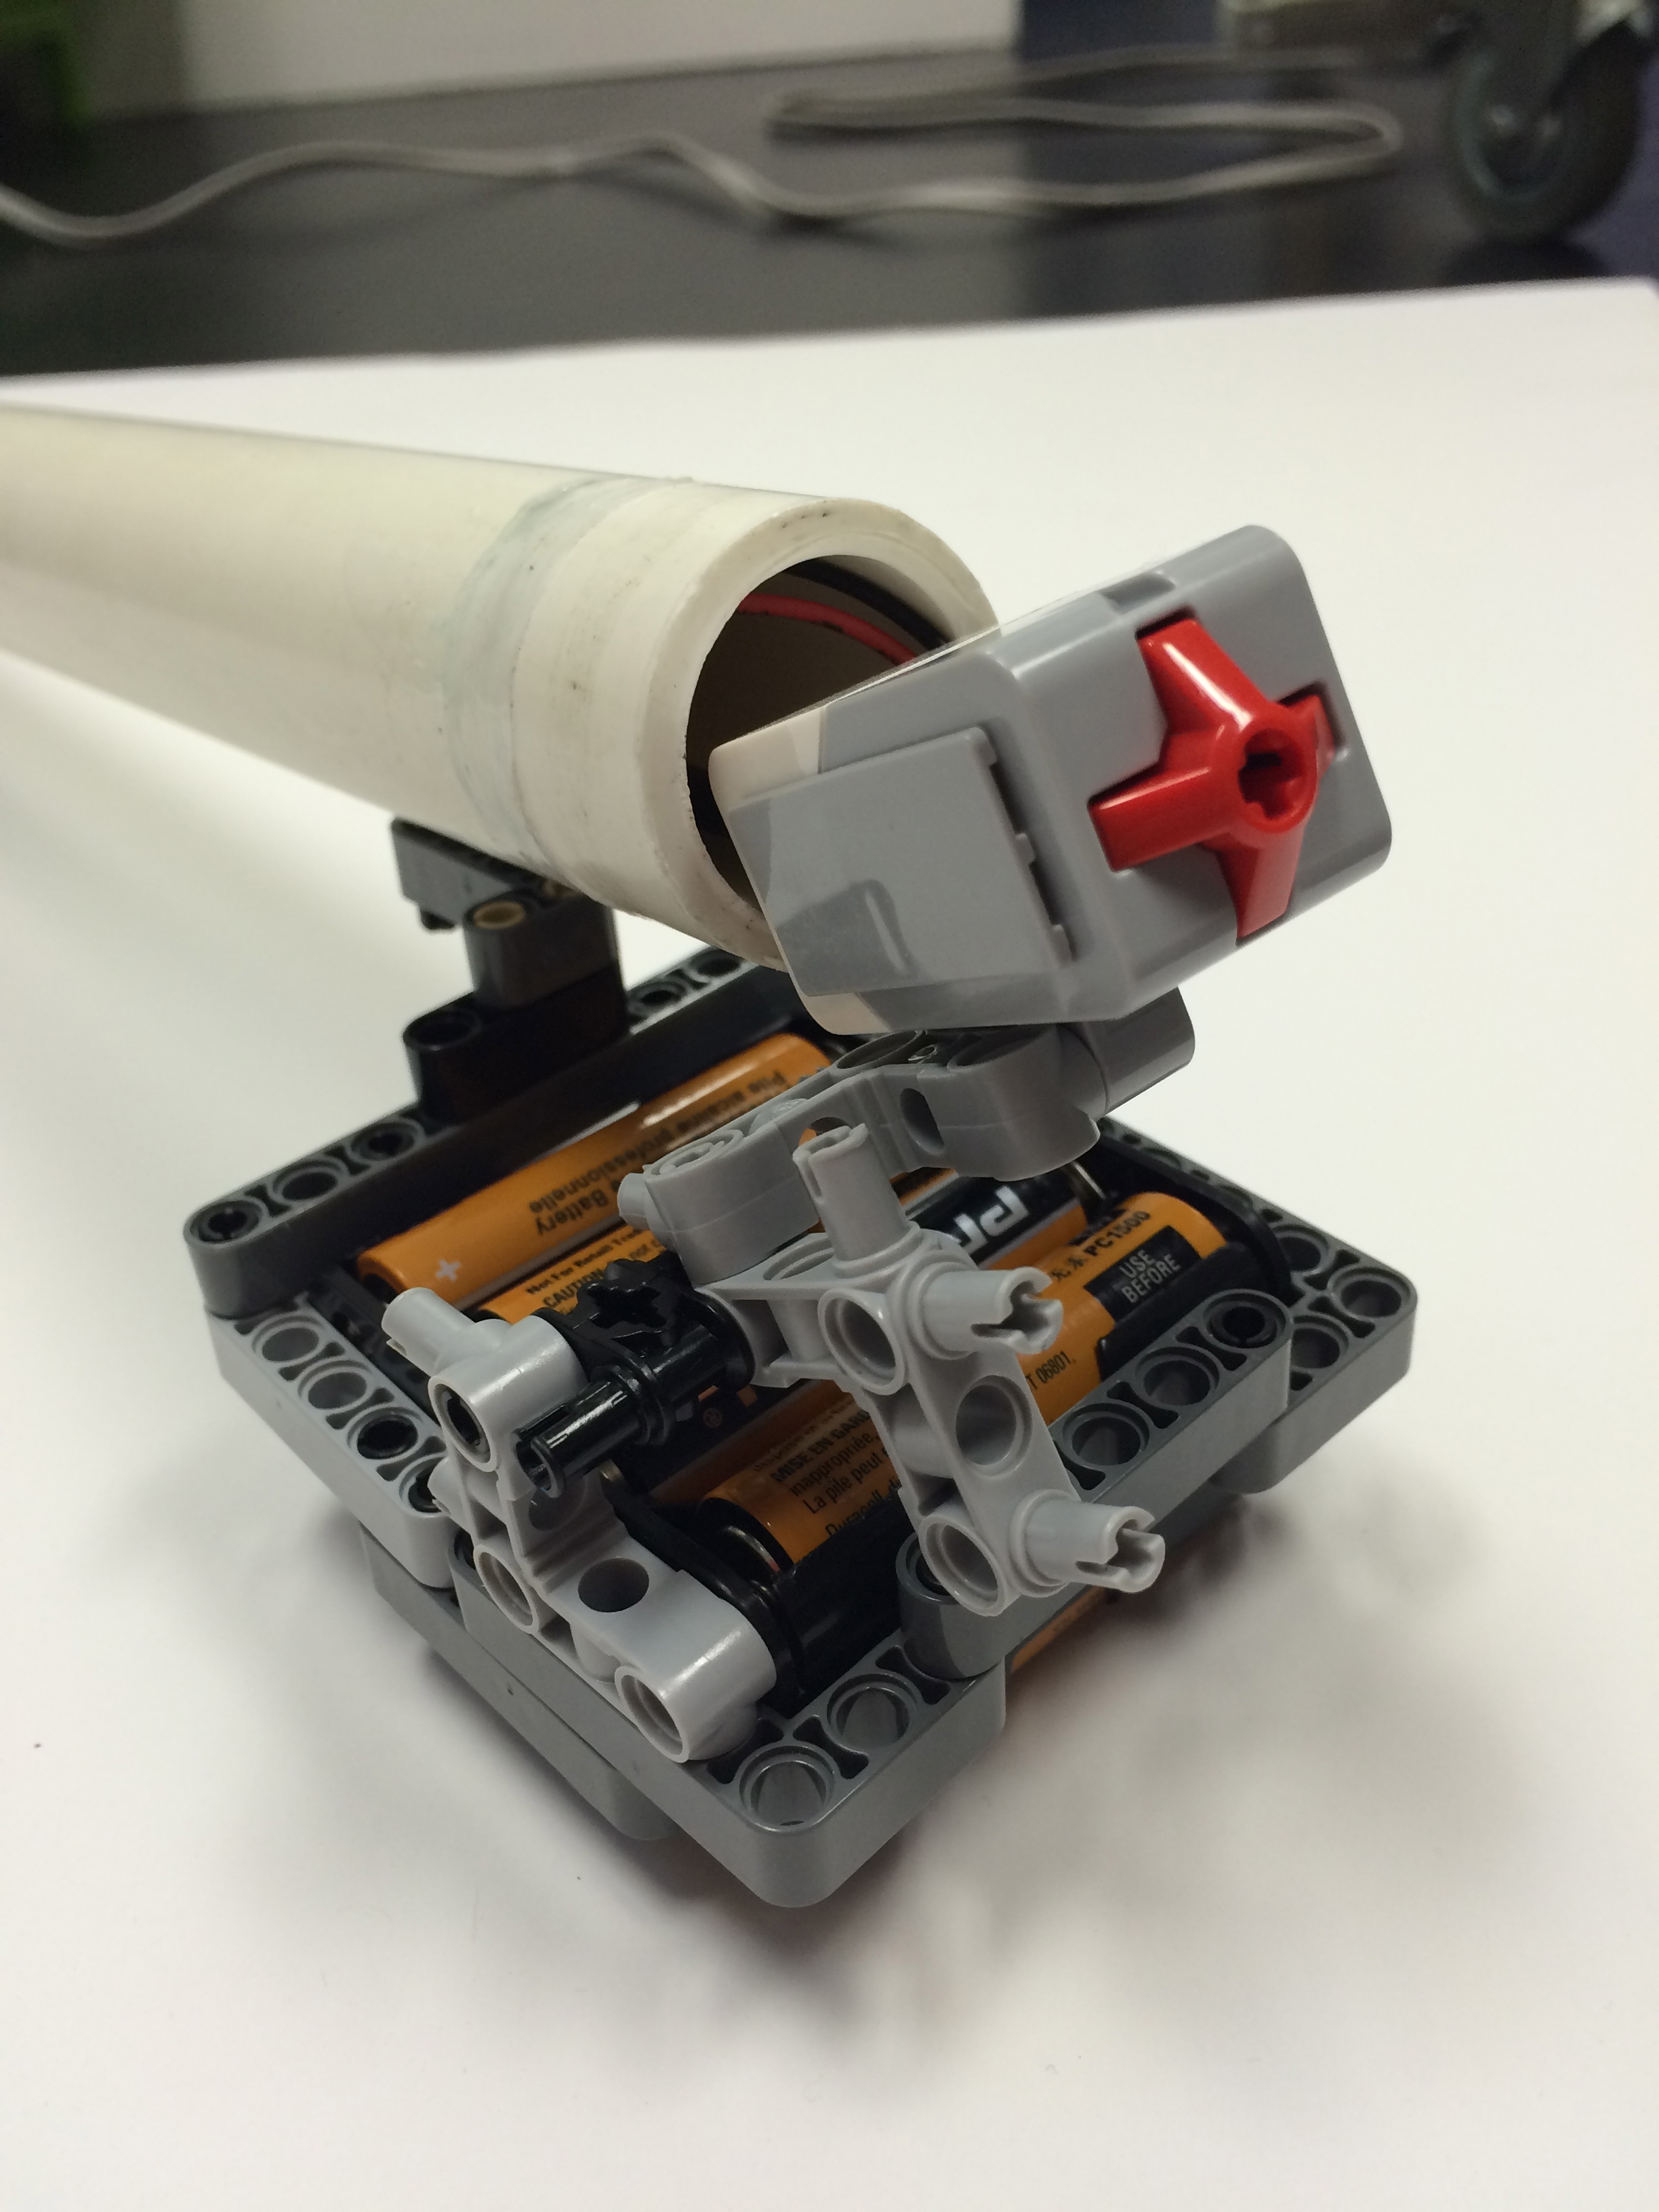
- Brick Pi
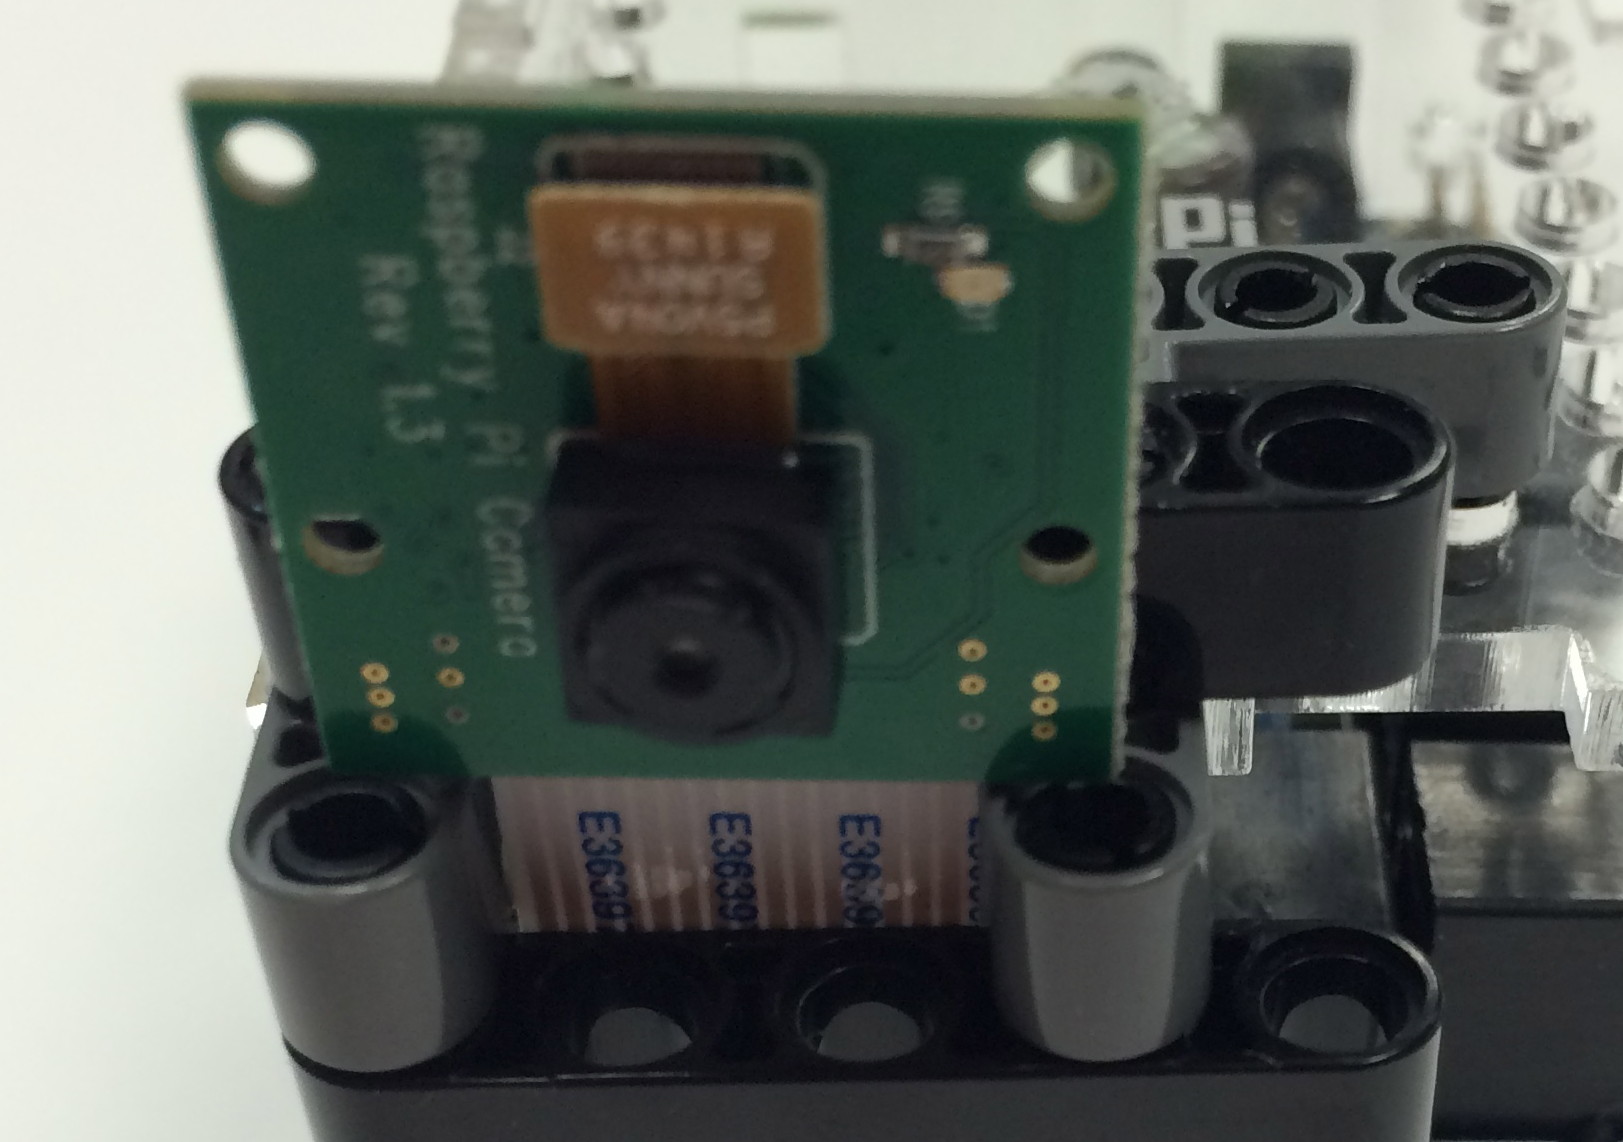
- Raspberry Pi Camera
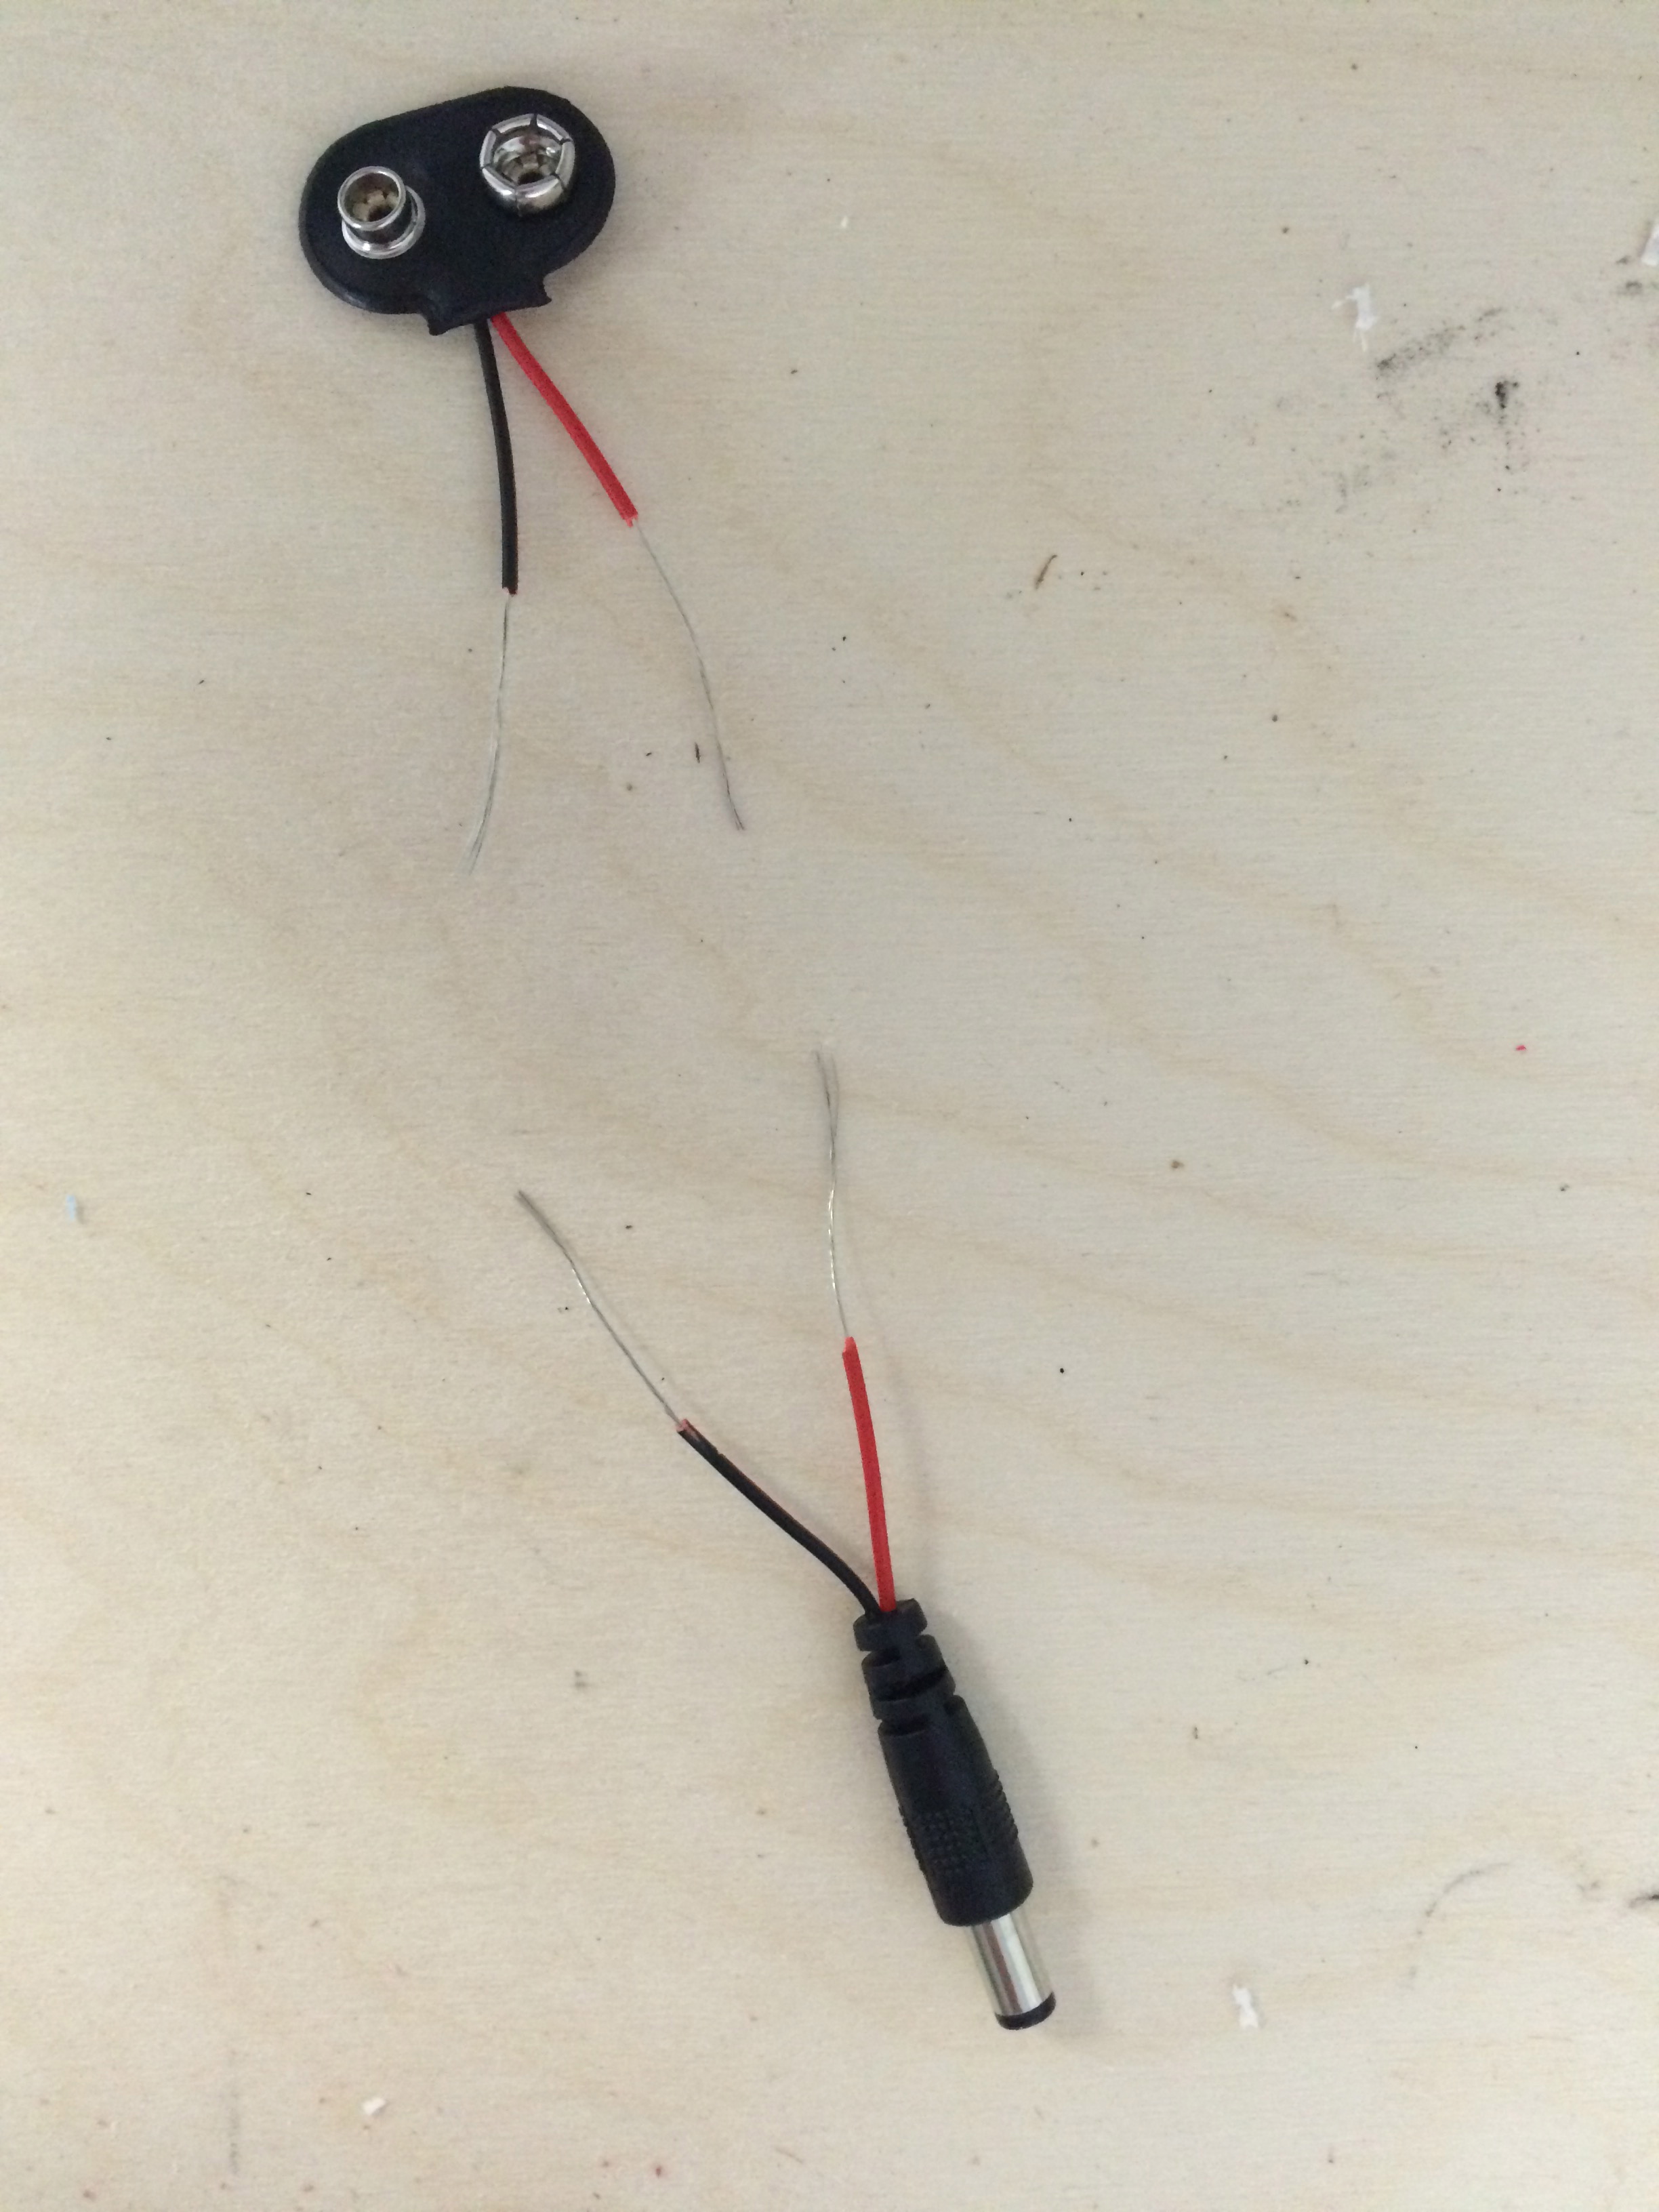
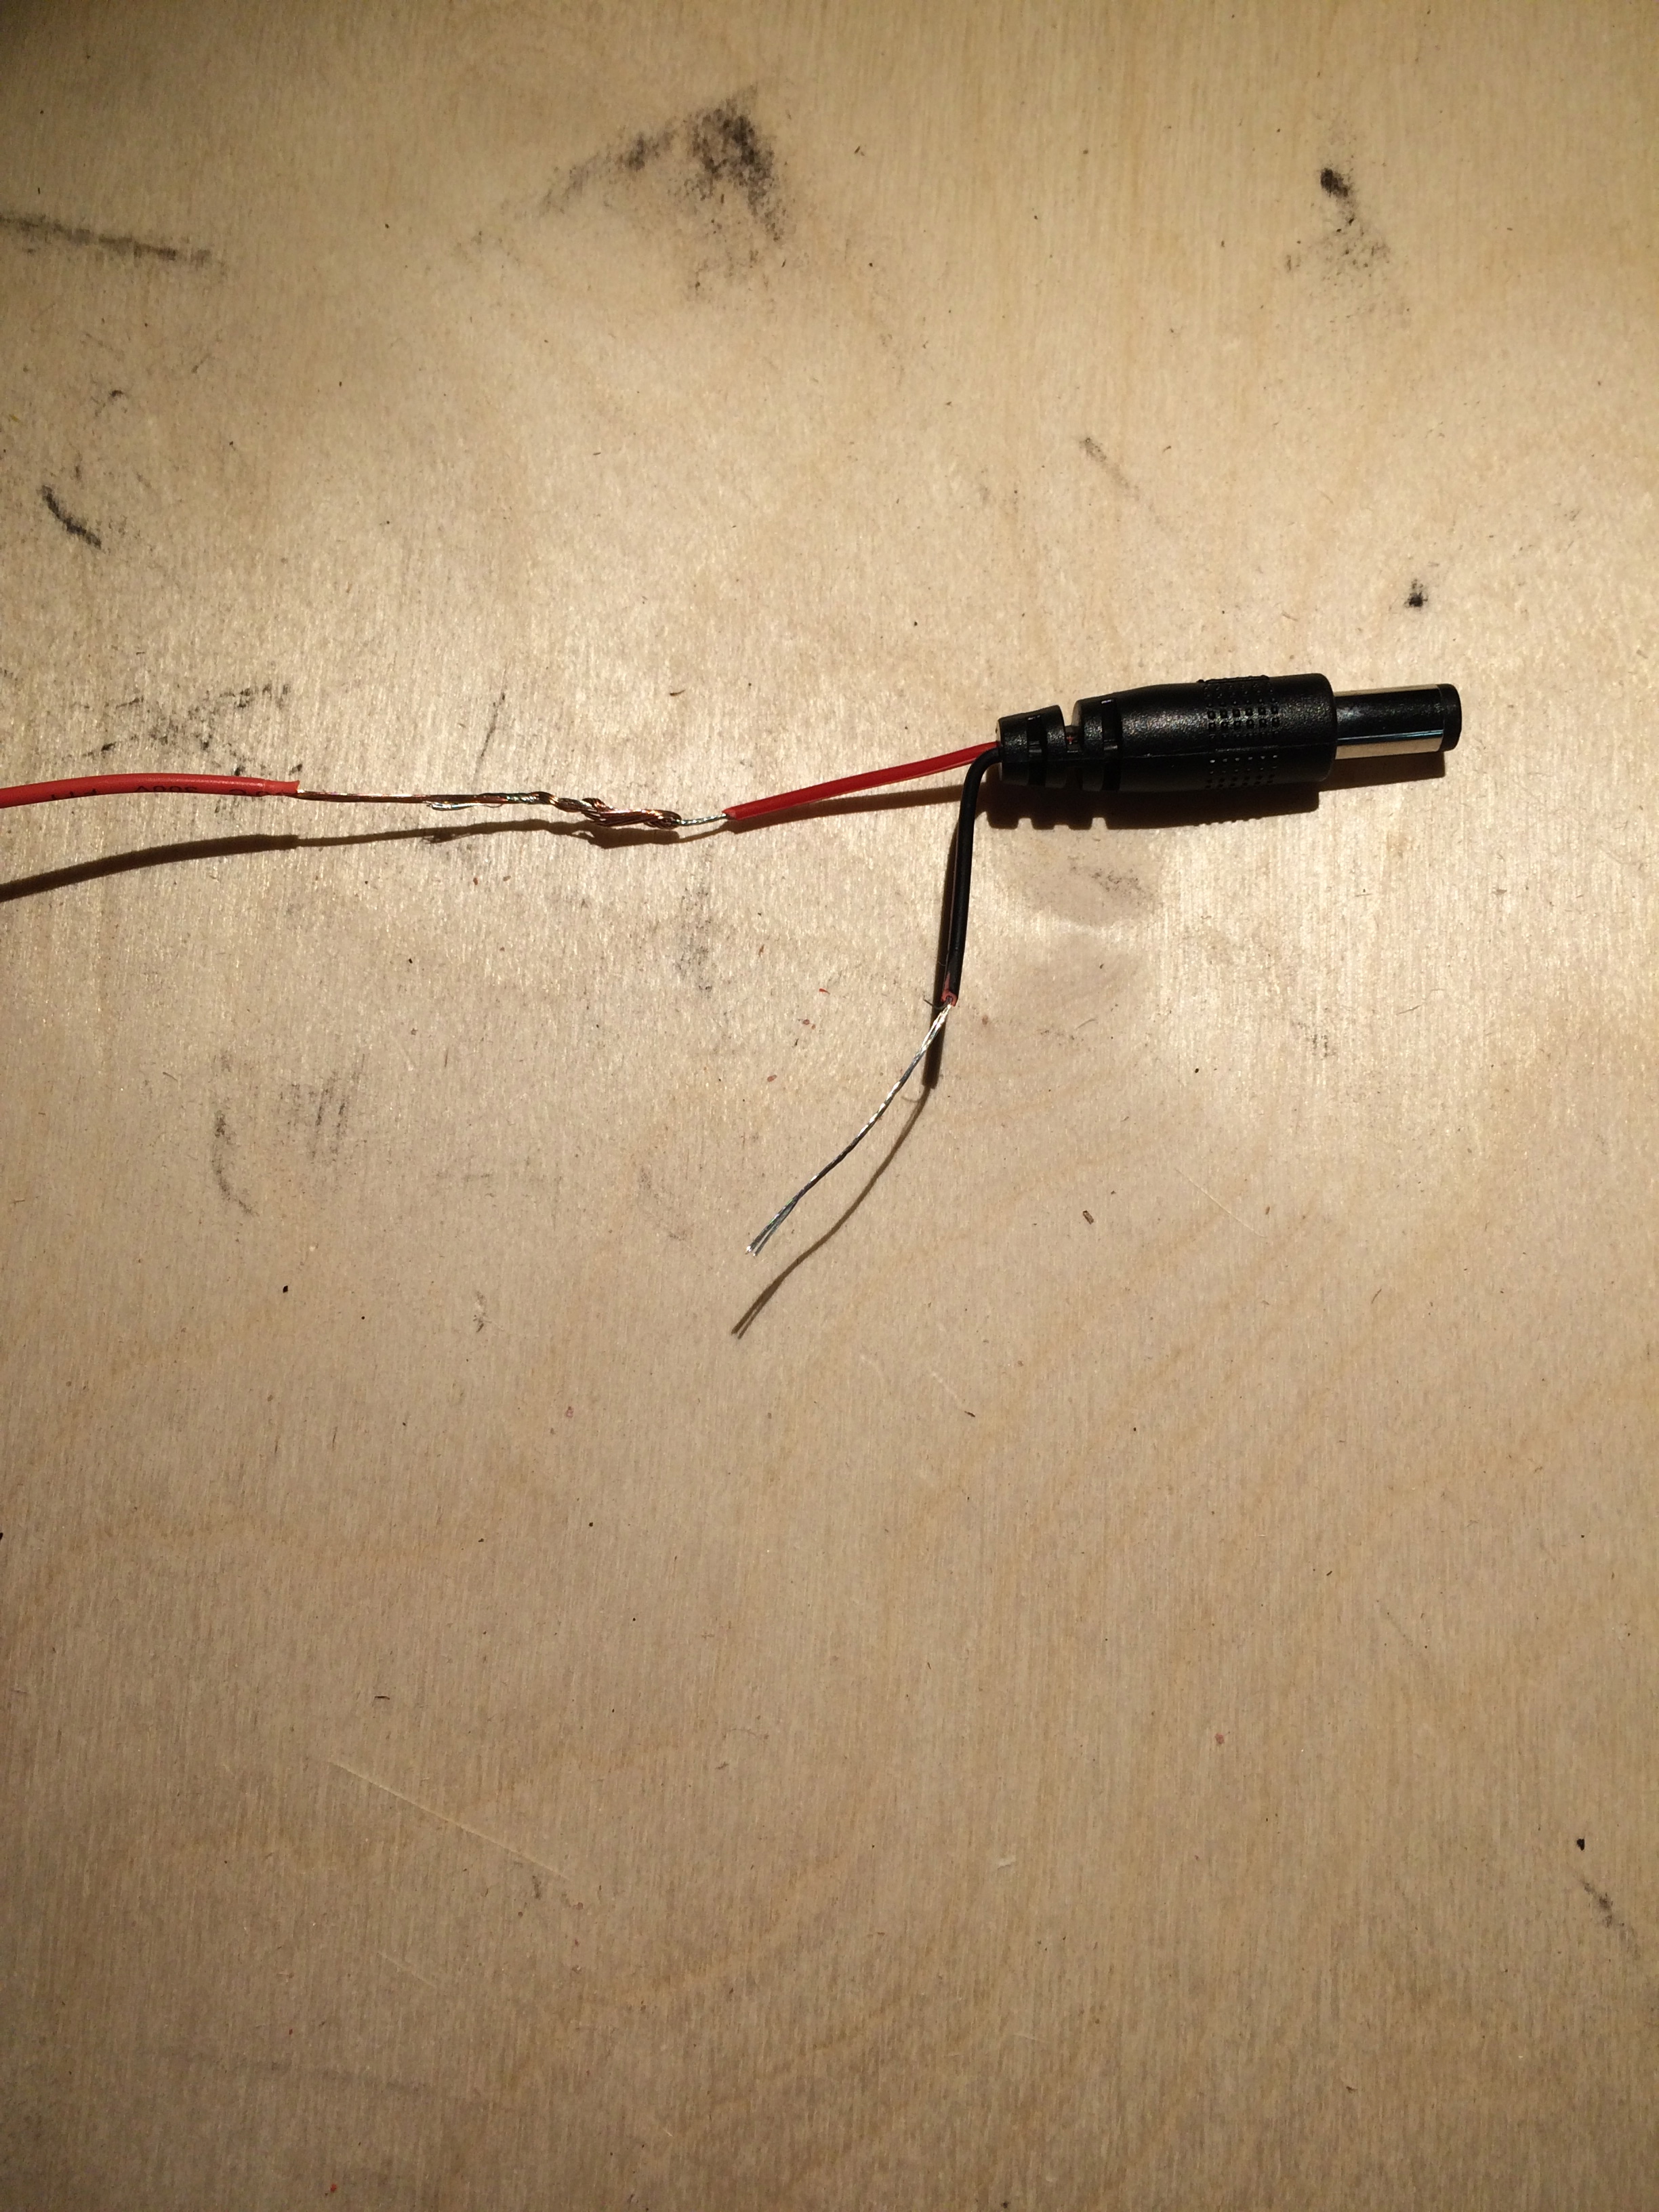
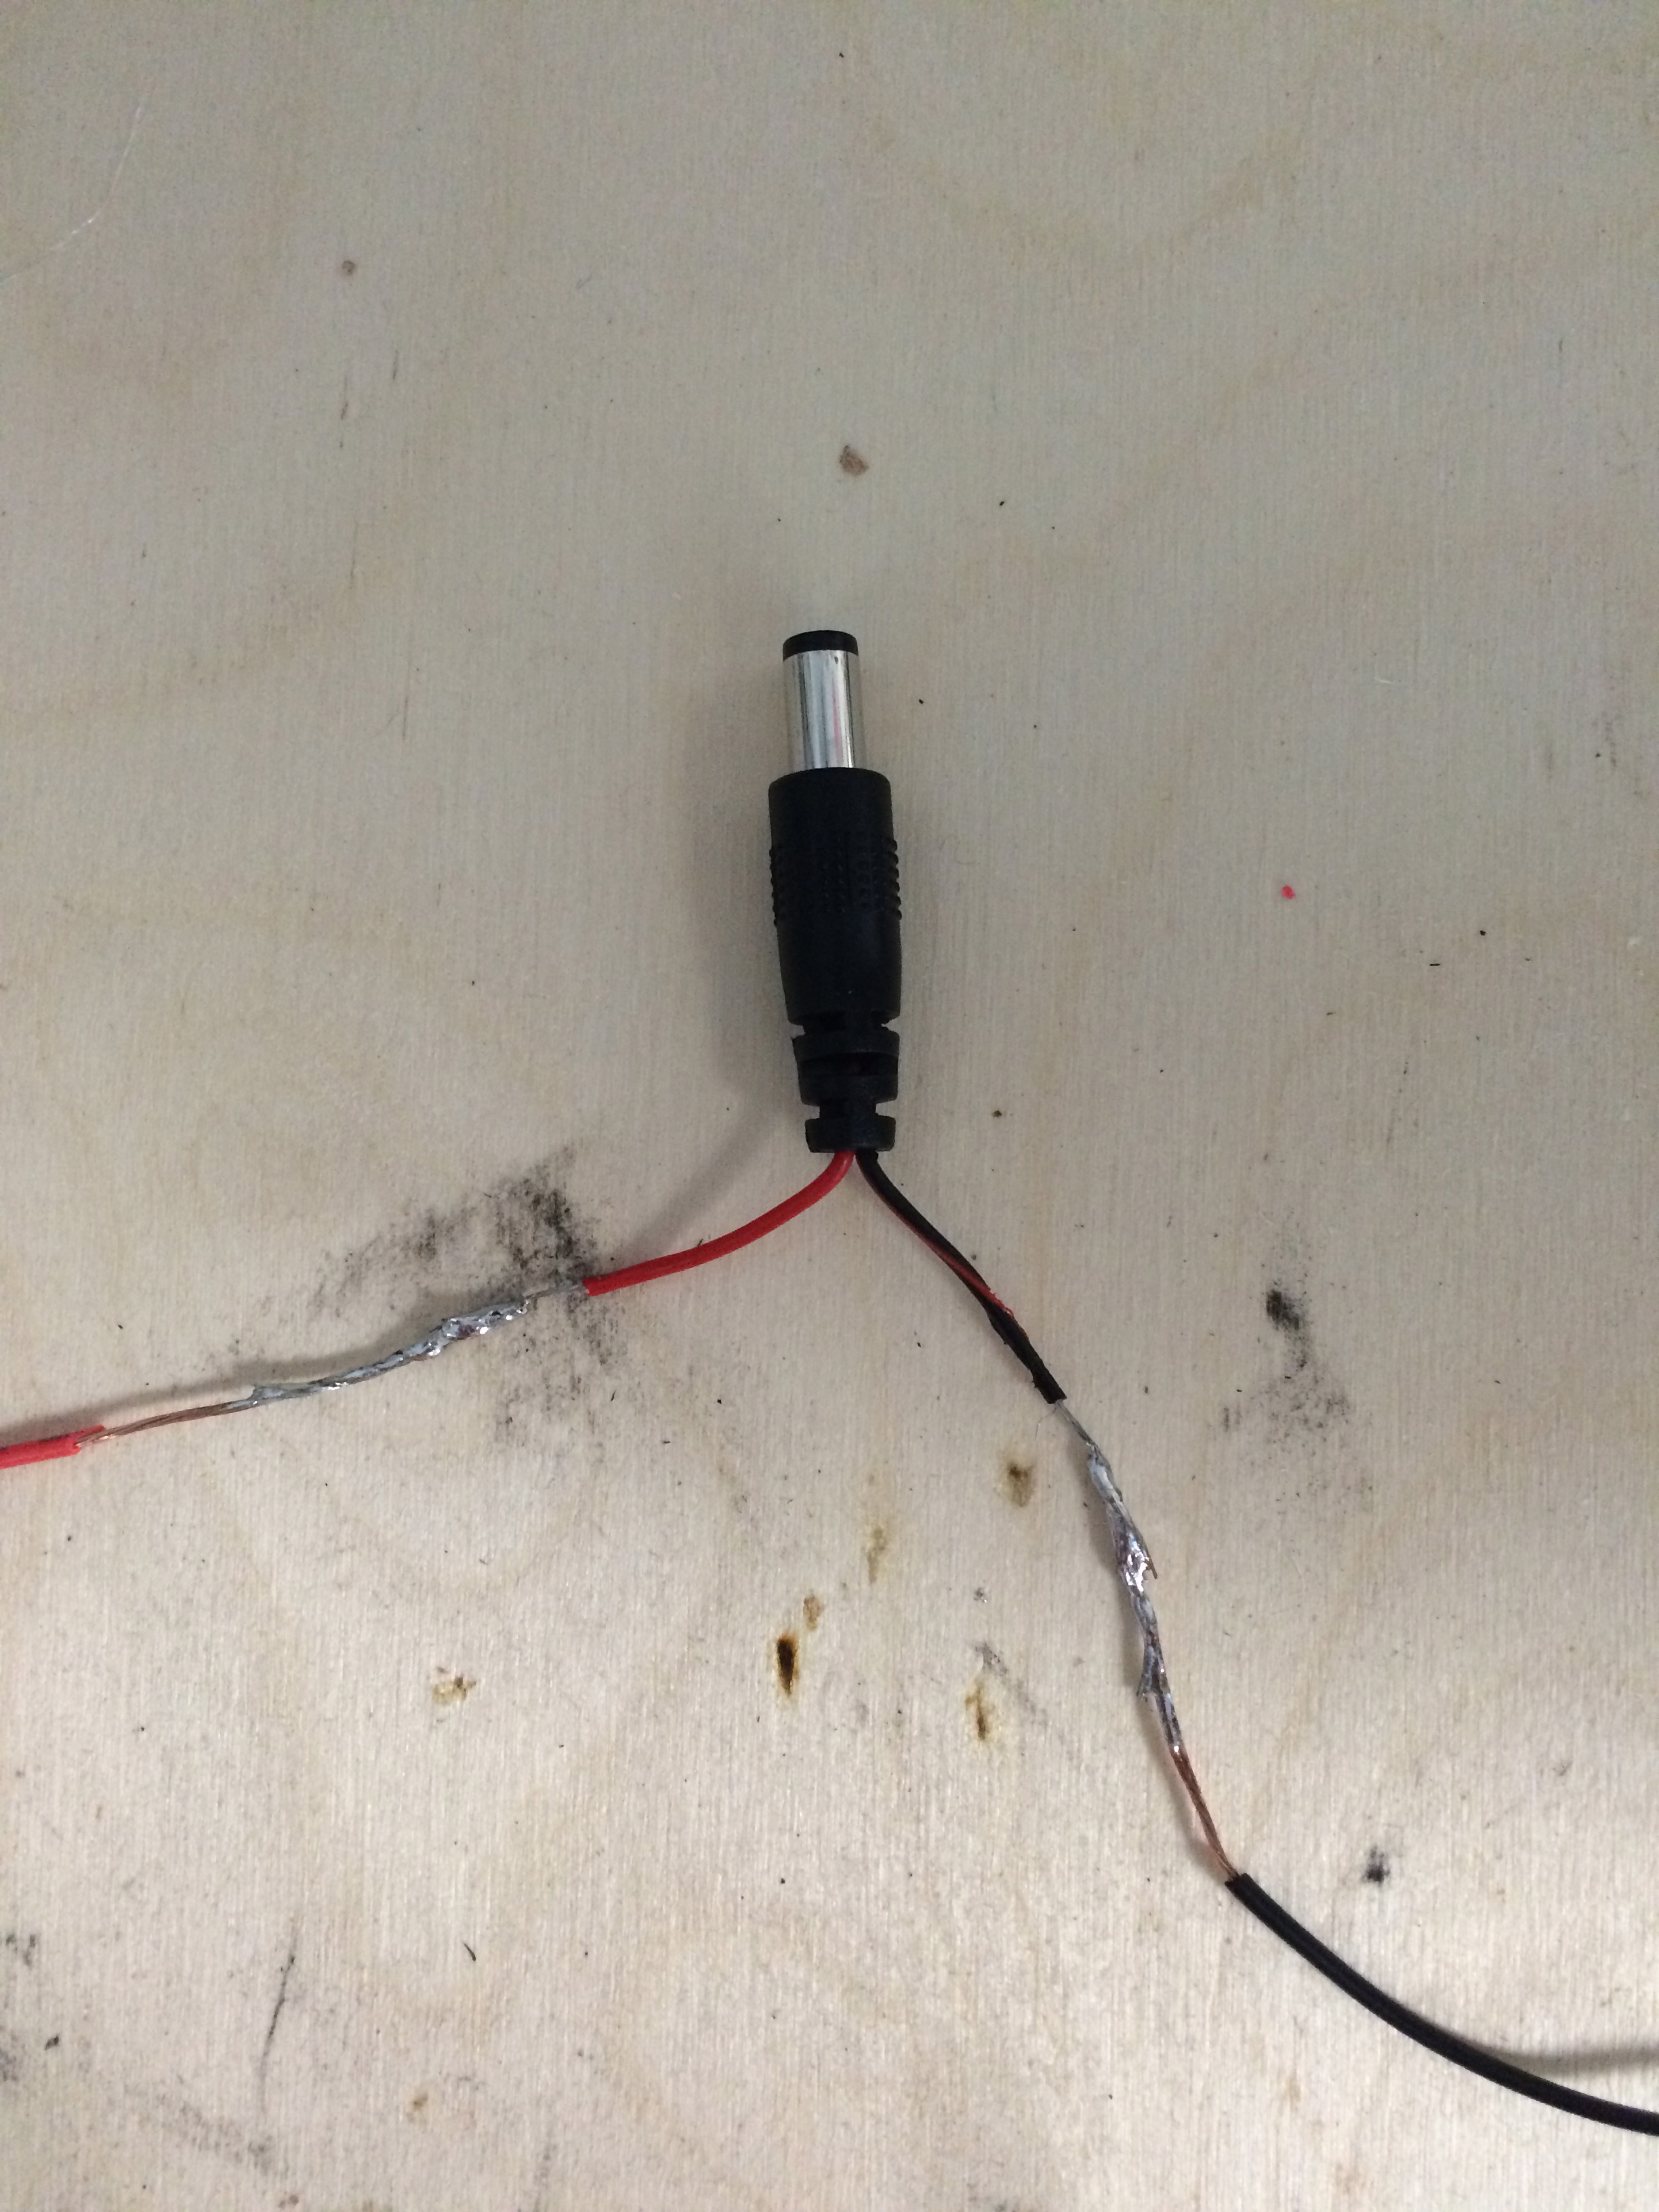
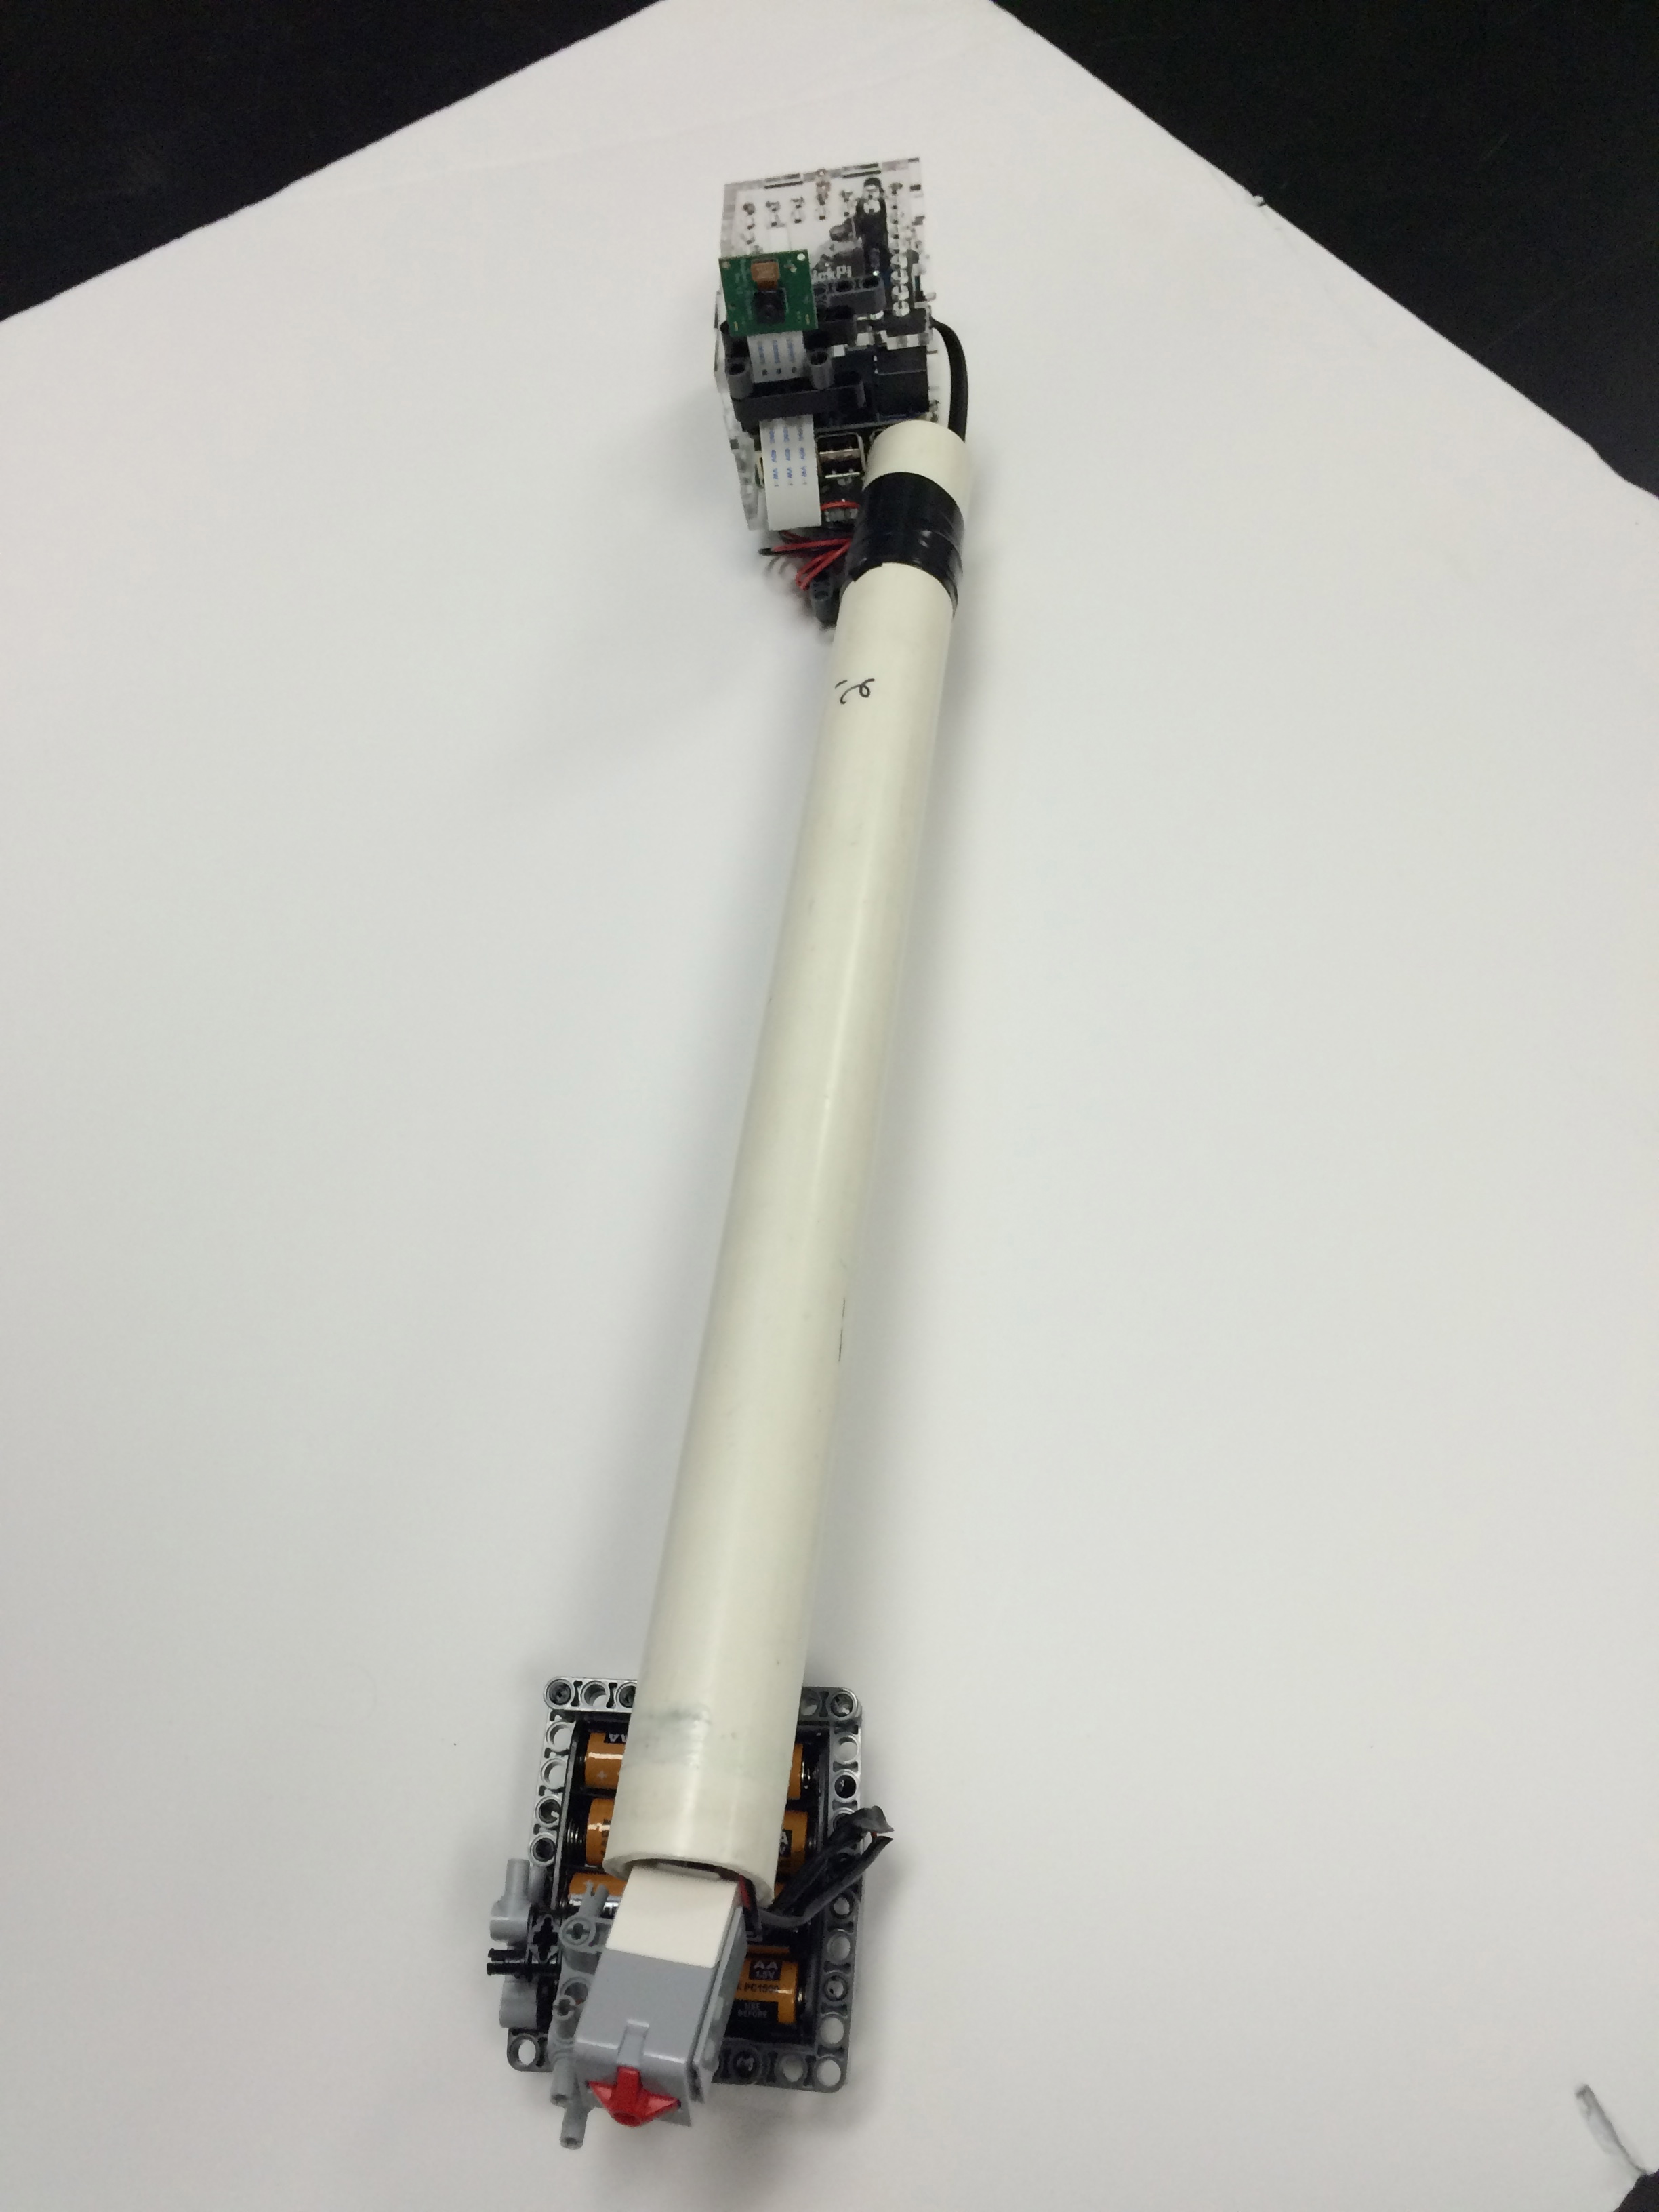
- Battery Pack + Cable
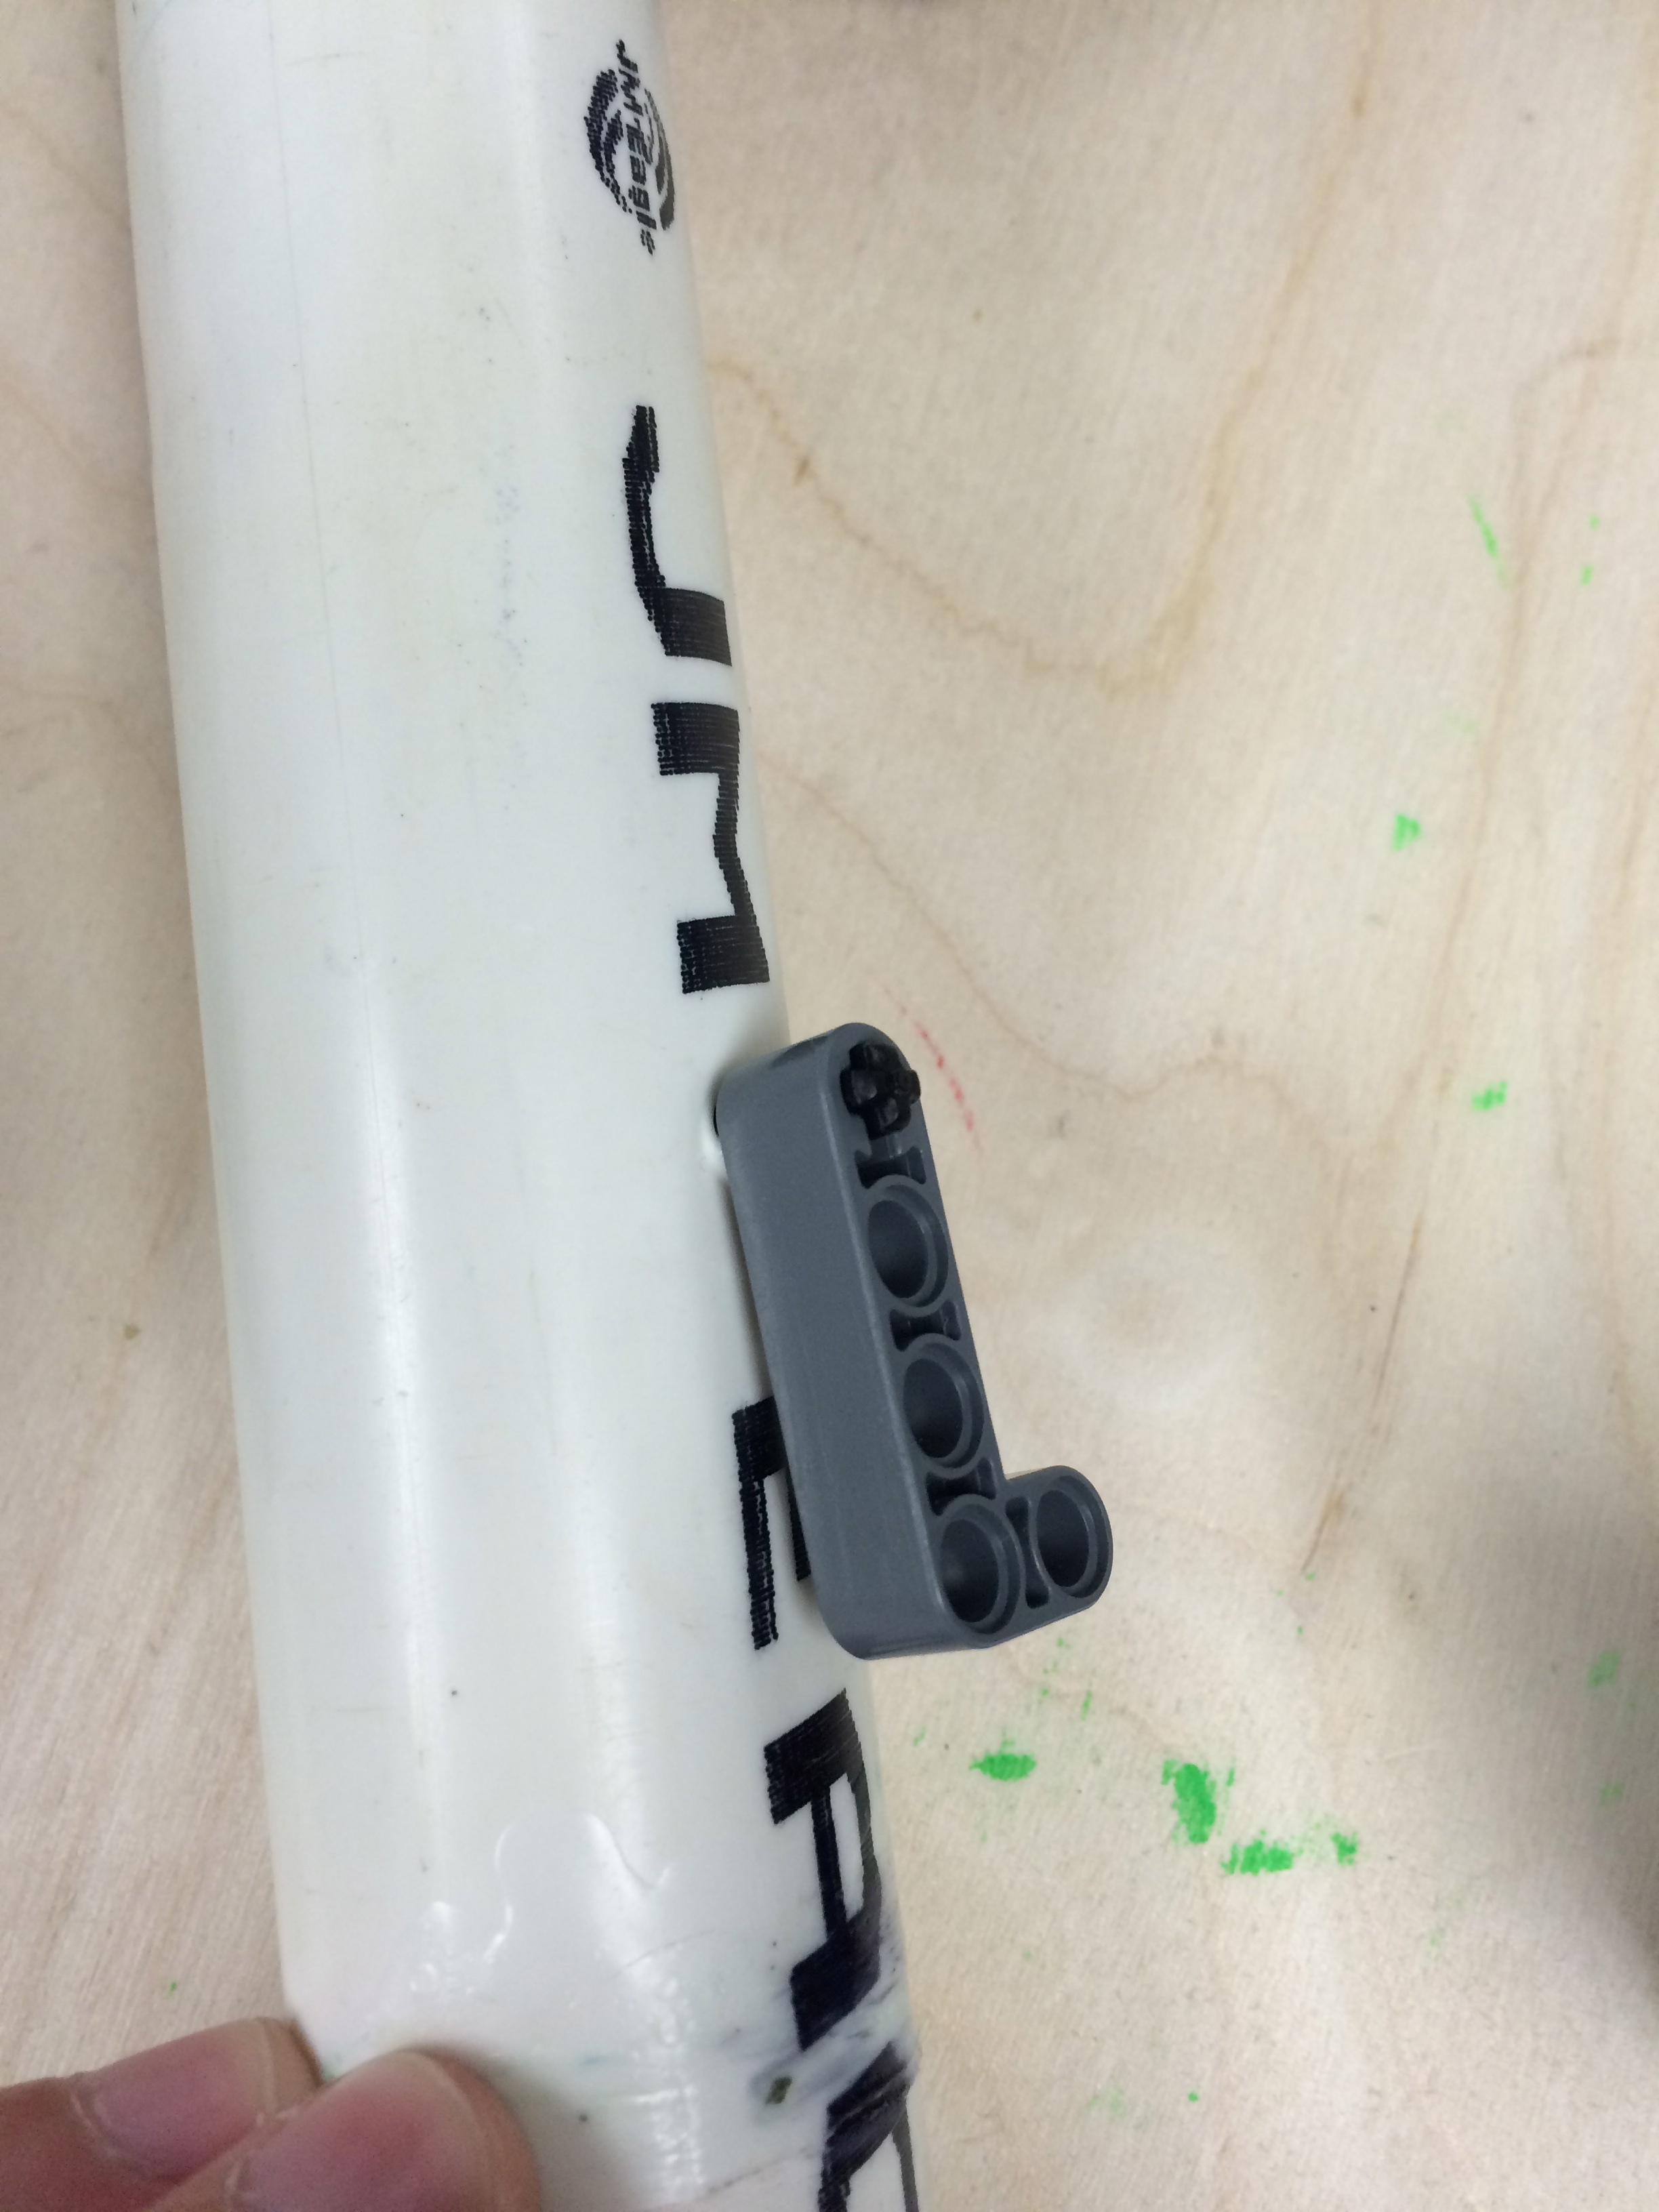
- Some sort of stick
- Some LEGOs, electrical tape, or other creative building material