Connect to your Raspberry Pi from a Mac Using Ethernet
This is a step by step guide to connecting your Raspberry Pi with your Mac.
1. First find your Network Preferences.
In the upper right hand corner of your screen, click on the wifi icon. 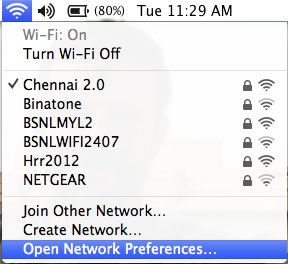
2. Setup your Ethernet Preferences
After clicking “Open Network Preferences”, select your Ethernet connection on the left hand side of the box. Check that you have “Using DHCP” selected for “Configure IPv4” option. And check that “Location” at the top of the dialog box has “Automatic” selected for your network configuration.
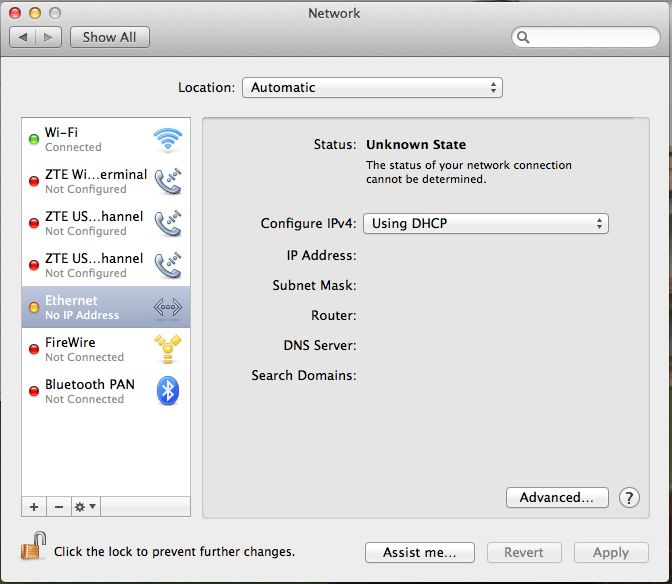
Check that you’ve selected “Using DHCP”
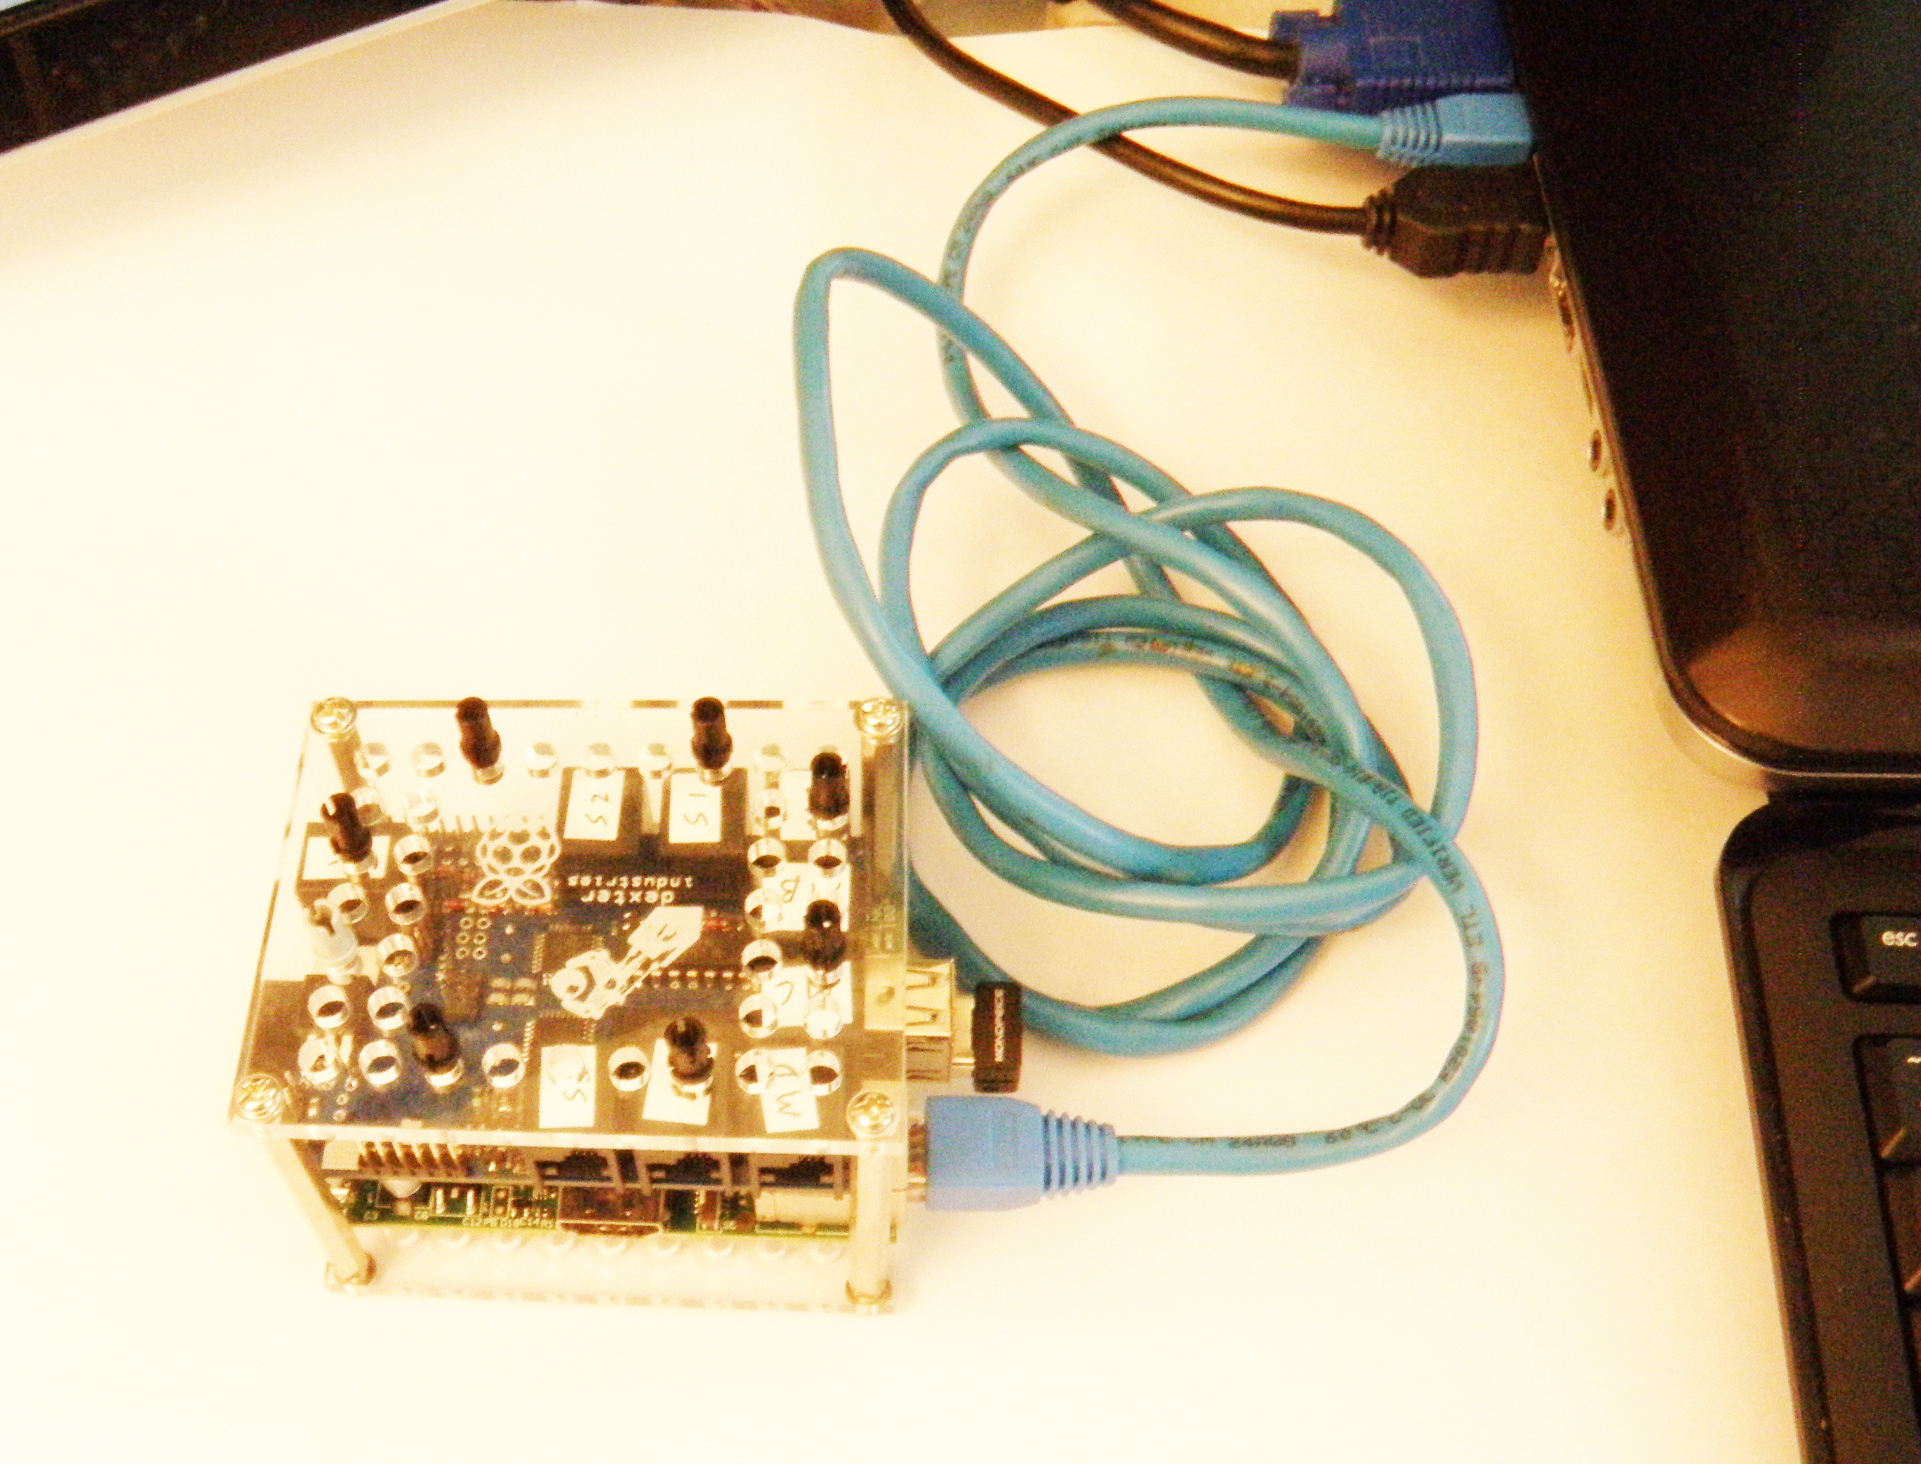
3. Setup the Hardware.
Plug one end of your ethernet cable into your Raspberry Pi, and the other into your computer ethernet card. Power the Raspberry Pi up. You should see all of the lights flashing on the Raspberry Pi!
4. Test for Connection
To test if your Pi is connected on the network will open the windows command line and type
ping raspberrypi.local
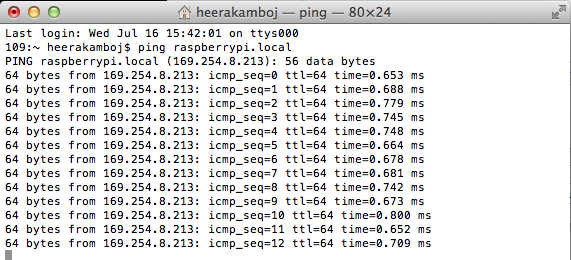
Open the terminal on your Mac. Press “Command Space”, which opens Spotlight. Type “Terminal” and the terminal will come to the top. Click on the terminal icon. In the Bash command line, type
ping raspberrypi.local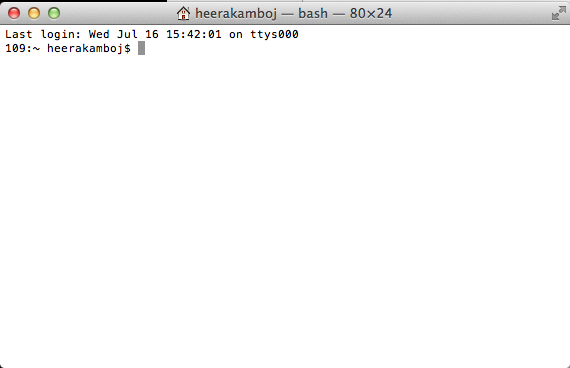

5. Connect to your Raspberry Pi Using SSH
You can log into your Raspberry Pi using Bash on your Mac. Again, we’ll open up a new terminal: Press “Command Space”, which opens Spotlight. Type “Terminal” and the terminal will come to the top. Click on the terminal icon. In Bash, type
ssh pi@raspberrypi.local
You’ll be prompted to verify you’re trying to login to the Raspberry Pi. Type “yes” an press return. Type the password. The default password for the BrickPi image is “raspberry”. Type “raspberry” and press return. Boom! You’re logged into your Raspberry Pi and ready to start programming a LEGO robot!

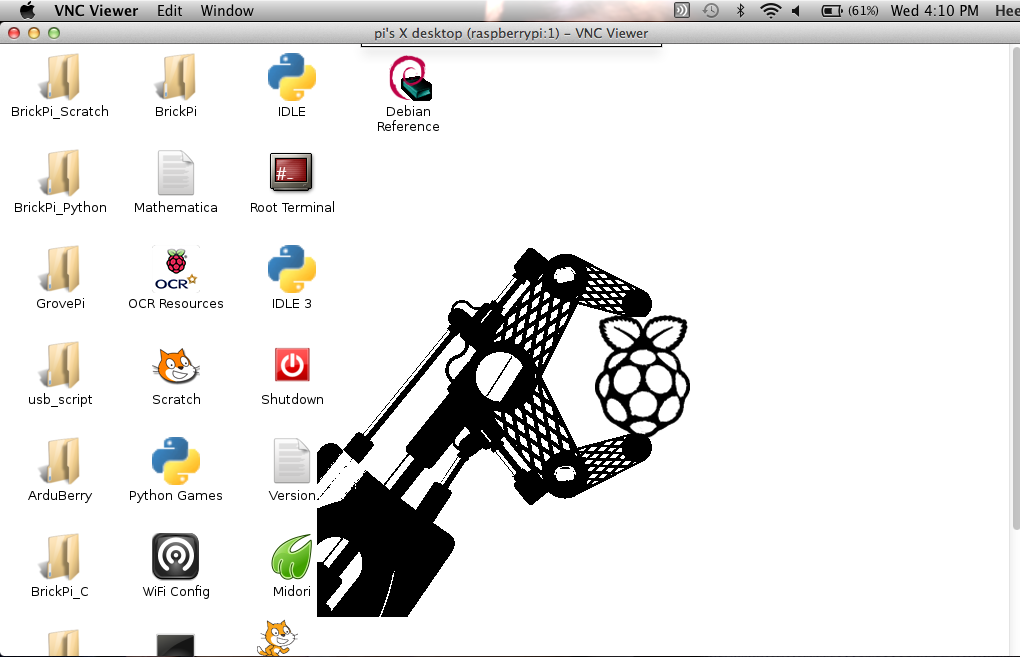
6. Connect to your Raspberry Pi Using VNC
If you’re more comfortable working in the Raspberry Pi Desktop environment, you can use a program called VNC to login and run programs on the Raspberry Pi.
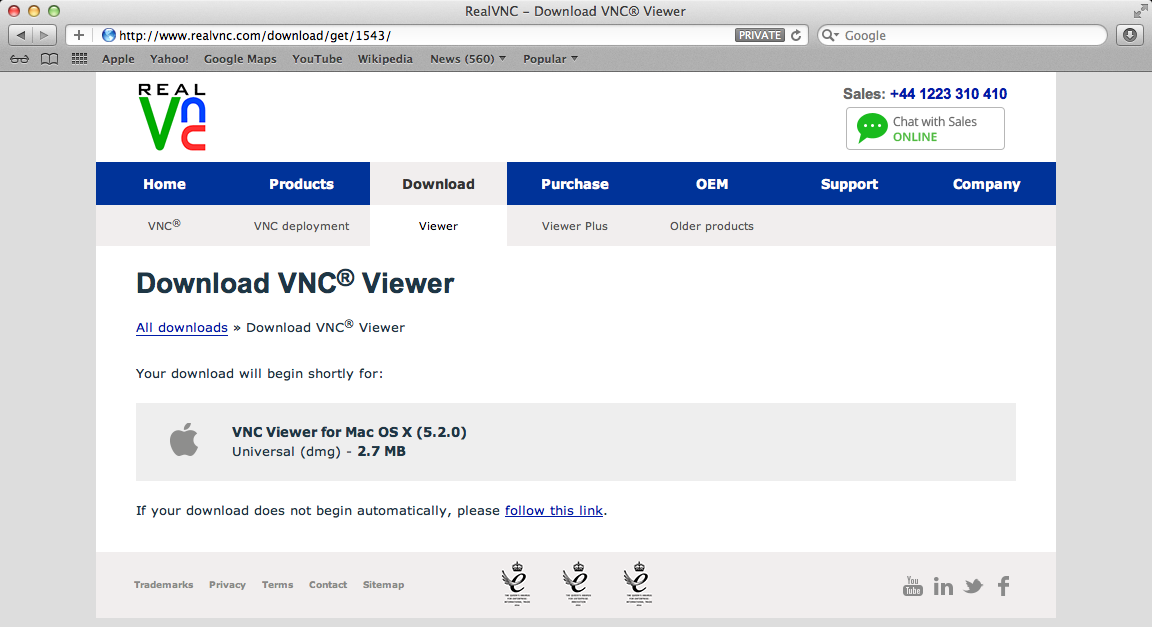
First, install VNC Viewer on your Mac. VNC Viewer is free. You can download VNC Viewer here.
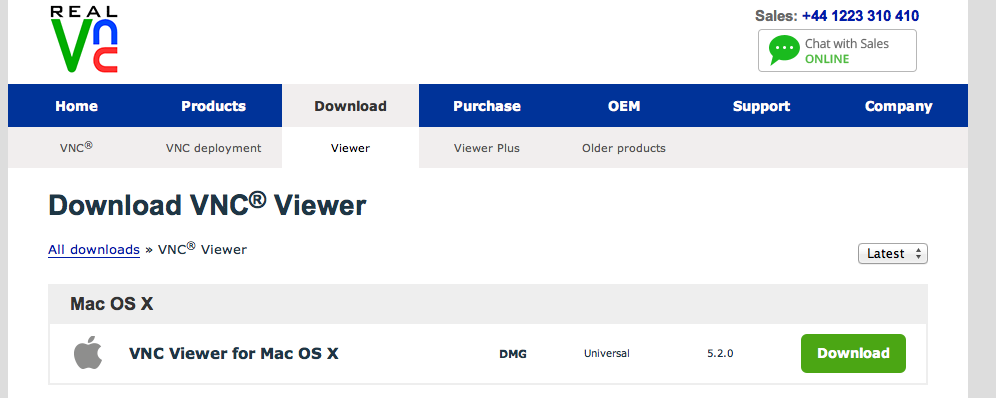
Click download on the “VNC Viewer for Mac OS X”. You will be prompted for a name and e-mail address.
Agree to the terms and click “Download”.
Install VNC Viewer by double clicking on the downloaded file.
When VNC View opens, type the following into the VNC Server box:
raspberrypi.local:1
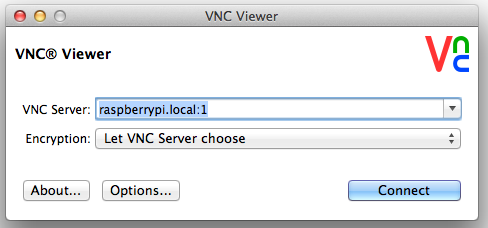

The colon and number 1 afterwards are important, don’t leave them out!
Click “Connect”
Finally, continue through VNC’s warning message about the unencrypted connection.
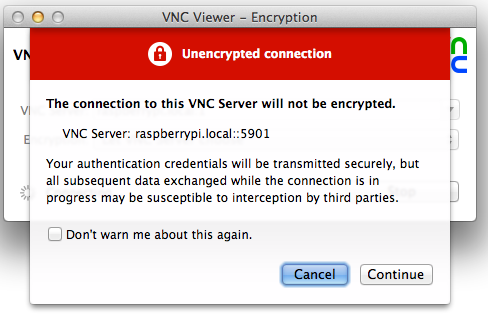
When prompted for the password, the password is “raspberry” Congratulations! You’re in!