 How to Flash new firmware using an AVR Programmer
This is a tutorial on how to update the BrickPi firmware with an AVR Programmer. If you don’t have an AVR programmer, you can see our other tutorial on how to update the BrickPi firmware with an Arduino here.
Tools Needed
You will need:
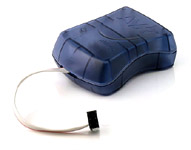
- An AVR Programmer. In this tutorial we’ve used the AVRISPMK2.
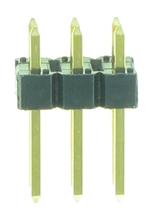
- A 6-pin 3X2 header.
Before you Begin
- Make sure avrdude is installed on your computer. If you have installed Arduino software on your computer, you have avrdude installed. On windows you might need to install it in the PATH keywords so you can operate avrdude out of any directory.
- Mac OSX Users: Download and install AVR for Mac OSX at http://www.obdev.at/products/crosspack/index.html
- Mac OSX Users: make your .sh files executable by using the command “chmod 777 upload1.sh”
- Plugin your AVR Programmer to your computer. In “Devices and Printers” you should see the AVR Programmer available.
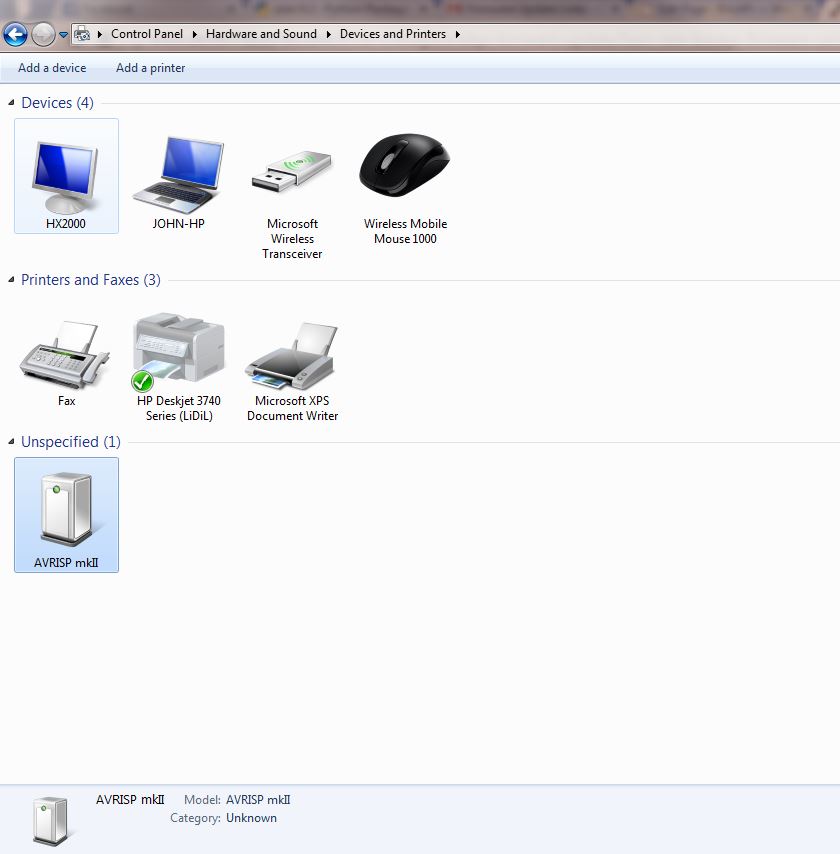
Check if the AVR Programmer is detected properly
- Download the batch files and firmware from Github here. Select the directory of the firmware you want to install, and download the contents of that directory.
- Power the BrickPi. Connect your battery pack to the BrickPi.
Program the BrickPi Firmware
There are two microcontrollers to program on the BrickPi. Start with microcontroller 1, and then repeat the following steps for microcontroller 2. Be sure to verify you are programming the correct Microcontroller (UC1 vs UC2)!
- Connect the 3X2 6 pin header to your AVR programmer. You do not need to solder this in place on the BrickPi board: the footprint should grip the header pins tightly.
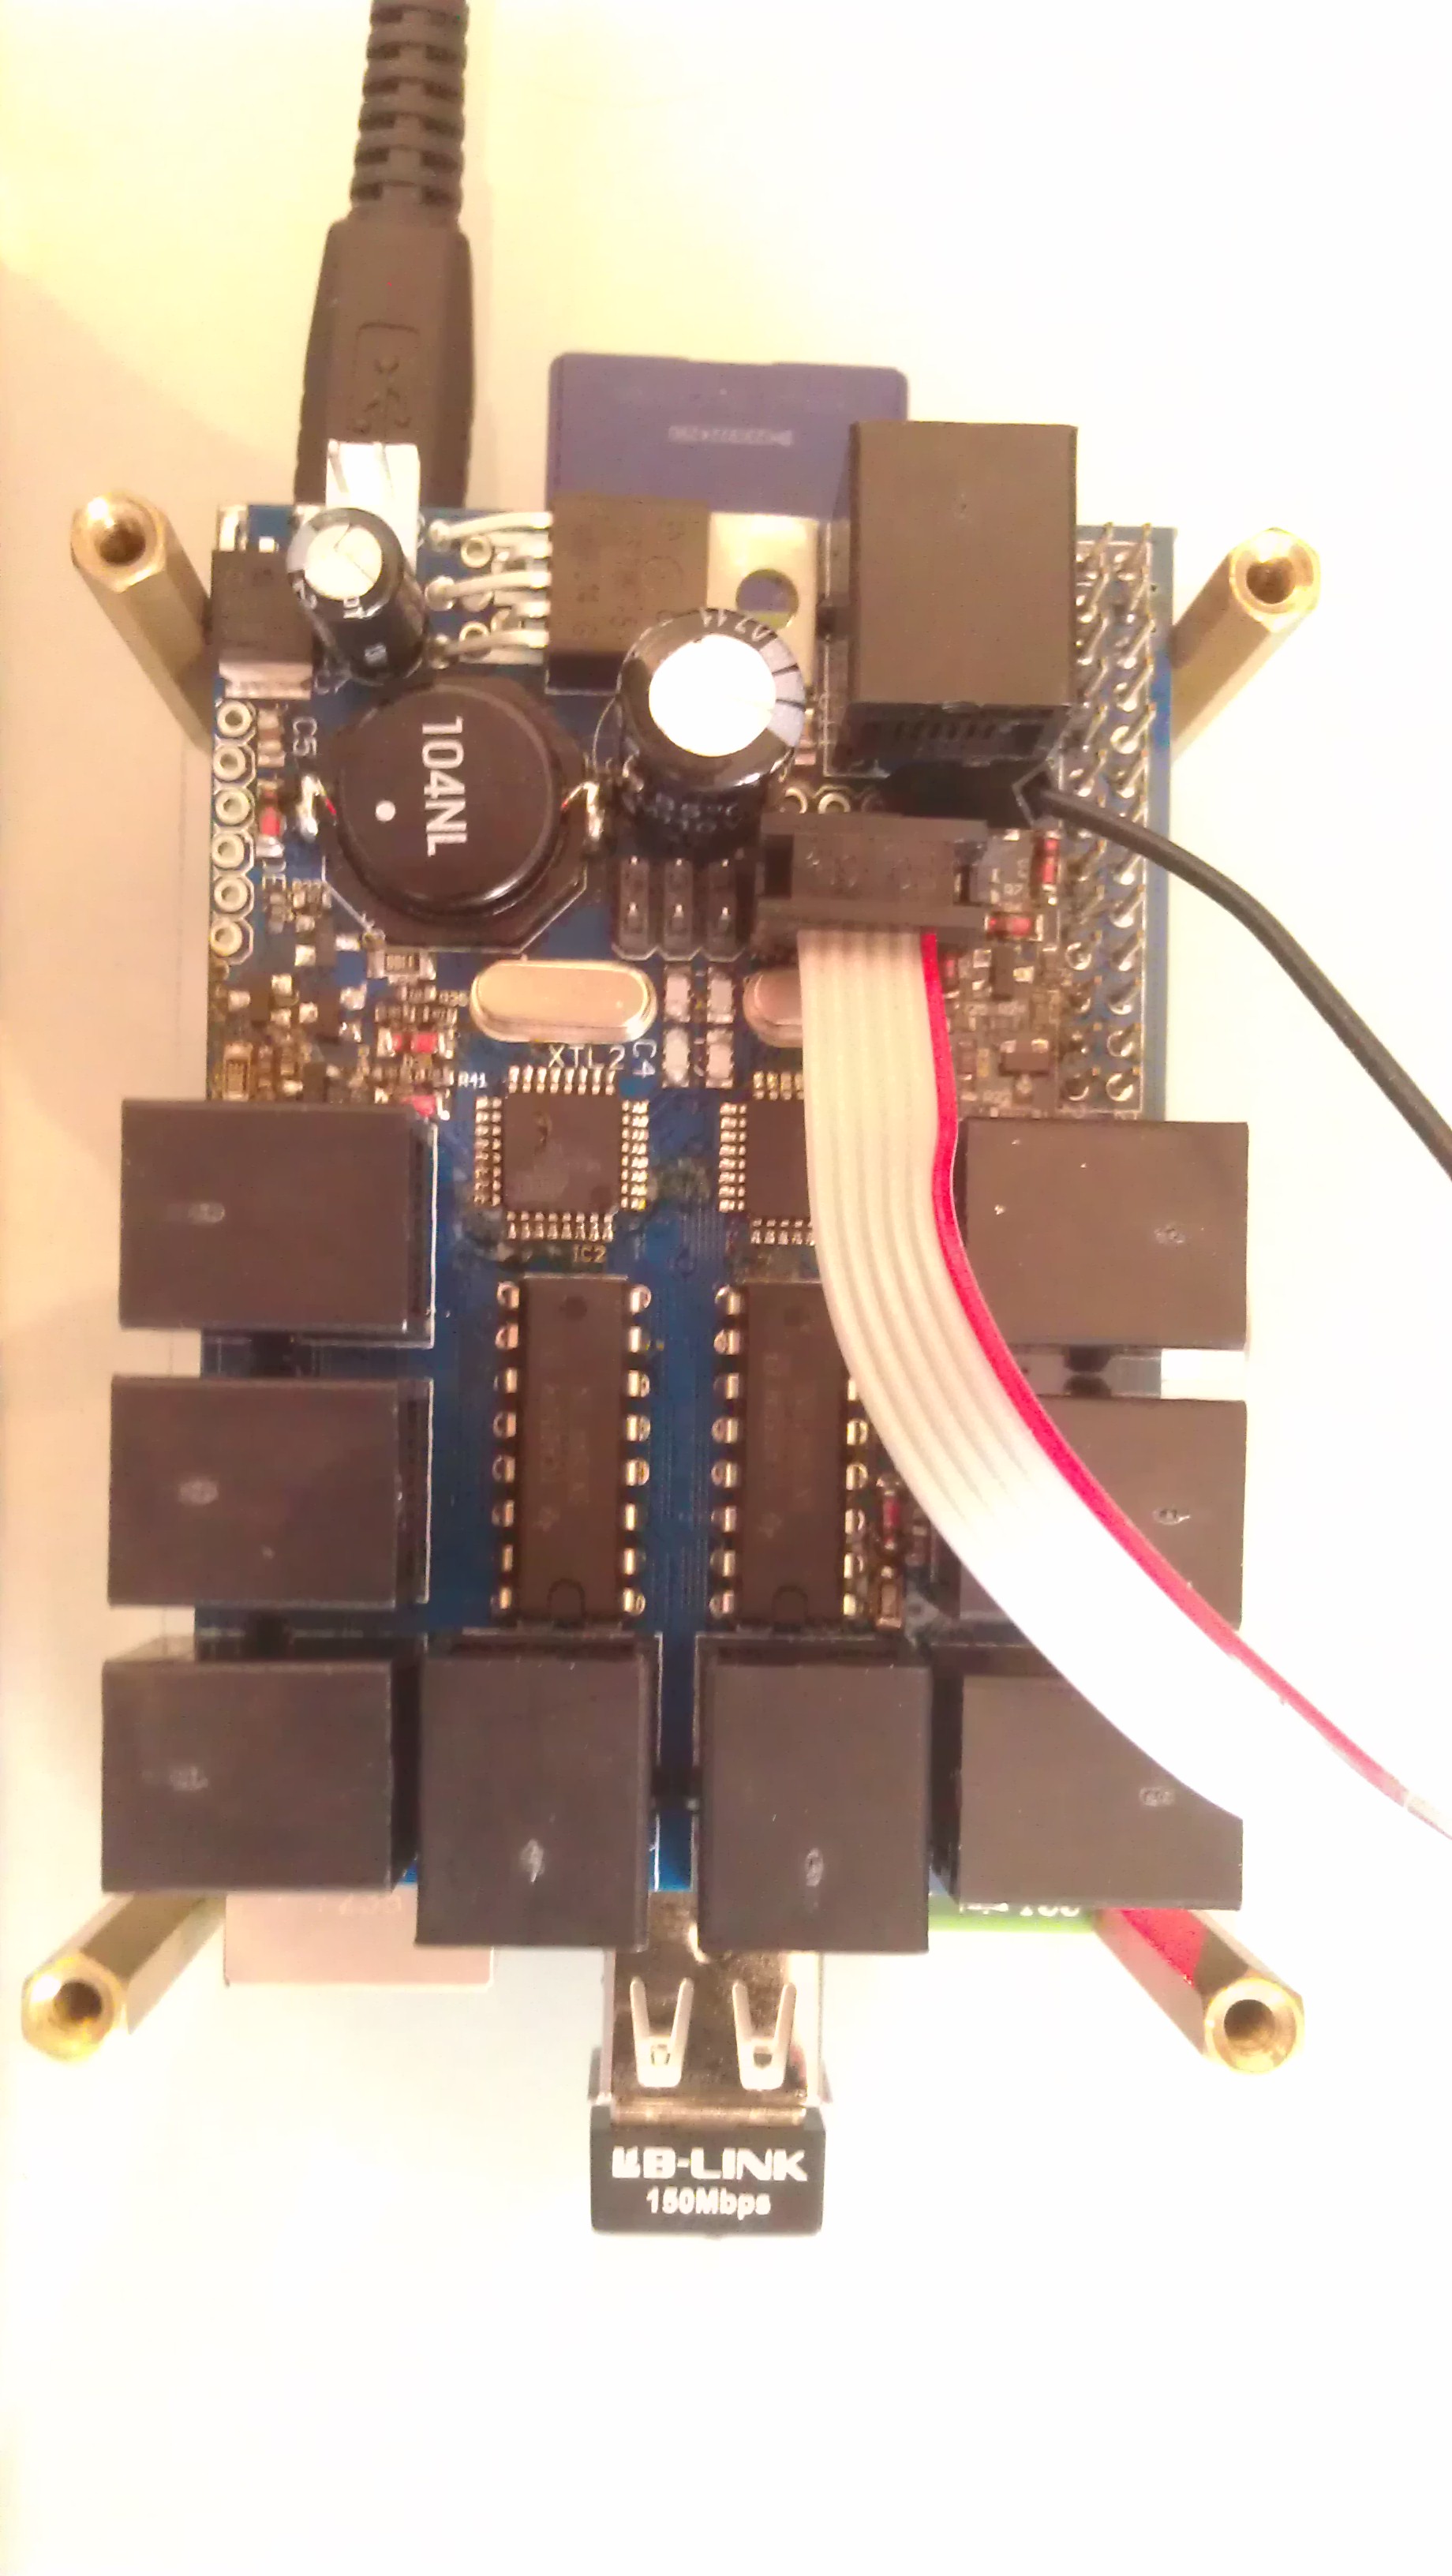
- Connect Programmer Header of the ISP to the Programmer 1 port on the BrickPi.
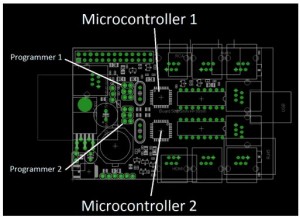
Location of the two Microcontrollers and their programming connections.
- Make sure the programmer cable is aligned correctly. Below is a picture of the programmer connected to program Microcontroller 1 (UC1) of the BrickPi. Click the below picture for a closer look.
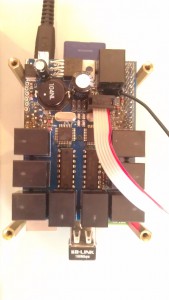
The programming cable correctly connected to the BrickPi. This is programming microcontroller 1 (UC1). Ignore the black wire, it is not needed for the AVR programmer.
- If the programmer is correctly connected to the BrickPi, the LED on the programmer should turn solid green. If the LED is solid green on your programmer, begin the .BAT file (BrickPiFW_UC1 – MK2 Programmer) operation to start programming.
- For each micro-controller there are 6 sequences: 3 fuse writes, two memory writes, and one EEPROM write. You will need to press return after each sequence.

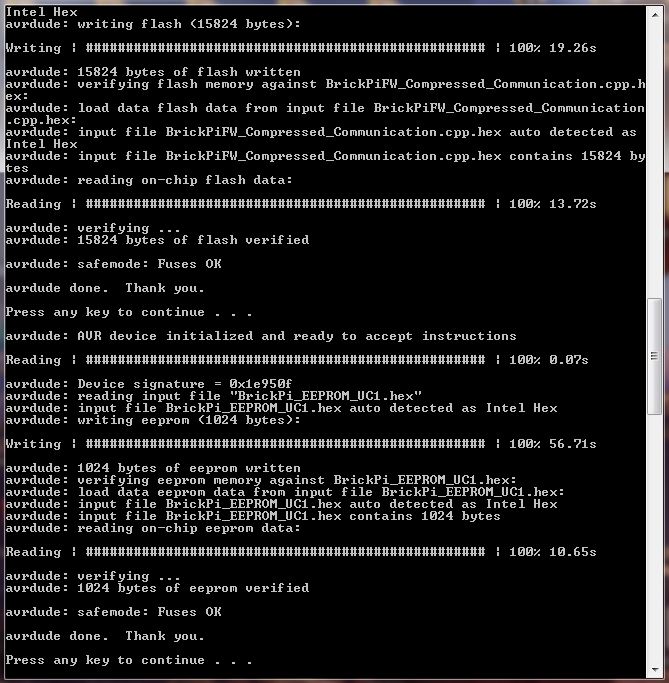
Success! Firmware is programmed!
After programming the first micro-controller (UC1), repeat steps 1-4 above for the second micro-controller (UC2) on the BrickPi. Change the ISP header to the “Programmer 2” on the BrickPi and use the script called “BrickPiFW_UC2 – MK2 Programmer“. Your BrickPi should have the new firmware now.