Windows IOT and the GrovePi
Step 1: Setting Up Your Computer and Raspberry Pi.
This is the first step in a 3 part series on Getting Started with WinIoT and the GrovePi+. See all of the parts here.
Step 1 covers setting up your computer and the Raspberry Pi to get started with WinIoT and the GrovePi. In this step we will prepare your PC, install Visual Studio, install the Visual Studio dependencies, and set up the Raspberry Pi.
All of these steps need only be performed one time: they are startup steps you will need to perform once! After your environment is setup, you should not need to perform any of these steps again.
1). Have Windows 10.
If you haven’t upgraded from Windows 7 or Windows 8, you can upgrade to Windows 10, for free, here.
2). Install Windows 10 IoT Core Dashboard.
You will most likely get a security warning, that is fine. Continue. This process should take about 5 minutes, depending on your internet connection.
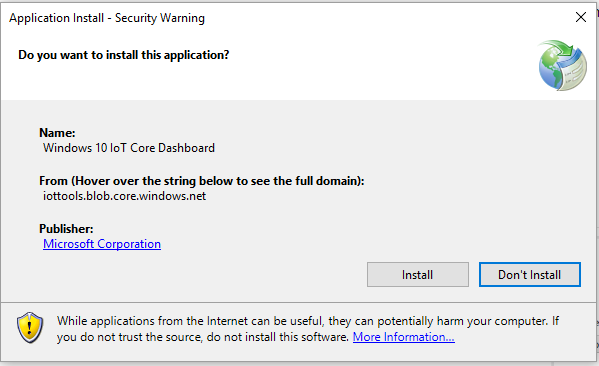
You can download and install Windows IoT Core Dashboard (again for free) here. The link will lead to an installer “setup.exe”, simply download the installer and run it on your Windows 10 PC.
3). Install Visual Studio Community (2015 or Greater)
You can download Visual Studio Community for free here. You will be required to register with a Microsoft account (Hotmail or Outlook or Live account).
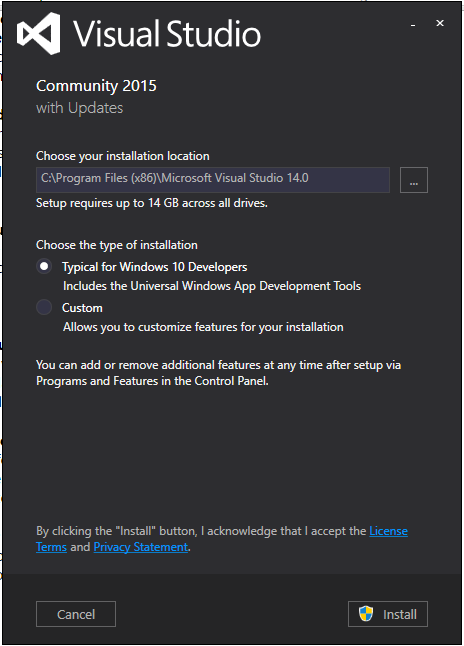
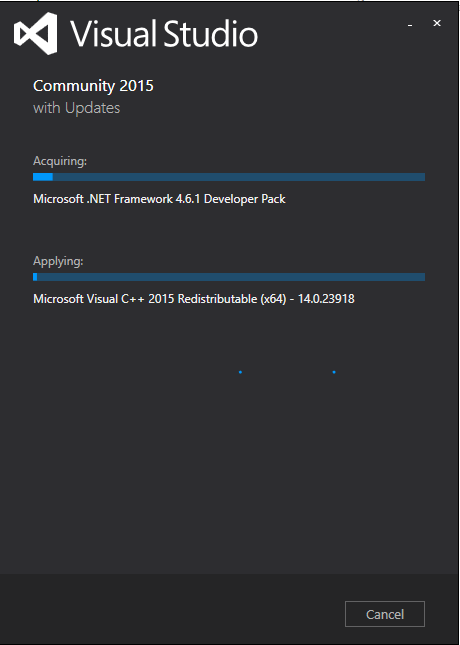

Download the executable file, and install Visual Studio. This will take about an hour.
Reboot your PC.
4). Update Visual Studio
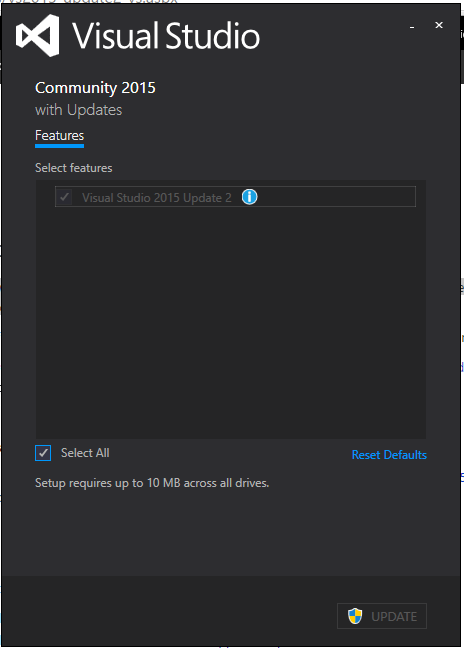
If you already have Visual Studio, you must have Visual Studio Update 2 installed. You can update from within Visual Studio, or you can download an installer here. Click, install, read an article (this process can take some time as the PC creates a restore point and then installs prerequisites and the program).
5). Validate Visual Studio
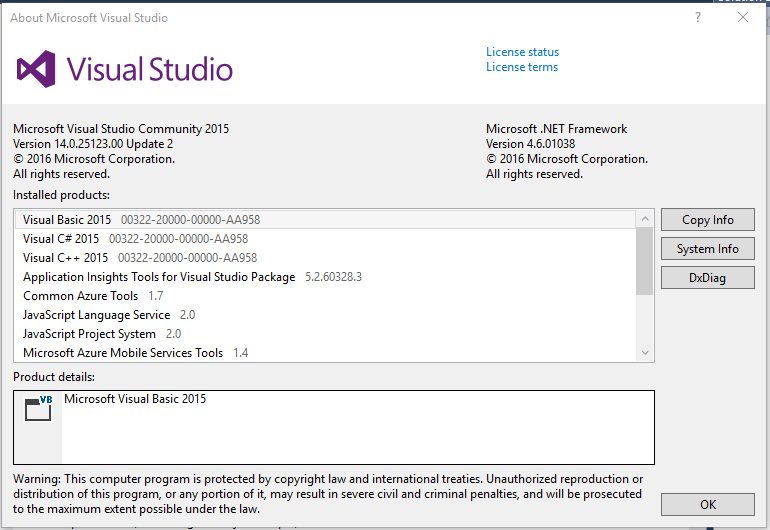
After starting Visual Studio, click “Help” –> “About Microsoft Visual Studio”.
If you already had Visual Studio installed before this tutorial, you should see the required version of Visual Studio is 14.0.24720.00 Update 1. The required version of Visual Studio Tools for Universal Windows Apps is at least 14.0.24720.00.
If you already had Visual Studio installed before this studio and you have an older version, you must update it.
In the picture below, we have Version 14.025123.00 Update 2.
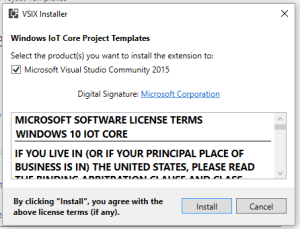
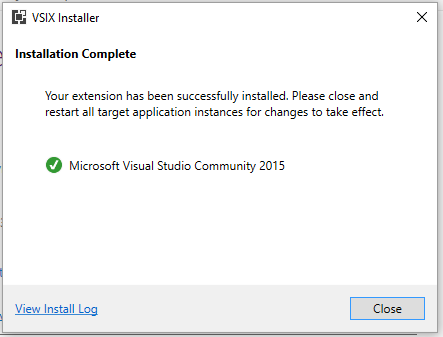
6). Install Windows IoT Core Project Templates
You can install them here.
7). Enable Developer Mode on your PC
On your PC, go to Settings, choose “Update & Security” and then choose “For developers.”
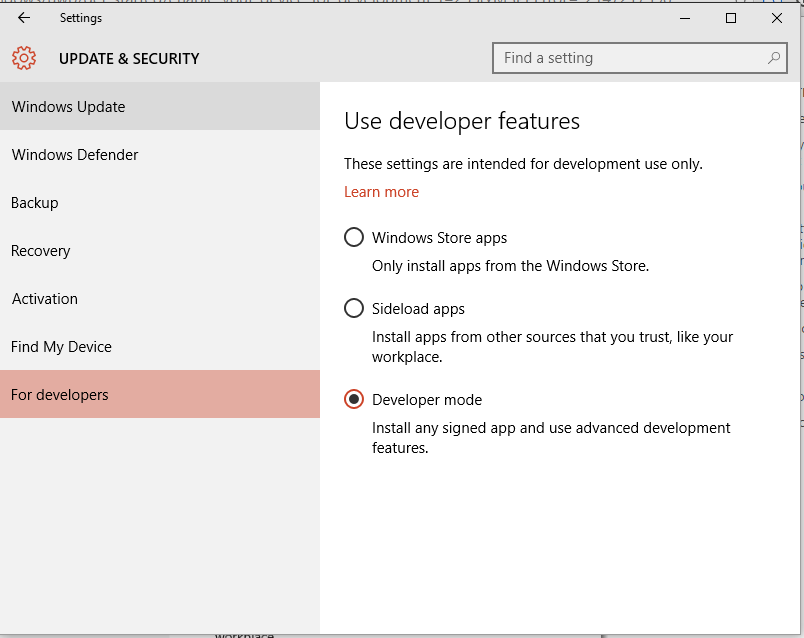
After choosing “For Developers” you should activate Developer mode.
You can see more about enabling developer mode on your PC here.
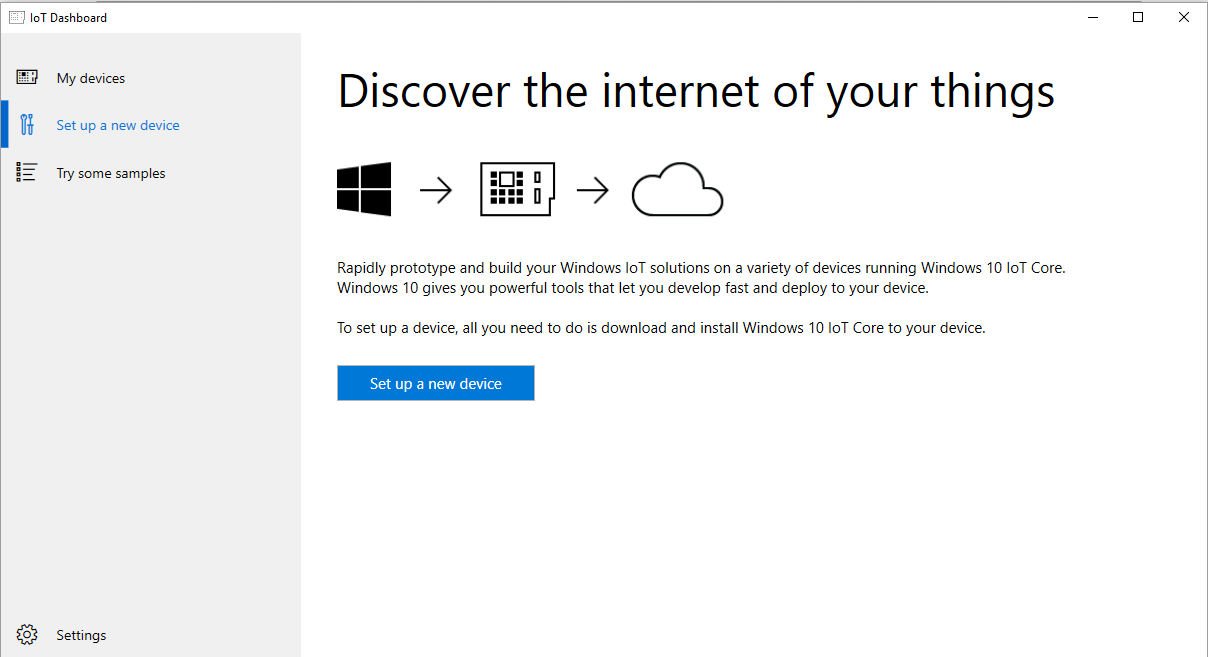
8). Prepare Your SD Card
Now, back to the WinIoT Dashboard! This entire process will take about 20 minutes.
First, click “Set up a new device”. Select your Device: Raspberry Pi 2, and Windows 10 IoT Core for Raspberry Pi 2.
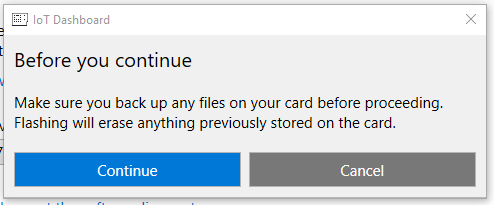
Insert an SD card with at least 8 GB of space on it (this will fully erase the card, all data will be lost!). Place the SD Card in your computer.

Click “Download and install”
After WinIoT is done downloading the software, it will prompt to erase and write to your SD Card. Continue!
Finally, “Your SD card is ready.”
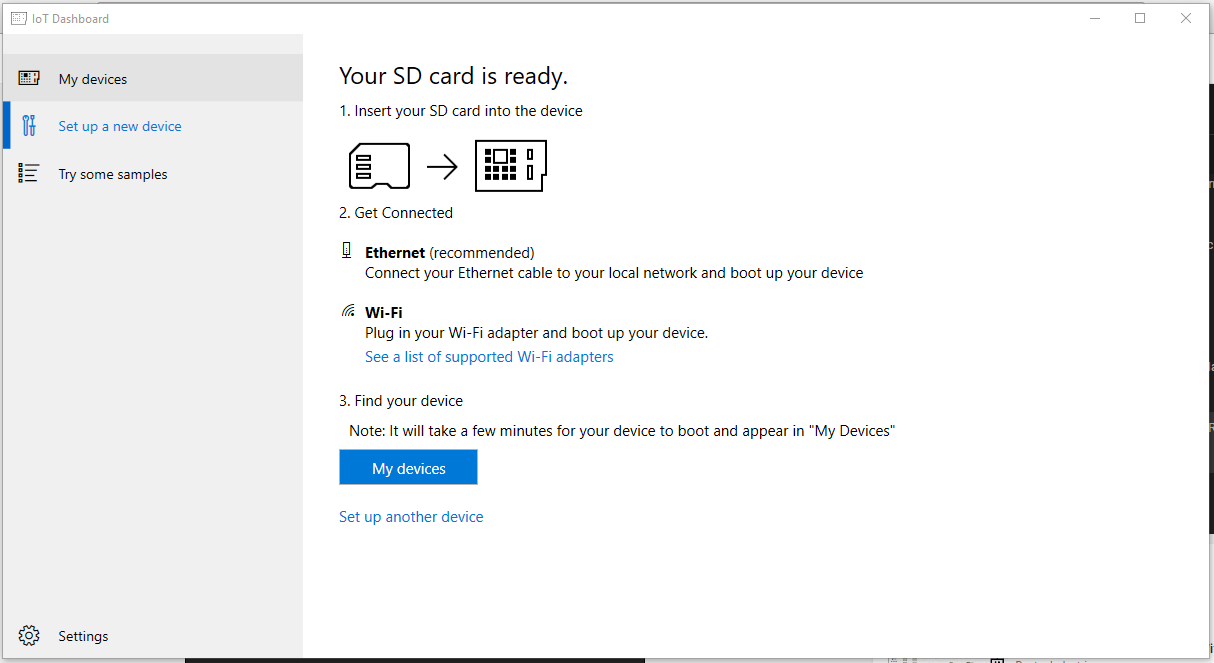
And now your SD Card is ready! Remove it from your PC. Note that if you don’t want to download the Windows image every time you install an SD Card, you can download the image manually here.
9). Start your Raspberry Pi
Connect the SD card, ethernet, and power your Raspberry Pi 2.
First, insert the SD card. You can watch a video of how to do this here!
Next, connect your Pi and PC over ethernet. You can connect the Pi to your wifi network with ethernet, or connect your Pi directly to your PC over ethernet. To connect your Pi over your local wifi network, simply plug one end of the ethernet cable into the Raspberry Pi, and the other into your wifi network hub. To connect your Pi and PC directly, simply plug one end of your ethernet cable into the Raspberry Pi, and the other directly into your PC ethernet port.
After your SD card is inserted, and the ethernet cable is connected to your network, power up the Raspberry Pi! A successful bootup should look something like this video.
10). Connect to your Raspberry Pi
The final step is to connect to your Raspberry Pi over the network.
Open the IoT Dashboard again. Click “My Devices”. You should see “minwinpc” show after a few minutes.
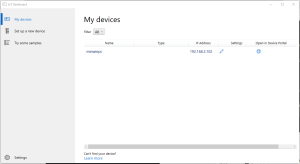
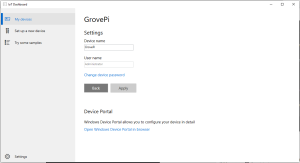
If you click the pencil next to your device, you can rename it to something awesome, like “GrovePi” or “dex”. We don’t recommend changing your password.
Done! We should have all the tools setup to move forward and start programming with the GrovePi and WinIoT!
Next Step: 2. Run Hello World in WinIoT