Below are directions on how to setup your Raspberry Pi software to work with the GrovePi+. If you’re new to the Raspberry Pi, we recommend you use a Dexter Industries SD Card which comes will all software pre-configured for your GrovePi.
The first step with your new GrovePi+ is to configure the Raspberry Pi. The GrovePi+ will not work correctly with the default setup. This is a step-by-step guide to getting the Grove Pi communicating with the Raspberry Pi. Before beginning this installation, make sure your Raspberry Pi is connected to the internet.
Recommended Quickstart Directions
In the command line, type the following commands:
curl -kL dexterindustries.com/update_grovepi | bashsudo reboot
After your Raspberry Pi reboots, the GrovePi is ready to use!
Detailed Directions
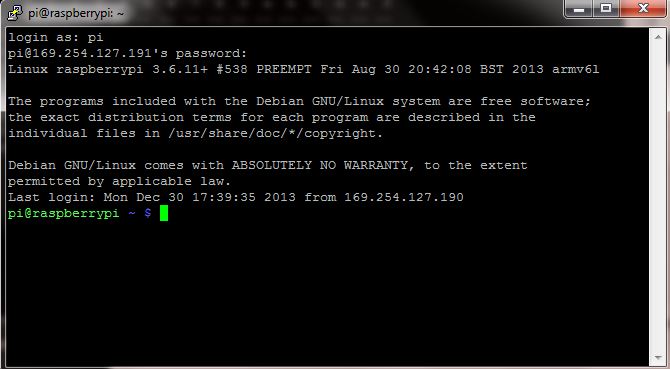
1. Power on the Raspberry Pi, without the GrovePi attached, and open a terminal (we’ll be doing it on SSH, but the directions are the same when using the terminal on a standard Raspberry Pi setup with a monitor).
2. Create a Dexter folder :
mkdir ~/DexterGo into the newly created folder.
cd /home/pi/DexterClone the GrovePi git repository by using the command:
git clone https://github.com/DexterInd/GrovePi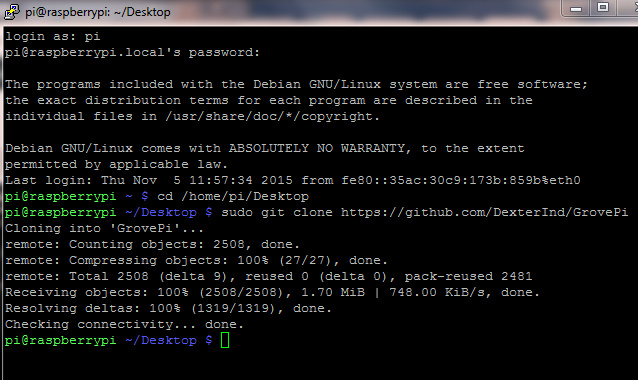
When we’re done downloading, there should be a new folder inside the Dexter folder called “GrovePi“.
3. Go to the Scripts folder in the GrovePi folder.
cd /home/pi/Dexter/GrovePi/Script
![]()
4. Start the installatiom script.
bash ./update_grovepi.sh
5. The script will download packages which are used by the GrovePi+. Press “y” when the terminal prompts and asks for permission to start the download.
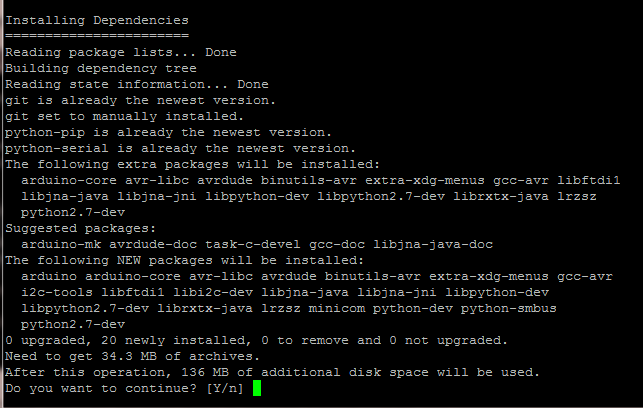
In the above example, press “y” and then press enter. You may need to do this multiple times during installation.
7. The Raspberry Pi needs to be rebooted once the installation is complete.
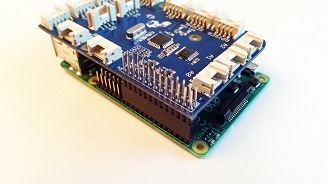
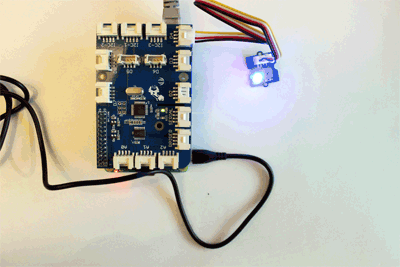
8. Now when the Raspberry pi is powered down, stack the Grove Pi on top of the Raspberry Pi. Ensure that the pins are properly connected before powering the Raspberry Pi.
Power on the Raspberry Pi. A green light should power up on the GrovePi+.
9. Now to check that the script was correctly installed. We will check that the Raspberry Pi is able to detect the Grove pi: run i2cdetect
sudo i2cdetect -y 1
Note: if you have an Original Raspberry Pi (Sold before October 2012) – the I2C is port 0:
sudo i2cdetect -y 0
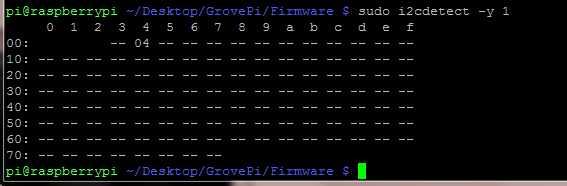
If you can see a “04” in the output, this means the Raspberry Pi is able to detect the GrovePi.
10. To test the Grove Pi, connect a Grove LED to port D4 and run the blink example.
In the terminal type:
cd /home/pi/Dexter/GrovePi/Software/Python
python grove_led_blink.py

If everything is installed correctly and the LED is on the port labeled D4, the LED should start blinking.
Questions?
Have a question or a problem? Post it on the forums and we’ll help you out.