A few months ago, we made a Bookreader powered by the BrickPi which had the ability to read pages from your Kindle. There was a huge response to the project. But what everyone really wanted was a bookreader that could read a real paper book.
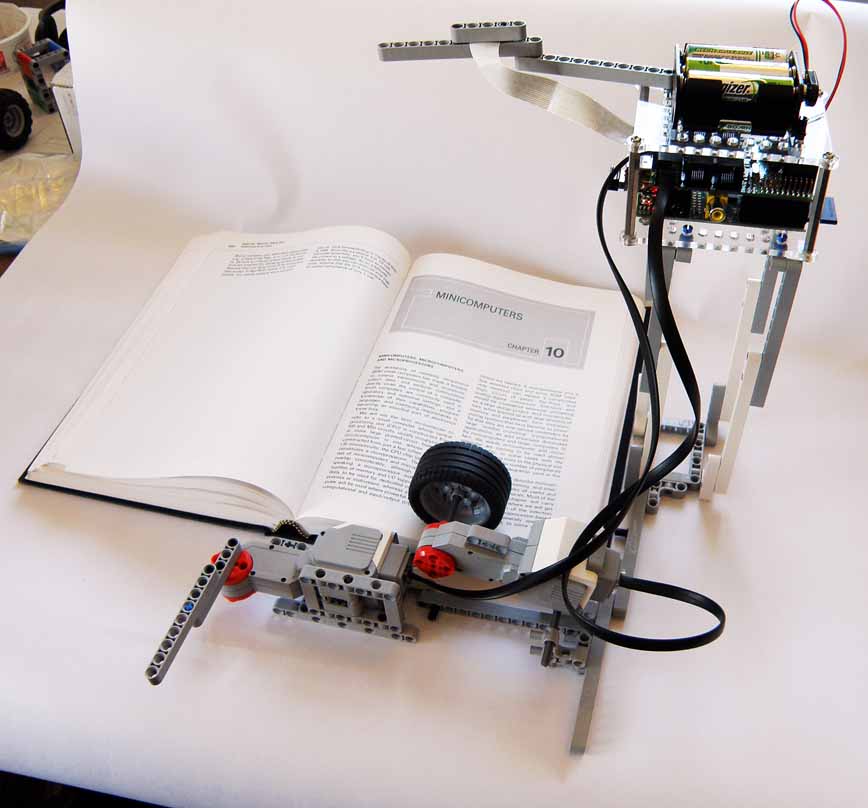
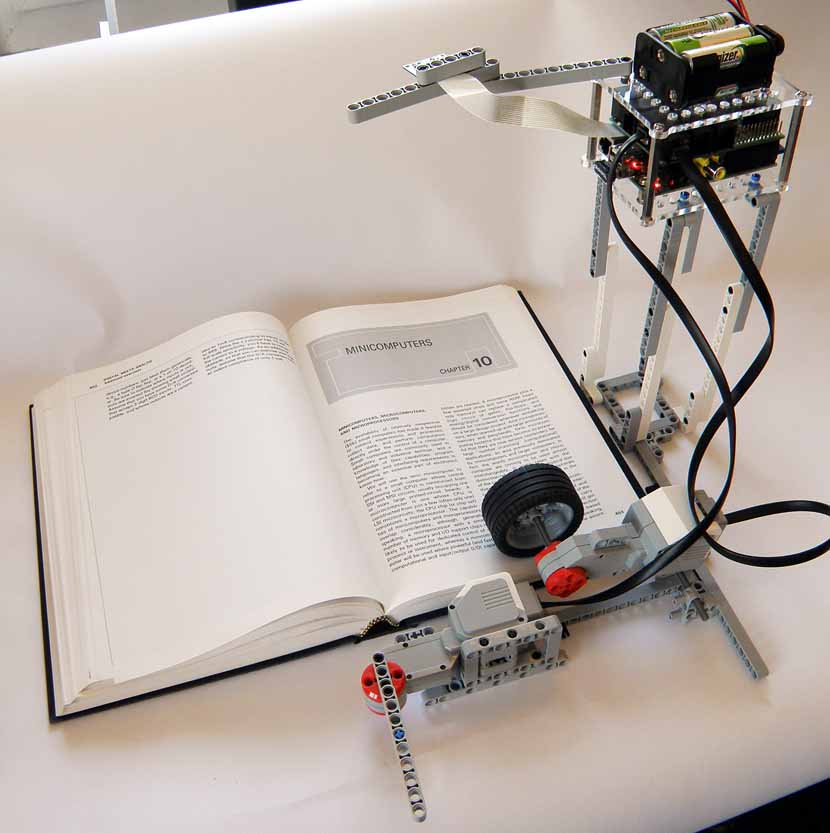
Here we present to you the BrickPi Bookreader 2 which can read aloud a real book (the voice becomes a bit irritating after a while) and also turn the pages of the book (we are really proud of this). Raspberry Pi Book Reader with LEGO Mindstorms and the Raspberry Pi.
Background
After completing the first book reader, we really wanted to get the real book reading, and push out our example. But there was a slight problem with that. There was not a good way available for turning the pages, something which could turn the pages of a real book efficiently without missing a lot of pages.
For the first time Google failed to deliver. For almost every project out there, there is always a good place to start with. You can find all the parts of the project already implemented somewhere and after a bit of fiddling and hacking, you can can get a decent project together. But for the page turning mechanism, there was nothing that you could build easily.
We found a good post on DIY Book scanner with a cool video of a page turning mechanism but it was too much for us to build. We also found a video of the Google Book Scanner on Hackaday which is probably the best thing available, but it was an overkill.
We even thought of using the LEGO Pneumatics but settled on something else. Something we had a plenty of lying around: LEGO Blocks.
Working
Since we already had the software with the character recognition and text to speech part worked out, the only thing that we needed to develop was a good page turning mechanism and synchronize everything properly.
We accomplished the page turning by using two EV3 motors, and a LEGO wheel.
The page turning mechanism works as follows. A wheel, which is a bit heavy, rotates for a fixed time and pushes the page up (this is much easier said than done), our friends friction and gravity help a lot here (it required a lot of fine tuning the variables like motor speed, wheel placement, time etc to get it to work properly). Once the page is up, another motor rotates an arm 360 degrees and it turns the page over.
Then the Raspberry Pi takes a picture of the page, Tesseract OCR converts it to text and espeak speaks it aloud through speakers connected to the Raspberry Pi. And the whole process is repeated again.
Parts Required:
- Raspberry
- BrickPi
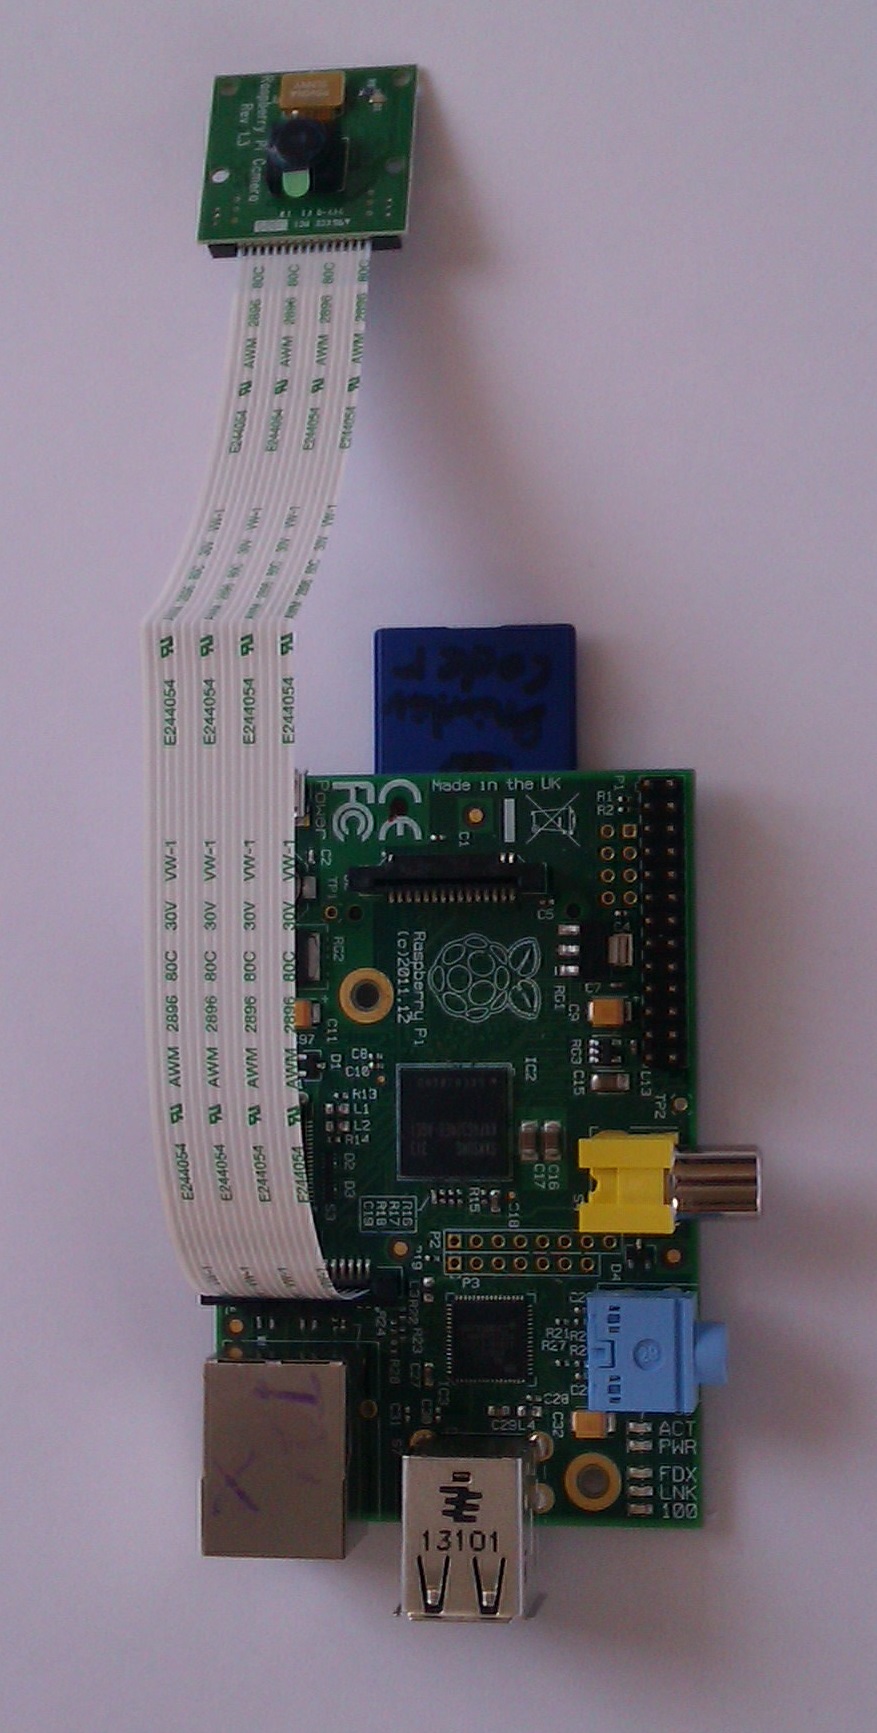
- Raspberry Pi Camera
- BrickPi Power Pack
- SD Card with Raspbian Wheezy installed
- Wifi Dongle
- 2 LEGO EV3 Motors
- LEGO Wheel
- LEGO beams to construct the platform
Building the Bookreader
Setting up the camera:
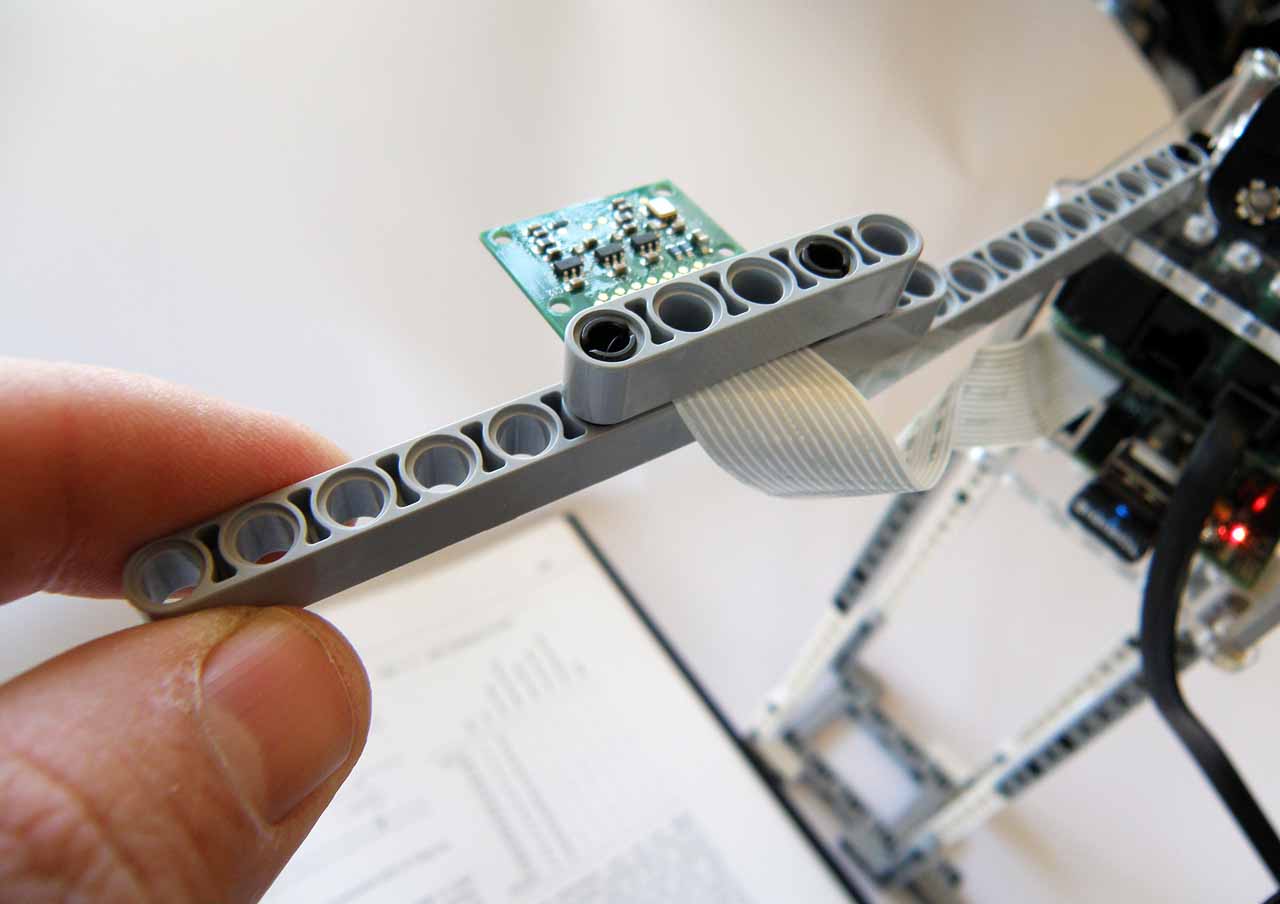
The first thing to get our Bookreader up and running is to get the Raspberry Pi camera working. The Raspberry Pi camera packs a lot of punch, there are a lot of options, it’s easy to set up, and the image quality is acceptable for our project.

After connecting the camera, there is one more thing to do: change the focus of the Raspberry Pi camera. The Raspberry Pi camera comes with its focus fixed at infinity, and since it is a fixed focus camera you have to manually change it. Here are some helpful links to do focus the camera:
- http://www.raspberrypi.org/phpBB3/viewtopic.php?f=43&t=32605&start=325#p352613
- http://www.raspberrypi.org/phpBB3/viewtopic.php?f=43&t=32605&start=225#p346170
After setting up the camera, take a test image to see that it is properly focused. In rig we built, we have the camera about 10 inches above the book(choose a height which is comfortable for you and take a few test images to check if the images are clear and the whole page is captured).
Now fix the camera into it’s adapter next to the Ethernet Jack. Here is a great guide to setting up the Raspi Camera. It should be helpful in setting up both the hardware and software.
After the camera is set up , test it to see if it works:
raspistill -o image.jpg
If the camera is initialized properly you’ll see a new file image.jpg in your present folder. Open the file to see the image.

Now secure the camera at the desired height and place the book under it. Take an image. You may need to readjust the focus of the camera and angle at this point. Our camera setup helped a lot with the changing the position of the camera to get a good image.
Setting up the TTS engine
For the TTS, we are using eSpeak. It works fine for our purposes: the voice is a little robotic, but it does the job. Here is a definitive guide to TTS on RPi.
First test if the audio is working on the Raspberry Pi. Plug a headphone or speakers in the audio jack and run the following command:
aplay /usr/share/sounds/alsa/*
If you are able to hear the sounds, move to the next step! If not, this tutorial may help you setup the audio.
Next, install espeak. Run the following in terminal:
sudo apt-get install espeak
After it is successfully installed, run the following command. (disregard error messages on the terminal if you can hear sound):
espeak “hello”
If you are able to hear “hello” from the headphones or the speakers then move to the next step.
Installing the Optical Character Recognition (OCR) Engine
The OCR engine converts the image file we take of the book into text. We are using Tesseract OCR Engine. It runs well on the Raspberry Pi, it does not require an online connection, and it reliably converts images to text.
First, install tesseract:
sudo apt-get install tesseract-ocr
Next, test the OCR engine.
Take a good image of a piece of text and run tesseract:
tesseract image.jpg o
where image.jpg is the image which was taken by the raspberry pi camera and o is the file in which the text will be saved(tesseract will make it o.txt so no need to add the extension)
Now, wait a few minutes, the OCR takes a lot of processing power.
When its done processing, open o.txt. If the OCR did not detect anything at all, try rotating the image and running the tesseract again.
Building LEGO Platform and the BrickPi Mount
Since we wanted to use the Raspberry Pi camera, the whole BrickPi setup had to be placed a bit high to get a good picture of the page. The structure that we ended up with lookin a bit like a lean AT-AT walker from star wars.
It’s a bit tricky to set up the motors at the bottom. The motor with the rotating arm has to be set in a way that it only goes an inch inside the book so that it can get a soft grip on the page.
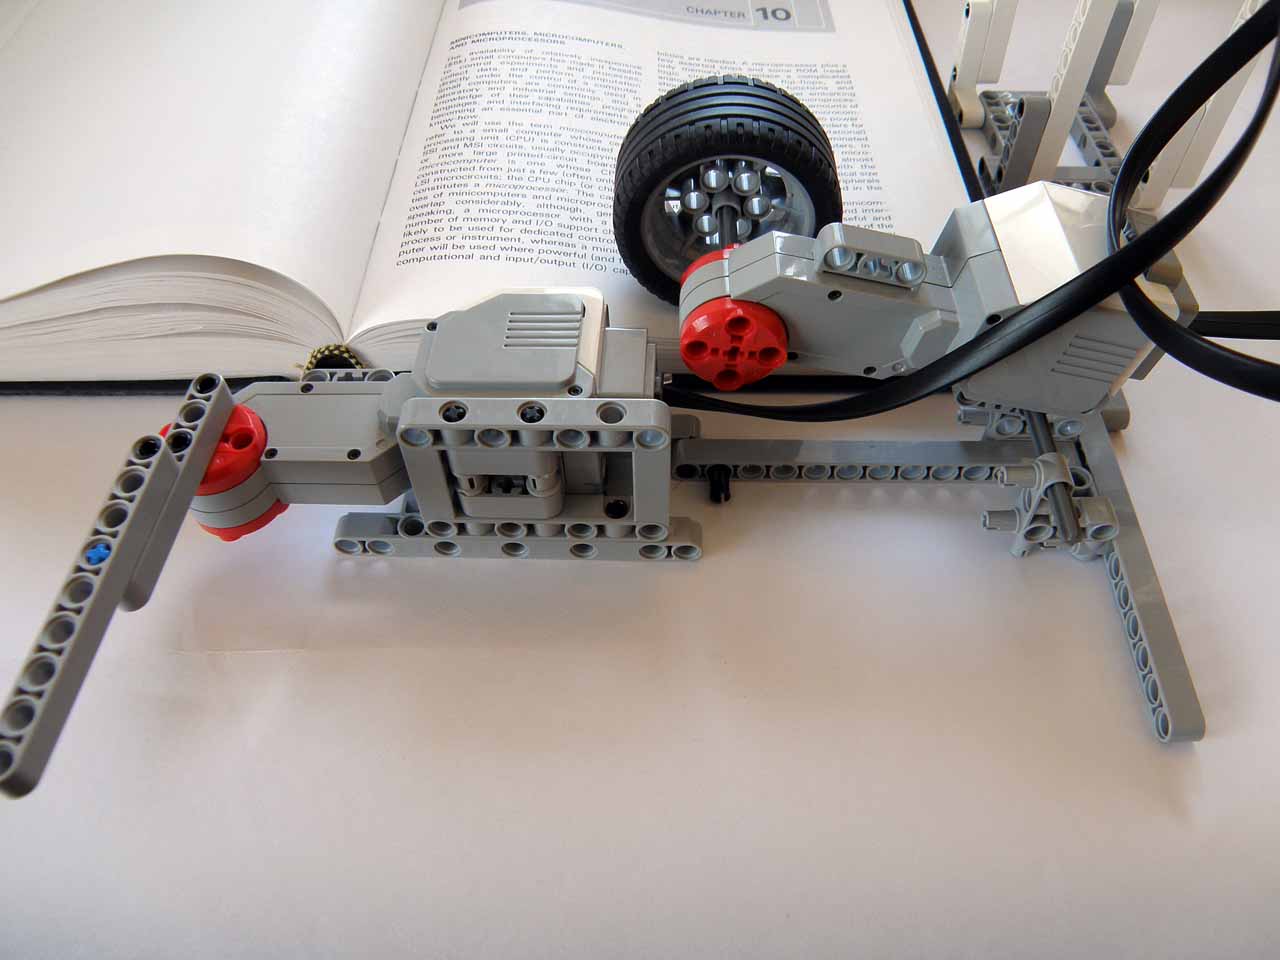
The biggest trick lies with the motor connected to the wheel. The motor is not fixed to the platform but can rotate freely from the point that it is connected to the platform. This is pretty important because it keeps the pages pressed down so that the wheels can get a grip on the page. Another important thing to do is to rotate the wheel only for time it takes for one page to come out of the wheel and then rotate the wheel back so that any extra pages which might have been pulled up are brought down.
In the Dexter Industries Github repo, there is a test code called arm_test.py to help you calibrate the arm for perfect movement. Just connect the motor to Port A of BrickPi and change the values of ‘speed_roller’,’speed_arm,’t1′ and ’t2’, until you get flawless movement.
Putting it all together
With the camera, software, and platform working it is now time to bring the Bookreader to life.
Make sure that the camera is calibrated to take focused images of the book and that the motor mount is moving correctly and turning the pages.
Download bookreader.py from the BrickPi Github Python Repo and put it in the directory where you have the BrickPi.py library. Run the code to bring it to life.
sudo bookreader.py
If you end up building you own bookereader or something even more awesome please post it on the forums, we would love to feature it.
Happy Hacking!