BrickPi3 Getting Started – Step 3 – Build Your Robot: Attach LEGO MINDSTORMS (NXT/EV3) Sensors, Motors & TECHNIC Parts
The BrickPi3 can be connected to LEGO MINDSTORMS EV3 and NXT sensors, motors and LEGO TECHNIC parts. Below we will walk through each one and explain how it can be used with the BrickPi3. We’ll show you the basics of how BrickPi3 sensors and motors and TECHNIC parts are connected, but then it is up to your imagination to build whatever you can think of.
If you want some ideas of what to build, go to our project sections to see how we built the BrickPi Tank or Shooter. We have example code for some of these as well, so perhaps you want to try building one of these robots and test with the example programs before you start programming on your own.
Plugging in Sensors and Motors
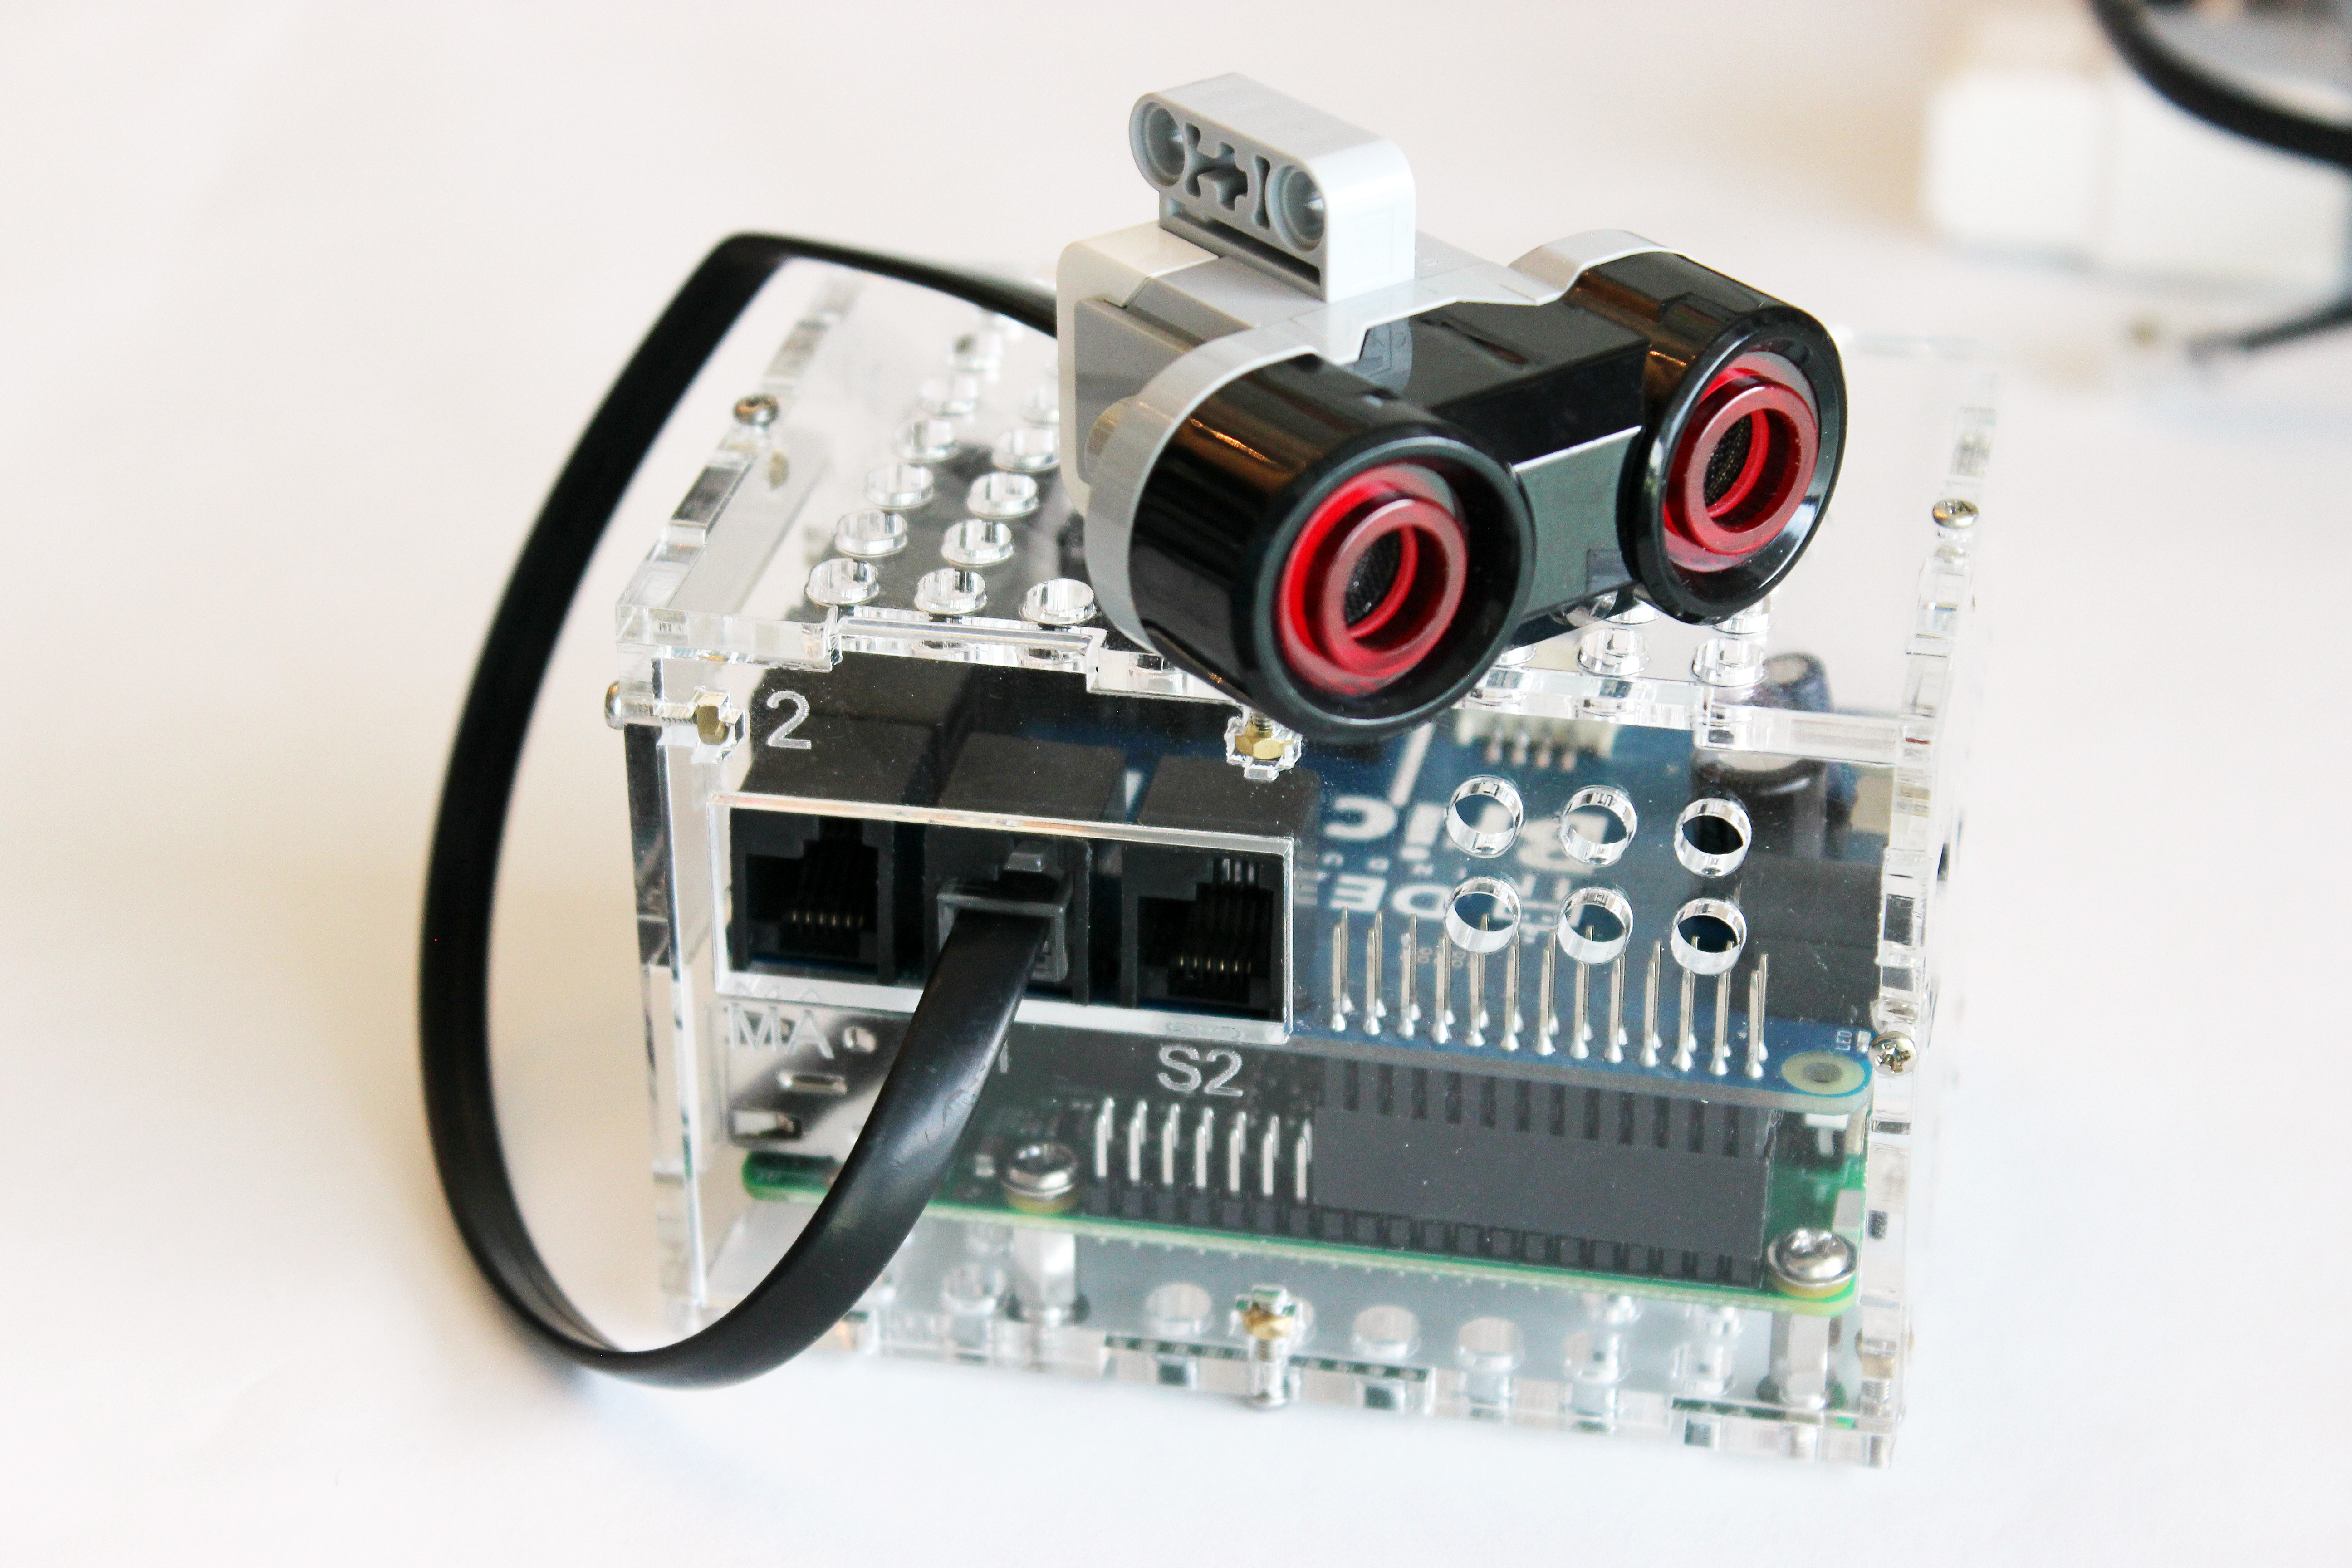
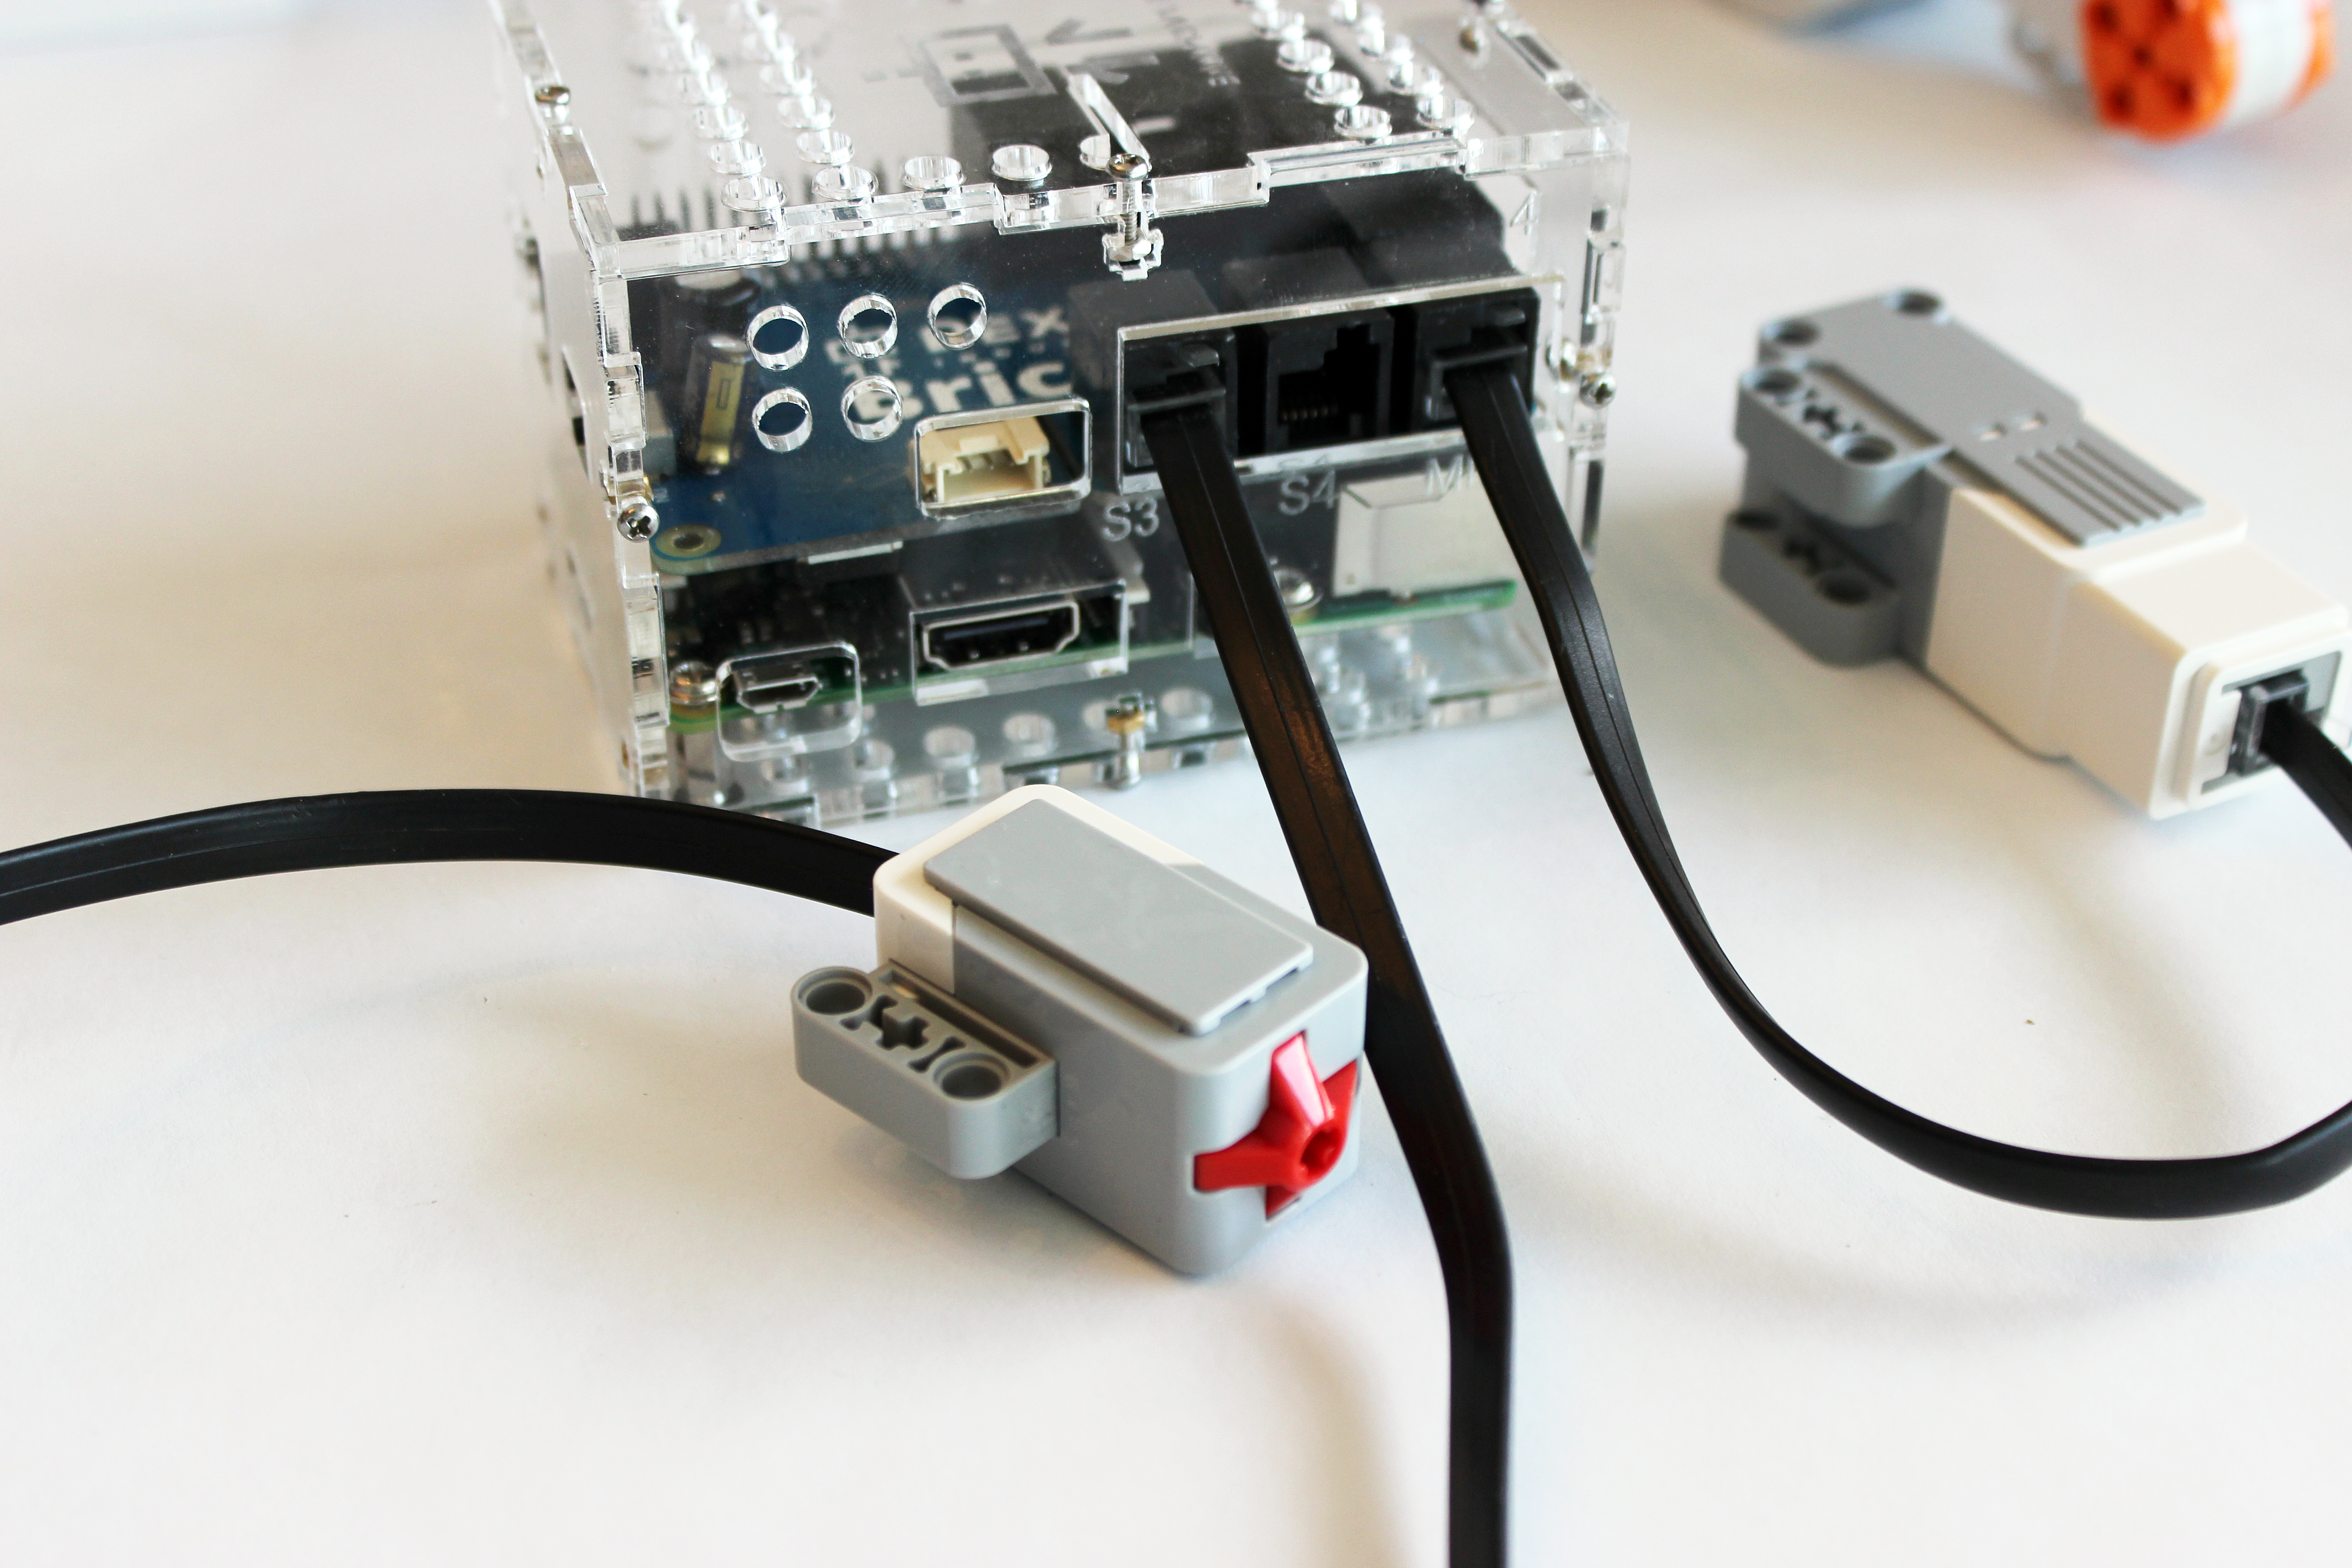
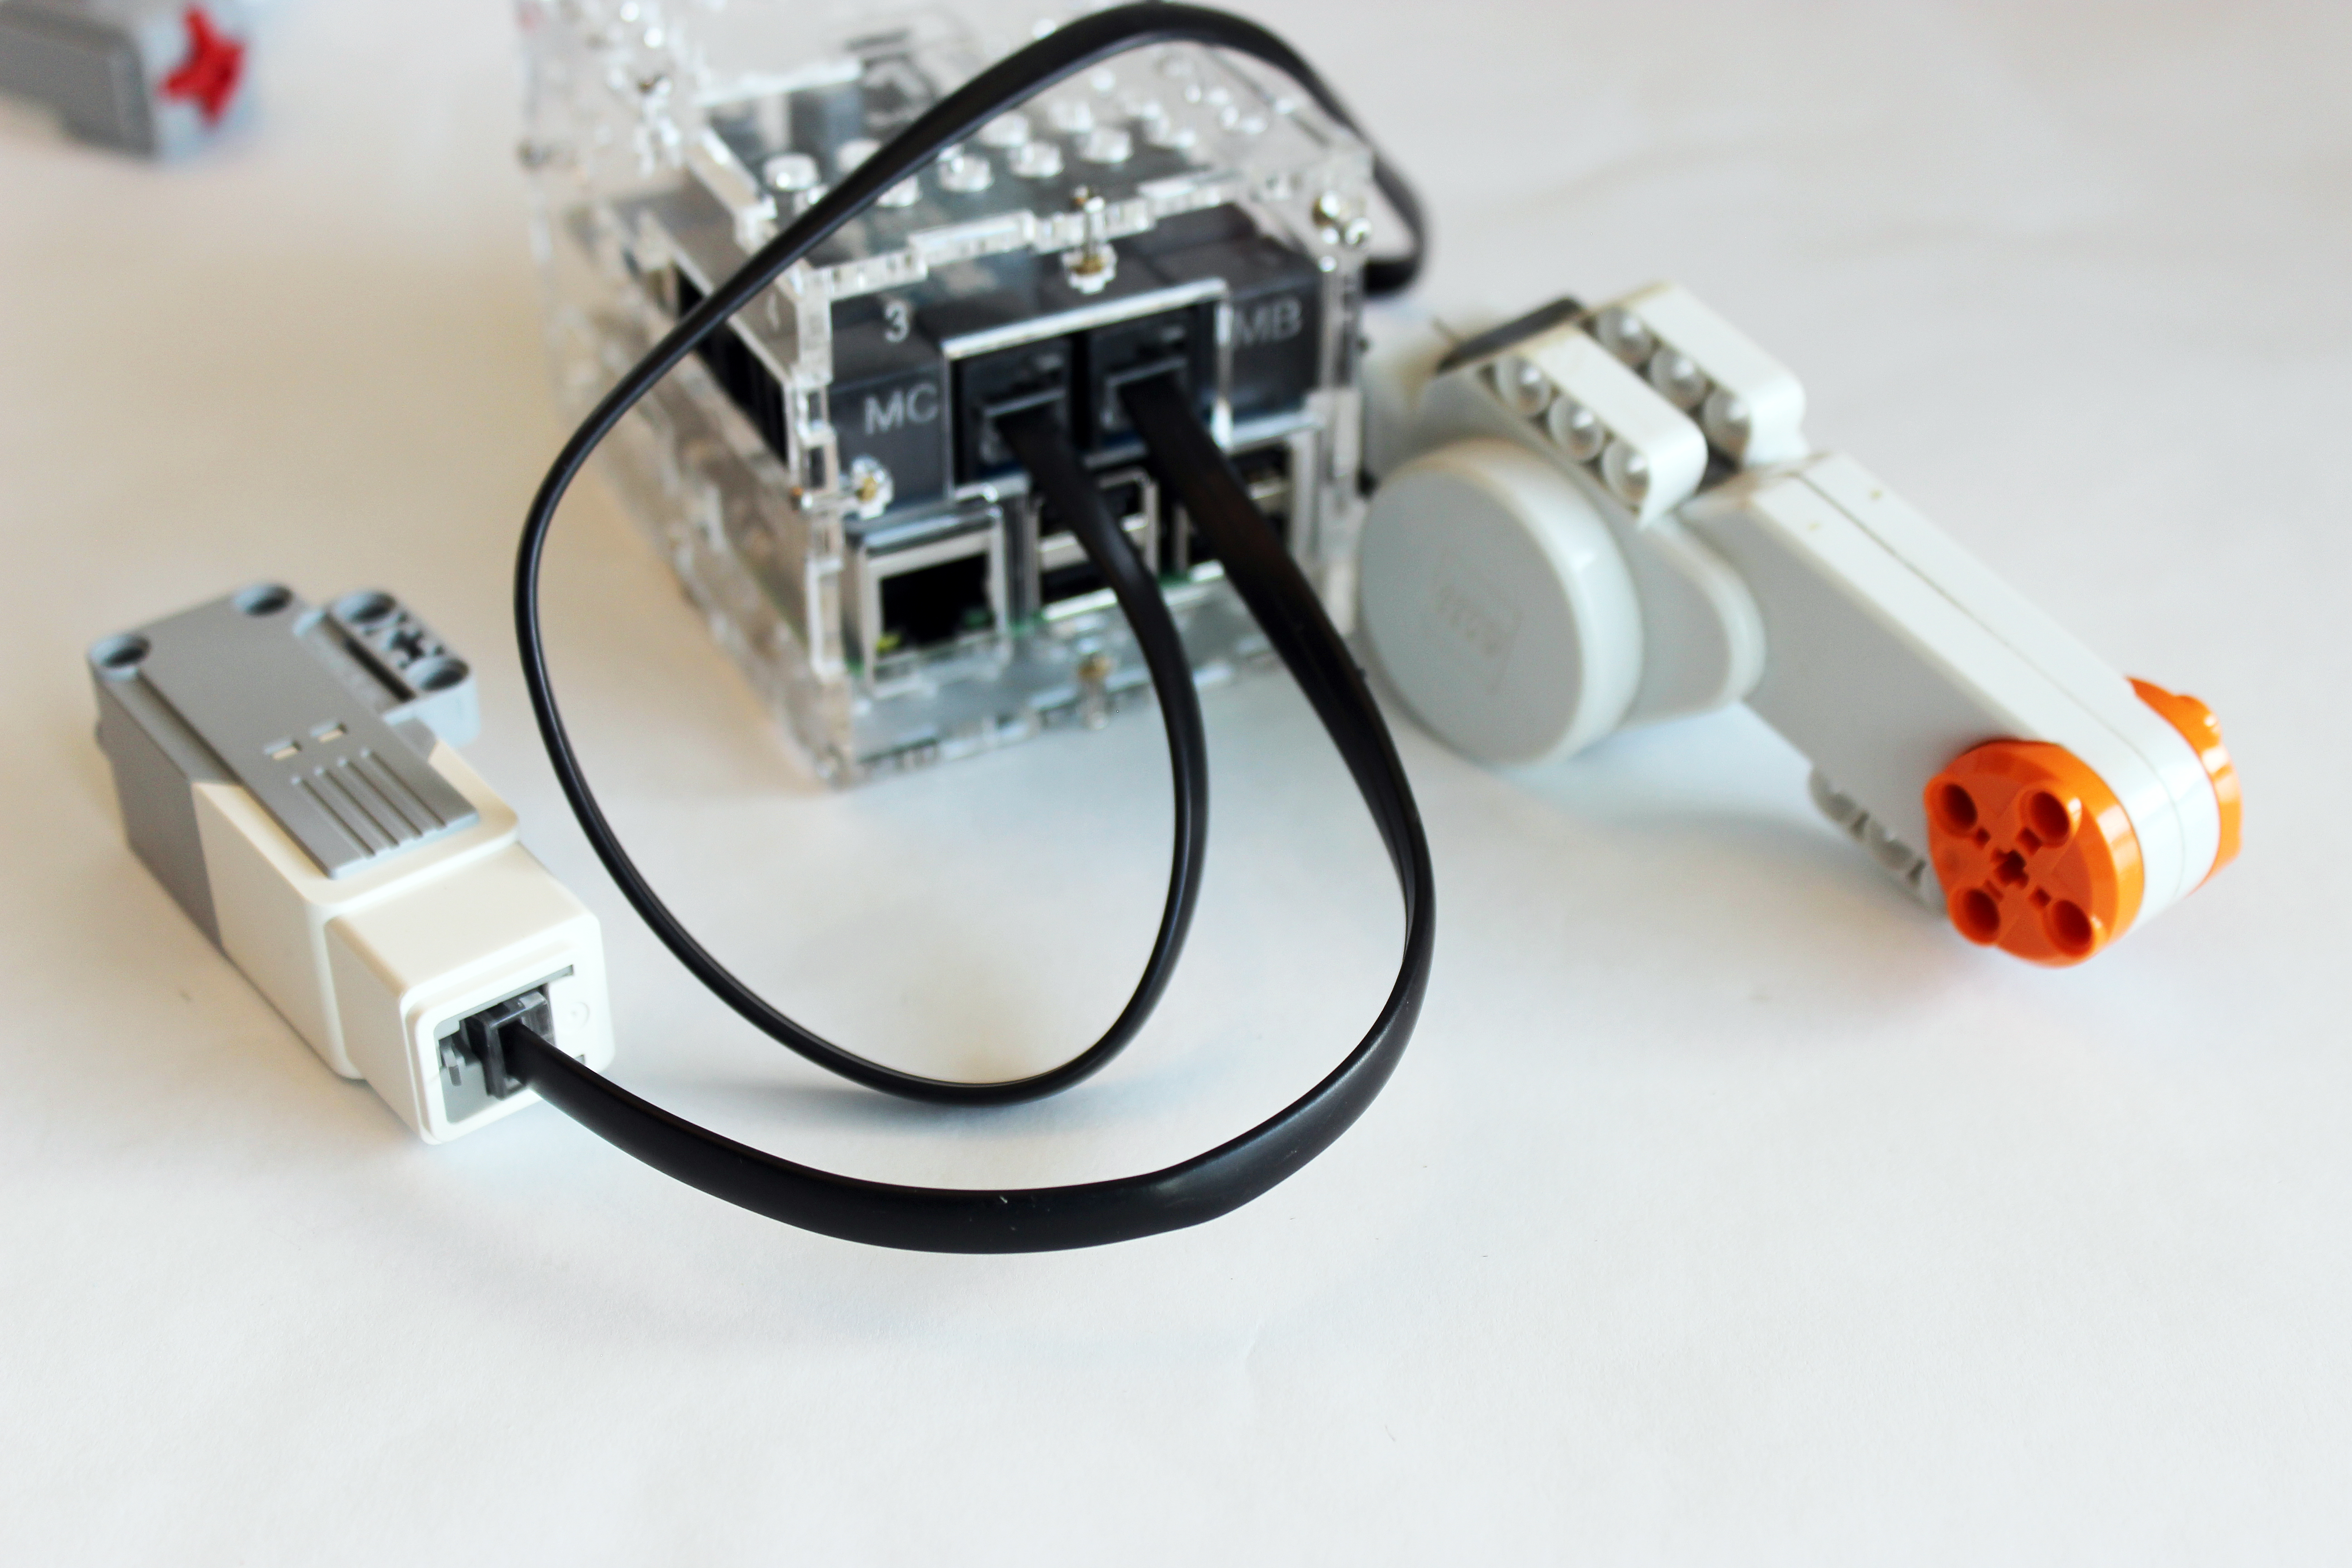
The BrickPi3 has four sensor ports, and four motor Ports. The sensor ports are shown in yellow below, and are labeled SX where “X” is the sensor port number. Each port for LEGO motors is labeled “MX” where “X” is the port letter.
Also shown in the diagram below are the Grove I2C port where you can connect an I2C device, and the power port, where you connect the barrel jack power adapter for the BrickPi3.

Click for a larger image of the BrickPi3 Port Descriptions.
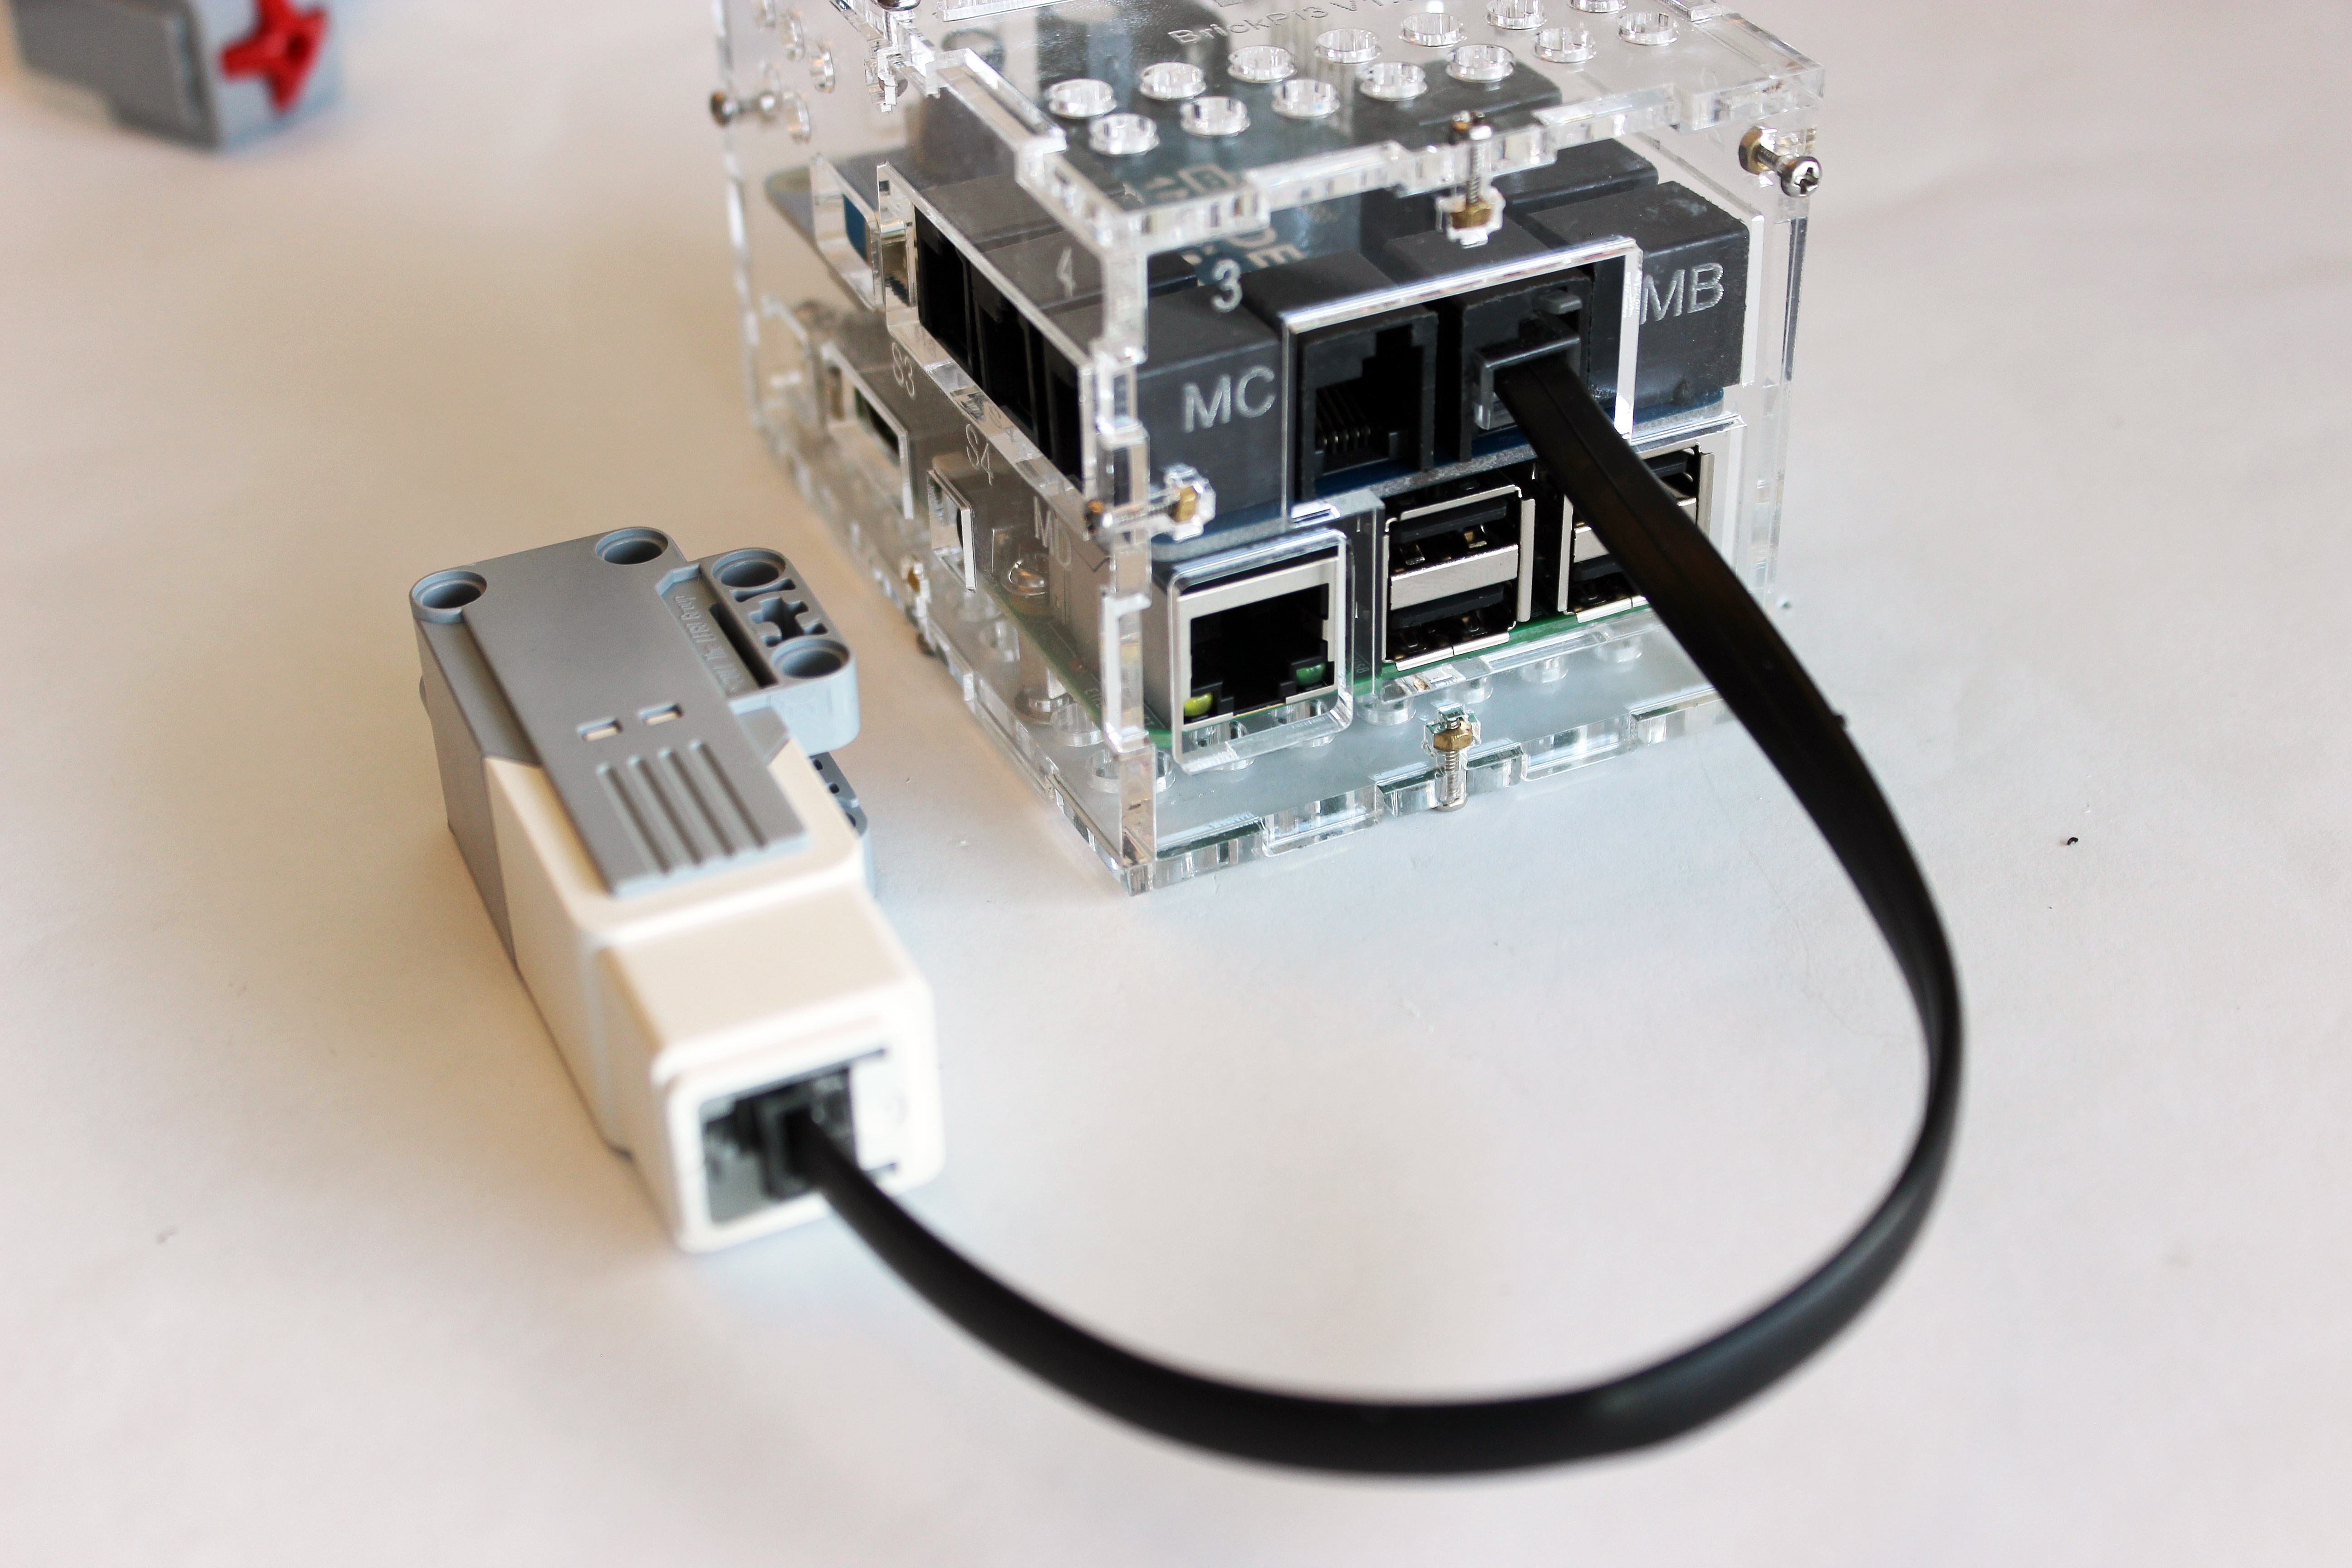
Attaching Sensors and Motors
The sensor cable is pushed in until you hear a “snap” as it clicks in place.
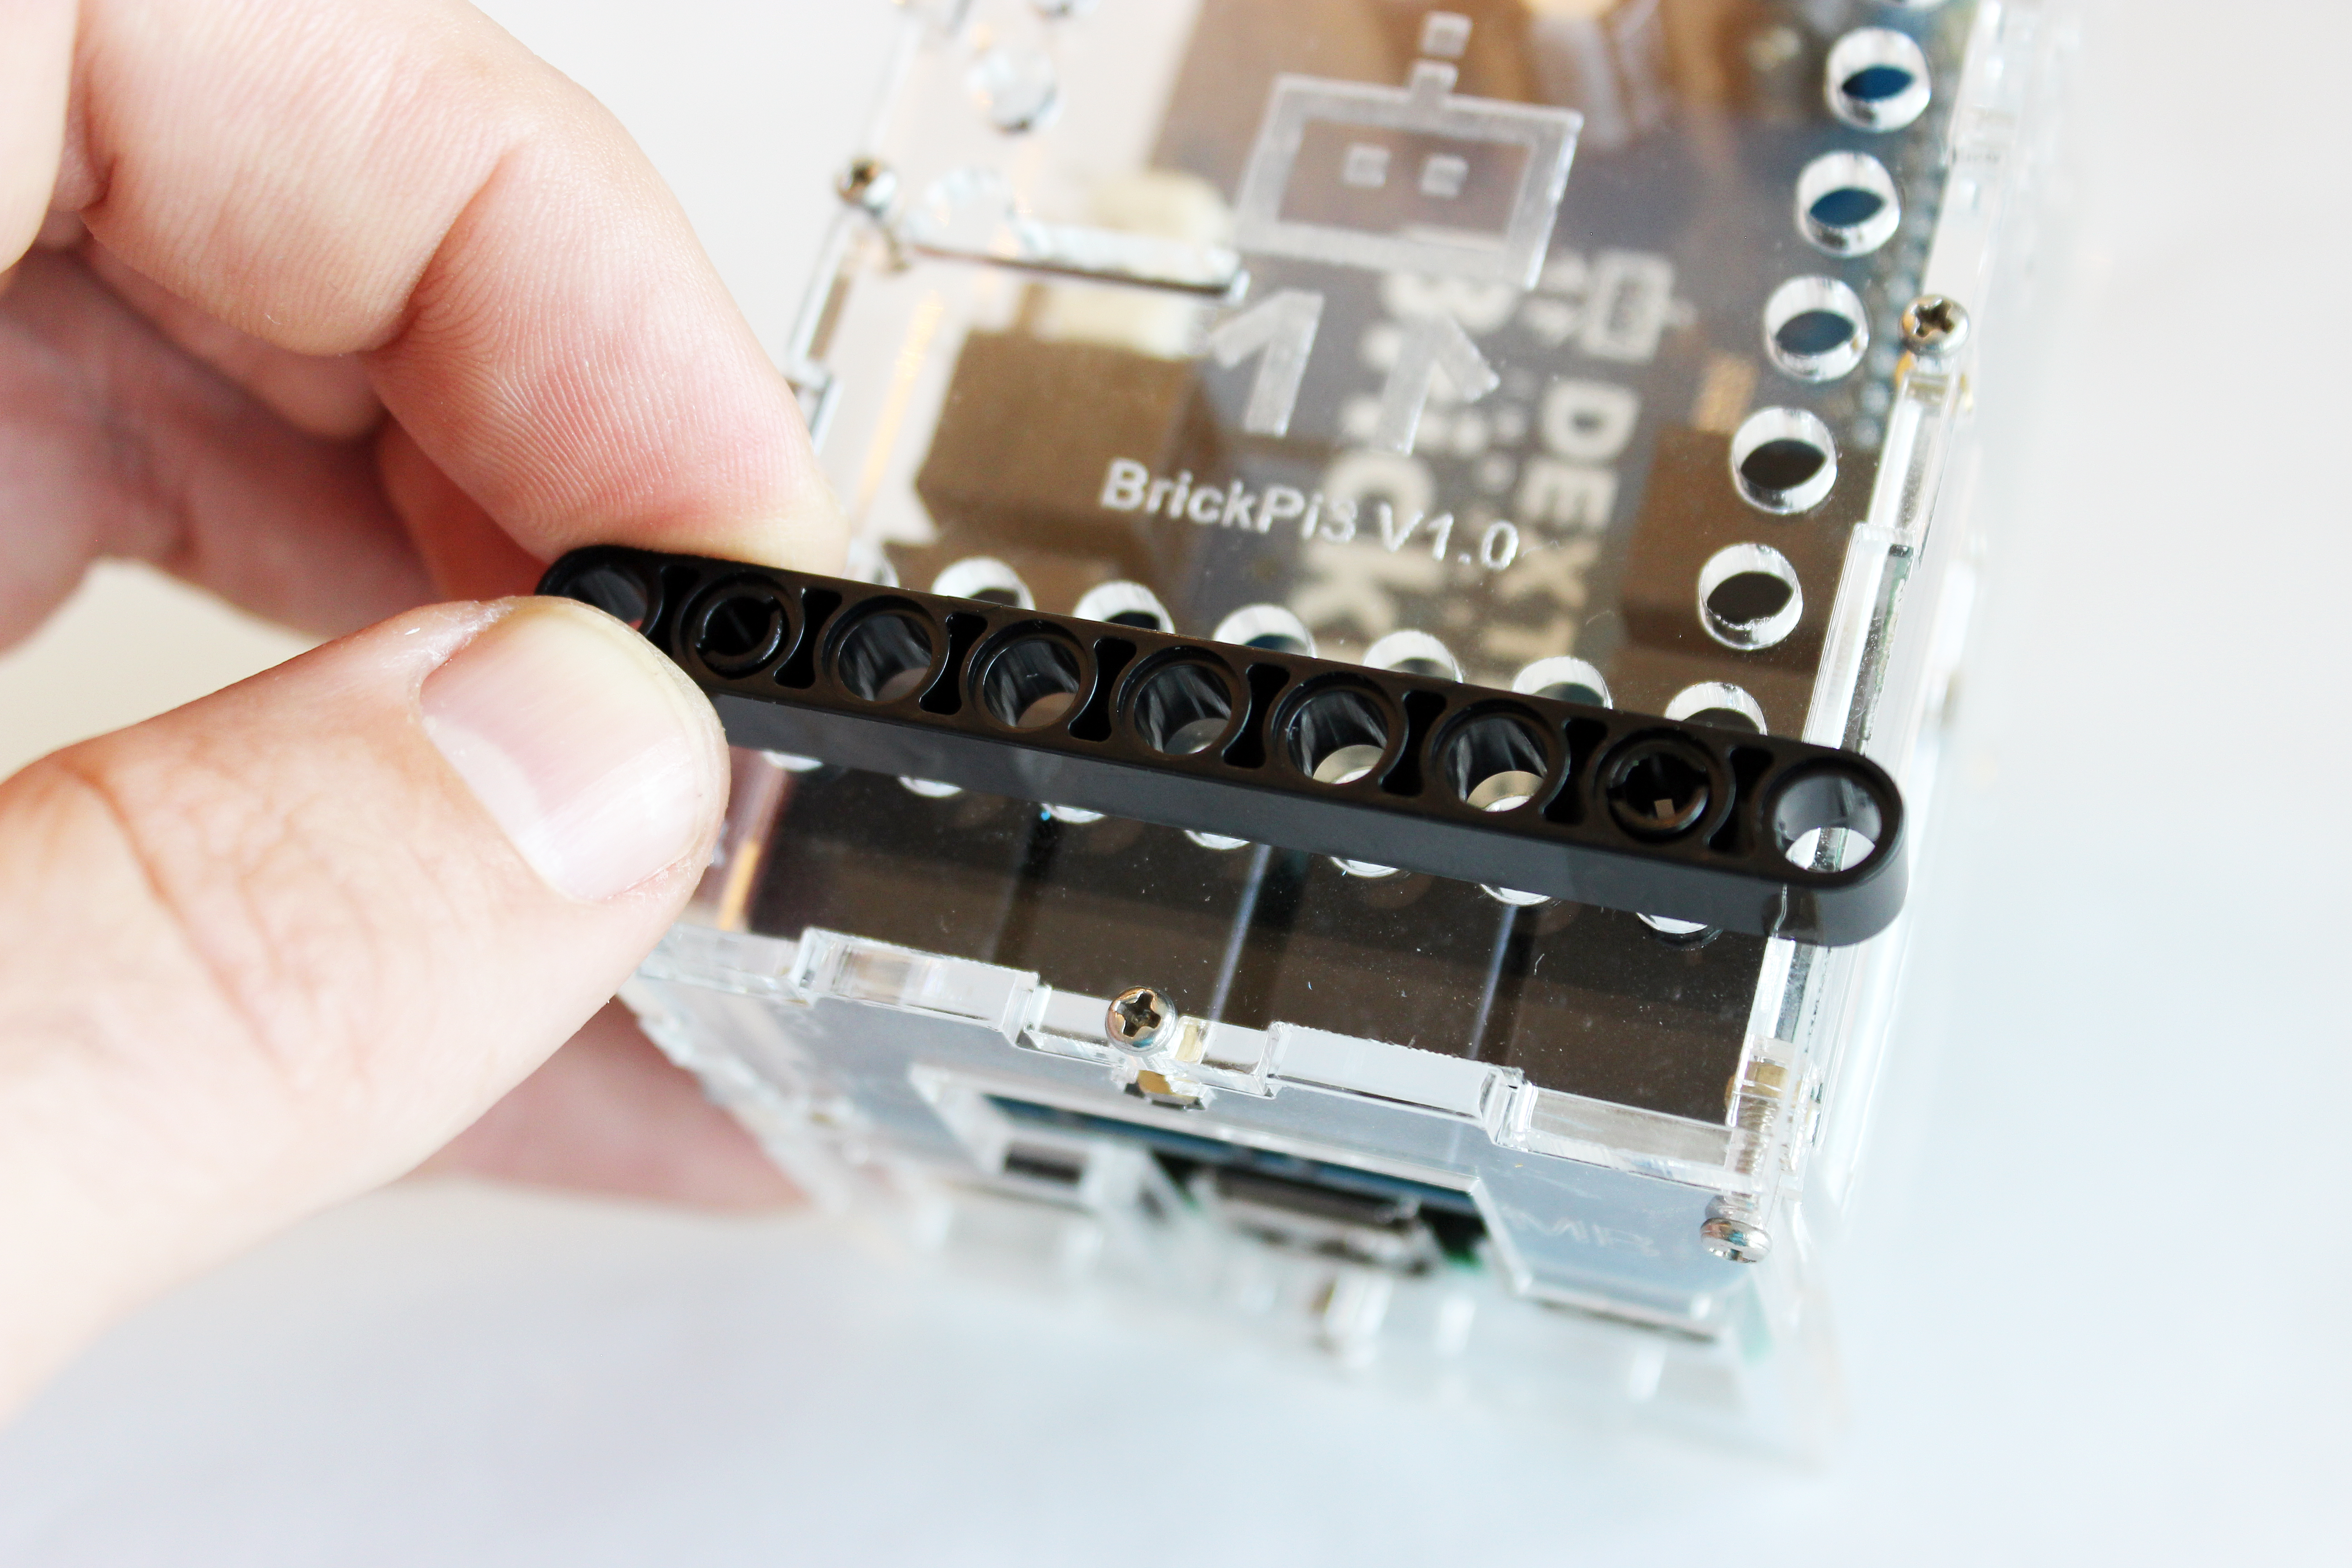
Attaching LEGO Parts
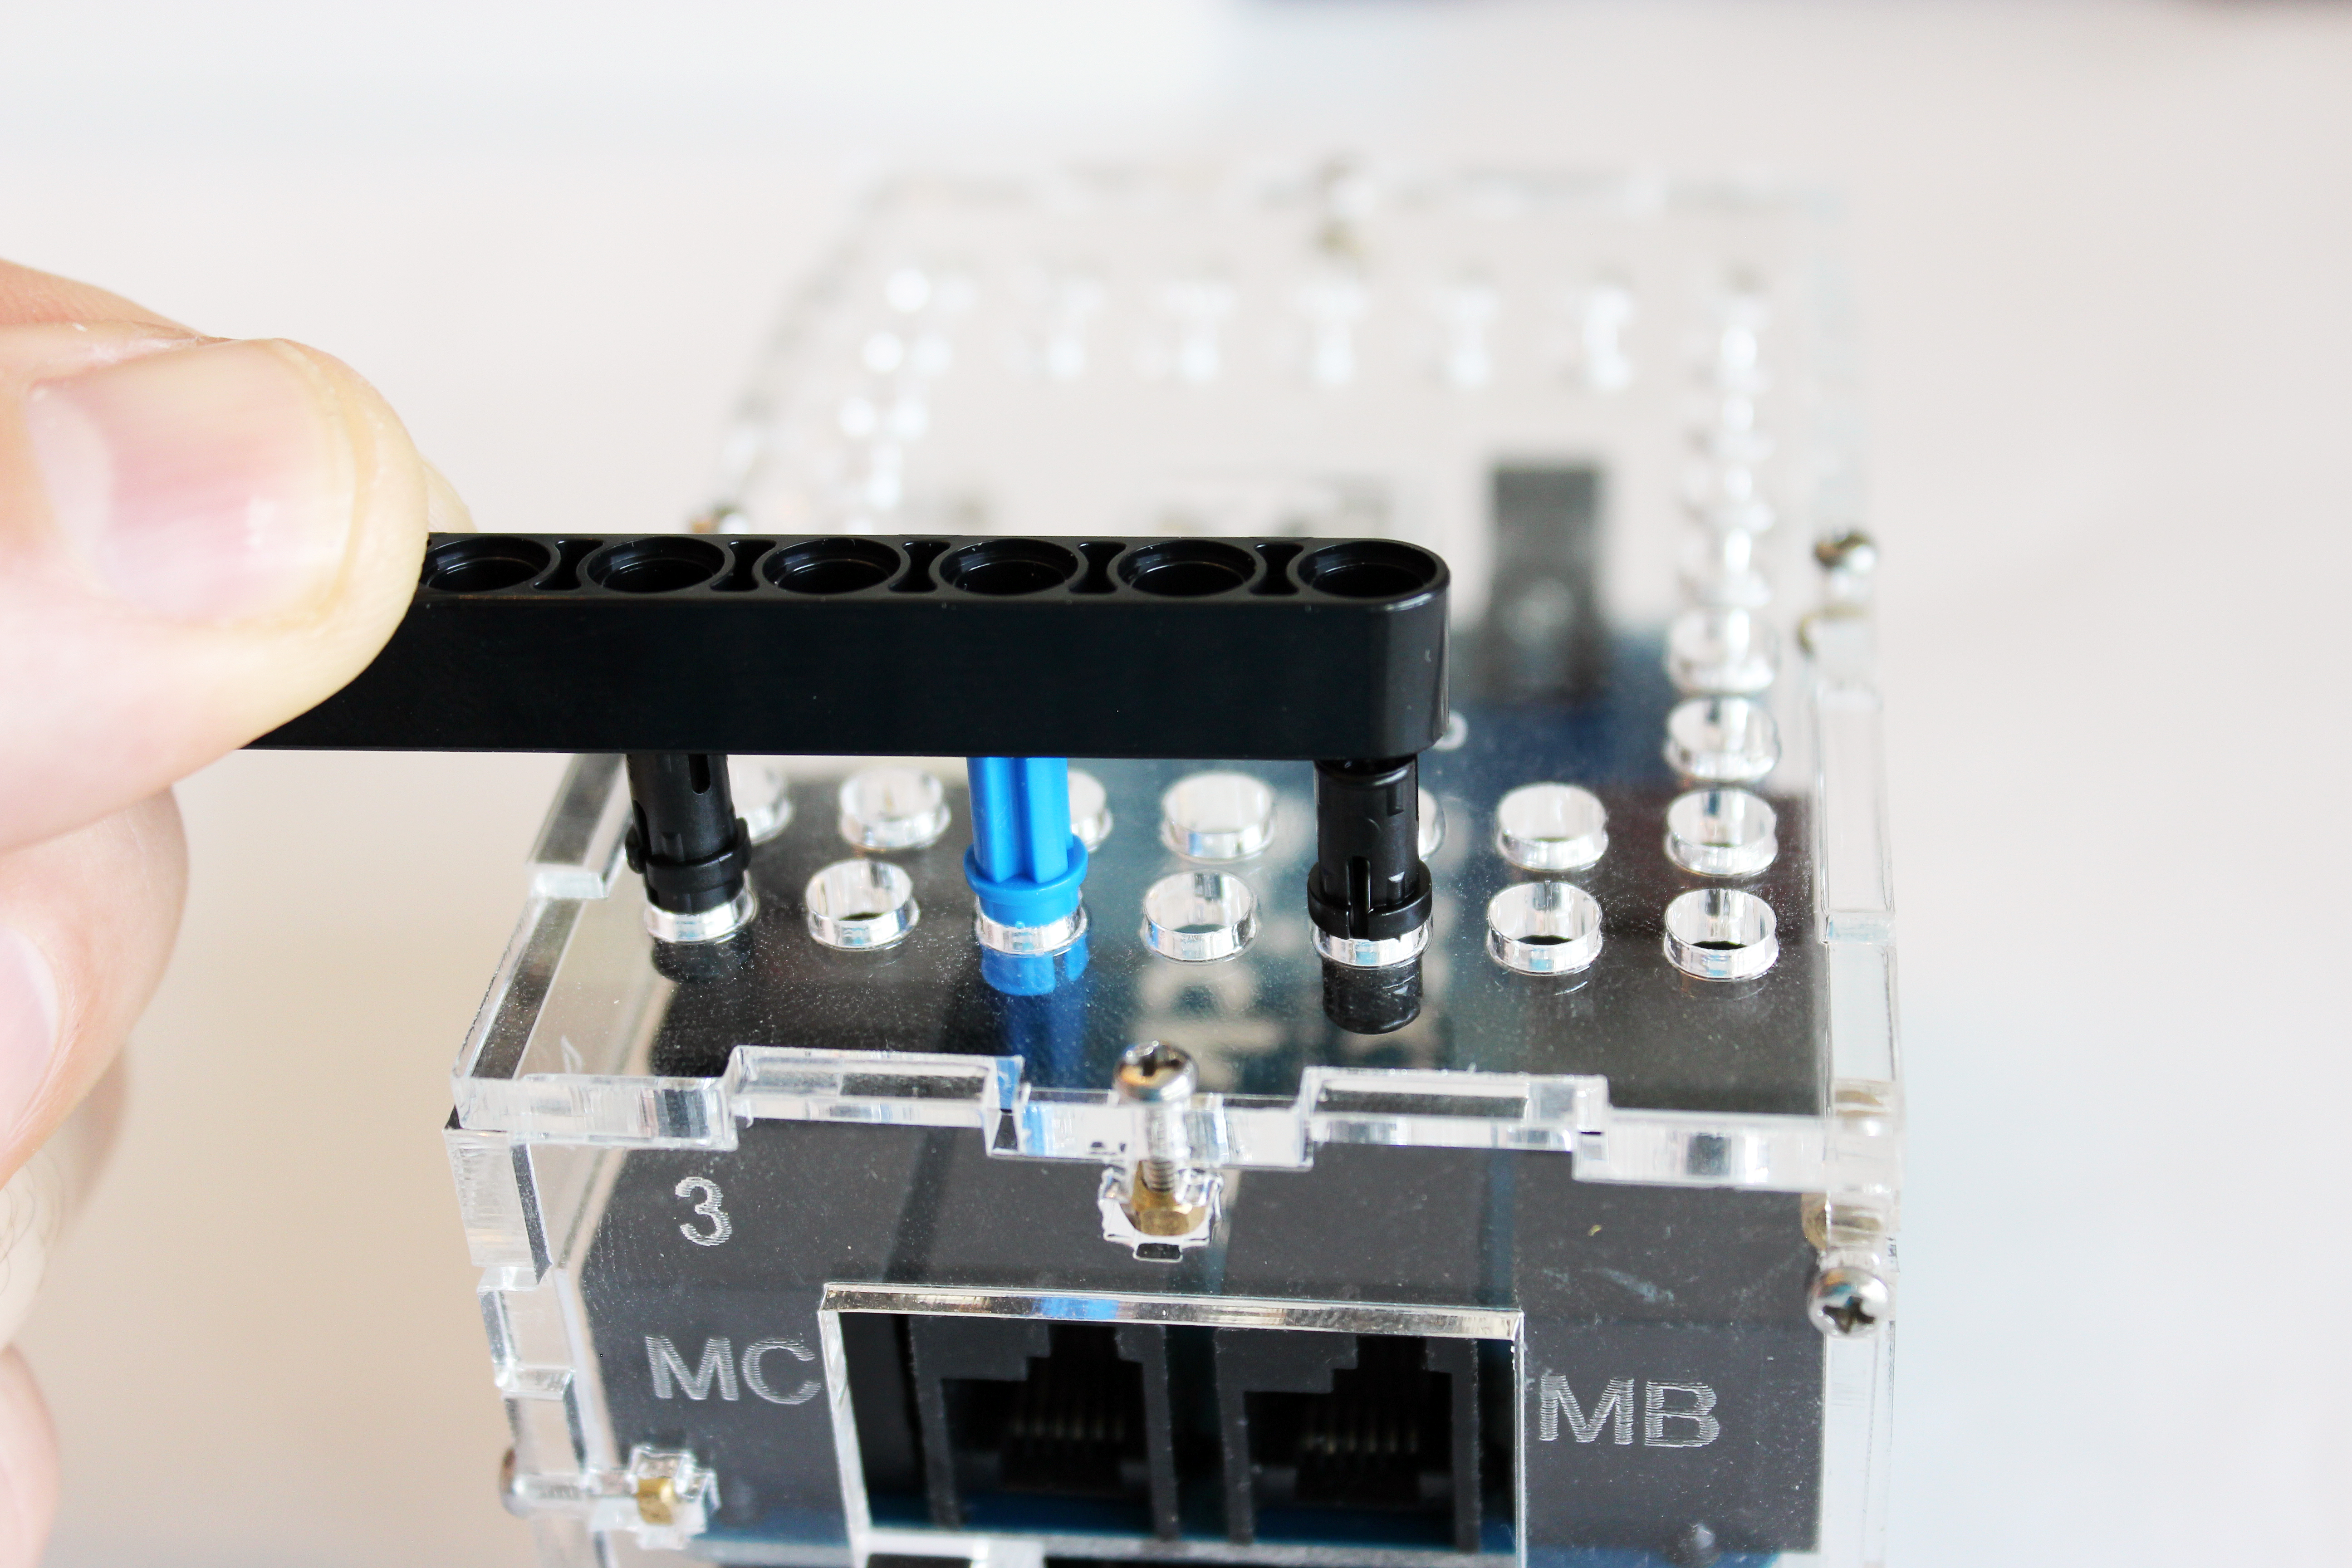
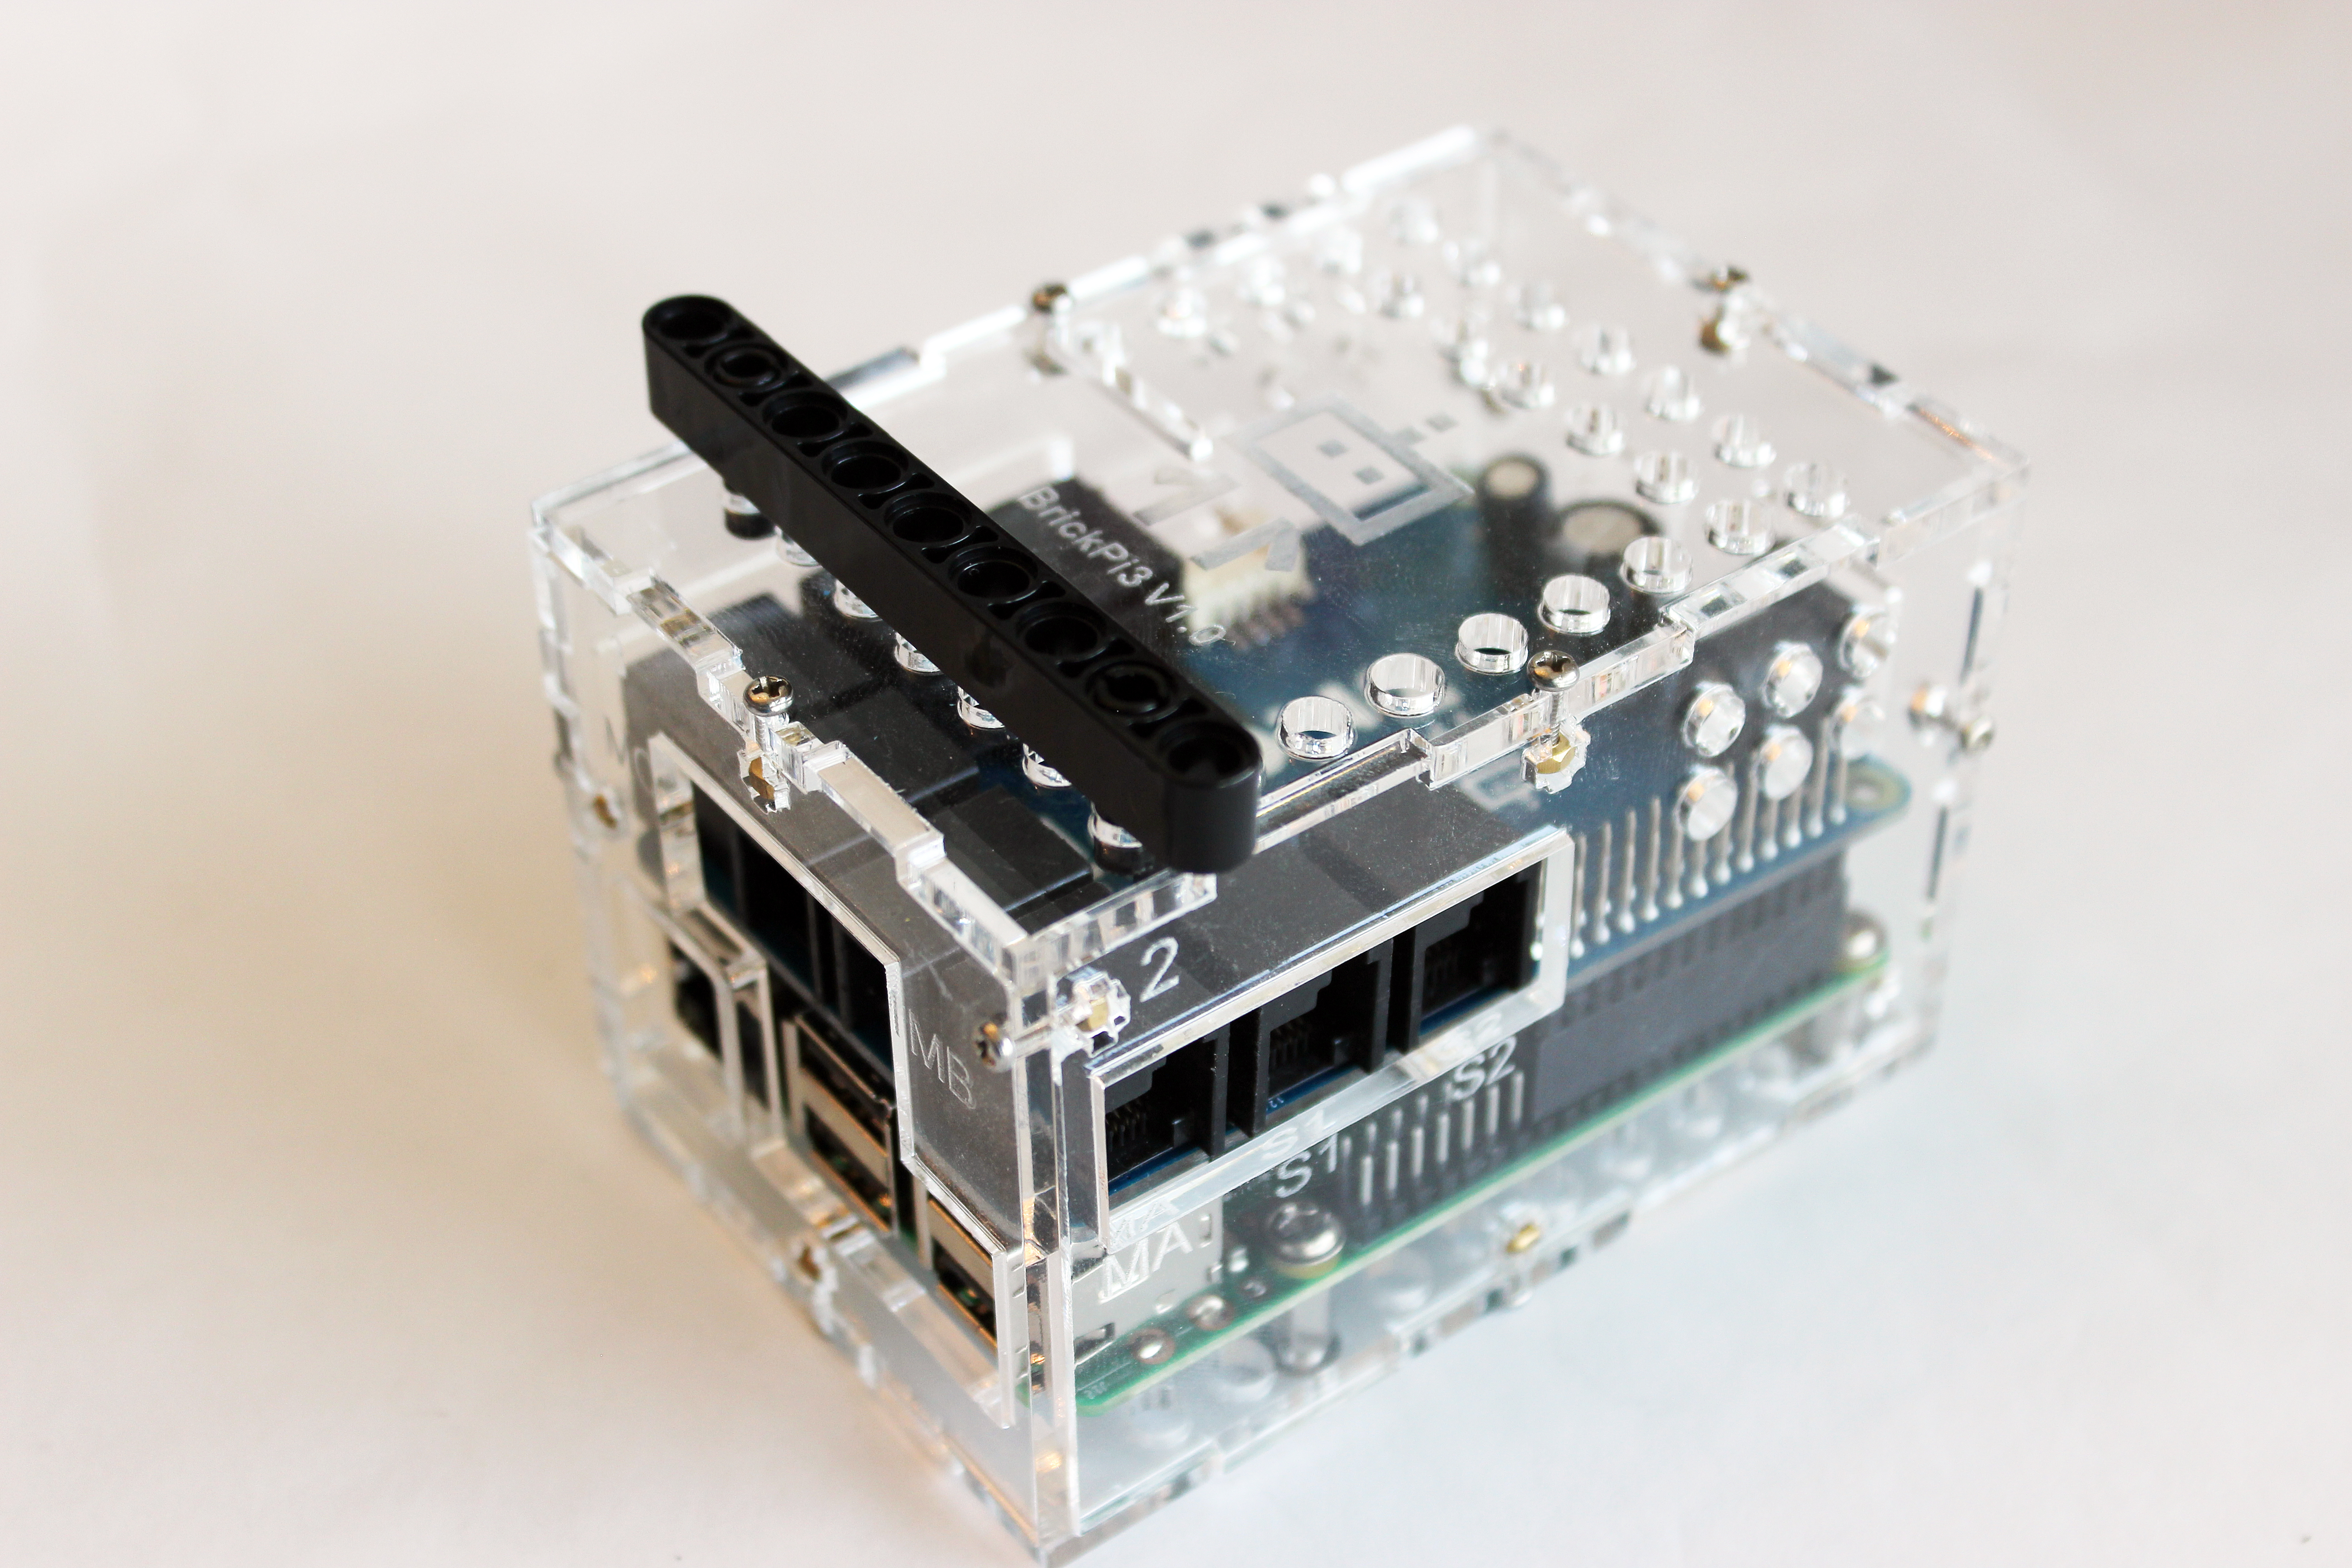
To attach LEGO beams and parts to the BrickPi3, first place the peg part into the BrickPi3 case. LEGO Technic parts can be attached to the brick by simply sliding connectors into the holes. Pictures are shown below.
If you need to attach multiple pegs, first put them in one at a time.
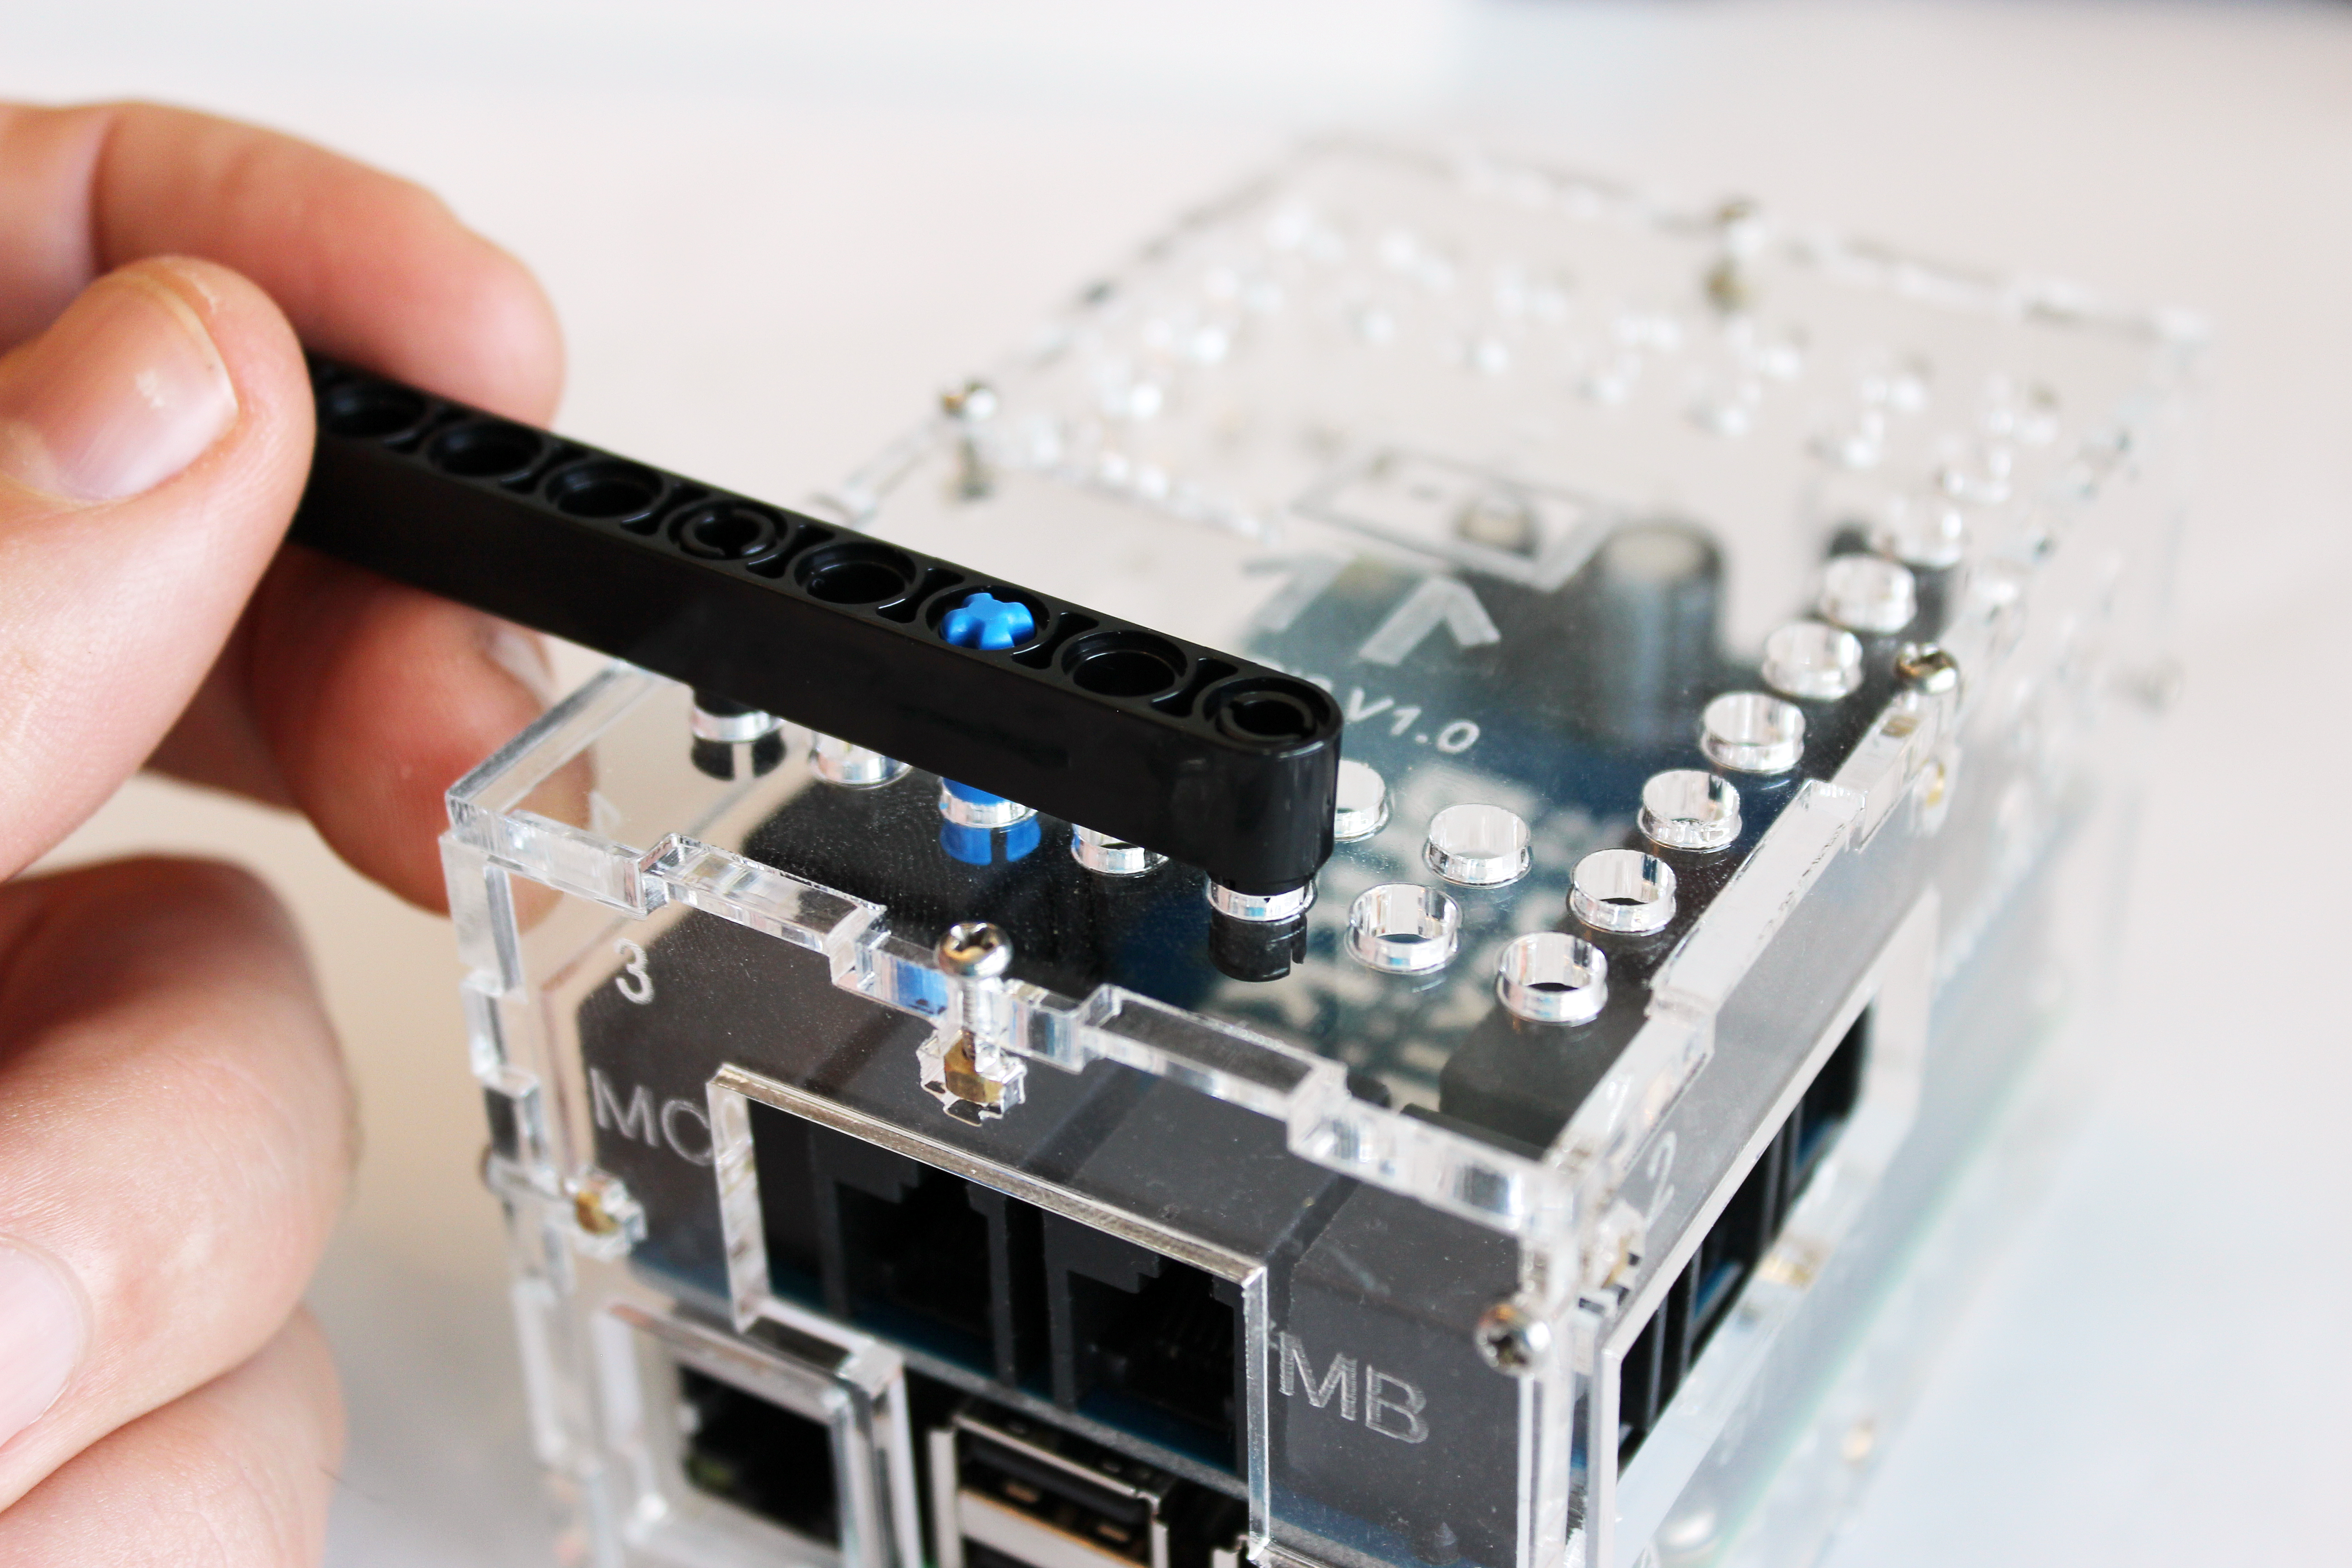
After placing the pegs into the BrickPi3 case, next attach the LEGO beam you want to attach to the case.
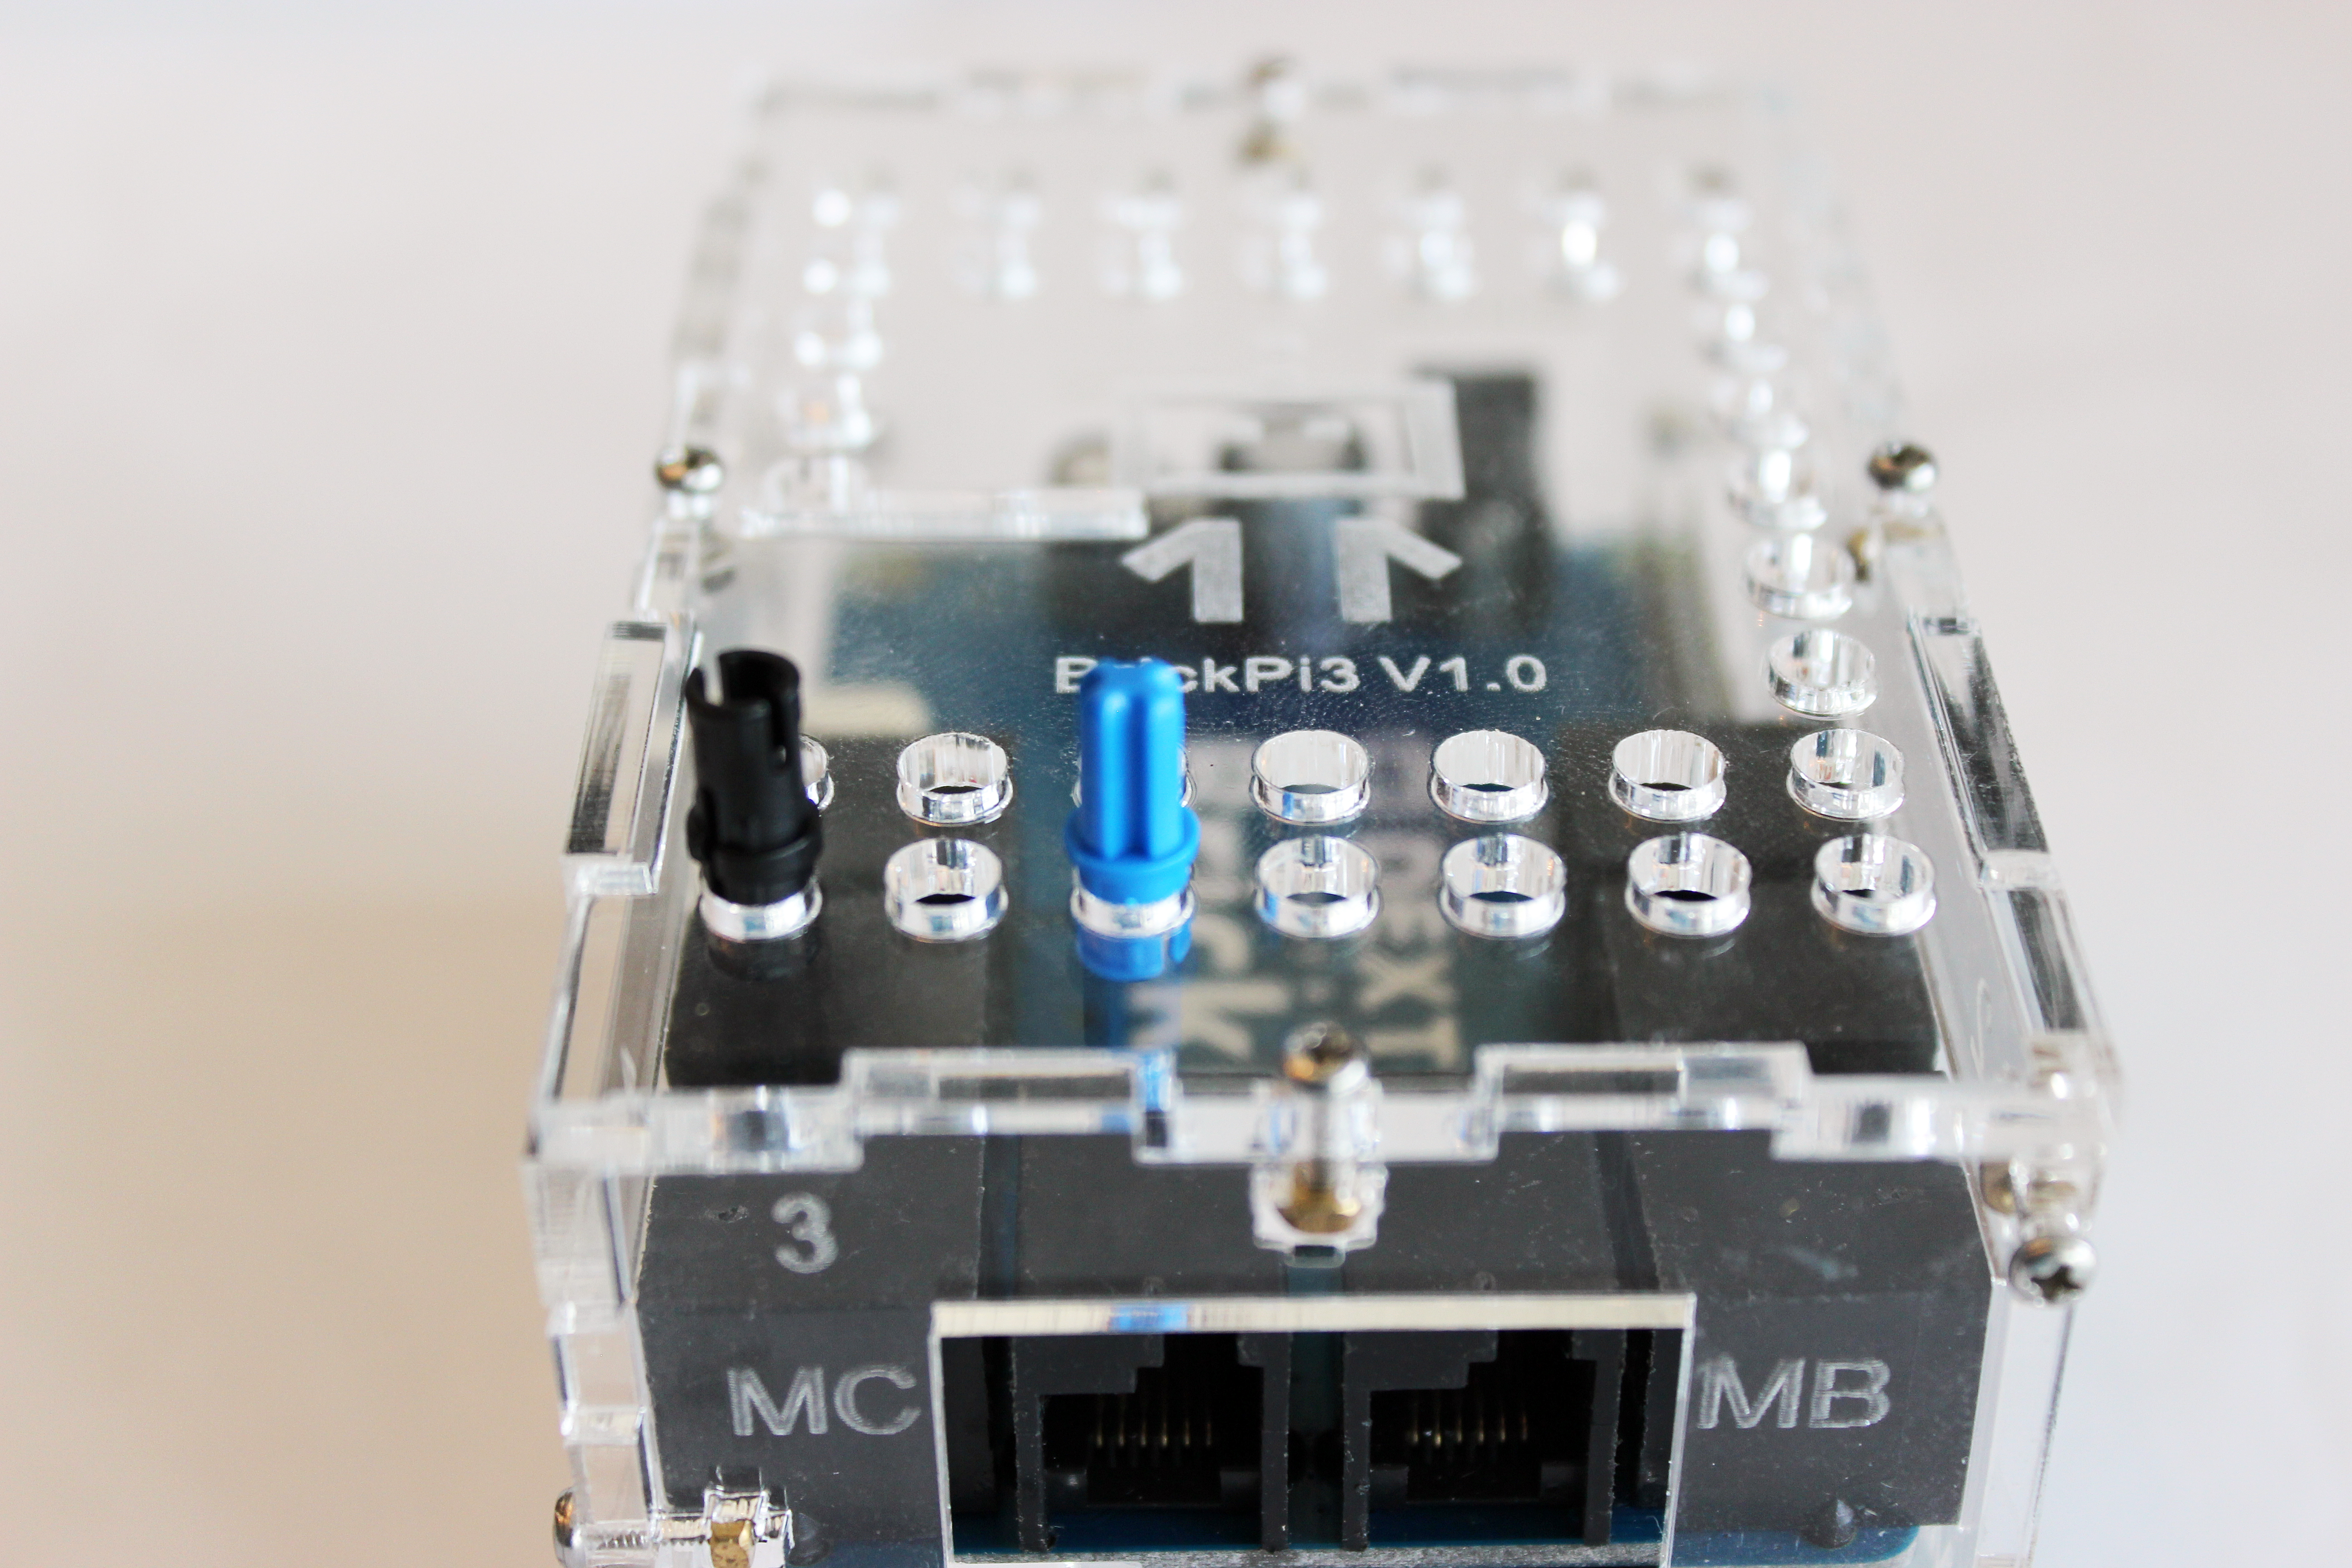
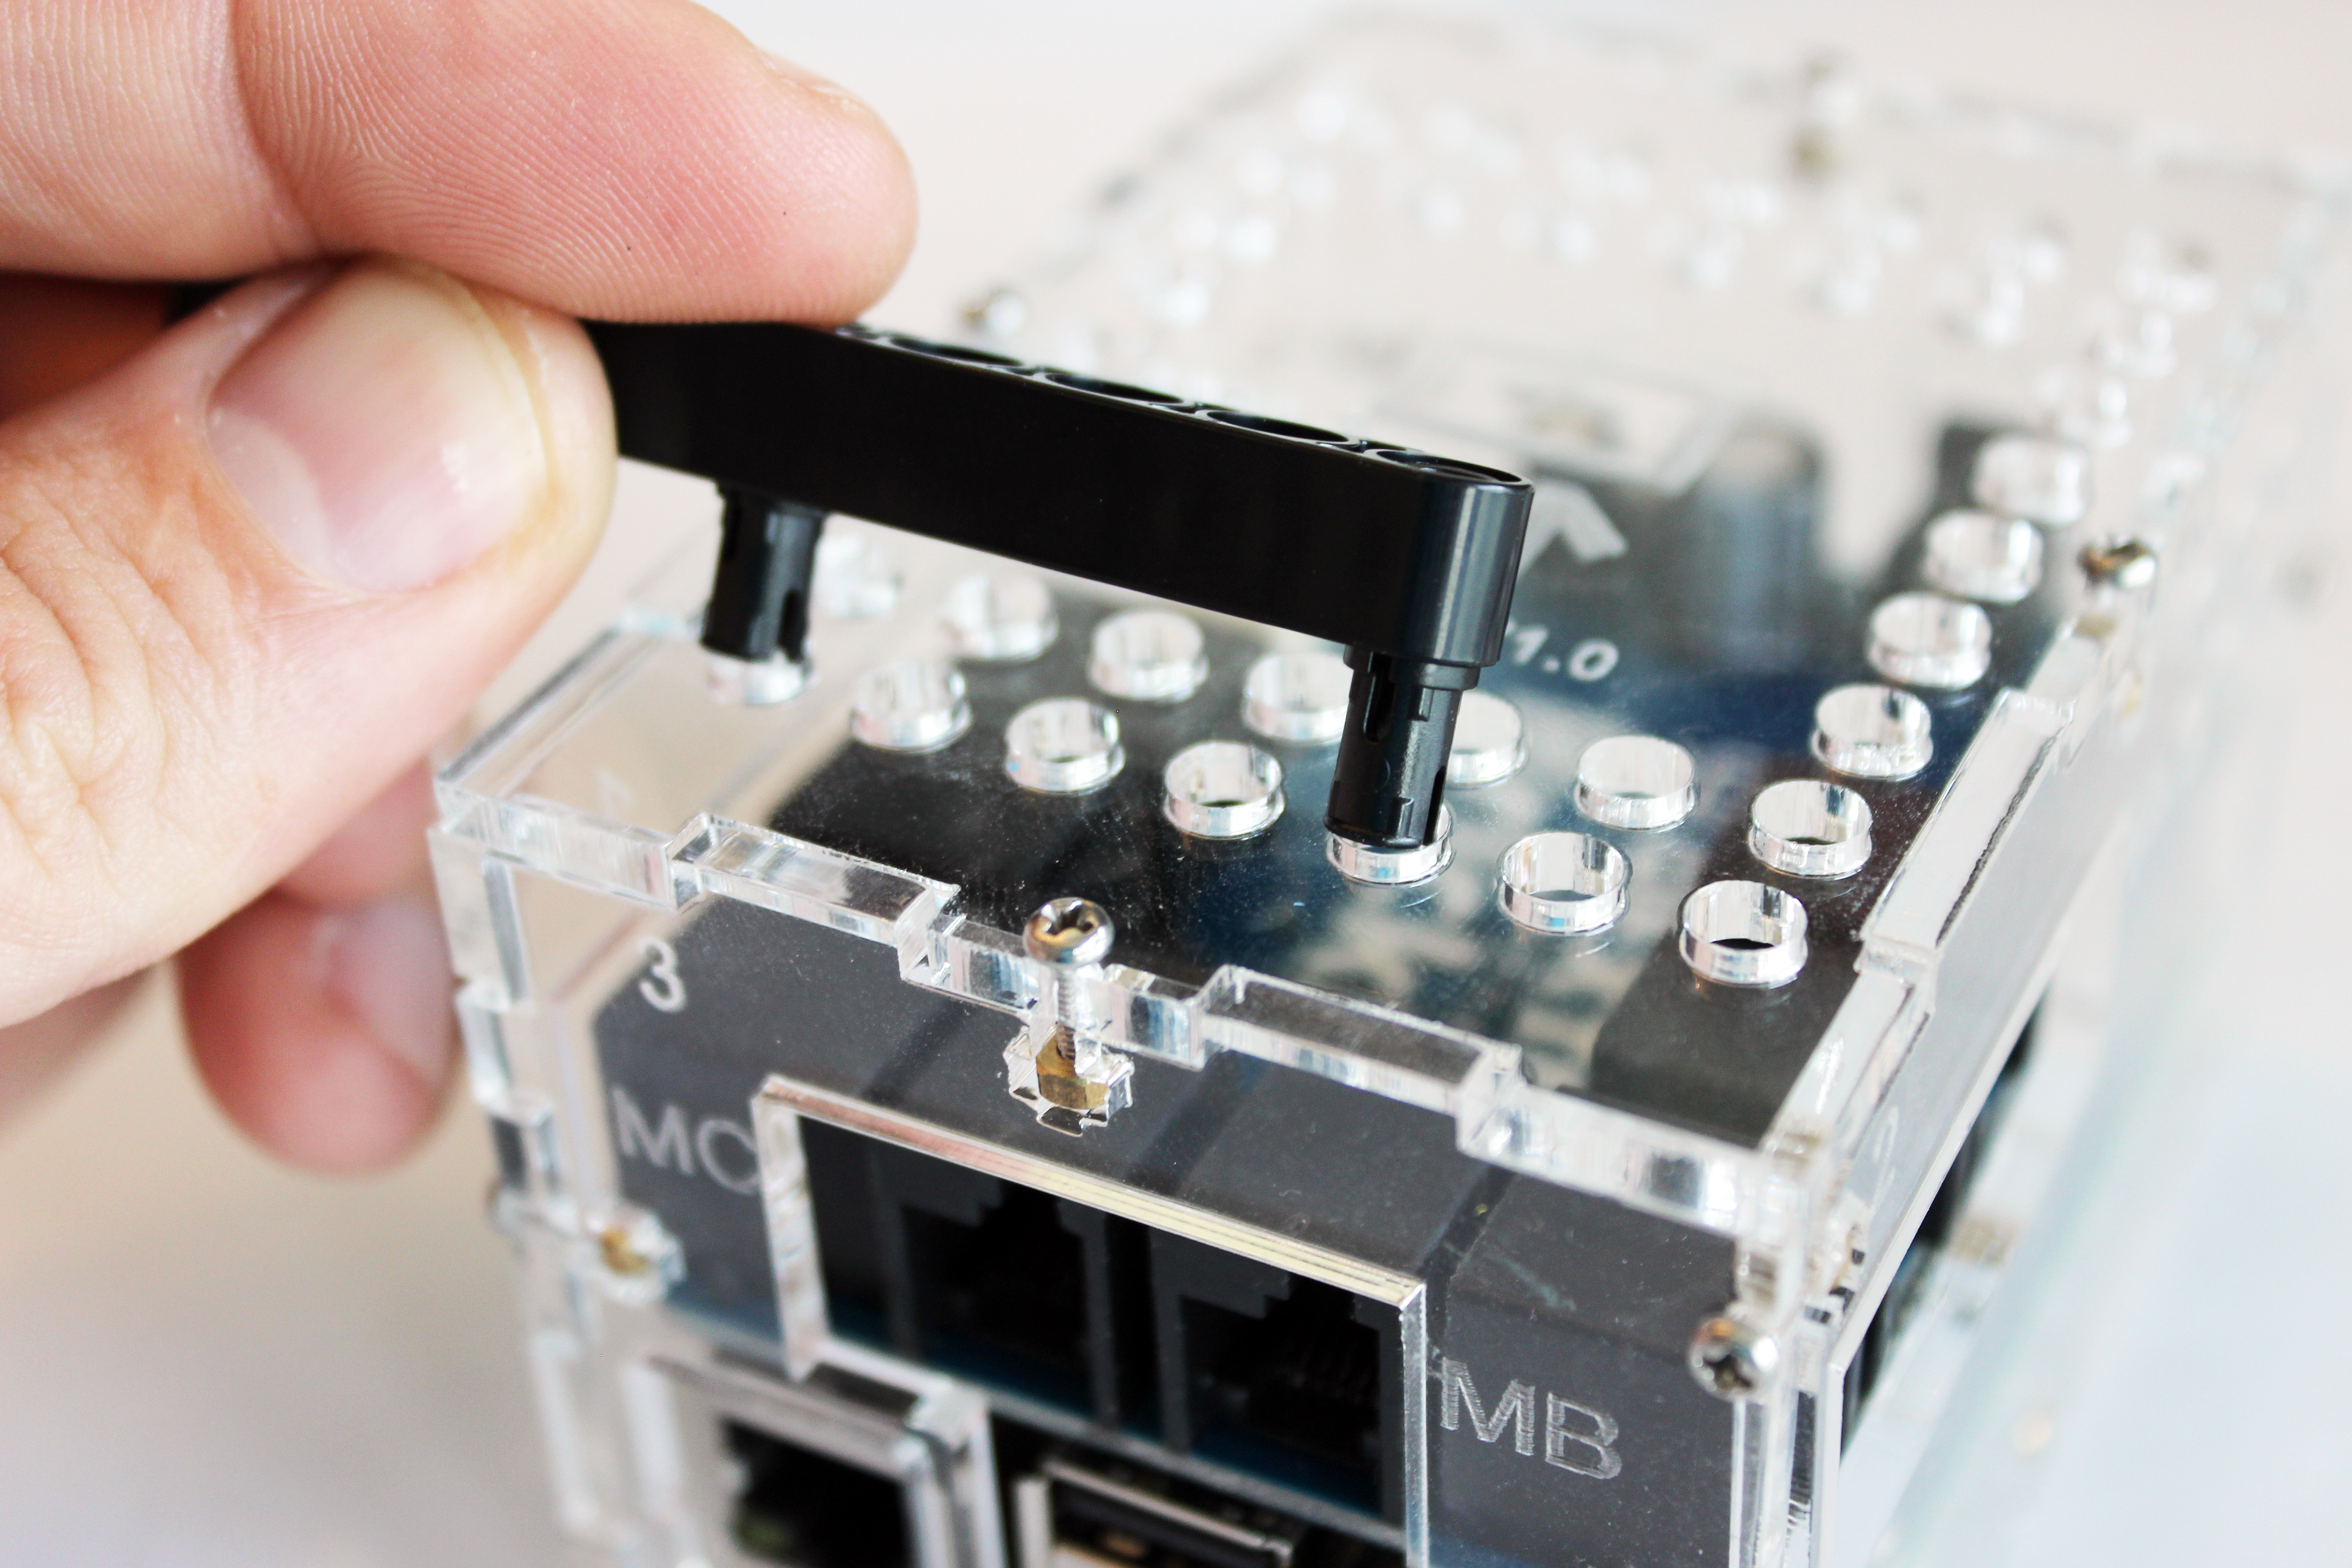
Wrong: Don’t try to place multiple pegs in at once.
Now, with BrickPi3 sensors and motors attached, you are ready to start programming your BrickPi3 robot!