This will have information about how to assemble the case. You will need a Phillips head or flat head screw driver.
We have step-by-step instructions below the video, with pictures of each step. However, if you prefer a video, we have one!
Step 1
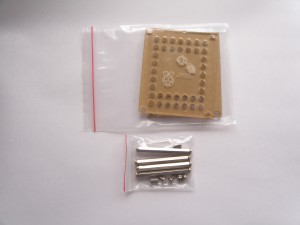
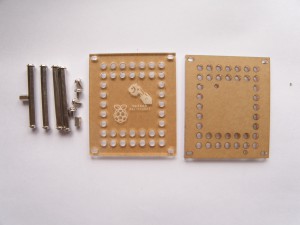
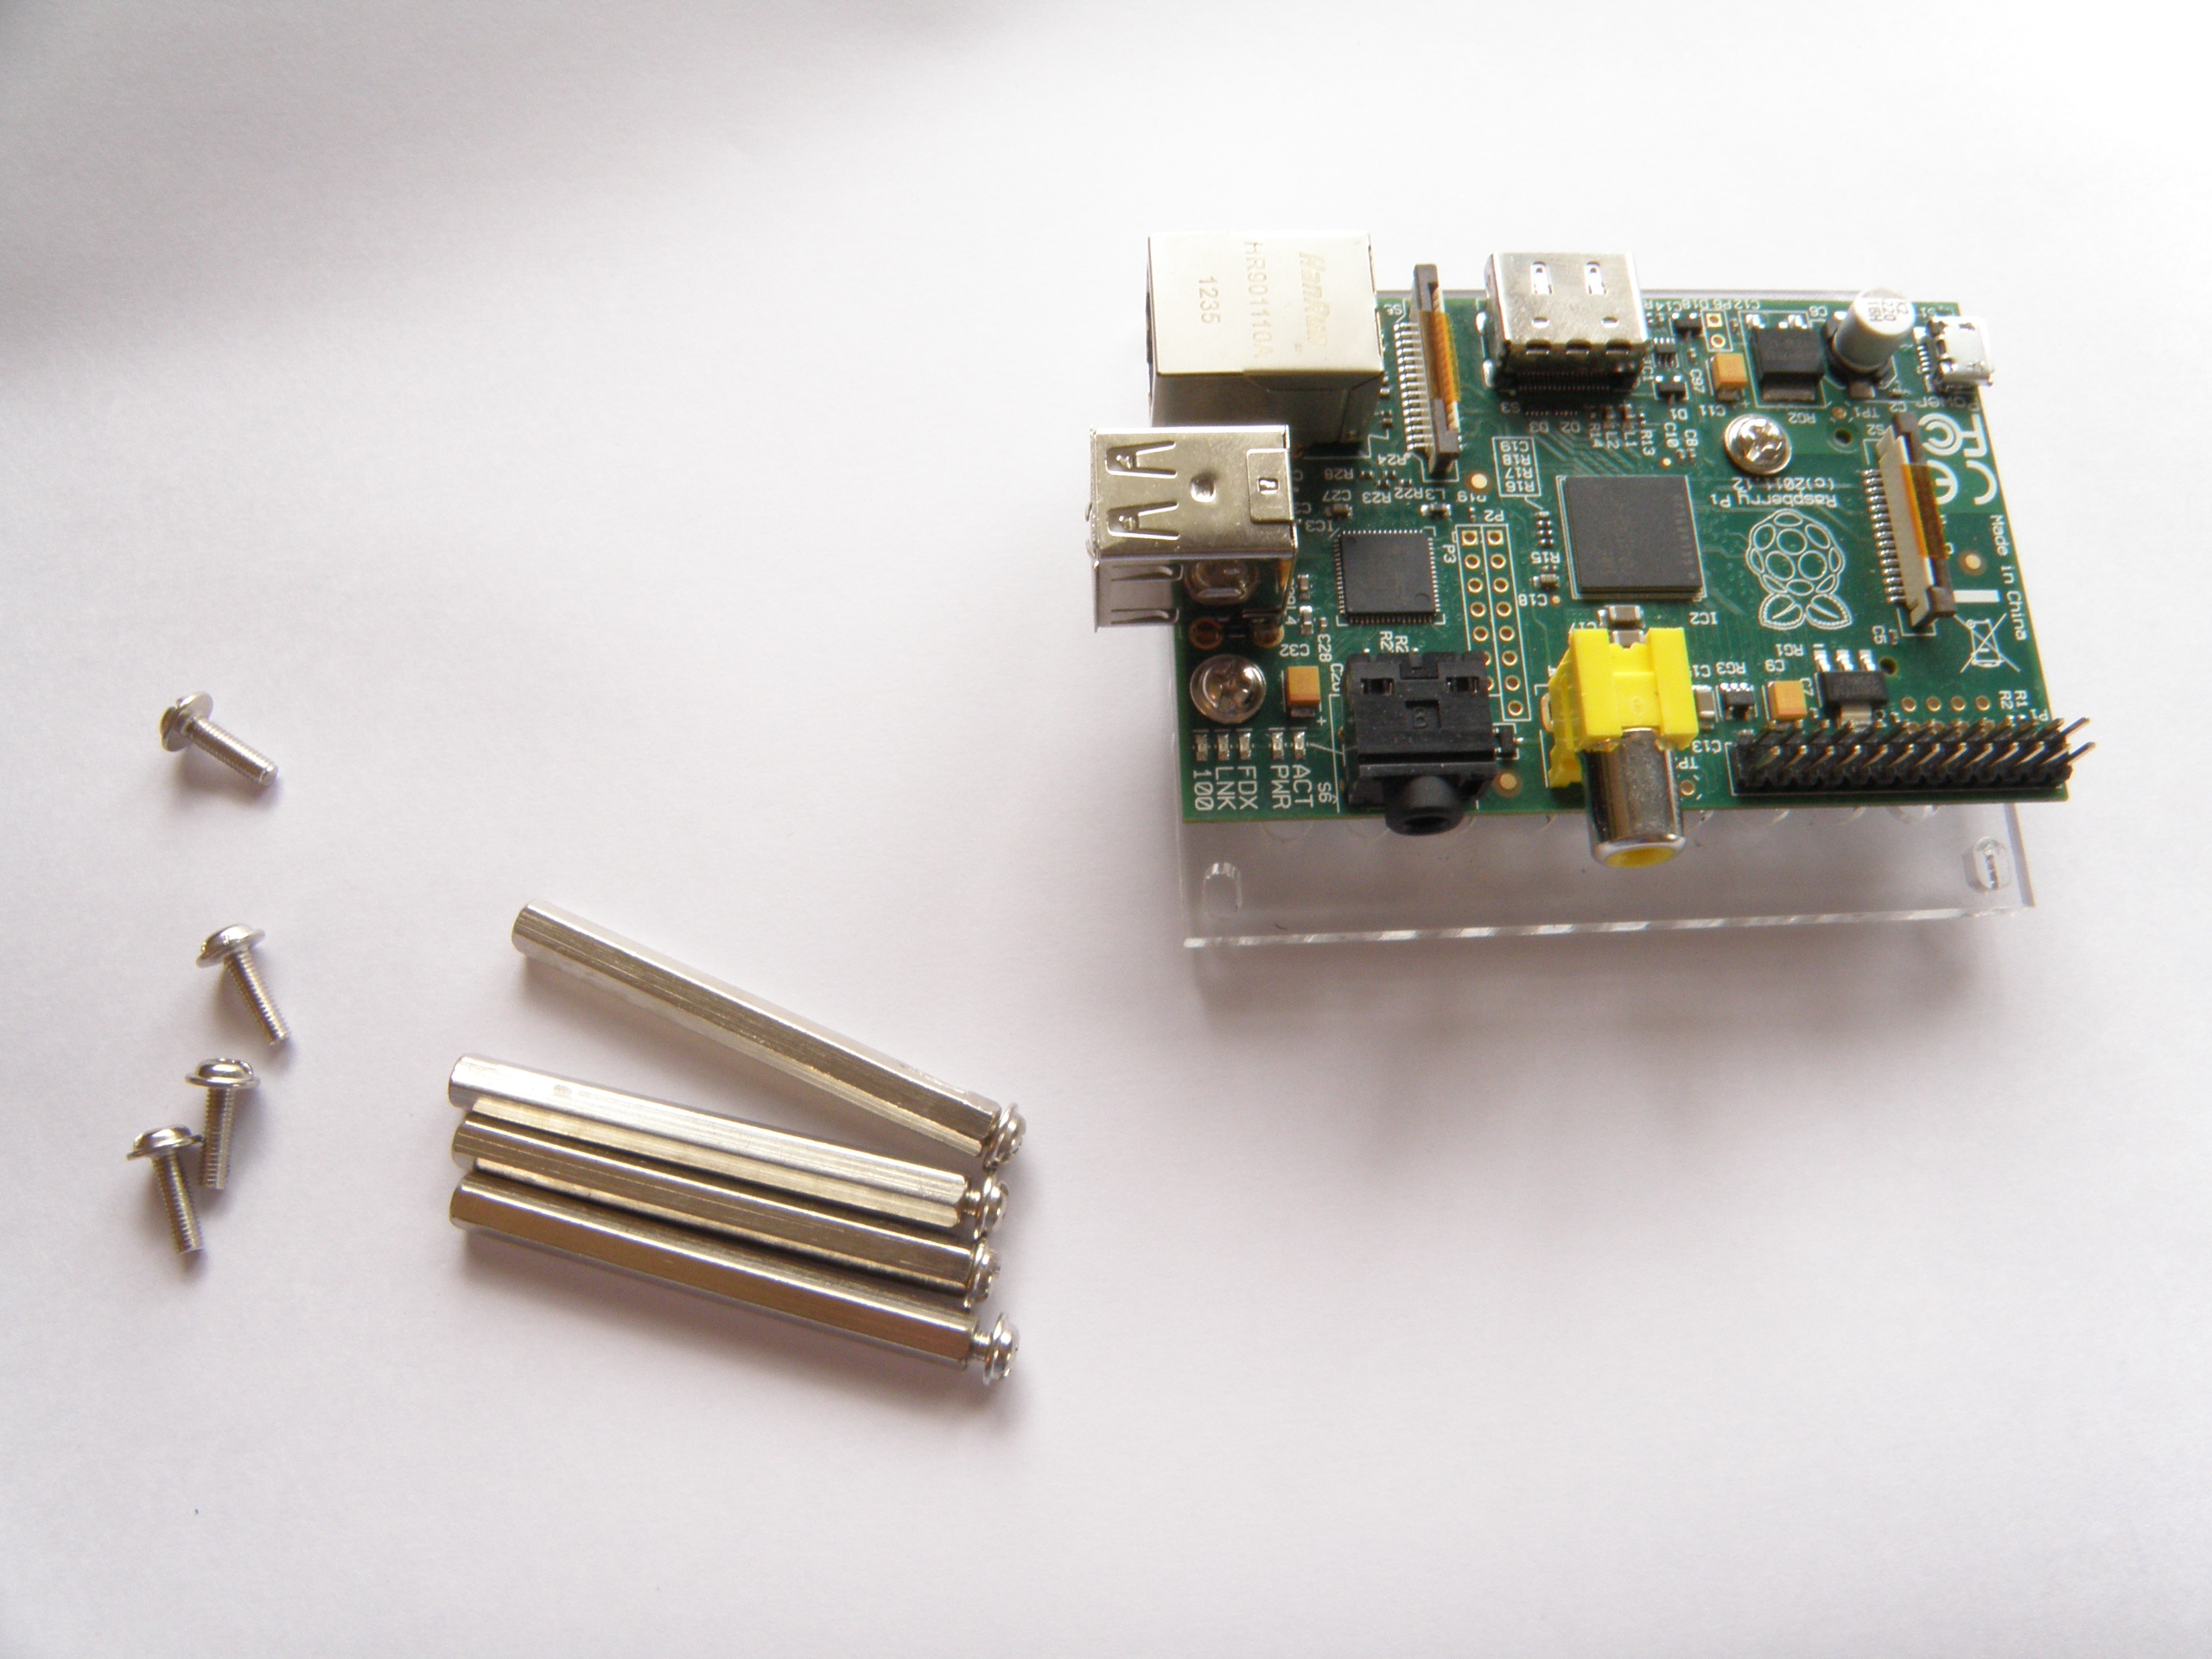
1). Unpack the hardware. The acrylic case comes in its own bag, and the screws and posts come in a separate bag. You should have two acrylic boards: the top board has the Dexter Industries logo etched on it, and the bottom has no laser etching.
Step 2

Step 2
2). Remove the protective paper. Peel back the paper wrapping from the plastic casing parts.
3). Using a screwdriver, screw in the two smallest posts to the bottom plastic. Tighten the screws on the posts.


Step 4
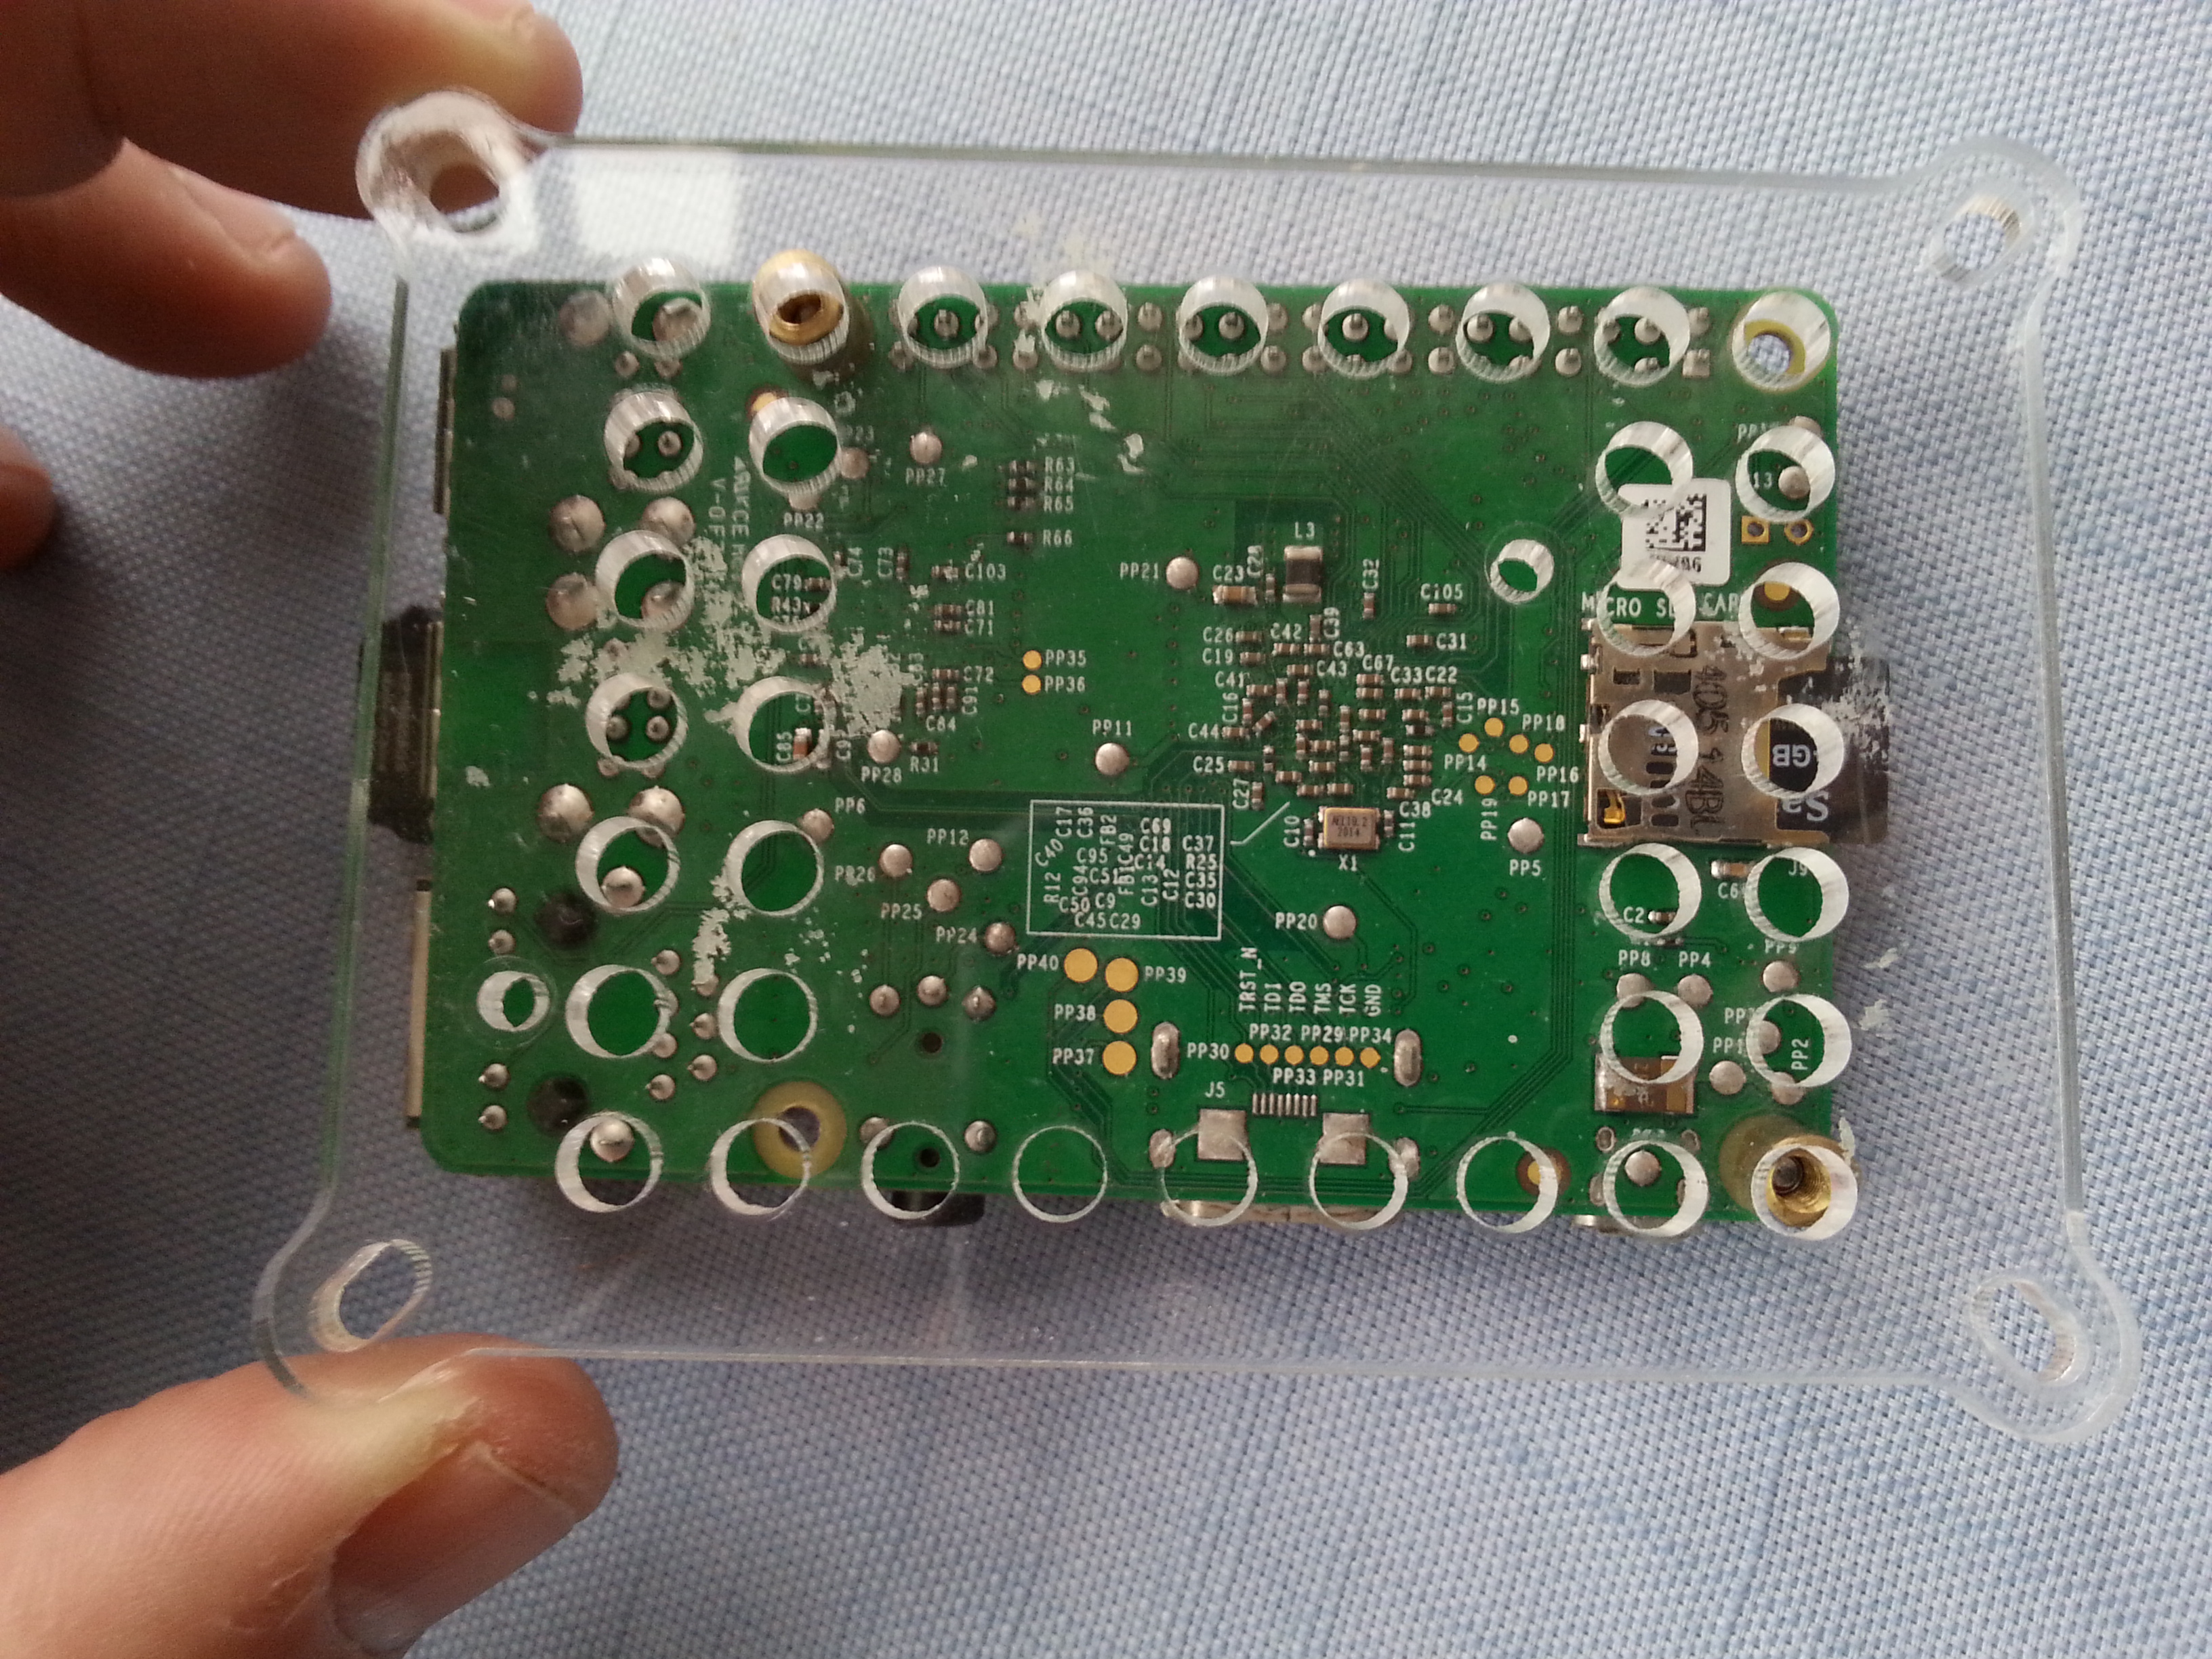
4). Line up the Raspberry Pi so that the two mounting holes are lined up with the two small posts attached in step 3. Attach the Raspberry Pi to the two posts. Be careful not to touch electrical components on the Raspberry Pi with the screwdriver.
Step 5
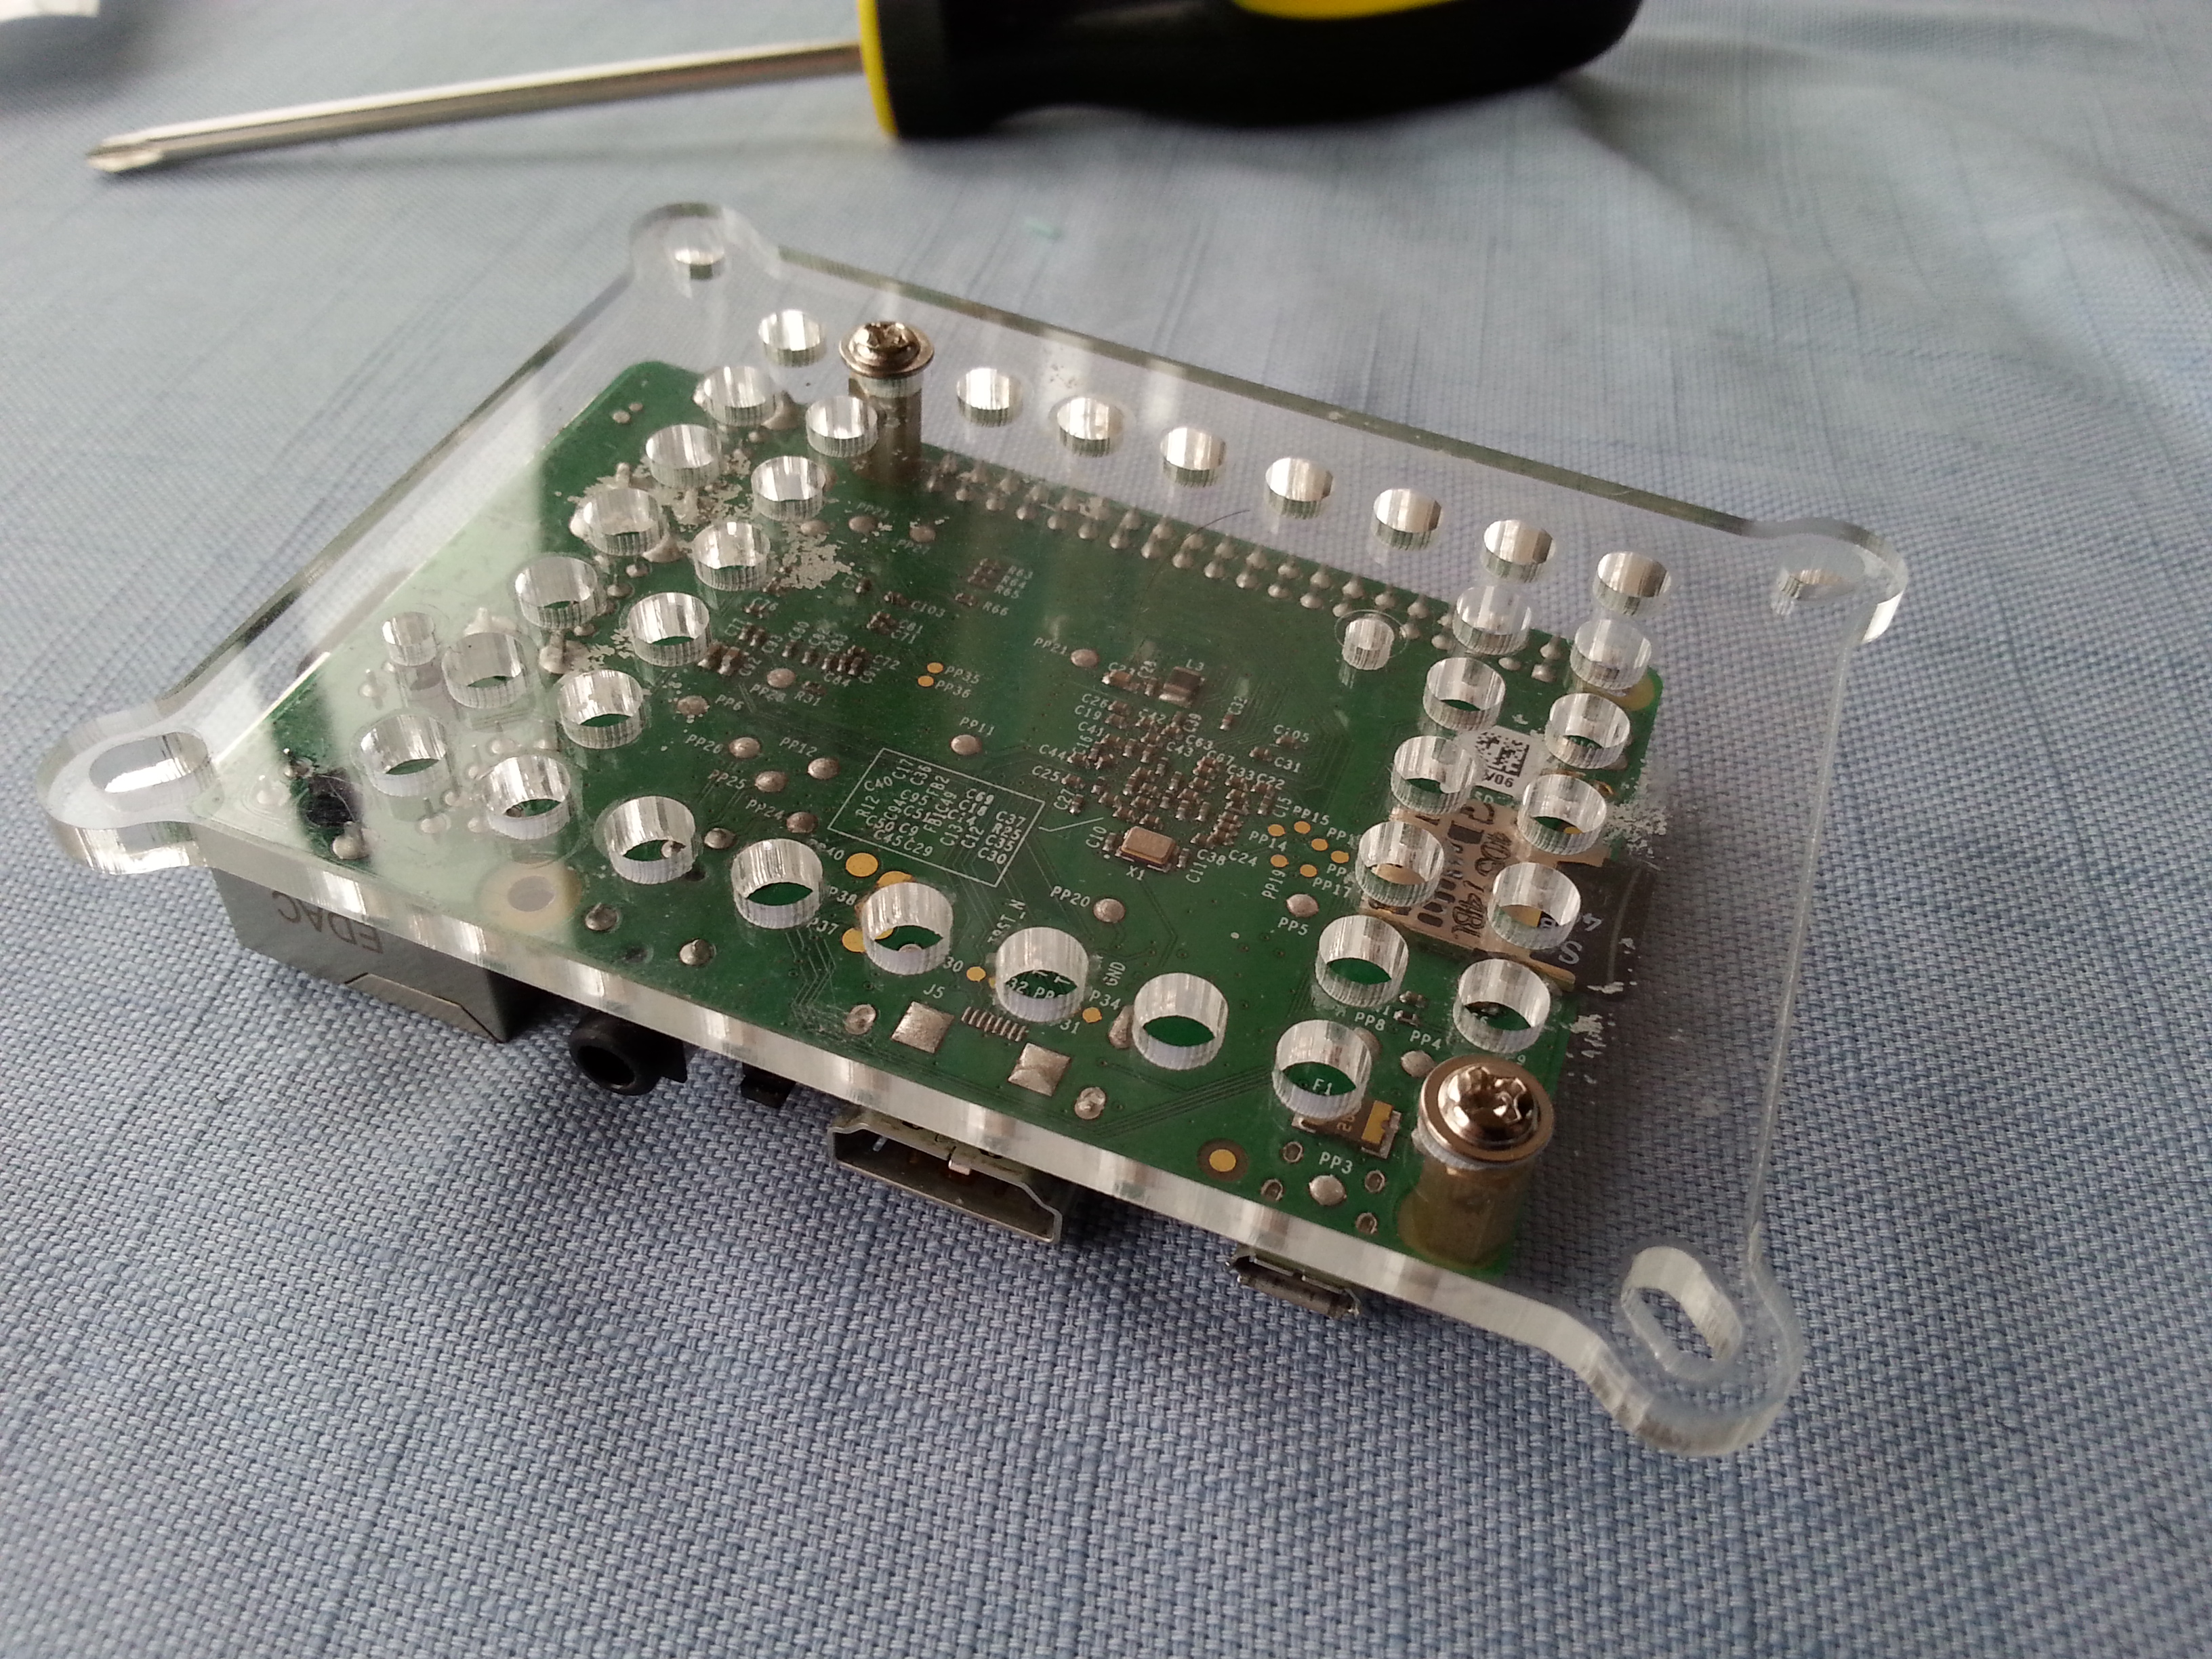
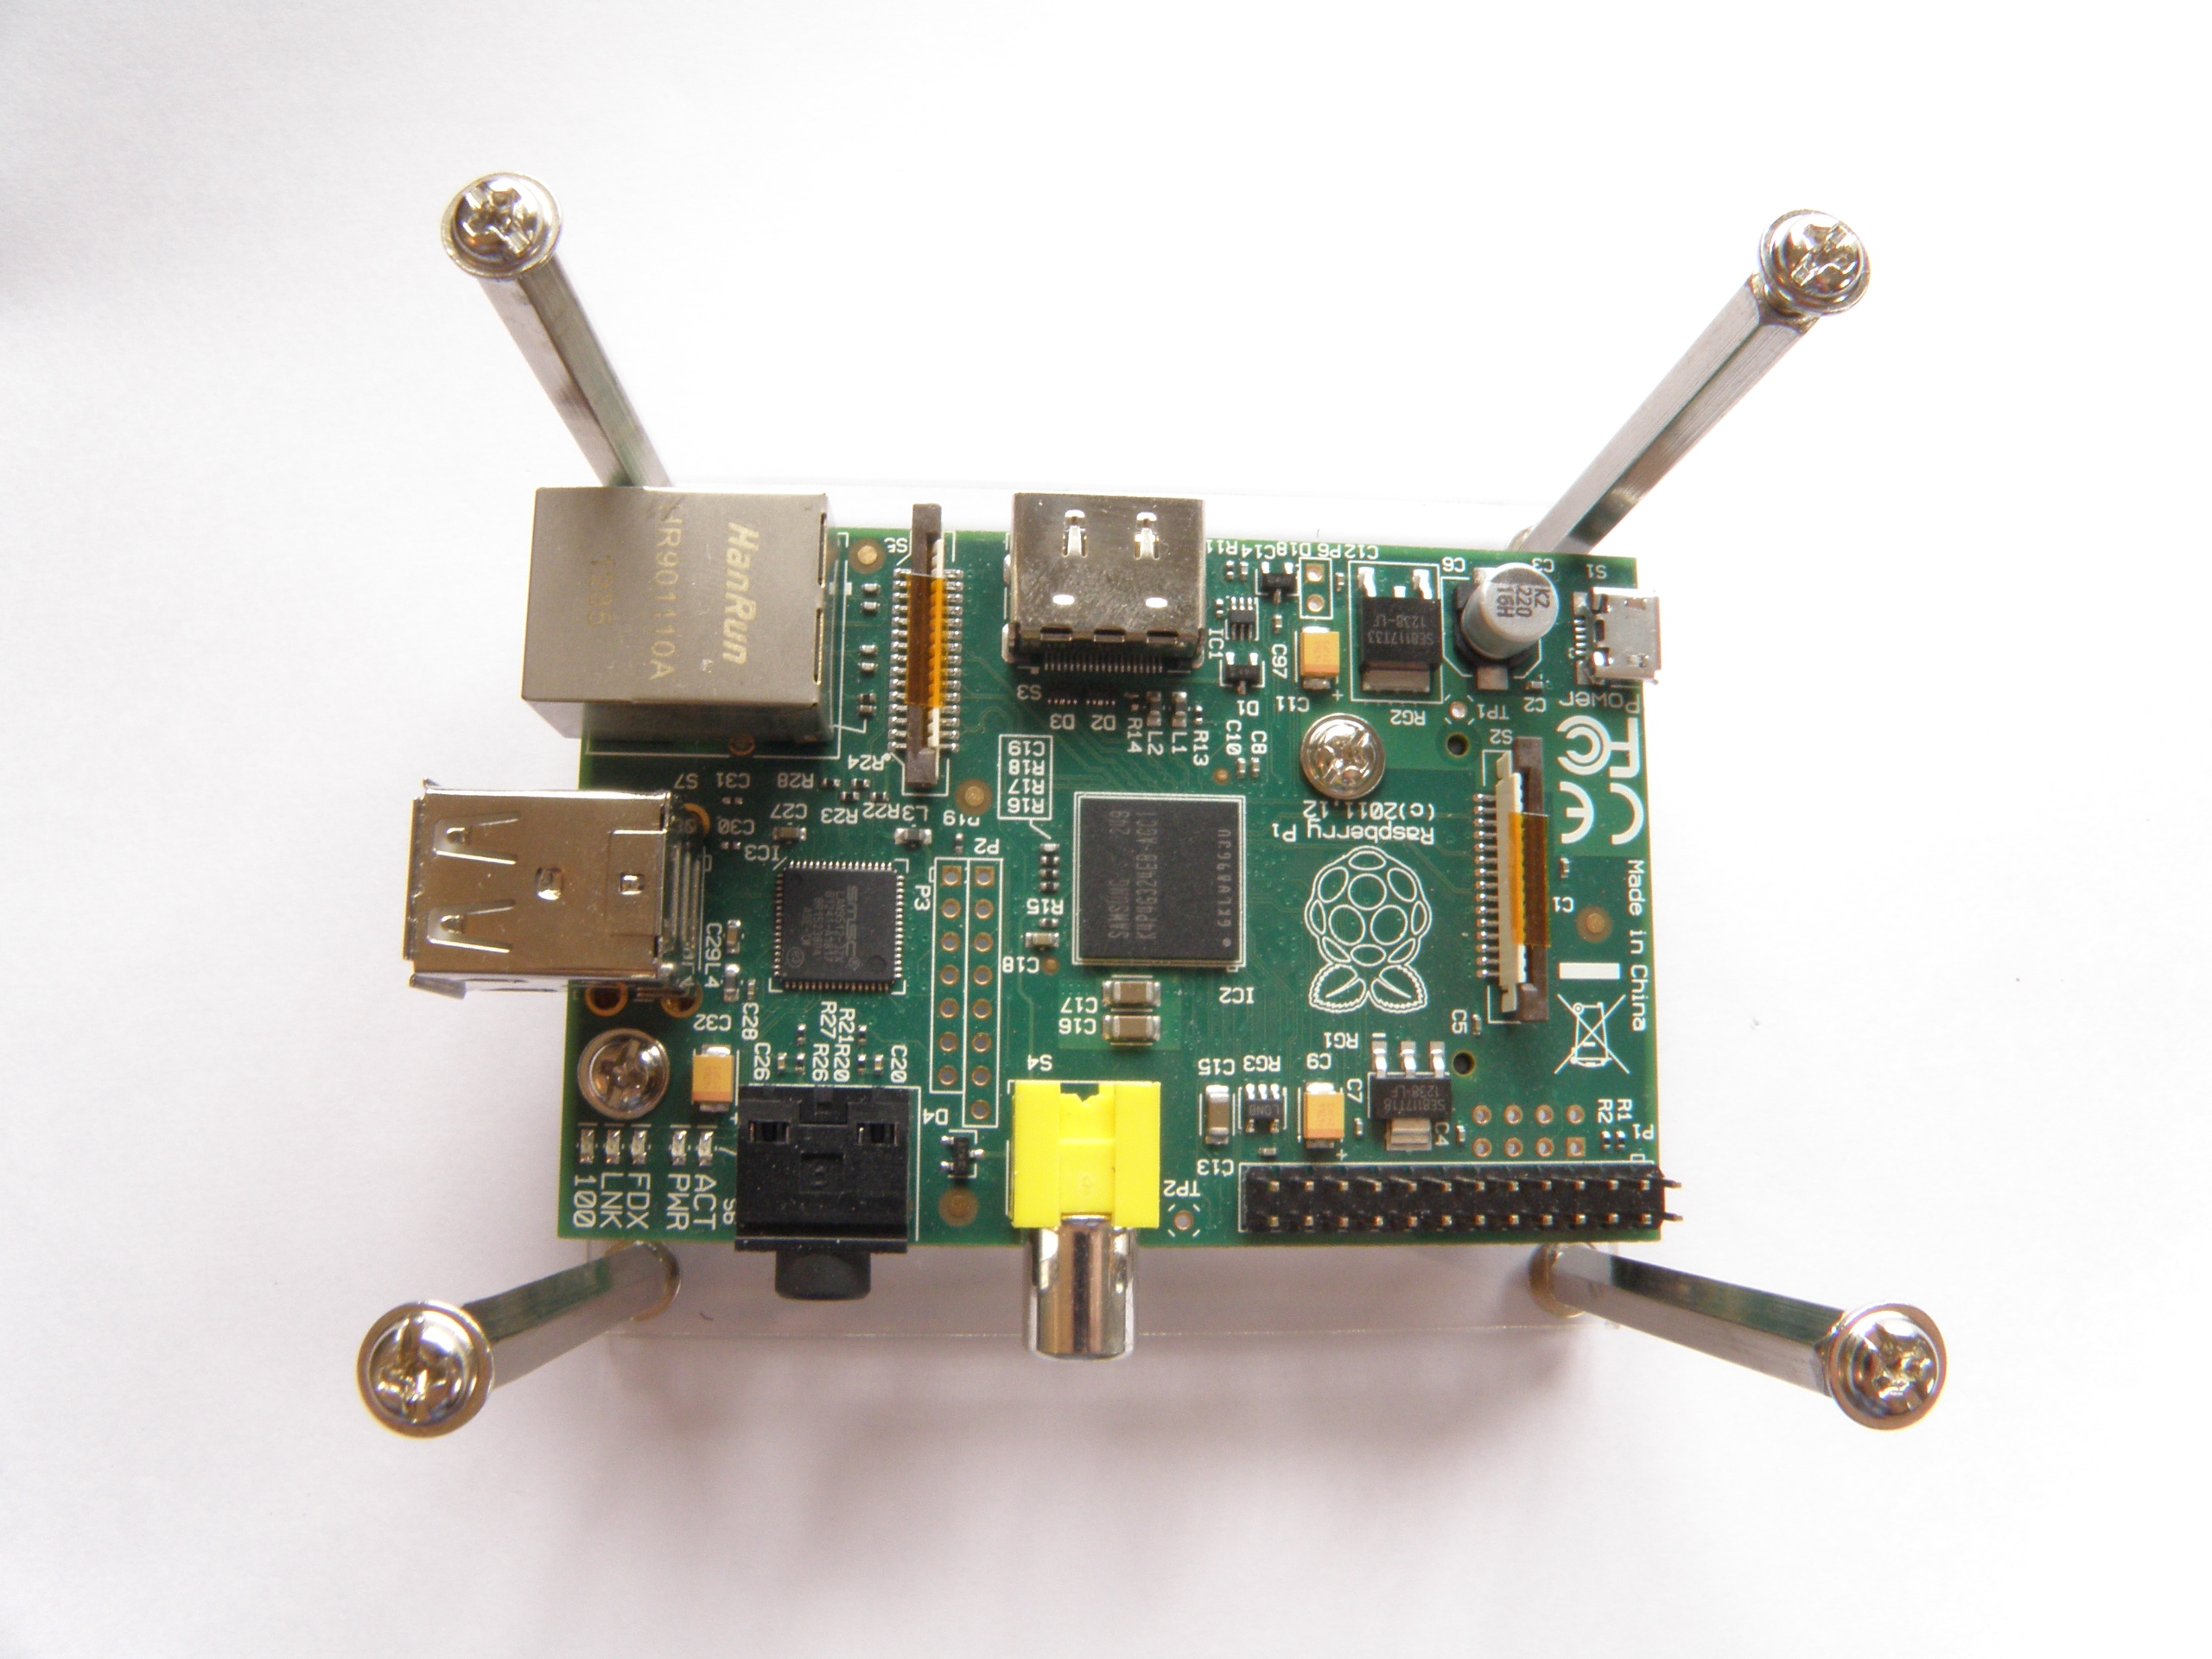
5). Attach the four long posts to the bottom plastic. Leave the screws loose.
Step 6
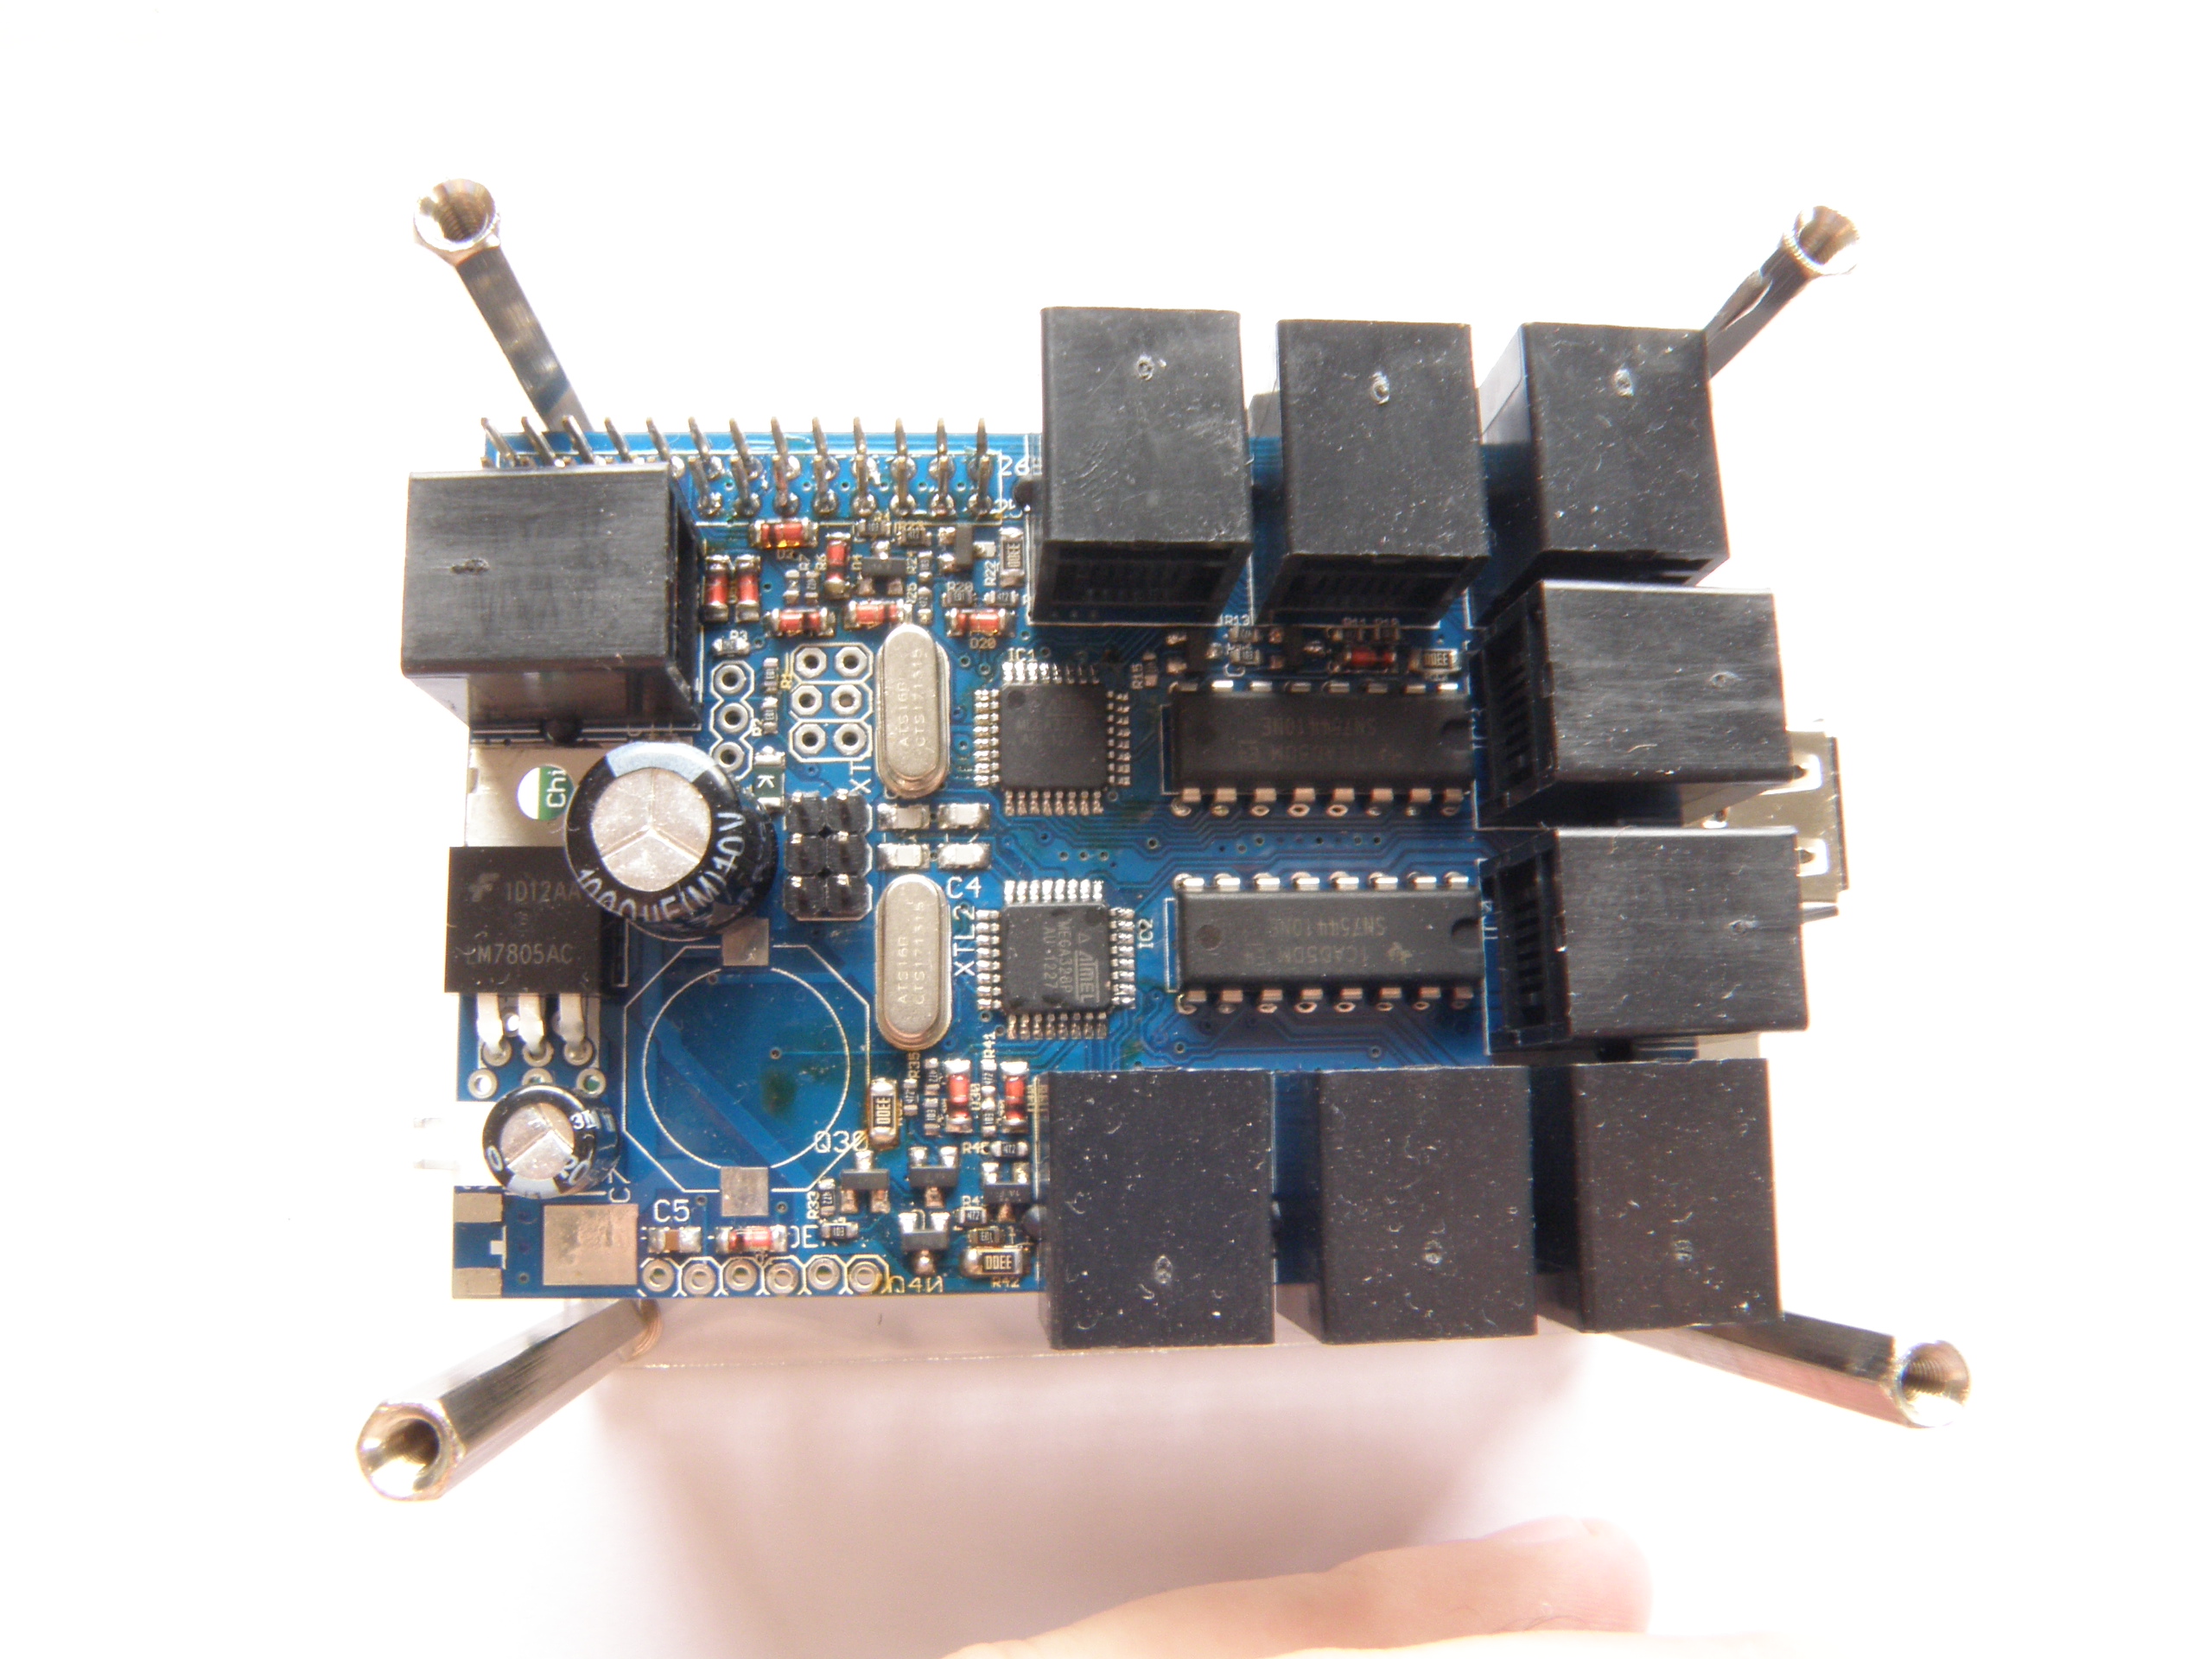
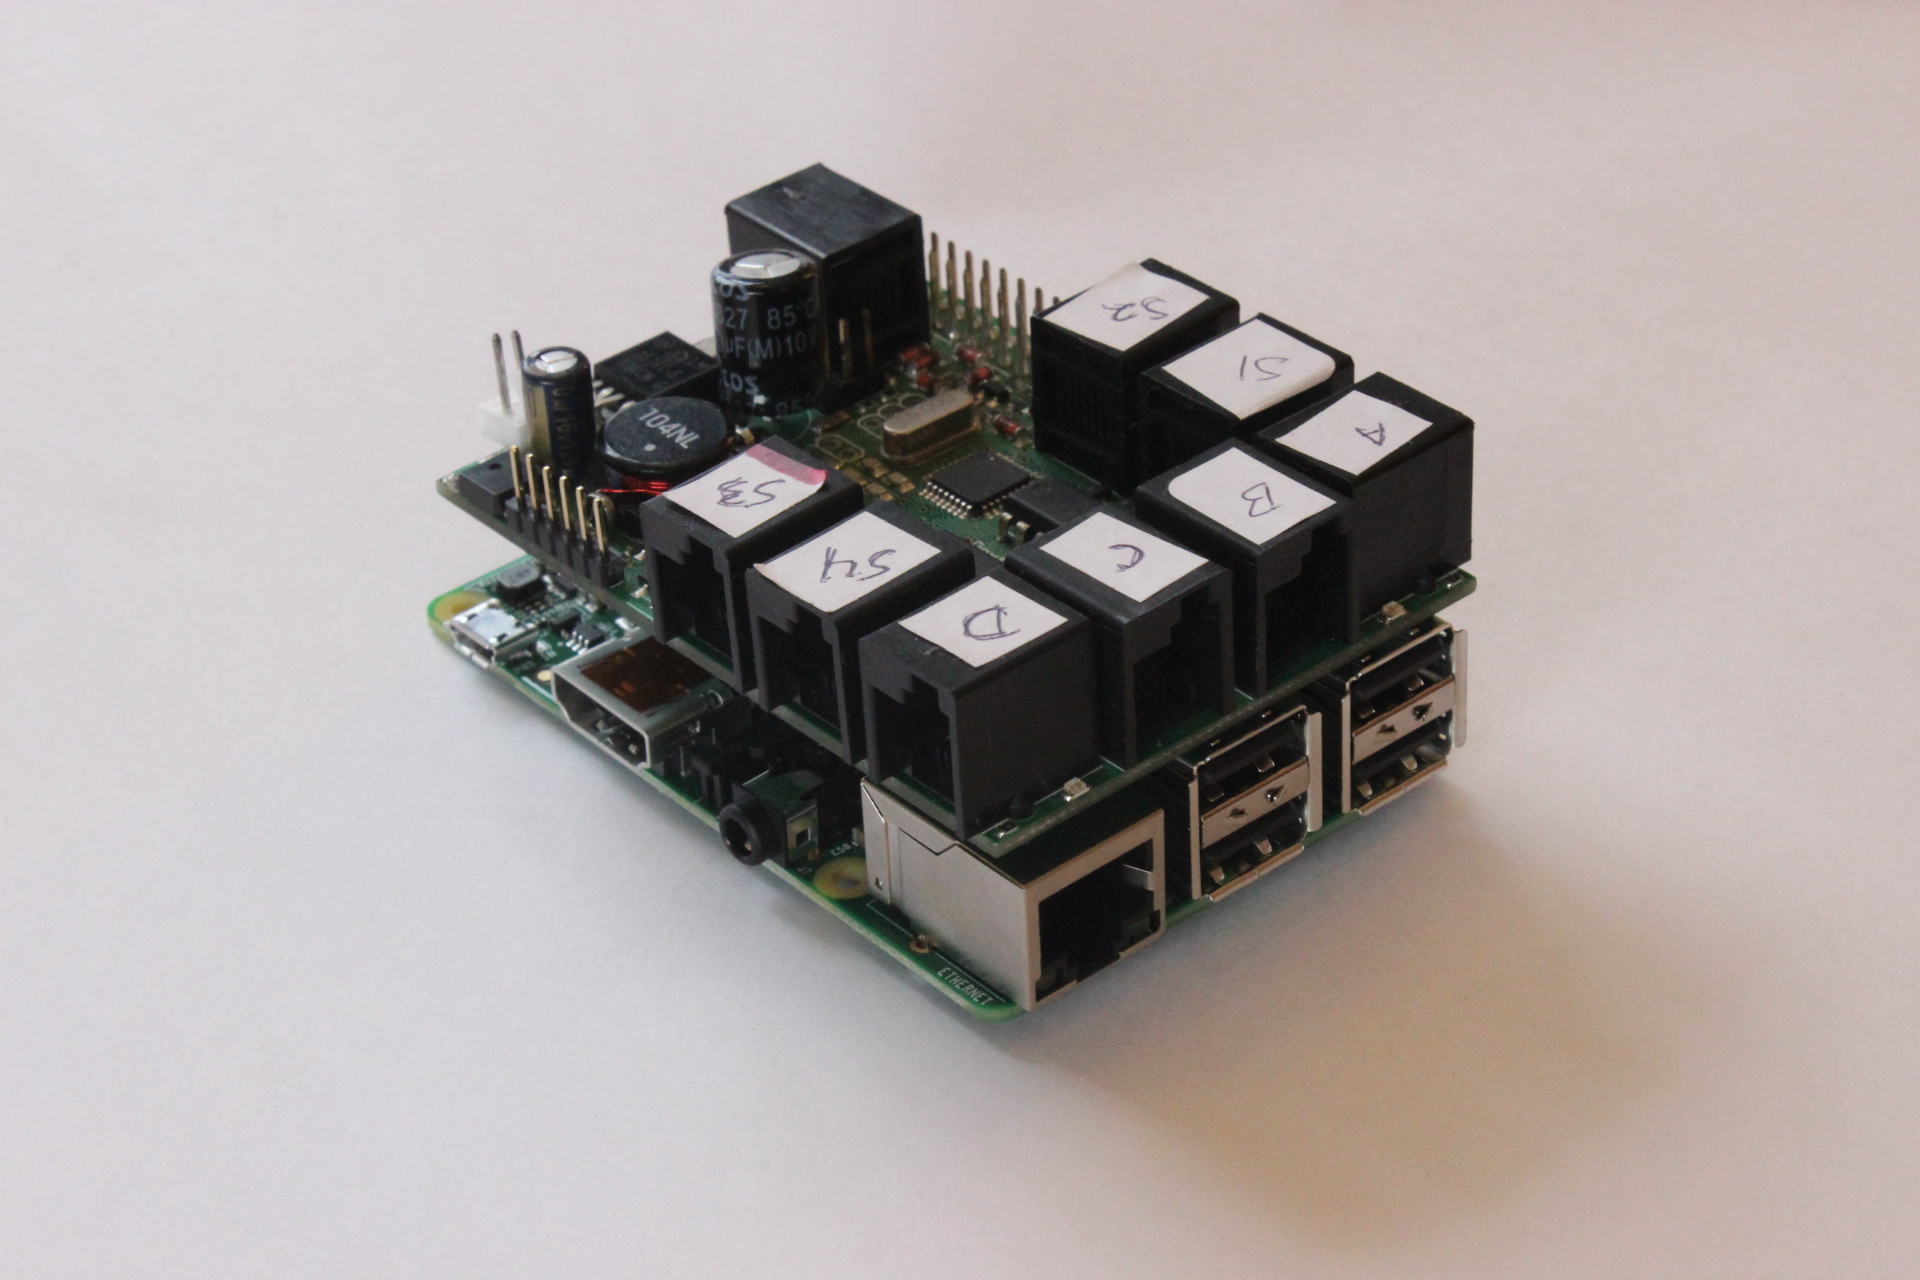
6). Attach the BrickPi to the Raspberry Pi. Slide the BrickPi firmly in place.
To use the BrickPi with the Raspberry Pi Model B+, just mount the BrickPi on the 40 pin header on the Raspberry Pi Model B+. Be careful when mounting the BrickPi since it comes with a 26 pin header and if you mount it incorrectly, it can cause some serious damage to both the BrickPi and the Raspberry Pi.
The pin on the GPIO header on the BrickPi near the port “S5” should go into the Raspberry Pi Model B+ header pins on the top left corner, far from the USB ports and the micro USB power connector.


Step 7
7). Attach the case top to the four long posts. The logo etching should be facing the Raspberry Pi. Leave the screws loose.
8). Tighten all 8 screws on the BrickPi case.
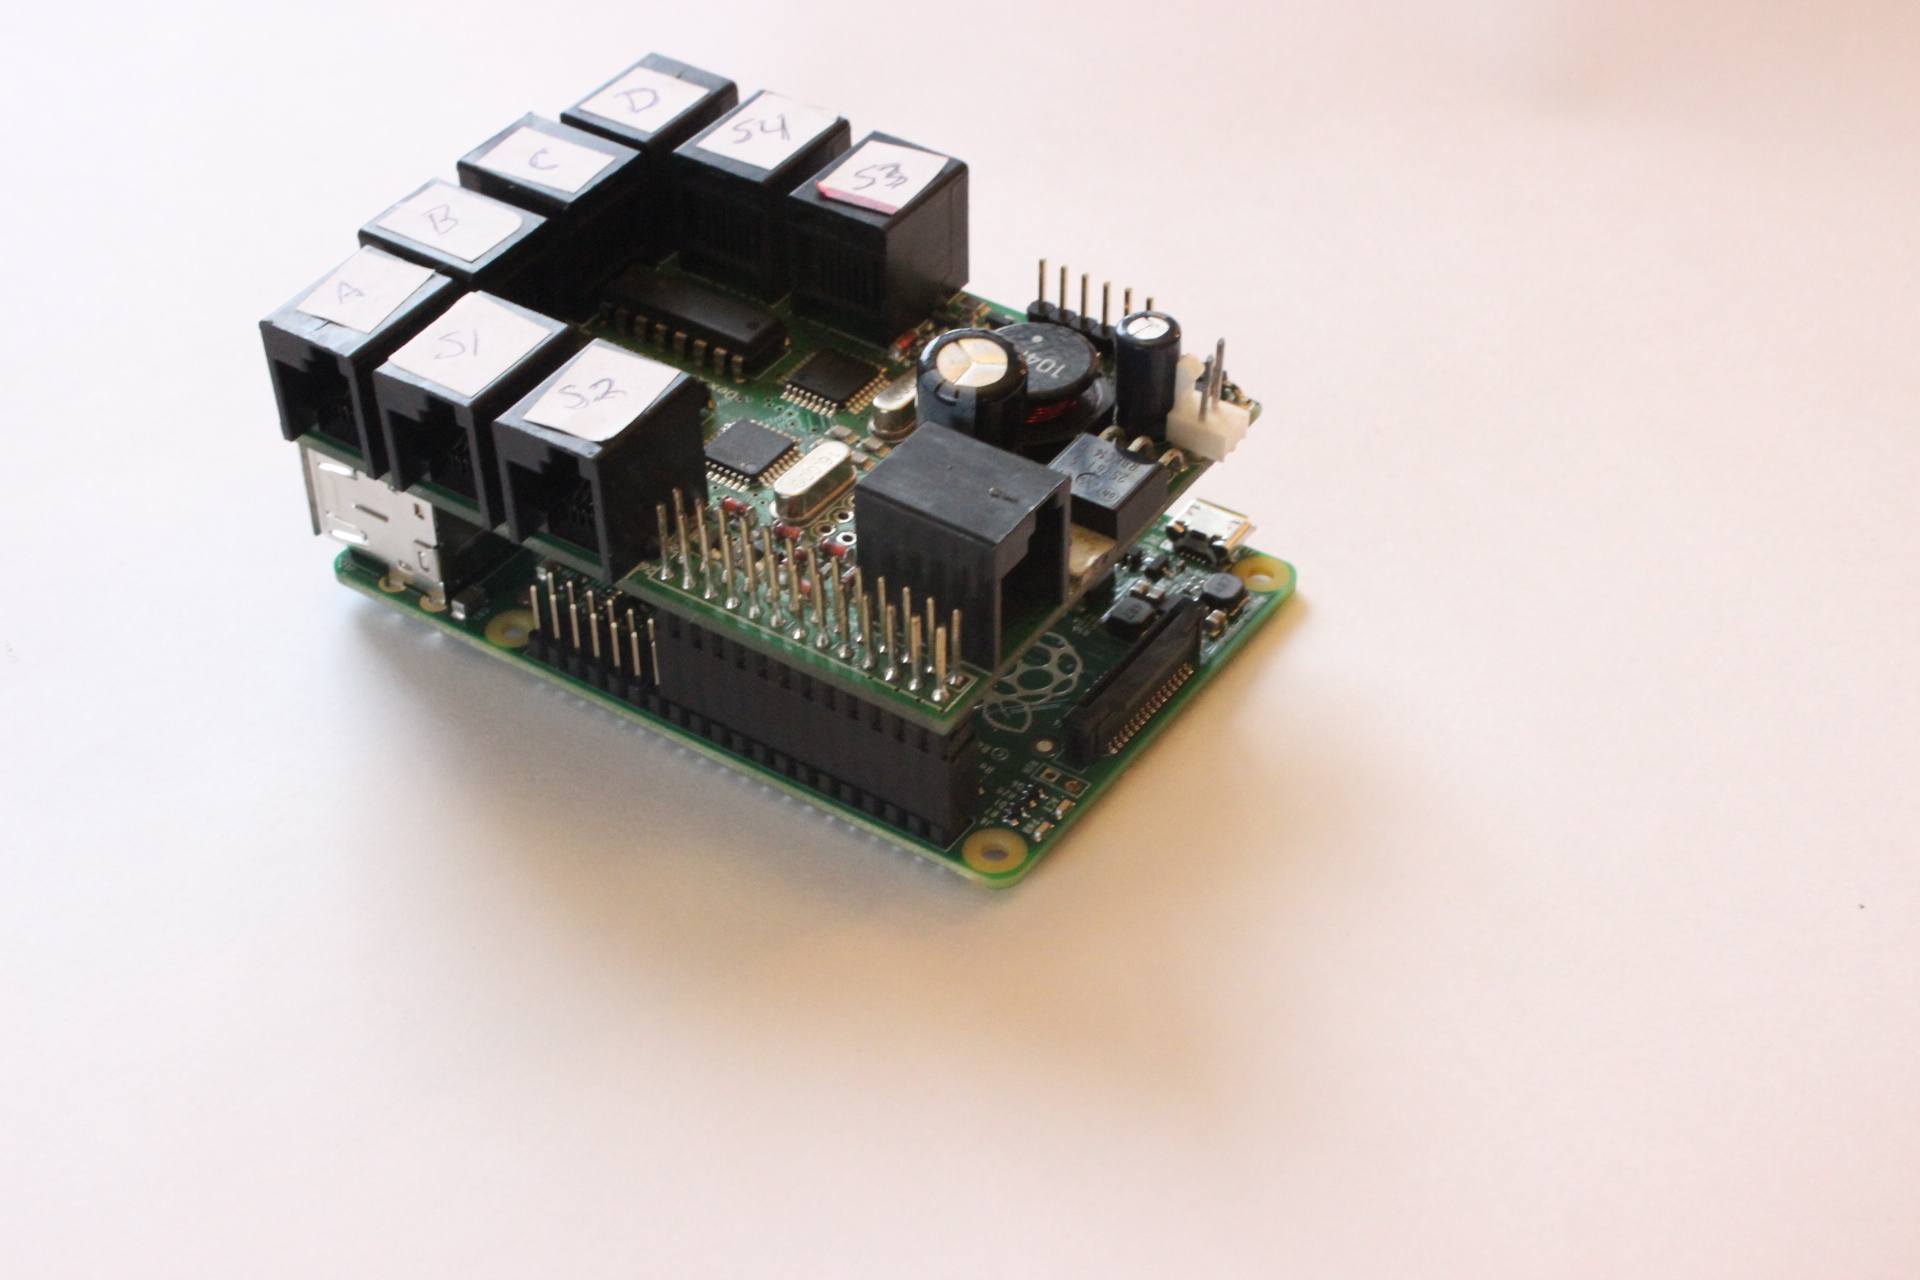
You now have a fully assembled case!
Questions? Ask below or ask on the BrickPi forum here.