Updating a single DexterOS 2
From time to time, we will release improvements to DexterOS.
How Do I Update DexterOS 2?
If you already have DexterOS 2 up and running on your GoPiGo, you can update it to the latest version (as of April 14th 2020, this would be 2.5.1)
You must be running DexterOS 2 for this update to work. If you’re still on DexterOS 1, then scroll down to the next section.
- Proceed by downloading this update file and save it on your computer. The file will be called DexterOS_update.zip.
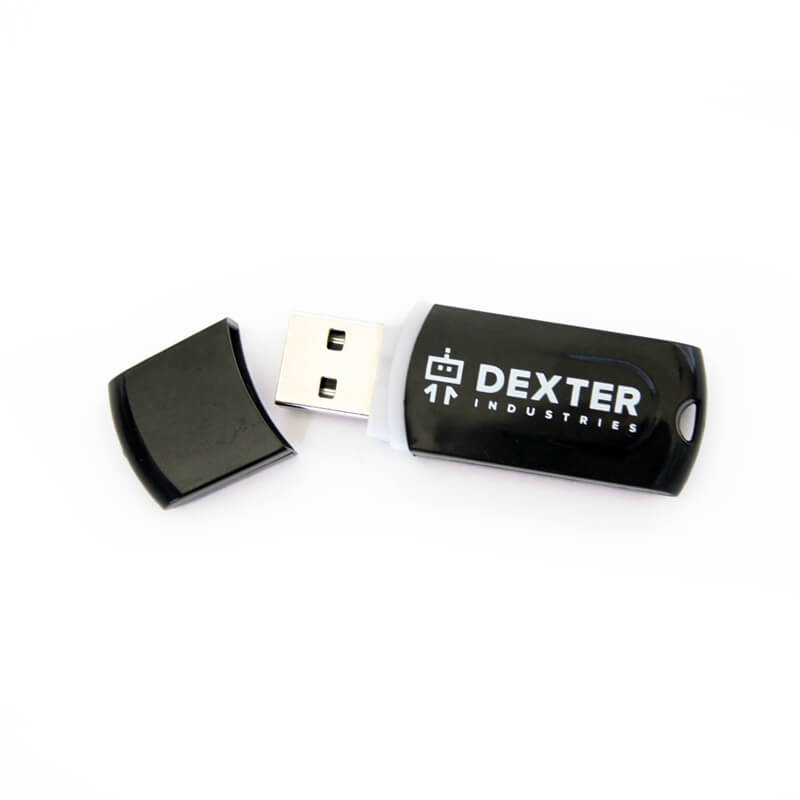
- Transfer it to a USB drive without unzipping it.
- Ensure the GoPiPo is powered off.
- Connect the USB drive to one of the USB port on the GoPiGo
- Boot up the GoPiGo
After a short while, the blinkers (red lights at the front, sorta under the board) will blink, indicating the update is being installed. The robot will reboot itself. Wait for the antenna light to turn green. The process might take 3 to 5 minutes.
Is this a full update?
Yes and no.
- All the libraries that are directly related to the GoPiGo are getting updated.
- All improvements on Bloxter are updated.
- However, external Python libraries, like OpenCV for example, are not included. If you do need to keep up with those libraries, then you need to re-install the image itself. Unfortunately those python libraries would make the update too big.
Updating a single DexterOS 1
How Do I Update DexterOS 1?
The last version for DexterOS 1 is 1.3.2.
It is impossible to do the update from DexterOS 1 to DexterOS2. To go to DexterOS 2 these steps have to be followed.
To update from an older DexterOS 1 to DexterOS 1.3.2:
- Download the latest update zip file for DexterOS 1. You can download it here.
- Place the zip file on a USB drive.
- Remove the USB drive from your computer and insert the USB drive into the Raspberry Pi.
- Reboot or power on your GoPiGo.
- After about a minute, you should see the red blinkers underneath the GoPiGo begin to blink.
- When the red blinkers stop blinking, your software should be up to date!
- Power down the GoPiGo. If the power led turns purple you will need to unplug the batteries and plug them back in.
- Power up the GoPiGo and check that the number in the upper right hand corner has changed.
- You can double-check that the update was successful by placing the USB drive back in your computer: the original “DexterOS_update.zip” file should have been deleted by the GoPiGo on successful installation. (note: if using a classroom update, the update file will still be there)
Classroom Update: DexterOS
How Do I Update DexterOS quickly for a classroom?
You can update many robots running DexterOS 2 to the latest DexterOS (currently 2.5.1).
Or
You can update many robots running DexterOS 1 to the last version of Dexter 1 – which is 1.3.2.
To update an entire classroom quickly, you can update by:
- Download the appropriate DexterOS_update.zip file.
You can download the DexterOS 2 file here
or
You can download the DexterOS 1 file here. - Rename the file to DexterOS_update_classroom.zip
- Place the zip file on a USB drive.
- Remove the USB drive from your computer and insert the USB drive into the Raspberry Pi.
- Reboot or power on your GoPiGo.
- After about a minute, you should see the red blinkers underneath the GoPiGo begin to blink.
- When the red blinkers stop blinking, your software should be up to date!
- The file will remain on the USB drive and you can repeat these steps on the rest of your GoPiGo fleet.


