Setting Up Your Computer and RaspberryPi
Step 1 – Preparing the Raspberry Pi Environment
- Get the latest version of Raspbian For Robots using the following command inside the terminal:
- sudo apt-get update
- Install the Java Development Kit (JDK) on your Raspberry Pi. In the command line of your Raspberry Pi, type the following command:
- sudo apt-get install oracle-java8-jdk
Step 2 – Preparing Your Computer’s Environment
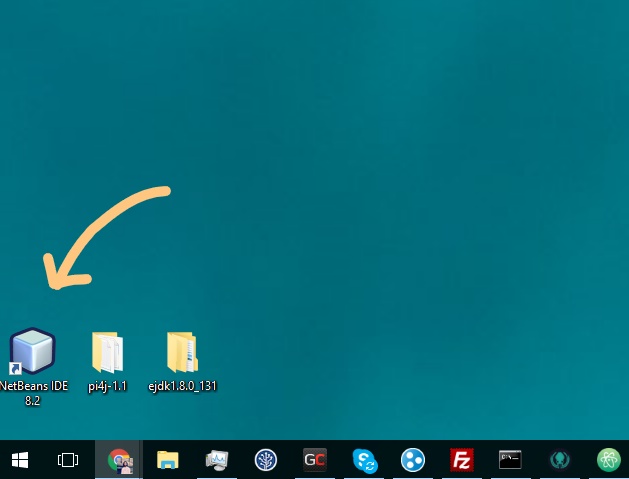
On your laptop, download the zip file of the GrovePi repository and then unarchive it on the laptop’s desktop. The name of the unarchived folder is going to be GrovePi-master. Rename the unarchived folder from GrovePi-master to GrovePi.

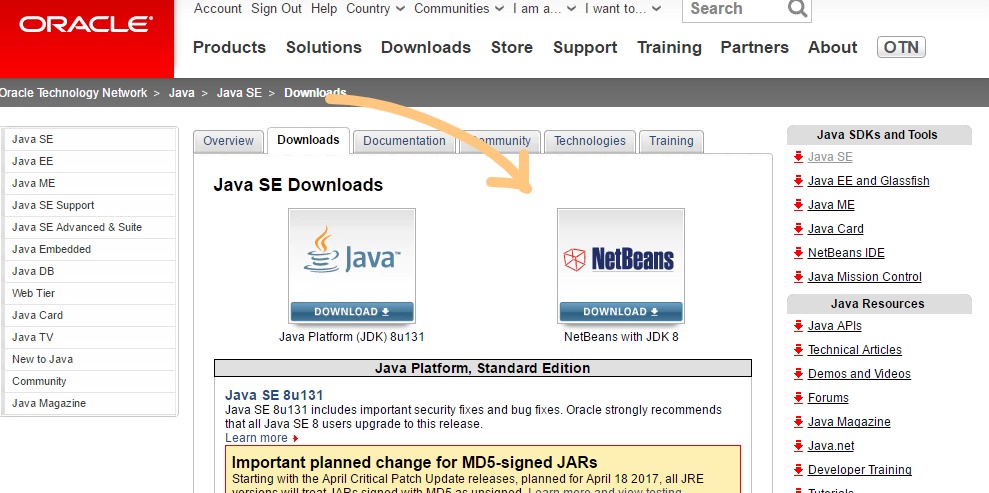
Download and install Netbeans with Java. You can download the installer from the Oracle website.
From your laptop, open the Netbeans IDE.
Open Desktop/GrovePi/Software/Java8 (from the recently cloned repository) folder with Netbeans and check “Open Required Projects”.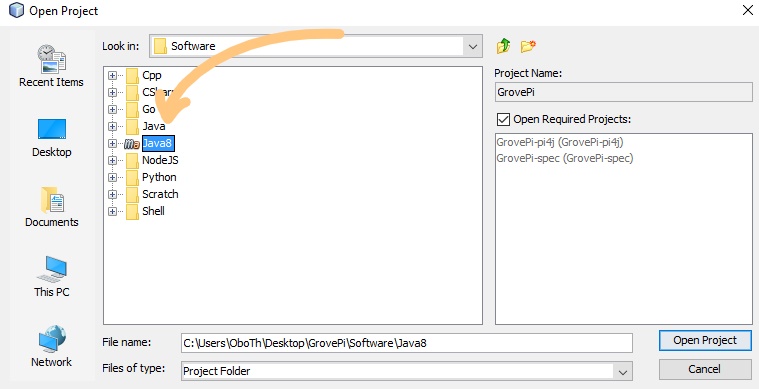
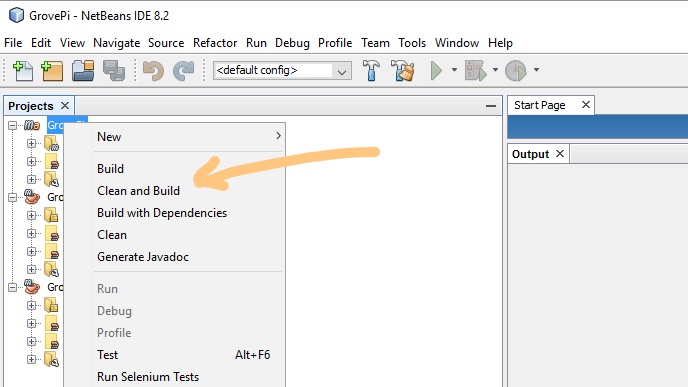
Right-click the “GrovePi” maven project and click “Clean and Build”.
Within Netbeans, click the “Open Project” icon, go to folder “Desktop/GrovePi/Software/Java8” and open the “examples” project.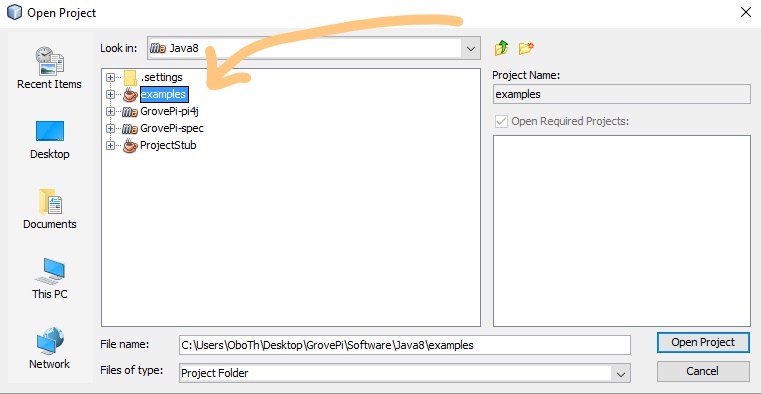
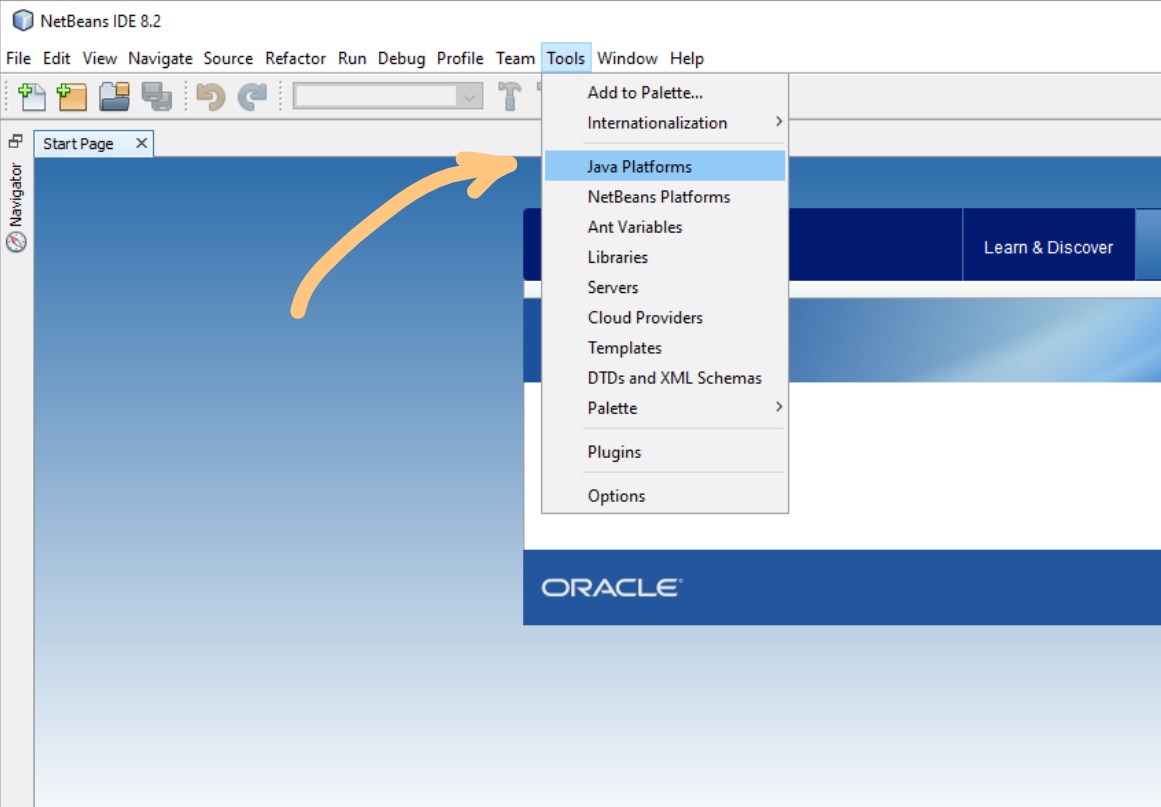
Inside Netbeans IDE, go to “Tools” toolbar and select “Java Platforms”.
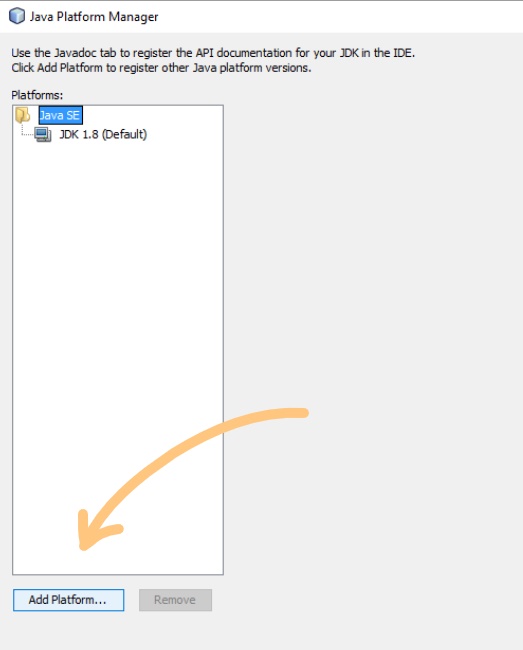
You’ll have “Java Platform Manager” appear. Select “Add Platform…”.
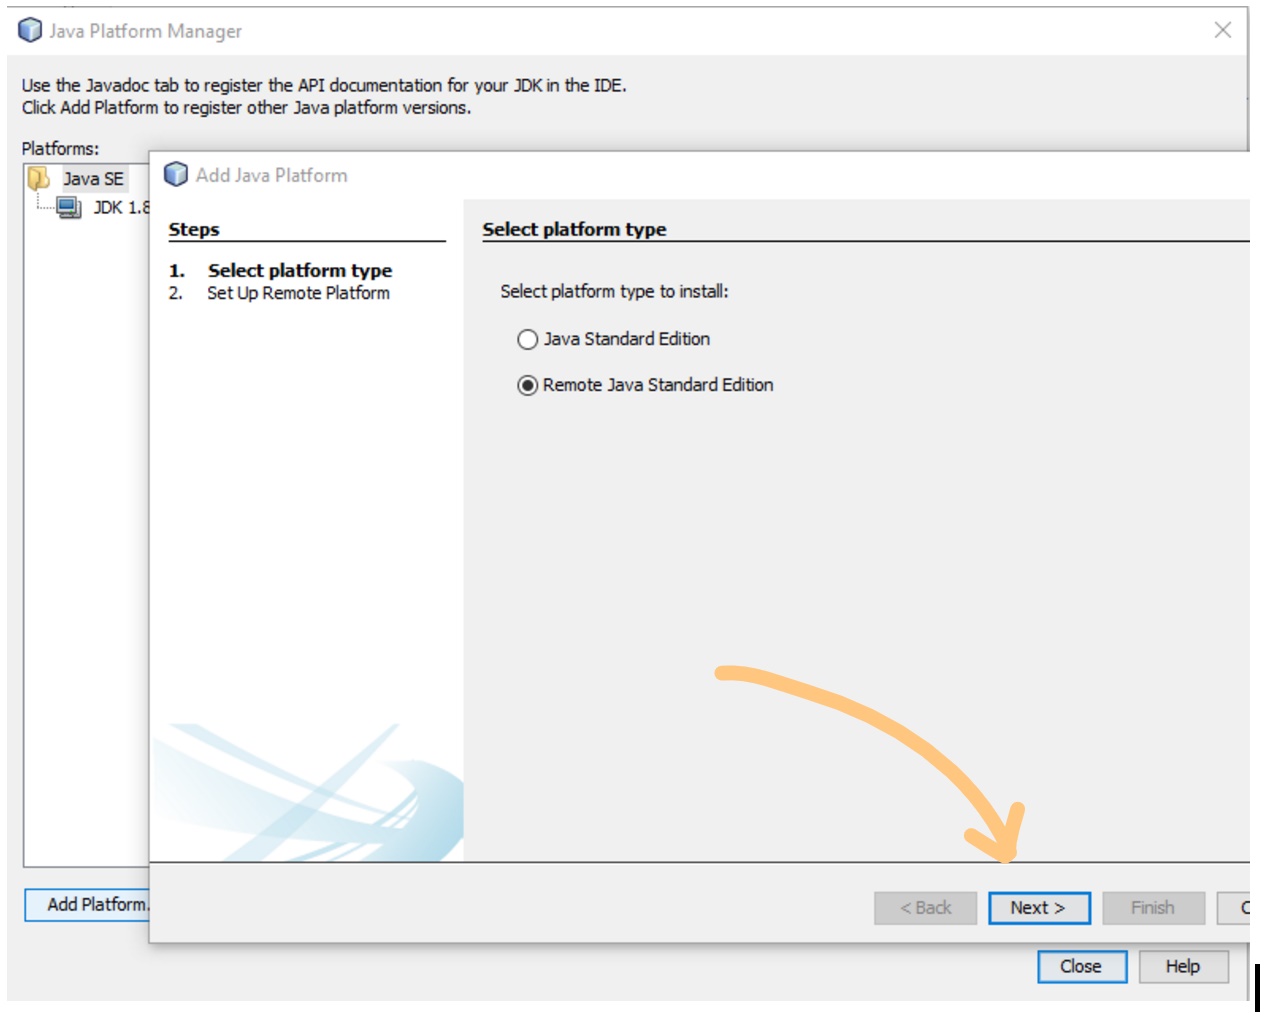
Check “Remote Java Standard Edition” and click “Next”.
A window called “Add Java Platform” will show up. Make sure you have your Raspberry Pi connected to the same network as your laptop. Add the following: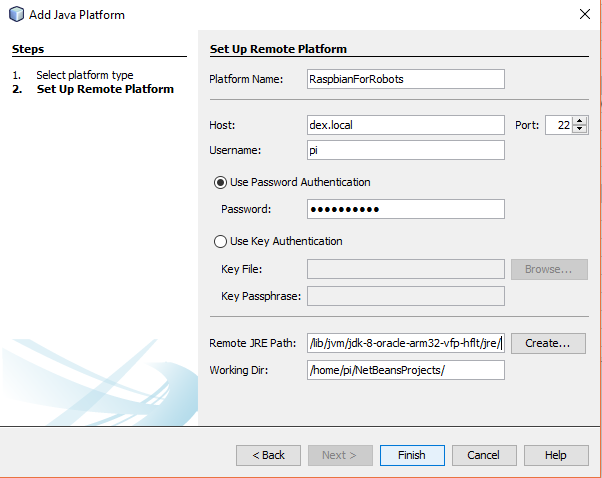
- “Platform name” = In this example we use “RaspbianForRobots”
- “Host” = dex.local
- “Username” = pi
- “Password” = robots1234
- Enter /usr/lib/jvm/jdk-8-oracle-arm32-vfp-hflt/jre/ into the “Remote JRE Path” box.
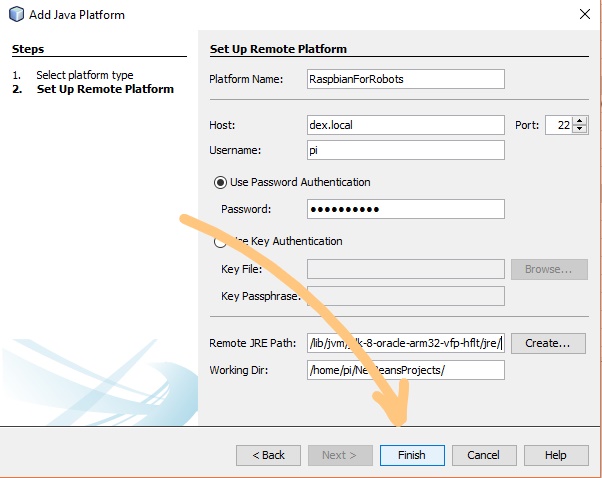
Click the “Finish” button.
Click “Test Platform”. A loading bar will appear – this process tests connectivity between the Raspberry Pi and our laptop.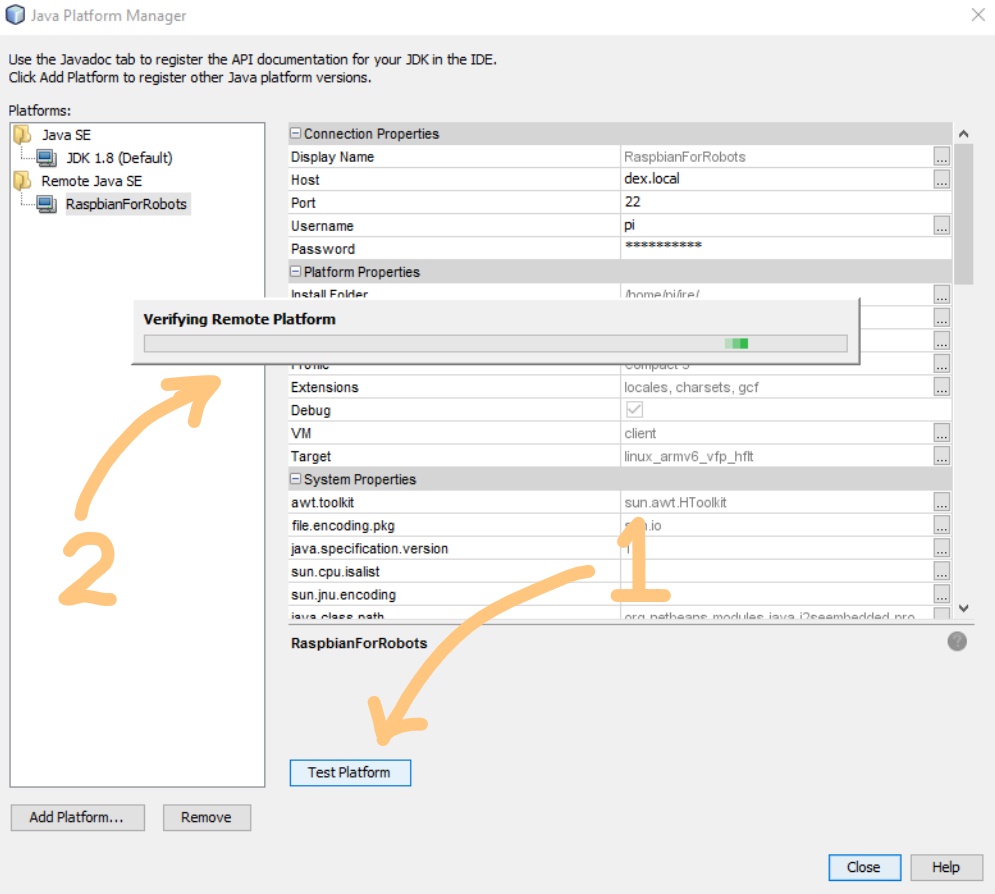
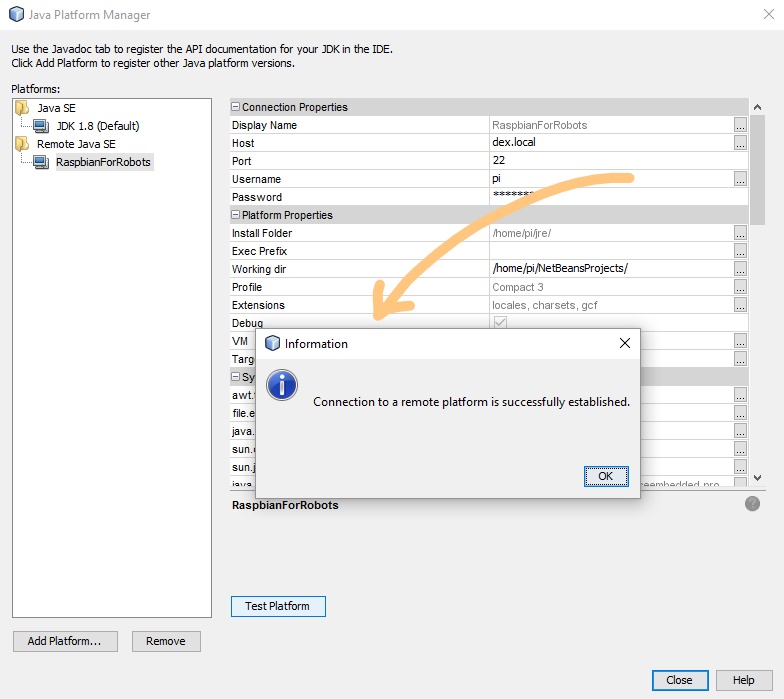
Provided the connectivity test is a success, you’ll get the following window. Click “OK”.
Step 3 – Install Java Dependencies and Run
Go to Pi4j project site and download the pi4j zip archive (the release version).
On your laptop, extract the pi4j archive to Desktop/GrovePi/Software/Java8 folder.
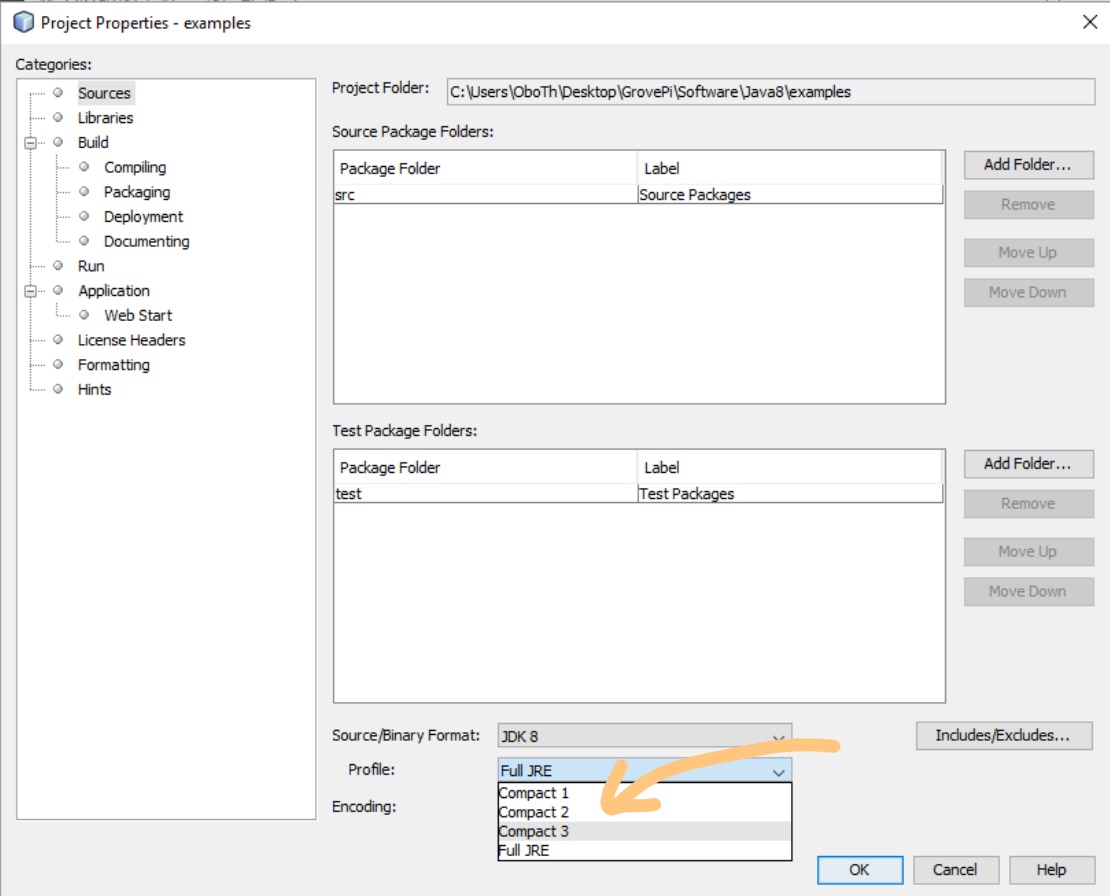
Now go to Netbeans again. Right-click “examples” project and hit “Properties”.

Inside the “Sources” category, select the “Profile” as “Compact 3”.
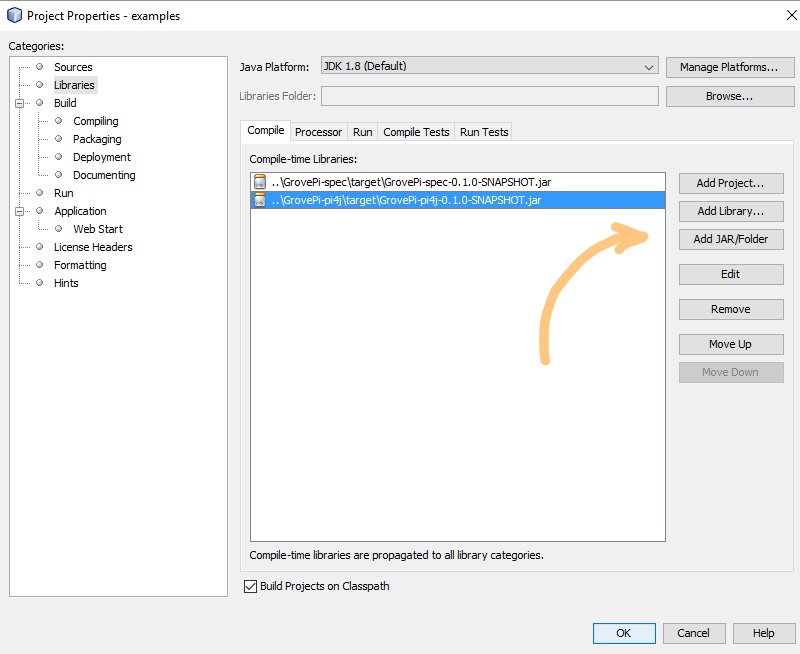
Go to “Libraries” section and inside the “Compile” sub-window click “Add Jar/Folder”.
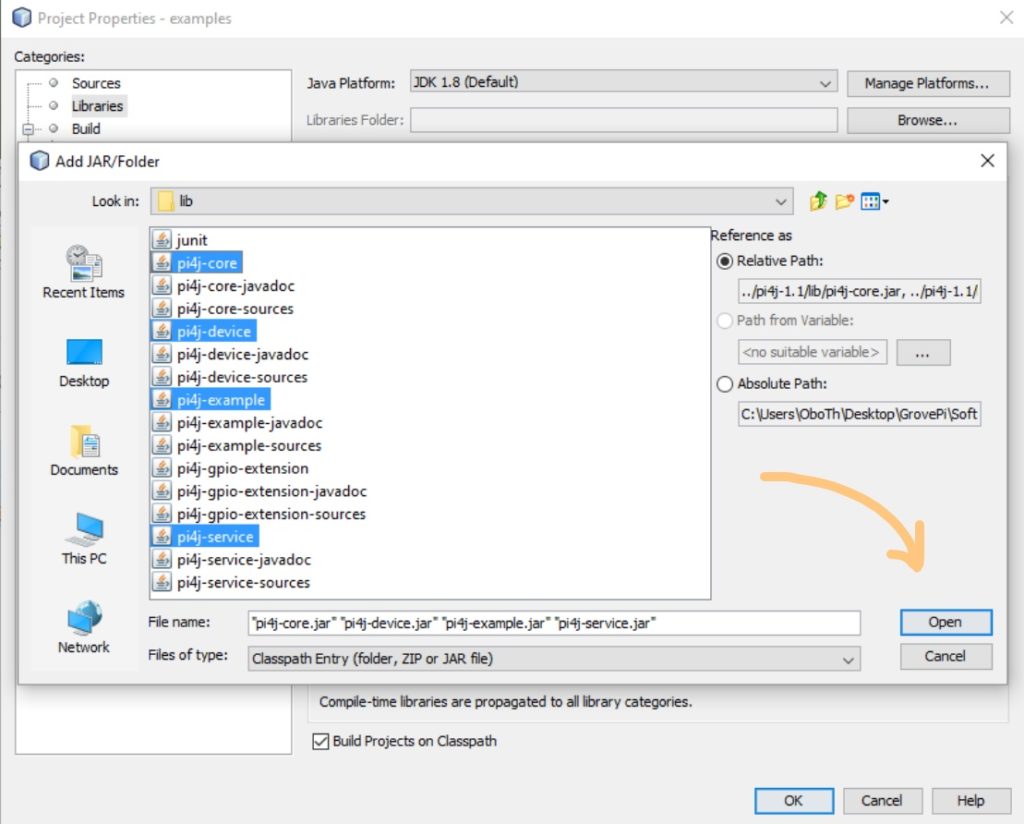
Navigate to “Desktop/GrovePi/Software/Java8/pi4j-1.1/lib” (at this moment pi4j is at version 1.1, so the folder name on your machine may differ as time passes) and add the following jar files.
- pi4j-core.jar
- pi4j-device.jar
- pi4j-example.jar
- pi4j-service.jar
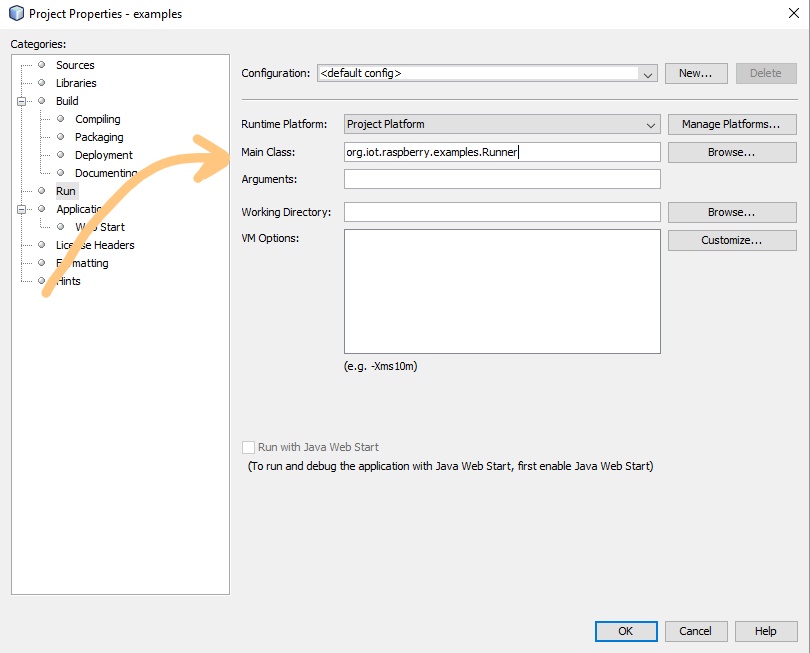
 Navigate to “Run” category and select Runtime Platform: “Remote Raspberry”.

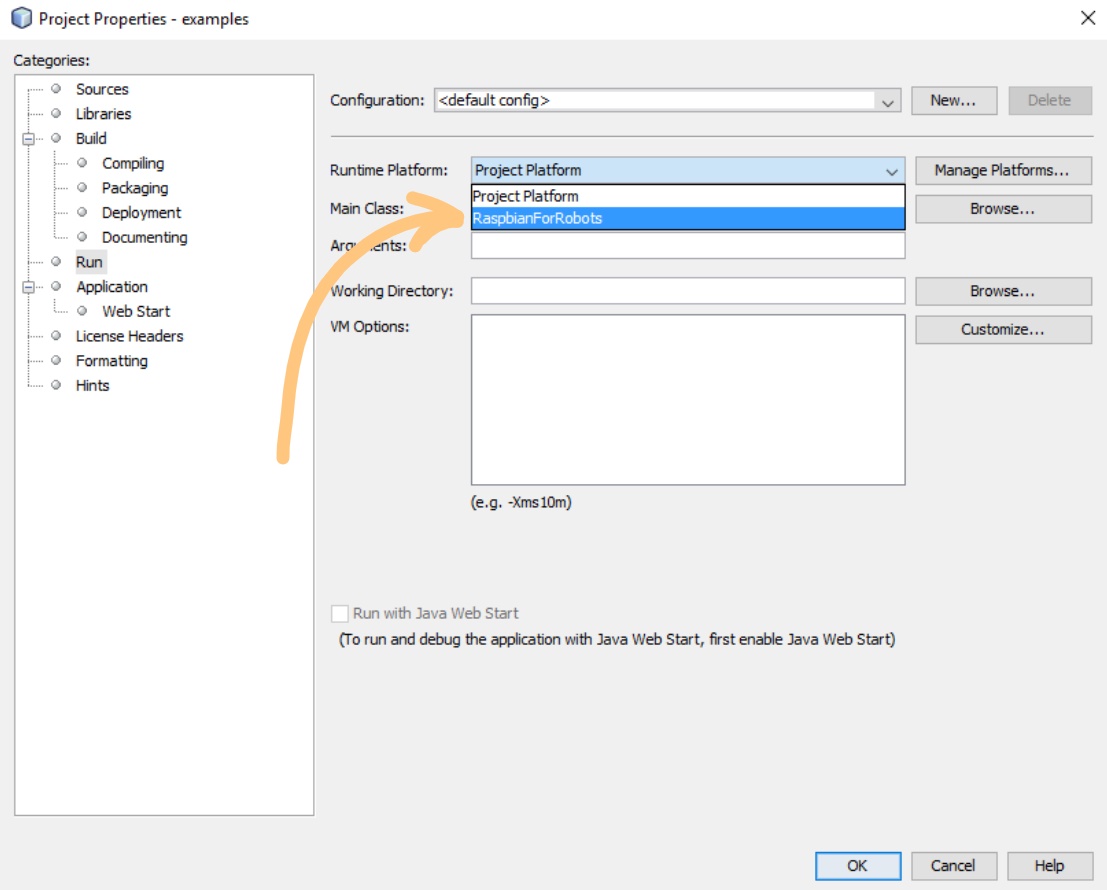
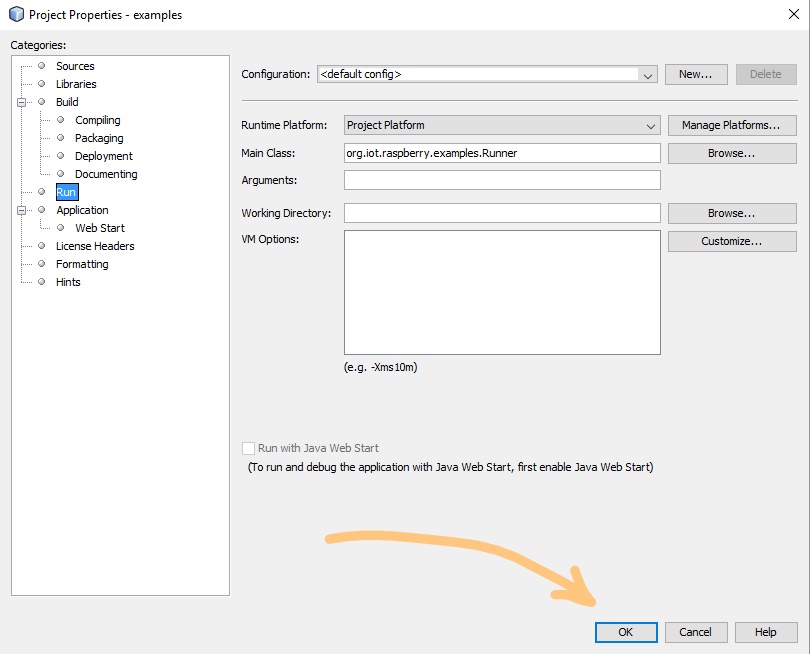
Set “Main Class” to “org.iot.raspberry.examples.Runner”.
Click “Finish”.
Final Words
Now, we have set the Java environment for the Raspberry Pi and the laptop.
We are ready to proceed to the next phase, where running a basic example program is our subject.