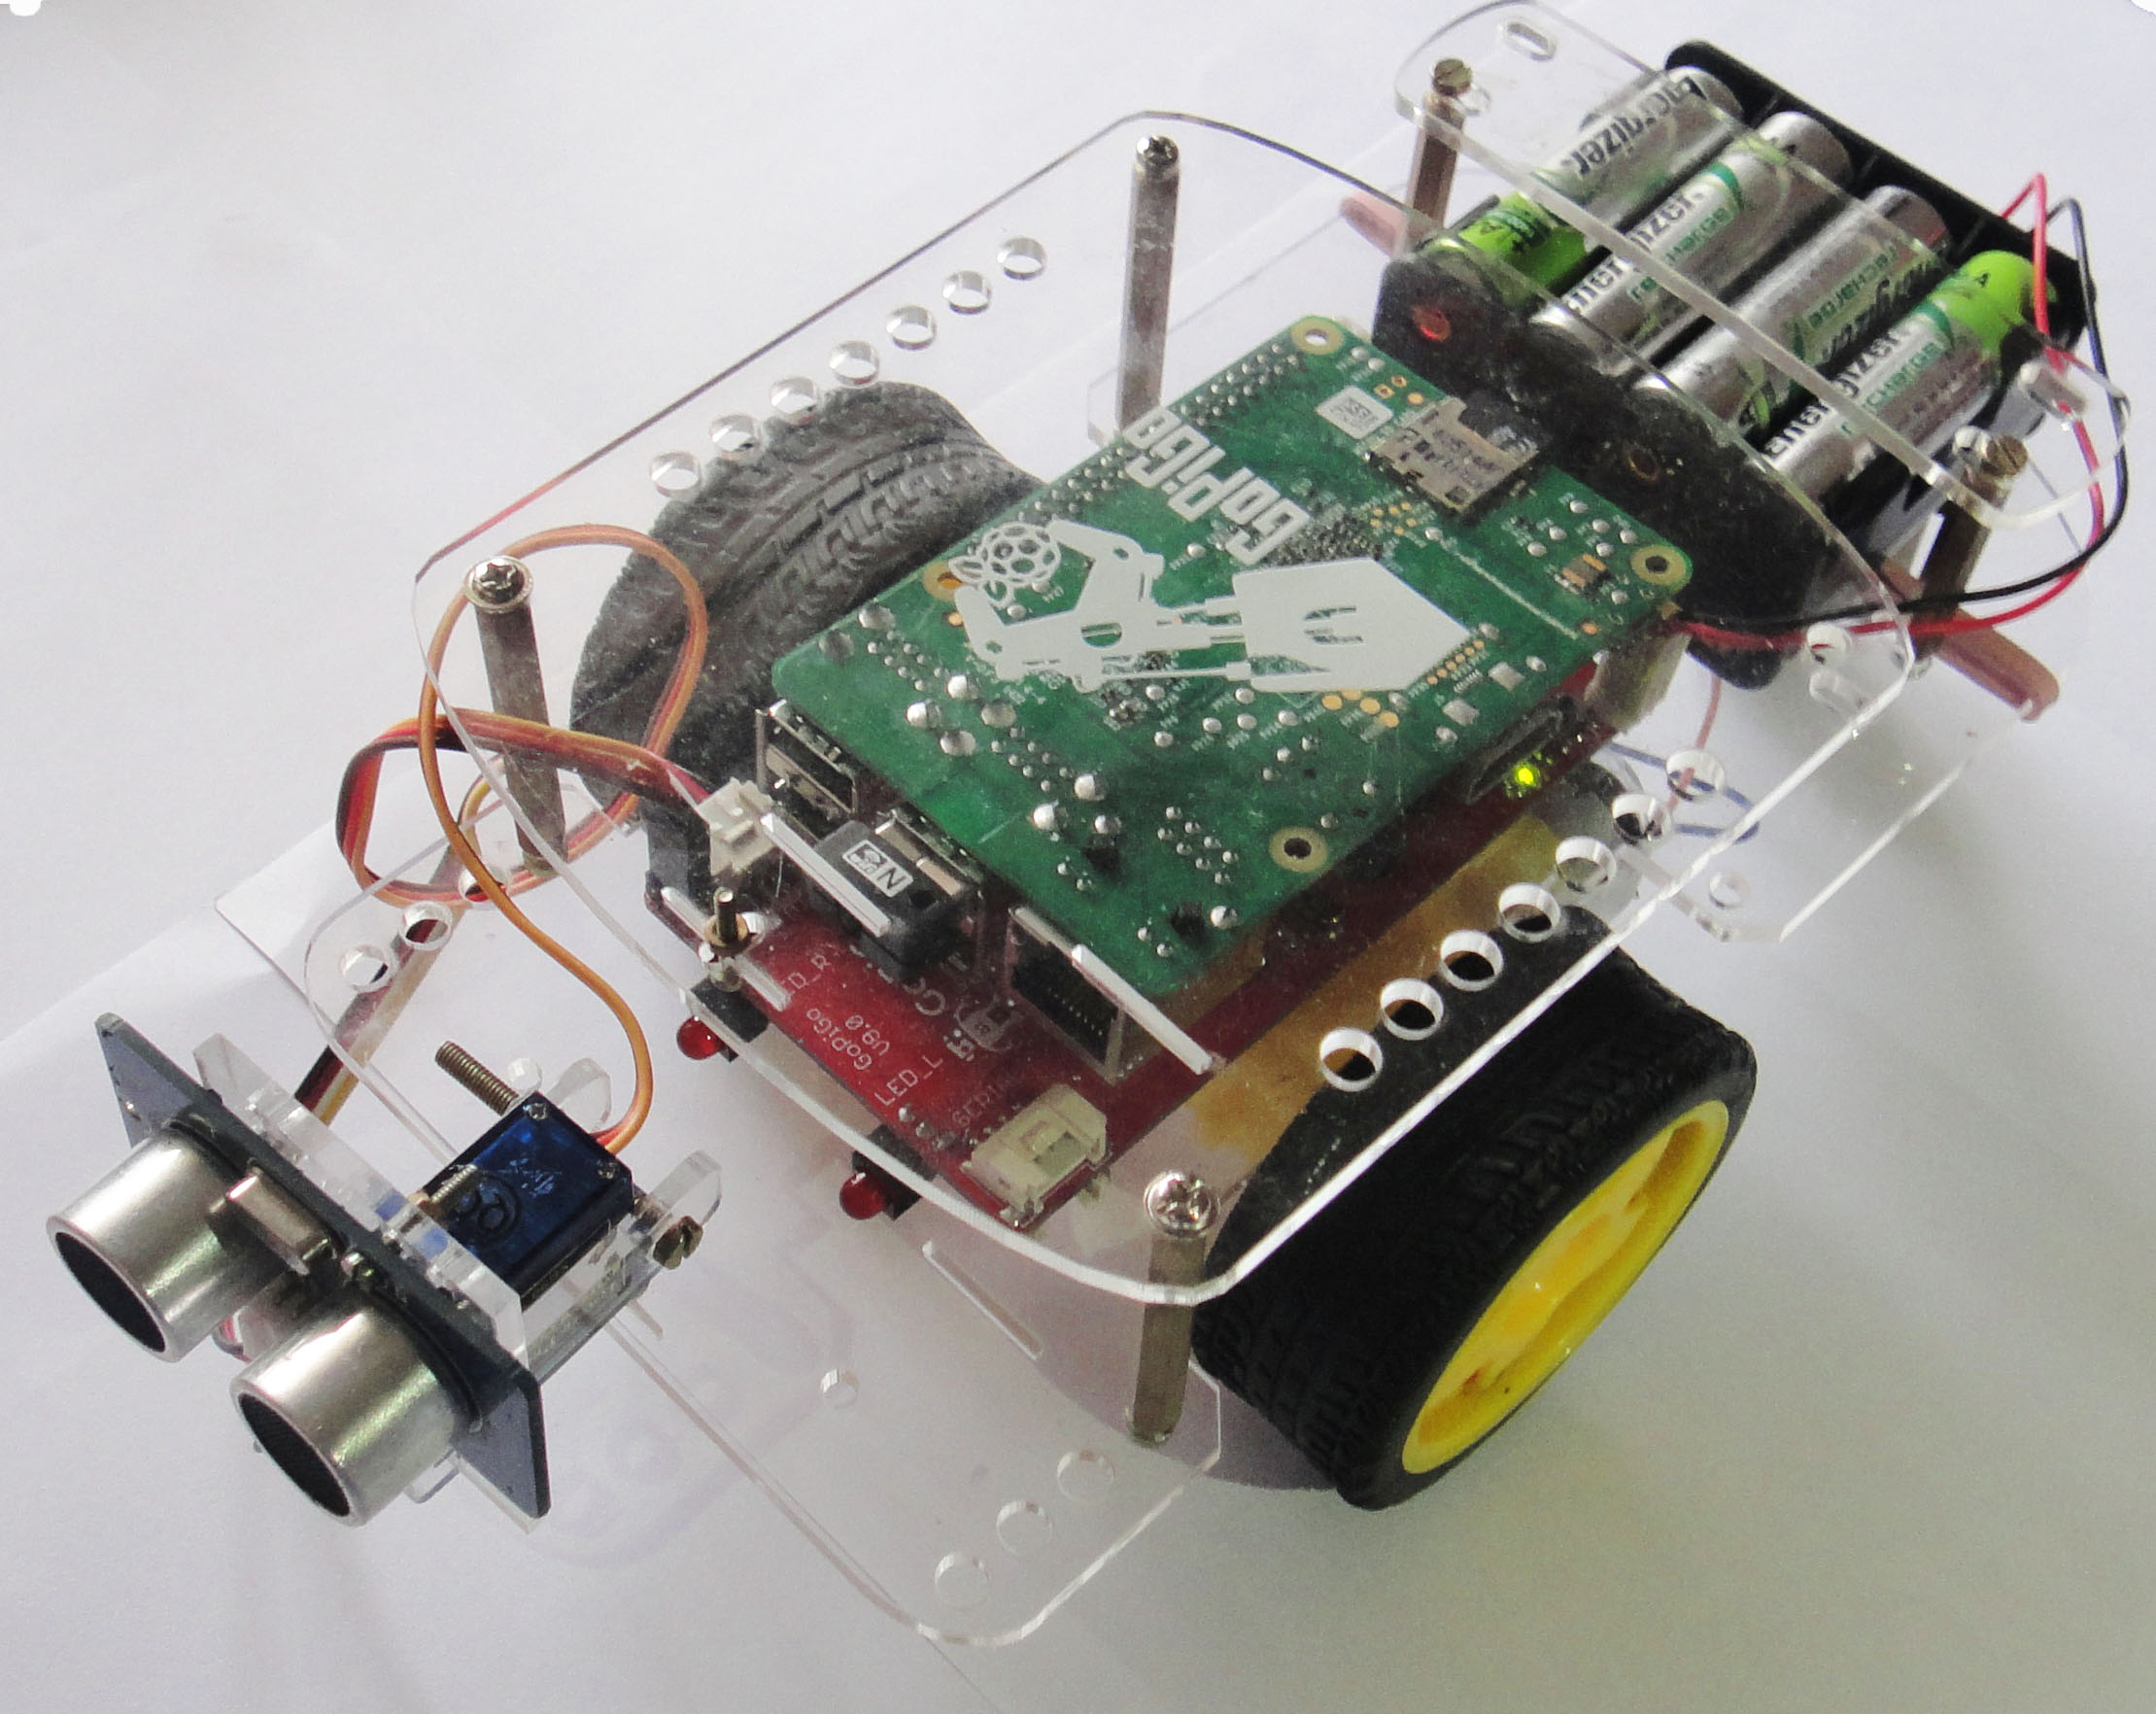
This is an advanced project with the GoPiGo which uses the servo and the ultrasonic sensor. In this project the GoPiGo uses the ultrasonic sensor and the servo along with some clever maths to make a cheap 2D LIDAR which uses the distance reading from the ultrasonic sensor instead of a Laser. It is pretty slow but does a good enough job of demonstrating what the GoPiGo is capable of.
Hardware needed:
- A fully assembled GoPiGo
- A decent battery pack providing atleast 9V (recommended 12V battery pack of 8AA cells )
- Wifi Adapter for connecting and controlling
- GoPiGo ultrasonic sensor
- GoPiGo servo motor
Connecting the Ultrasonic sensor
- Attach the Ultrasonic sensor on the servo mount or on top of the GoPiGo and connect the Ultrasonic sensor using a Grove cable to Port A1.
- Connect the servo connector to the 3 pin header between the two LED’s in the front.
Setting up the GoPiGo
Make sure that the GoPiGo is set up properly and you have the updated software and firmware. If you are not sure about this, follow the guide here.
If the GoPiGo is properly set up, connect to the GoPiGo via SSH or VNC and open terminal.
Running the example:
- Go to the Ultrasonic Servo folder:
cd Desktop/GoPiGo/Software/Python/Examples/Ultrasonic_Servo/

- Start the basic_robot_control.py example
sudo python us_servo_scan.py
The GoPiGo will move 10cm forward, stop and scan the surrounding and make a map and it will automatically stop when it reaches an obstacle. (Run the terminal in full screen to see the map)
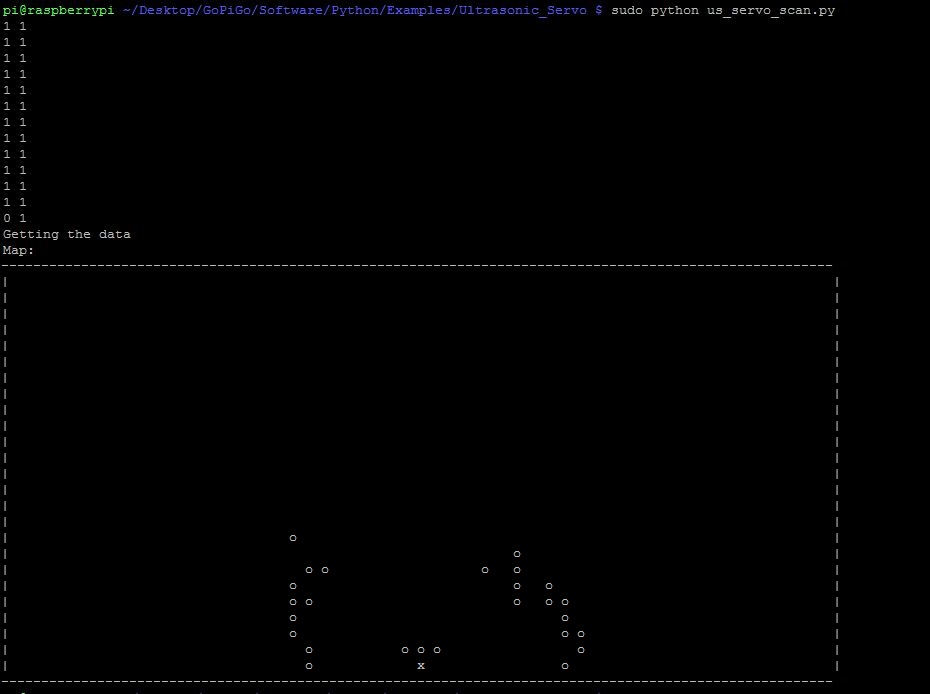


This example can be modified to make simple programs which can make use of a LIDAR such as a maze solving or obstacle avoiding robot.
Have a question? Go check out our support page here or post it on the forums here.