 In this example we build a simple Raspberry Pi weather and time station that Tweets the temperature and the time, using Python. The purpose of this project is to demonstrate how easy it is to push information out to the internet using the BrickPi, Python, and a few sensors.
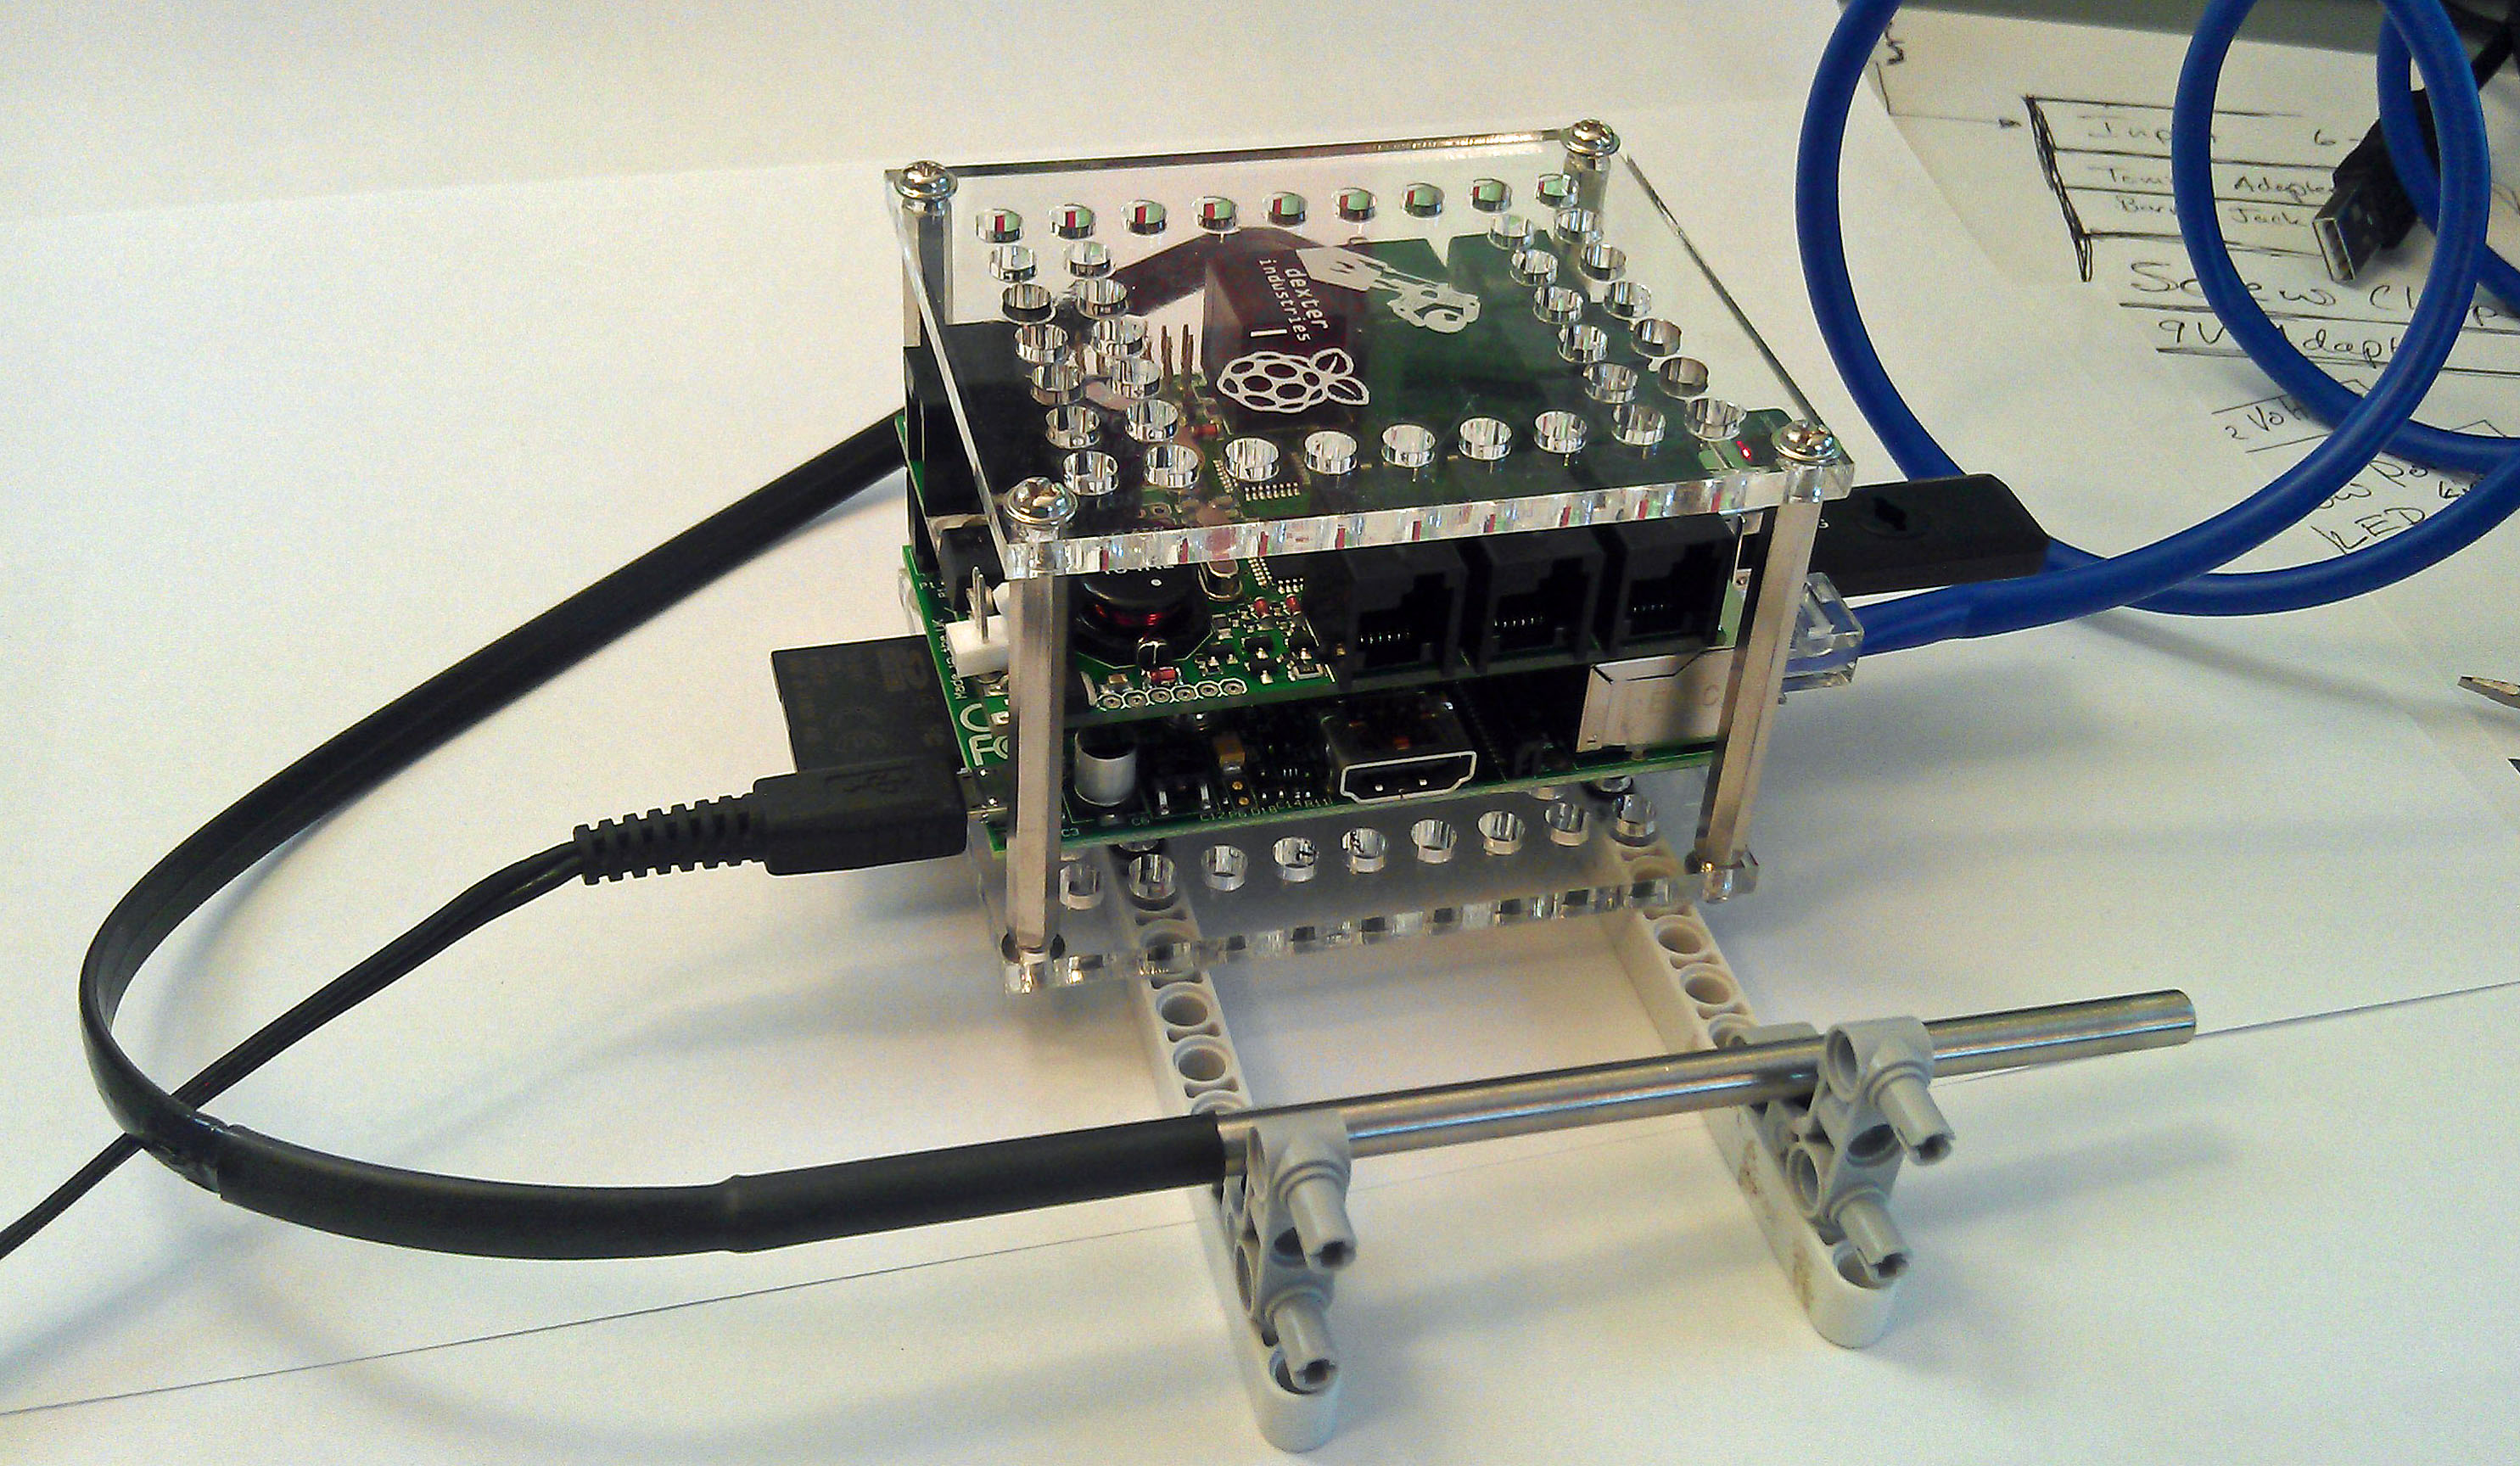
Building the weather station is very simple. You’ll need:
- BrickPi
- Raspberry Pi
- Wifi Dongle
- An SD Card with the BrickPi Image
- A USB Micro Power Device
- The Dexter Industries Thermometer
- Optional: Two LEGO Beams, four connectors, and Support Struts
The BrickPi draws very little power reading the temperature sensor, so it can be powered from the Raspberry Pi.
Setup the Raspberry Pi
Turn on your BrickPi and Raspberry Pi, and connect to it. (Here are some pointers!) Before we begin make sure your BrickPi is connected to the internet. In our example, we used a Wifi Dongle.
The example is located on Github. To get it, you’ll want to clone our Github repository for BrickPi in Python, BrickPi_Python.
In the command line, change directory to where you want to clone the repository. For example, change directory to the Desktop:
cd Desktop
Next, we’ll clone the repository
git clone https://github.com/DexterInd/BrickPi_Python.git
After successfully cloning the BrickPi_Python directory we need to import a few more things to the BrickPi. First, we will make sure we have setuptools installed. Again in the command line, type
sudo wget https://bitbucket.org/pypa/setuptools/raw/0.7.4/ez_setup.py -O - | sudo python
Next, we’ll install a Python module for interfacing with twitter. Again in the command line type
git clone git://github.com/ryanmcgrath/twython.git
cd twython
sudo python setup.py install
Get your Twitter Credentials
We’ll need a way to prove to Twitter that we’re actually who we say we are. Twitter has an authentication process that uses a system called OAuth. This is handled directly by the Python module we imported earlier, twython. We will need to define a set of authorization keys (sort of like a password). To do this, we will setup an Application in Twitter, and then copy down the authorization keys.
First, we’ll sign in to Twitter and then head over to http://dev.twitter.com/apps
 Click on “Create New Application”
Fill out the form as you like, adding your website and naming your application. If you were making a twitter client for Android, this would be more important. Since we’re accessing through Python, the website isn’t important. Use yours, or use www.dexterindustries.com.
Click on “Settings” up towards the top, and change access to “Read and Write”. This will allow you to write out new tweets (and even read your Twitter stream if you want to).
Now create two new keys: the acess token and the access token secret. These will be regenrated by a algorithm in the next step.
Under “details”, click “Create My Access Token”
Now copy down your “Consumer Key”, “Consumer Secret”, “Access Token” and “Secret”.
Caution: Be Careful Who You Share This Data With. Do not post this information online, or share with a friend. As long as the Application you created in Twitter is active, if someone else has these keys, they can access your account. These are best treated as you would treat a password.
Modifying your Python Program
Now that we have some credentials, let’s put them into the example program. If you open up “BrickPi_Twitter_Example.py” in a text editor, you’ll see that lines 22 – 25 are where the keys we just generated are. If you setup those keys on your laptop or desktop, you can copy them into a text file on a USB drive, and move them over to your BrickPi.
APP_KEY, APP_SECRET, OAUTH_TOKEN, and OAUTH_TOKEN_SECRET are, by default, all 1-0 numbers when you download it. Replace “1234567890” with your keys.
Save the python file.
 Setup the BrickPi
You should notice in the example code that the Thermometer should be plugged into sensor Port 1.
Run the Program!
Make sure the Raspberry Pi is still connected to the internet. If it is, let’s run the following command:
sudo python BrickPi_Twitter_Example.py
And we should see something like this:
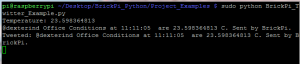
Note the last line “Tweeted: @dexterind Office Conditions at . . . ” everything after the colon is what we’ve put up on Twitter.
If we check our Twitter feed, we should see something like this:

Success! Pat yourself on the back and send another Tweet!