This is a guide to assembling the Upgraded BrickPi B+ Case.
You can watch the video below or see written step-by-step instructions further below.
A few notes before you begin:
You’ll need a small phillips head screwdriver, preferably a jeweler’s size screwdriver.
The acrylic case parts all come covered in protective wrap to protect it from scratching. You’ll first want to remove the wrap.
BrickPi B+ Case
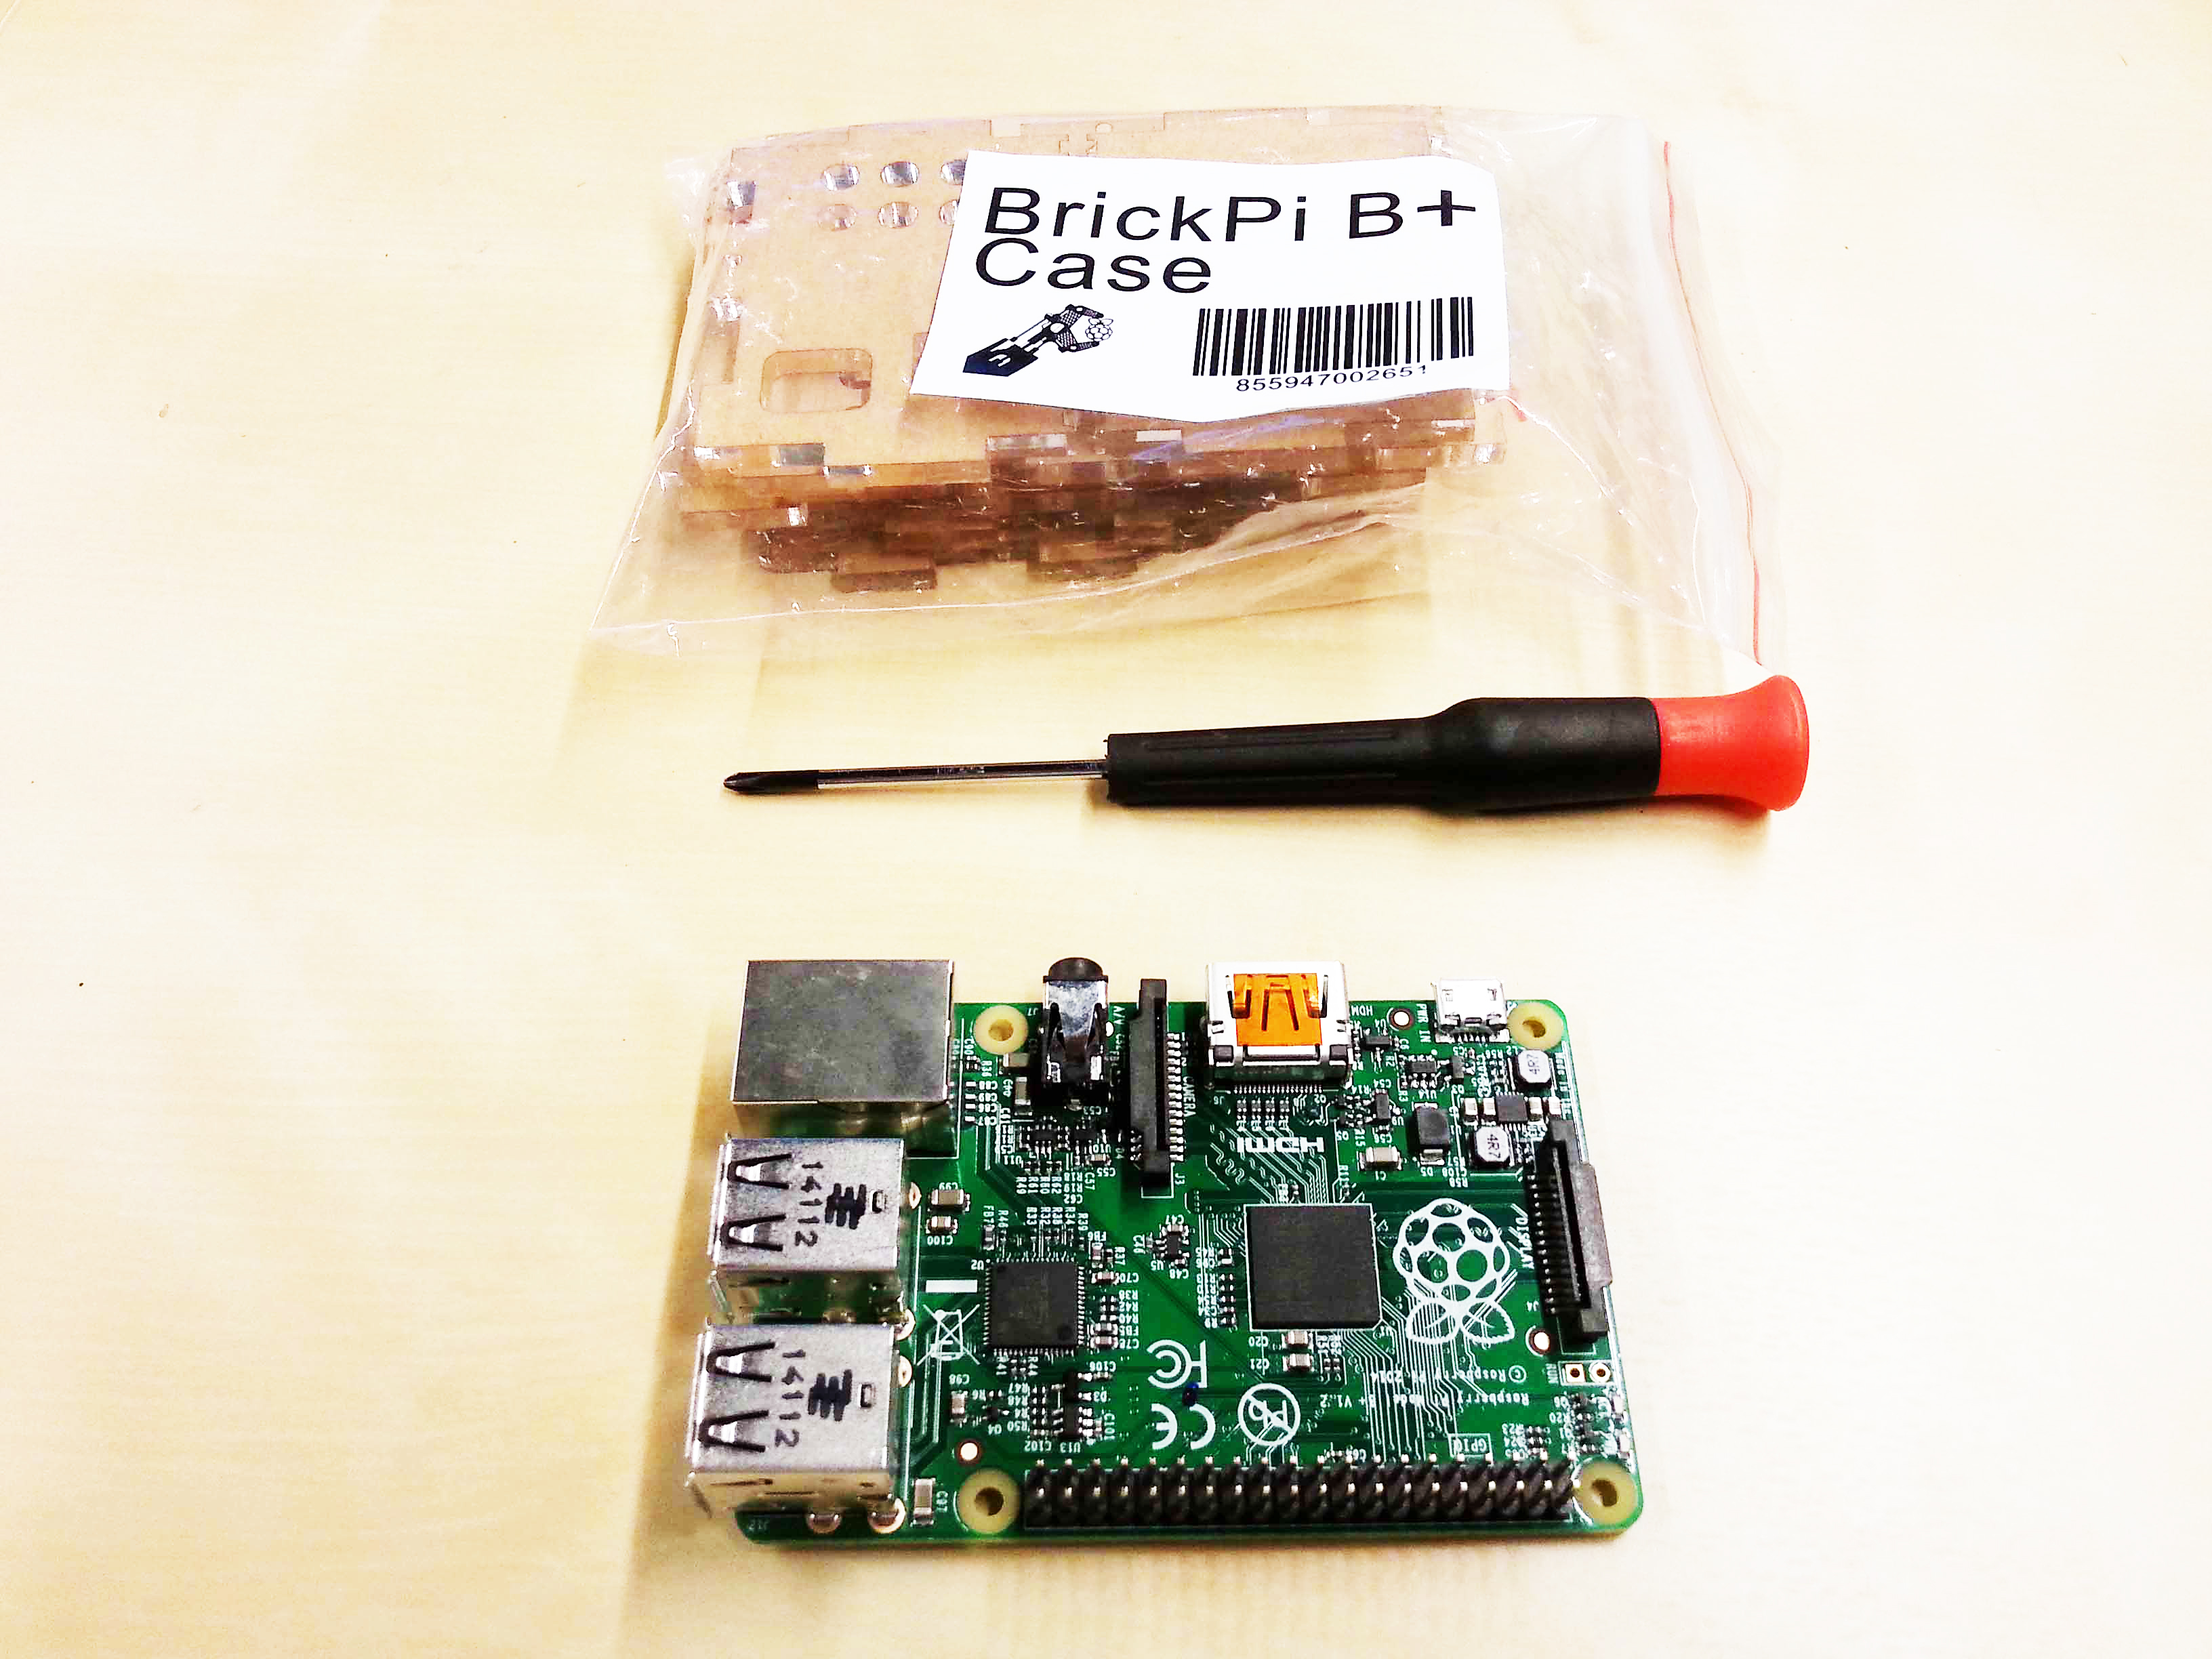
You’ll also need a small jewelers philips head screwdriver, as well as a Raspberry PI Model B+.
1). Unpack the parts from packaging.
You should have six acrylic pieces. Each piece will have numbers etched on them.
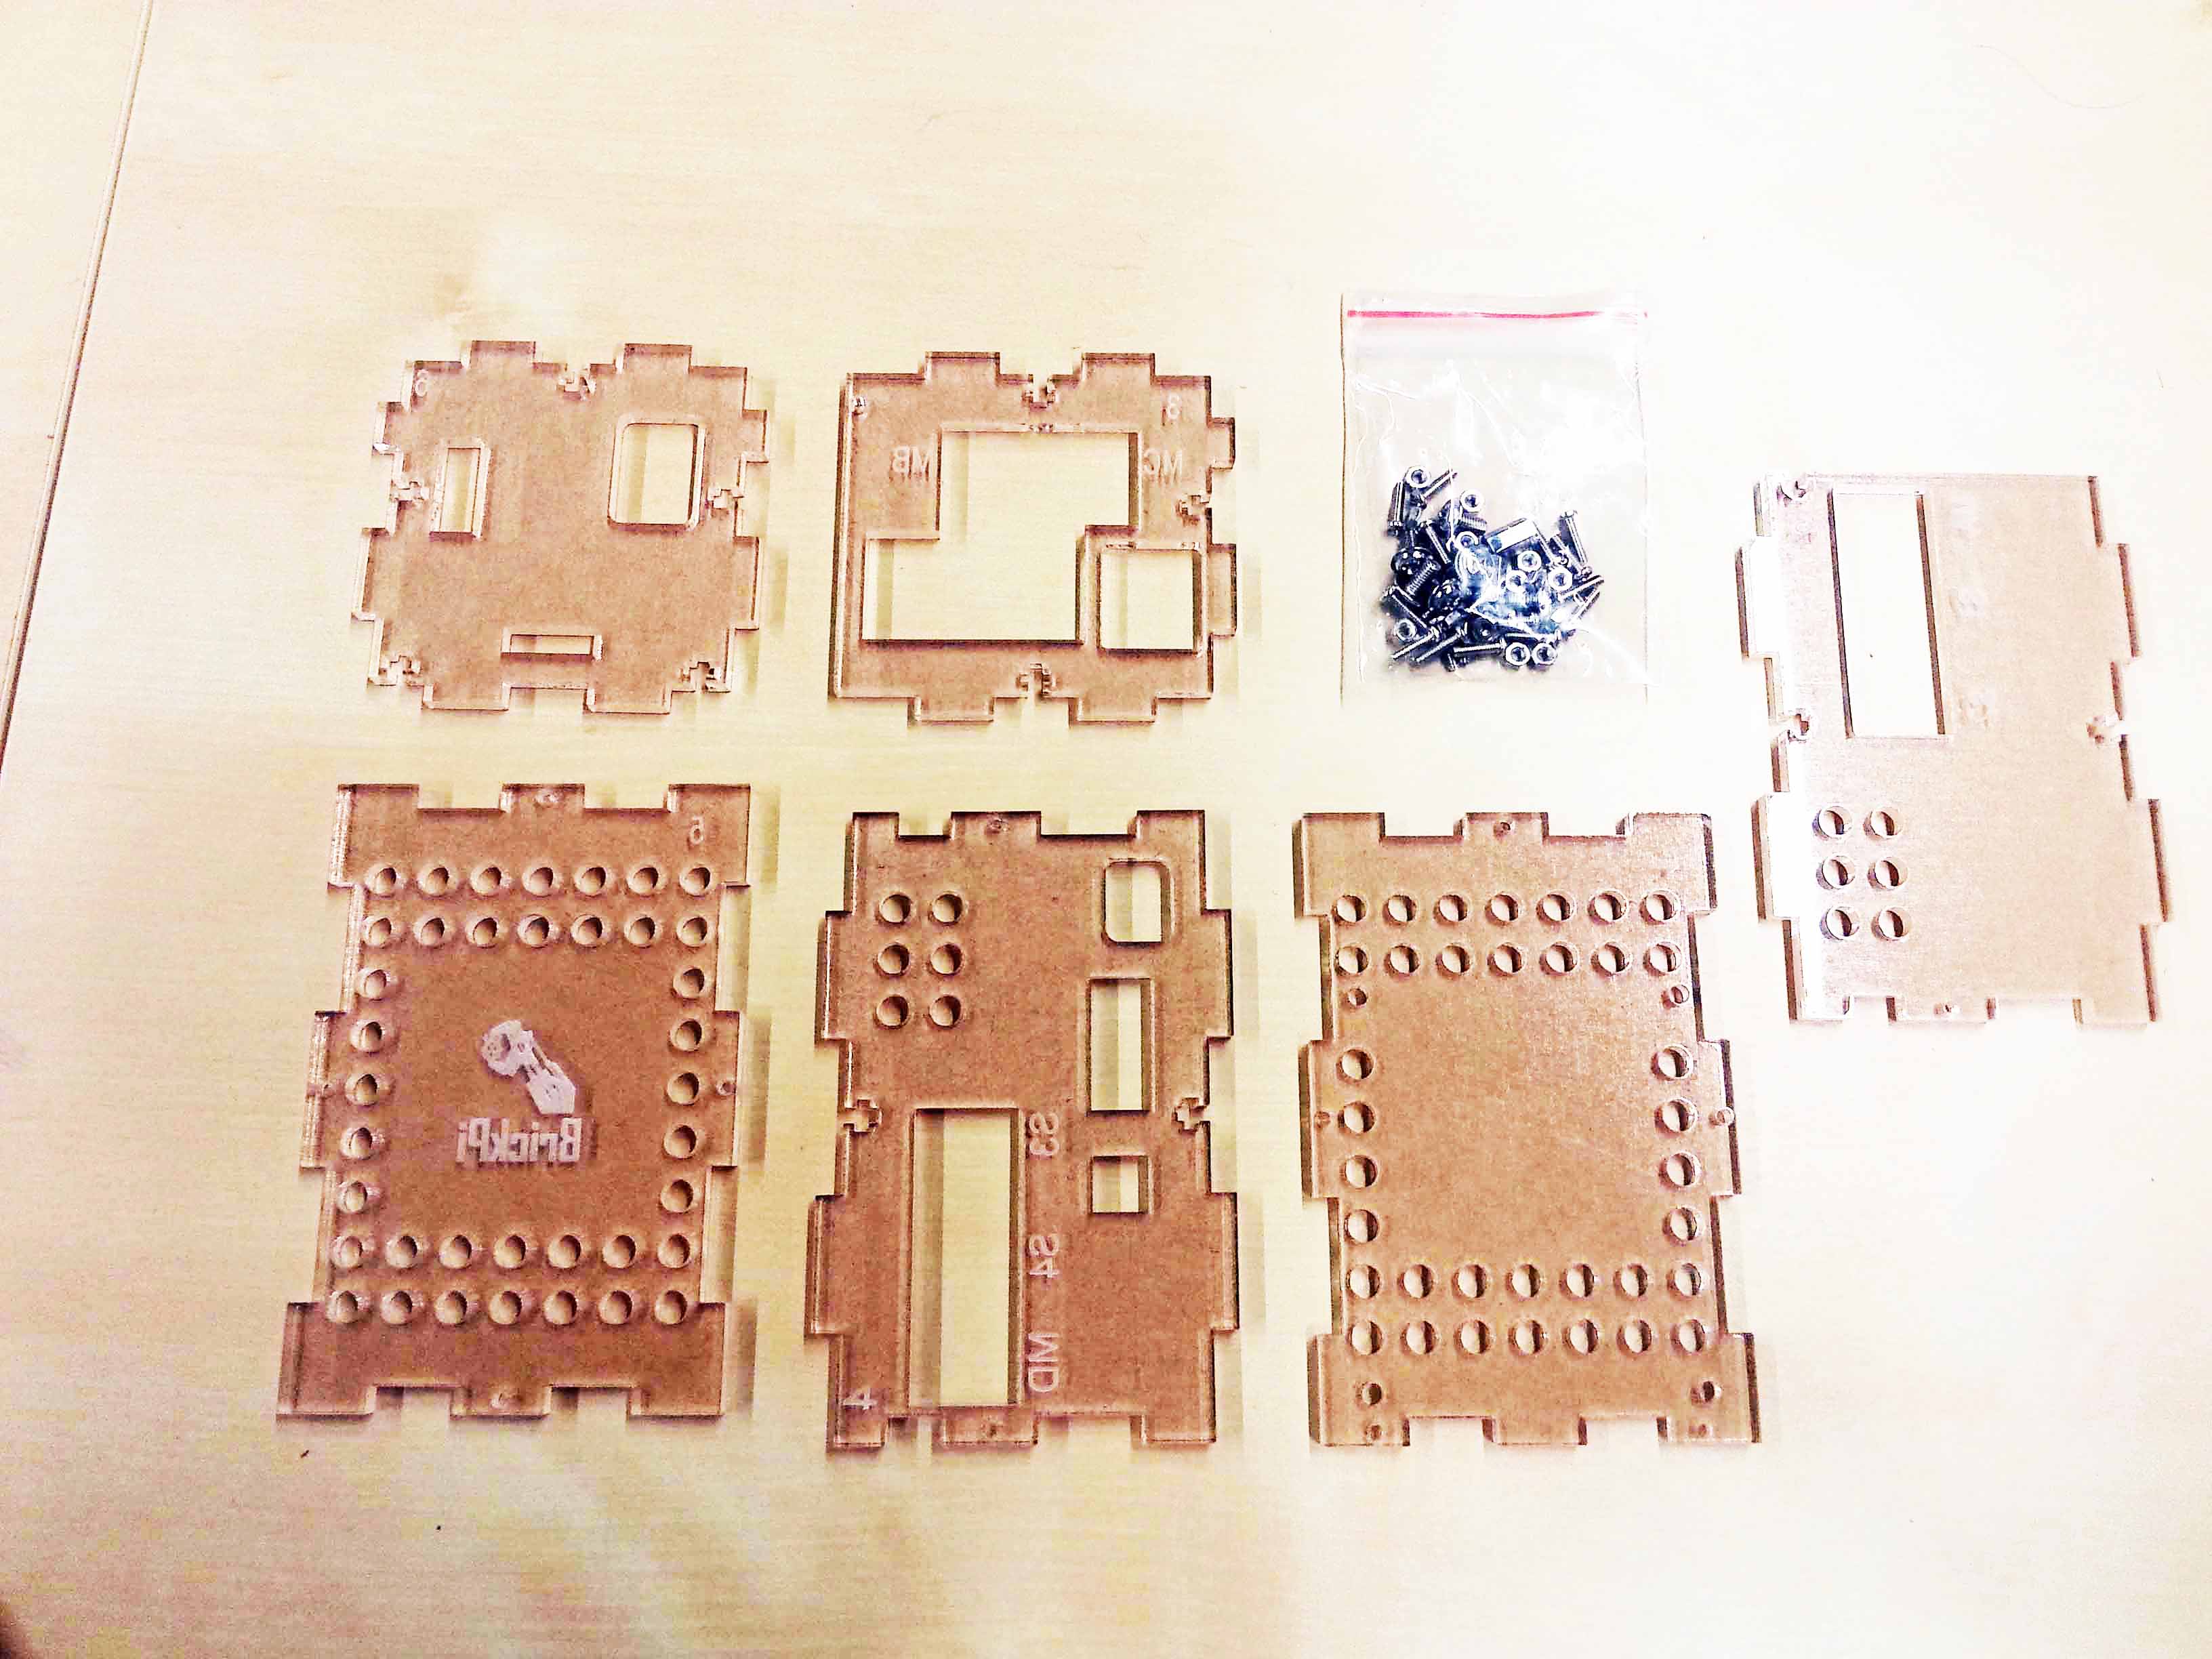
The contents include six pieces of acrylic and a bag of small screws and hardware.
2). Find the bottom base plate and attach the two hex spacers.
This is Part 1, and has a 1 engraved on it. To orient the part: the engraving should be on the inside, towards the Pi.
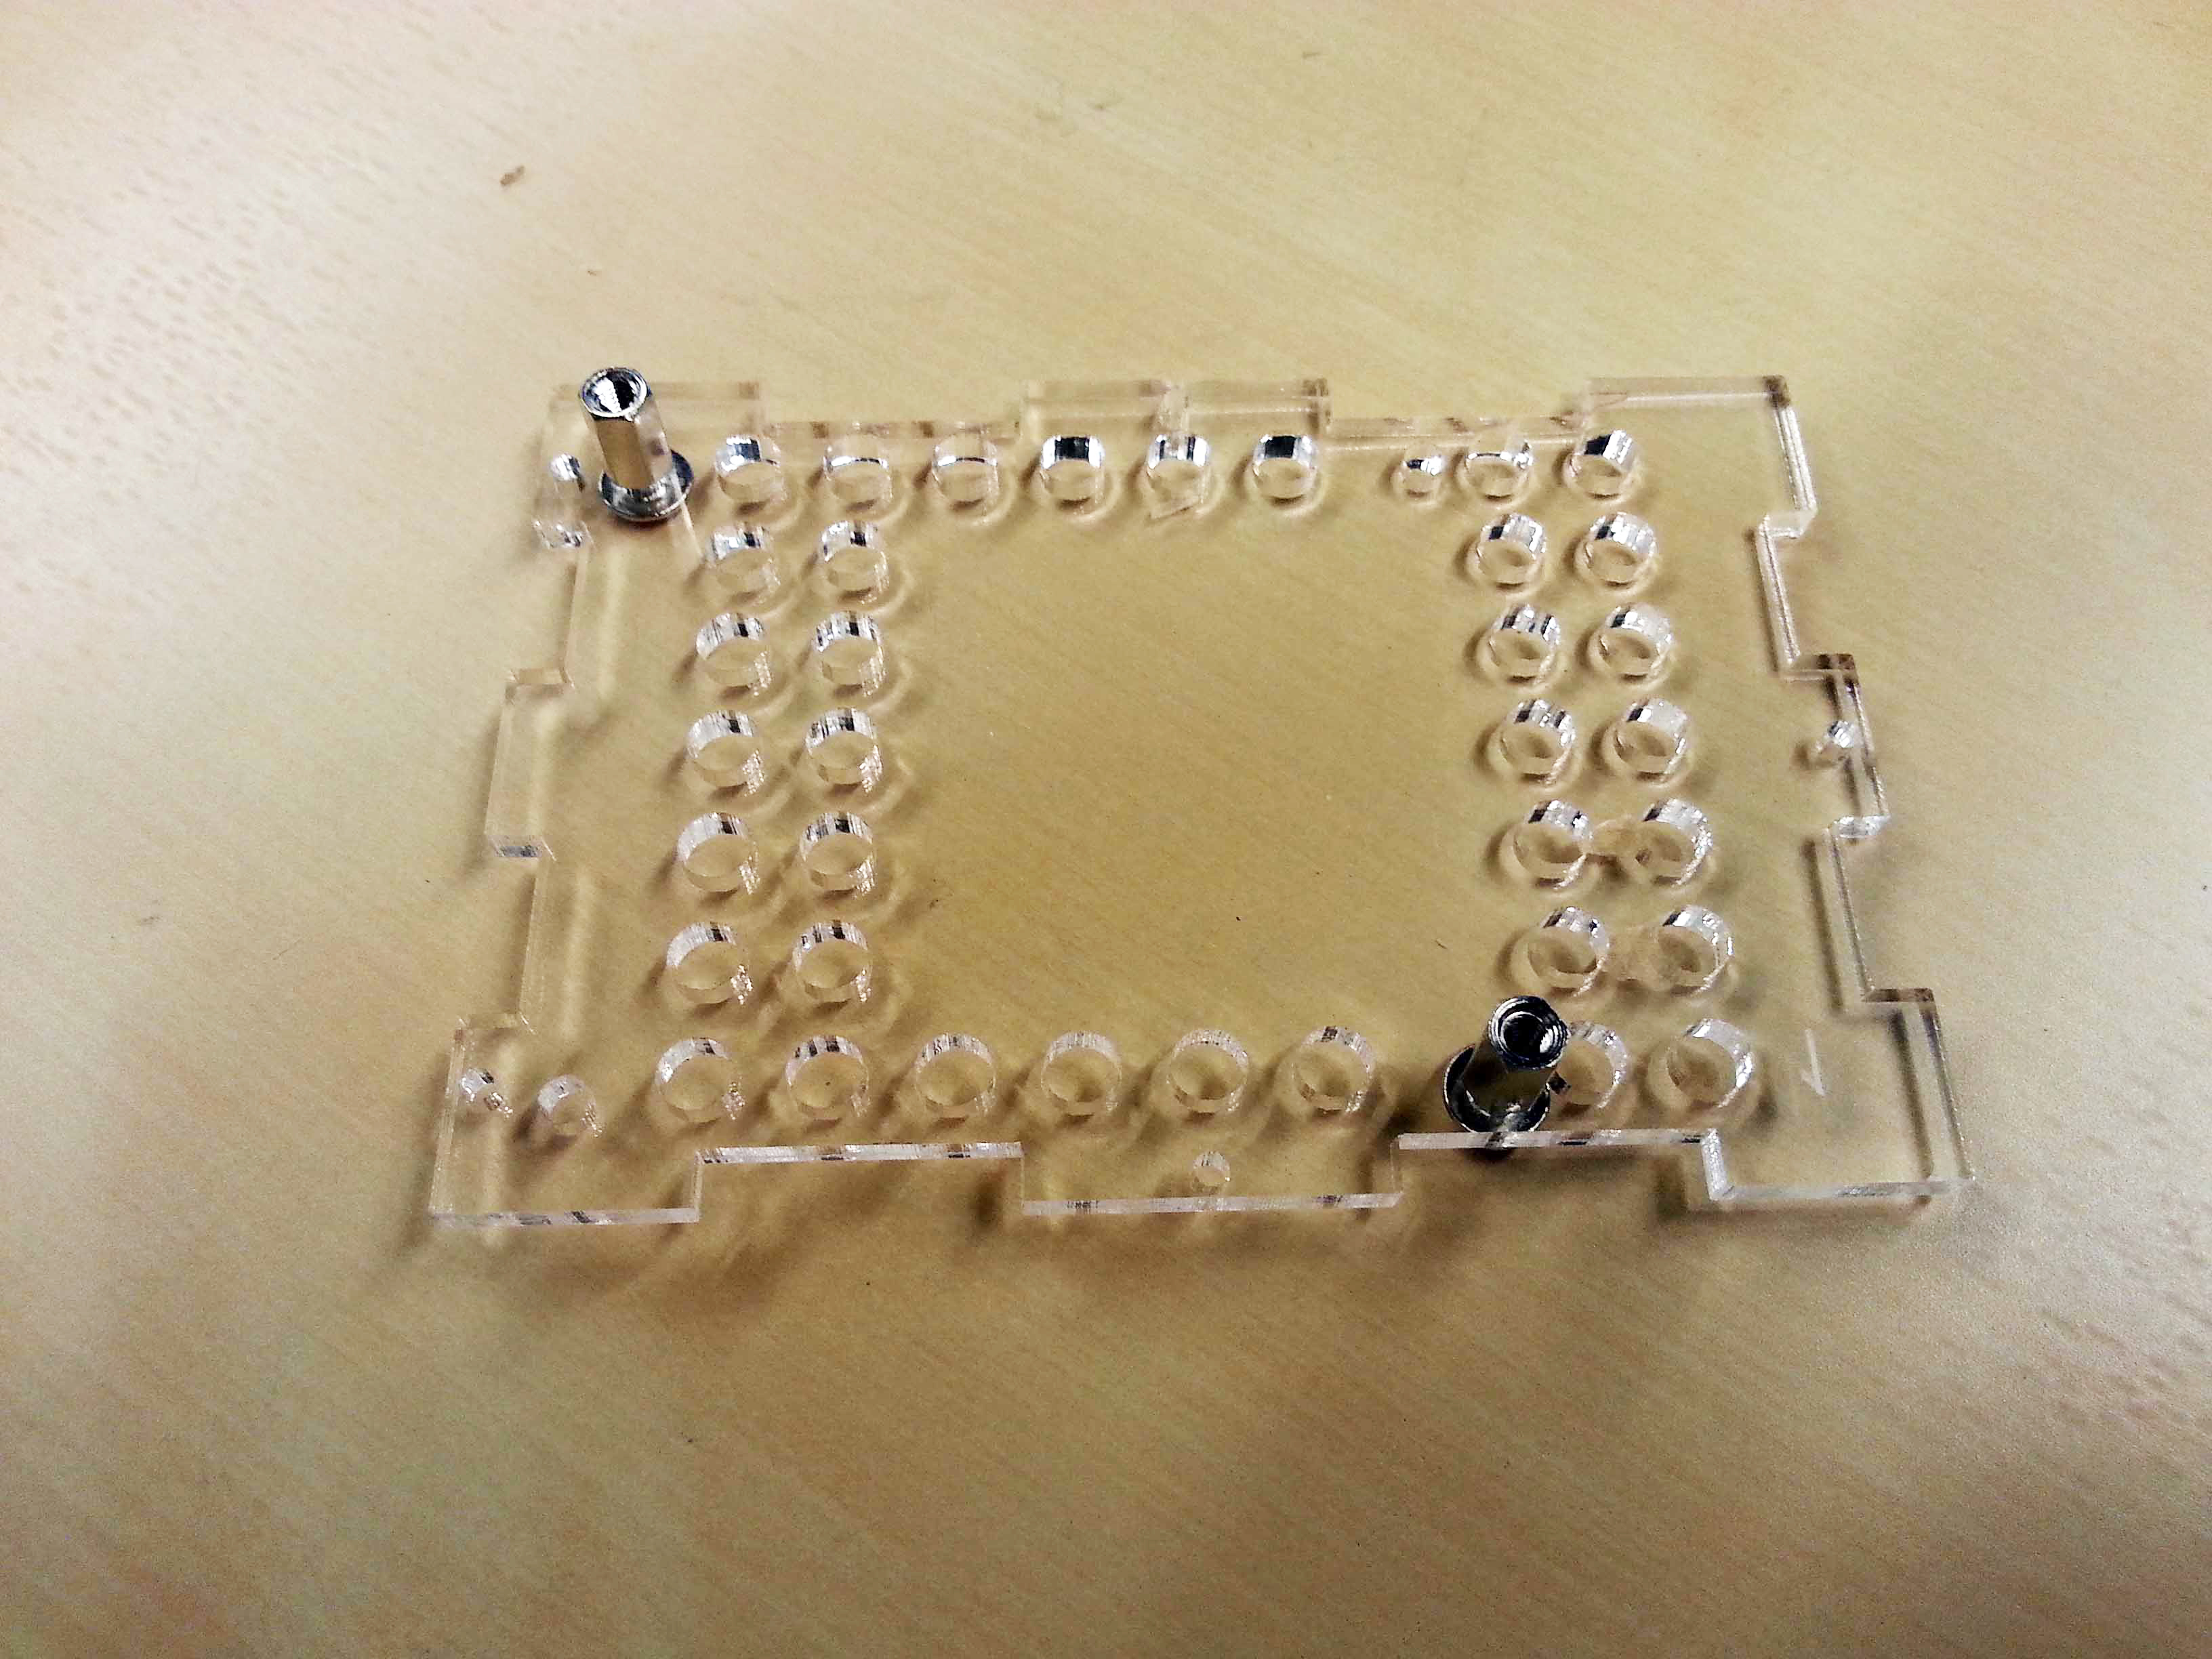
With the engraving up, attach the two small hex spacers with screws.
3). Attach five small screws to Part 1 with small nuts.
The nuts should be facing upwards, on the side of the engraving.
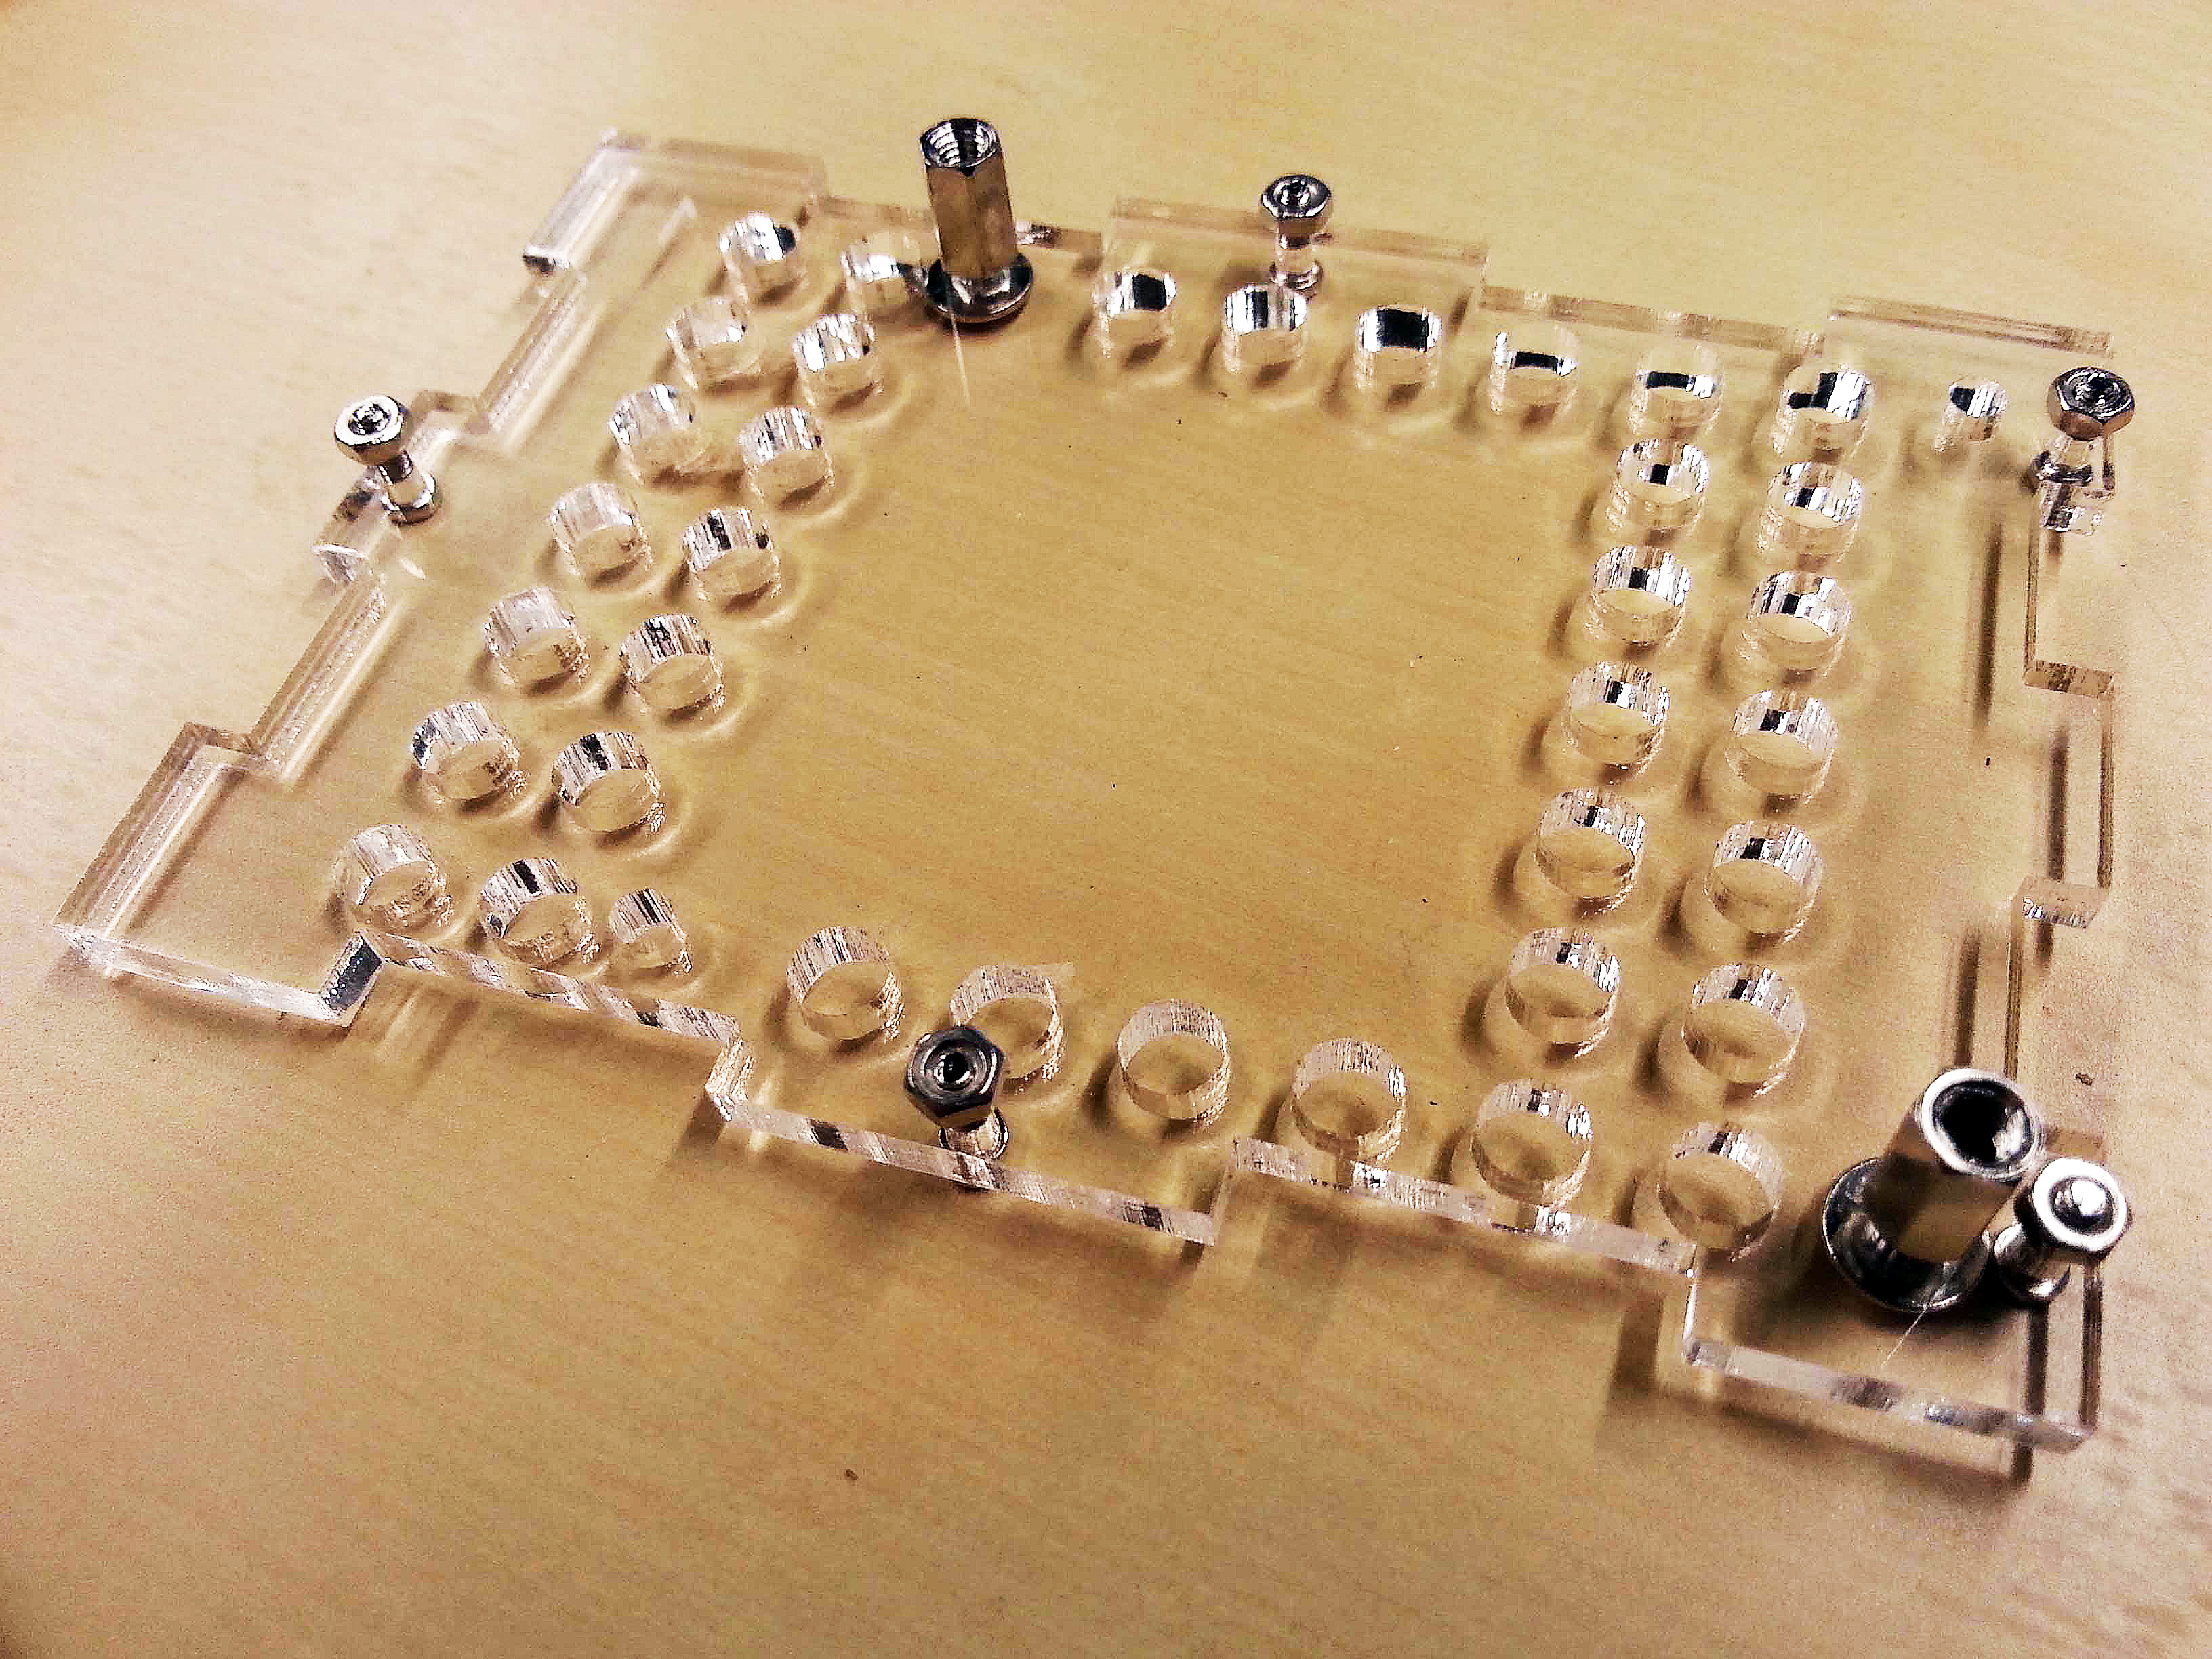
Attach five screws to the base, Part 1.

Screws are loosely attached.
4). Thread two screws through the Pi B+/2, and the attach to the board.
The screws will be tight! You might want to screw them all the way through the Pi to open up the holes before screwing tightly to the acrylic base Part 1.
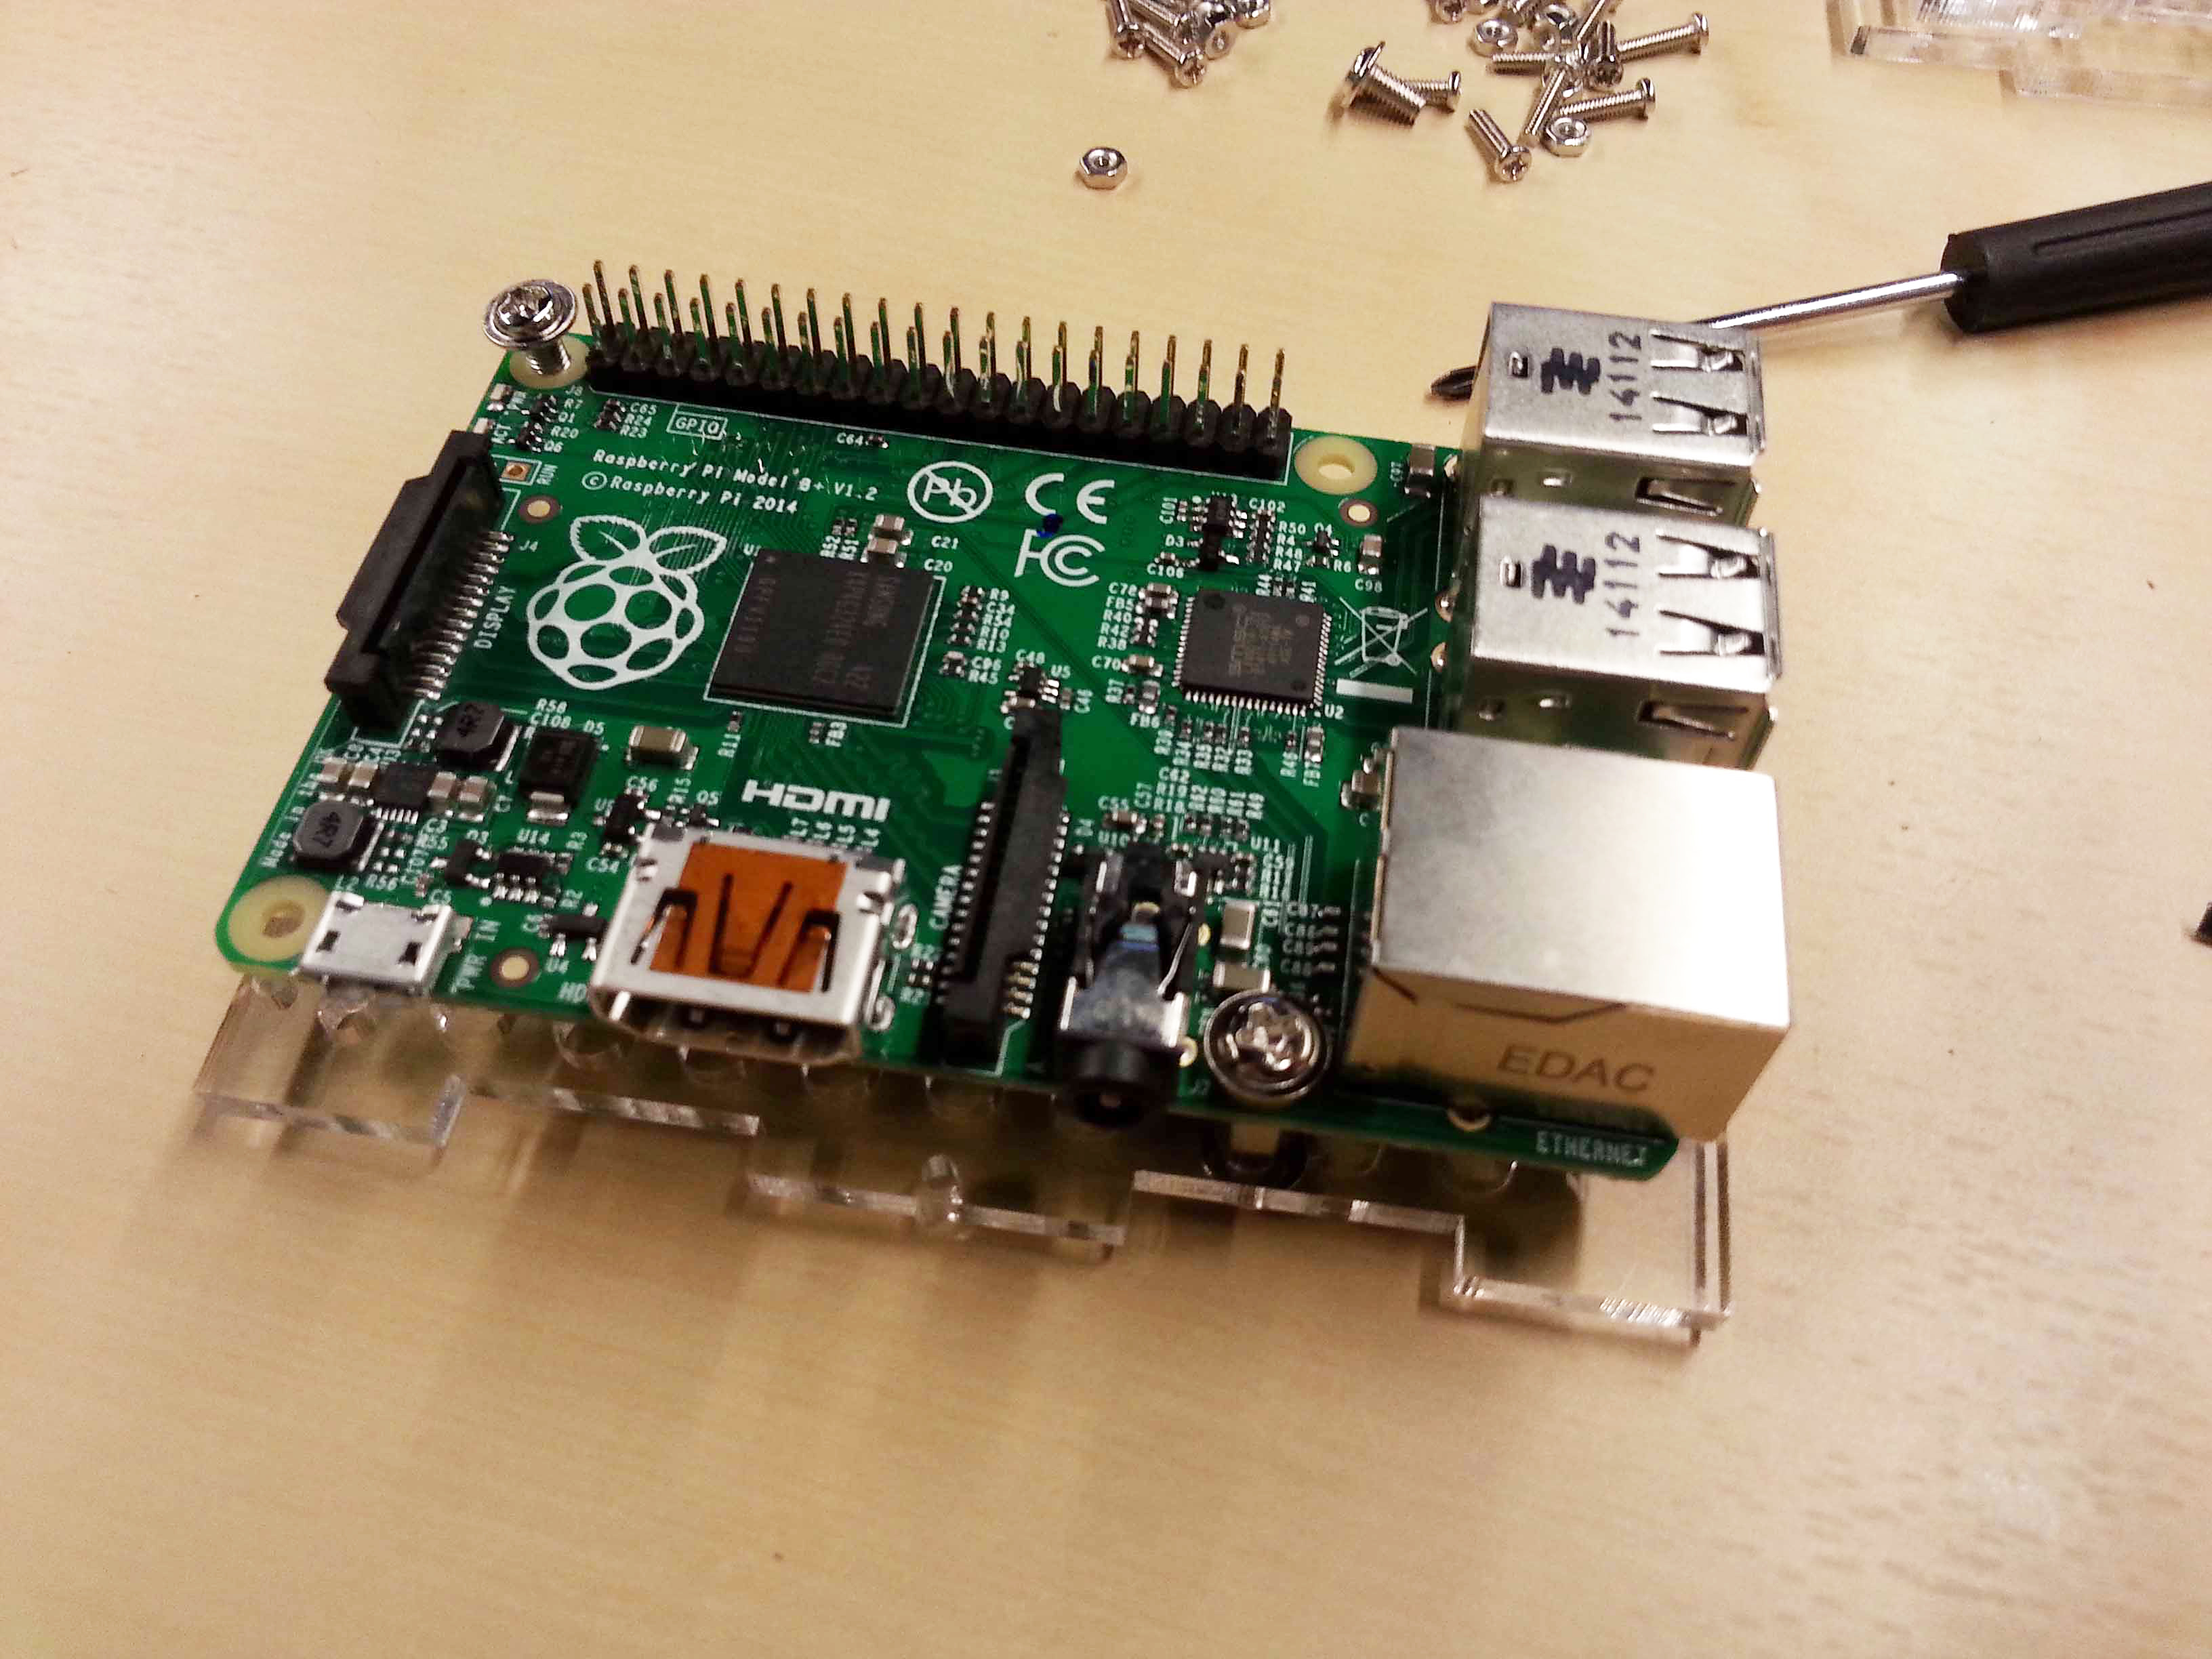
Attach the Raspberry Pi B+ to the case.
5). Slide Parts 3 and 6 onto the Part 1.
Remember, the engraving goes on the inside! Leave the small screws loose at this point.
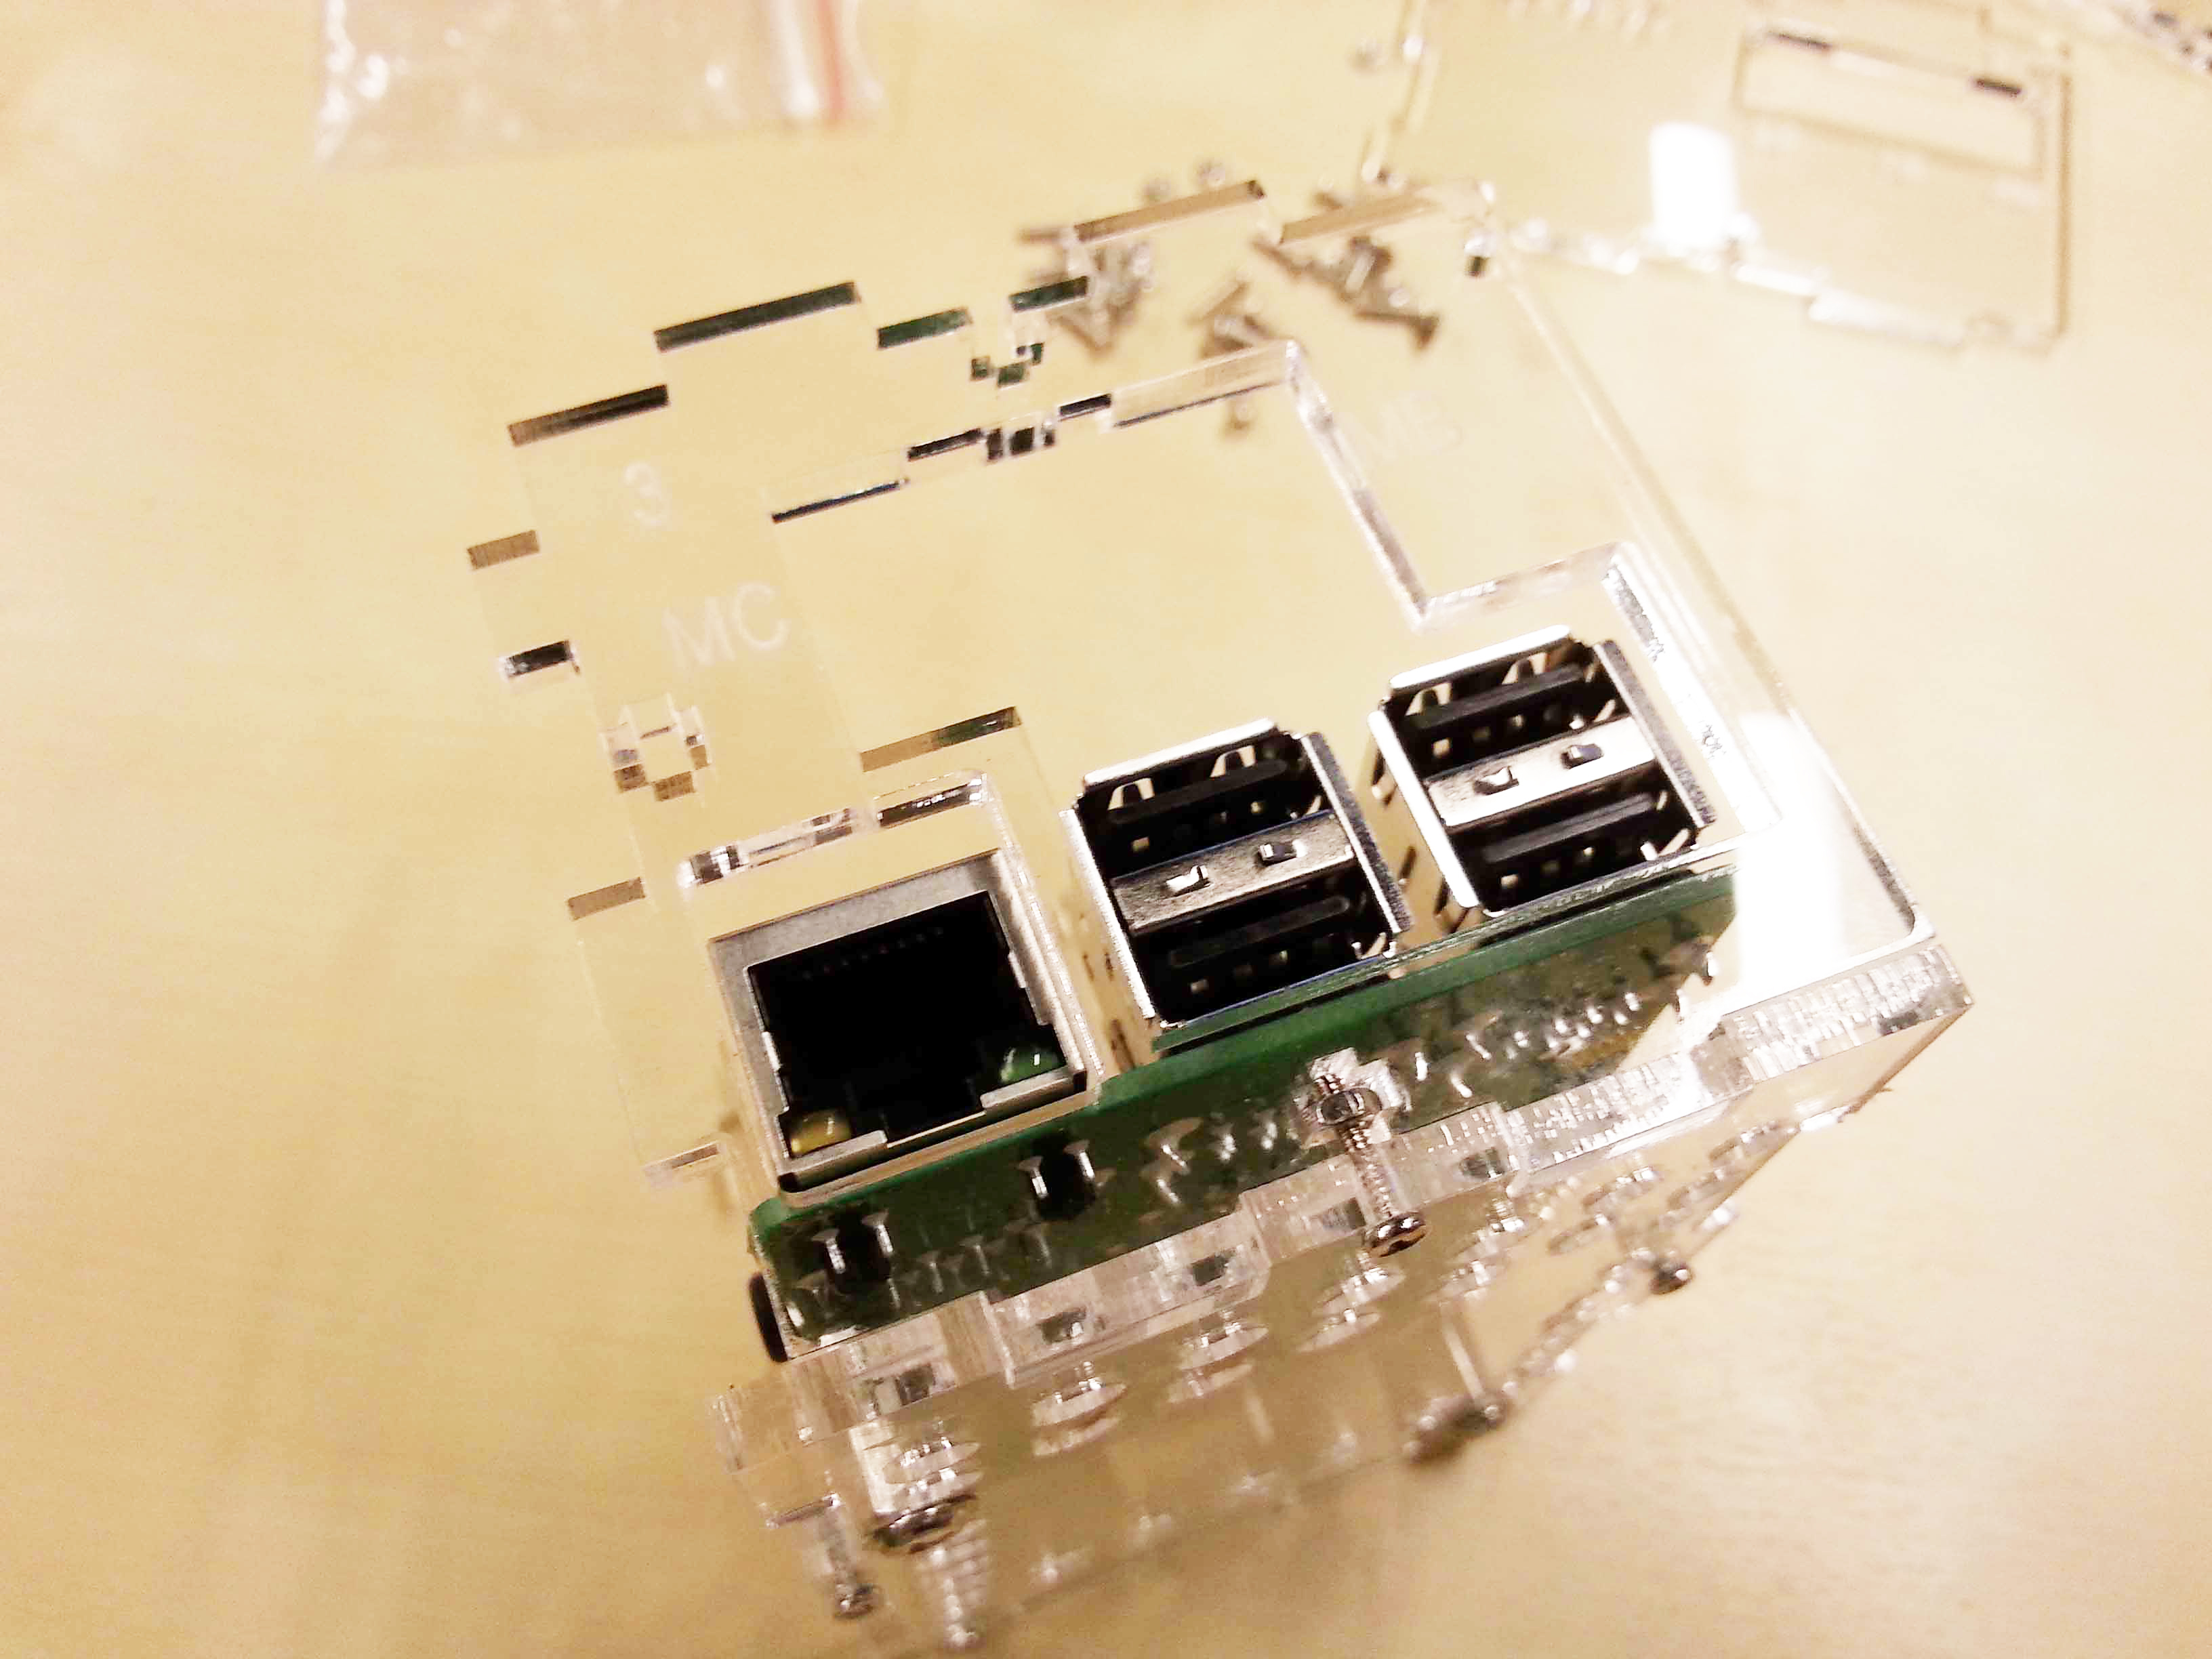
Attach end plates, and ensure that the USB and Ethernet ports slide into the acrylic plate.
Leave the small screws loose at this point.
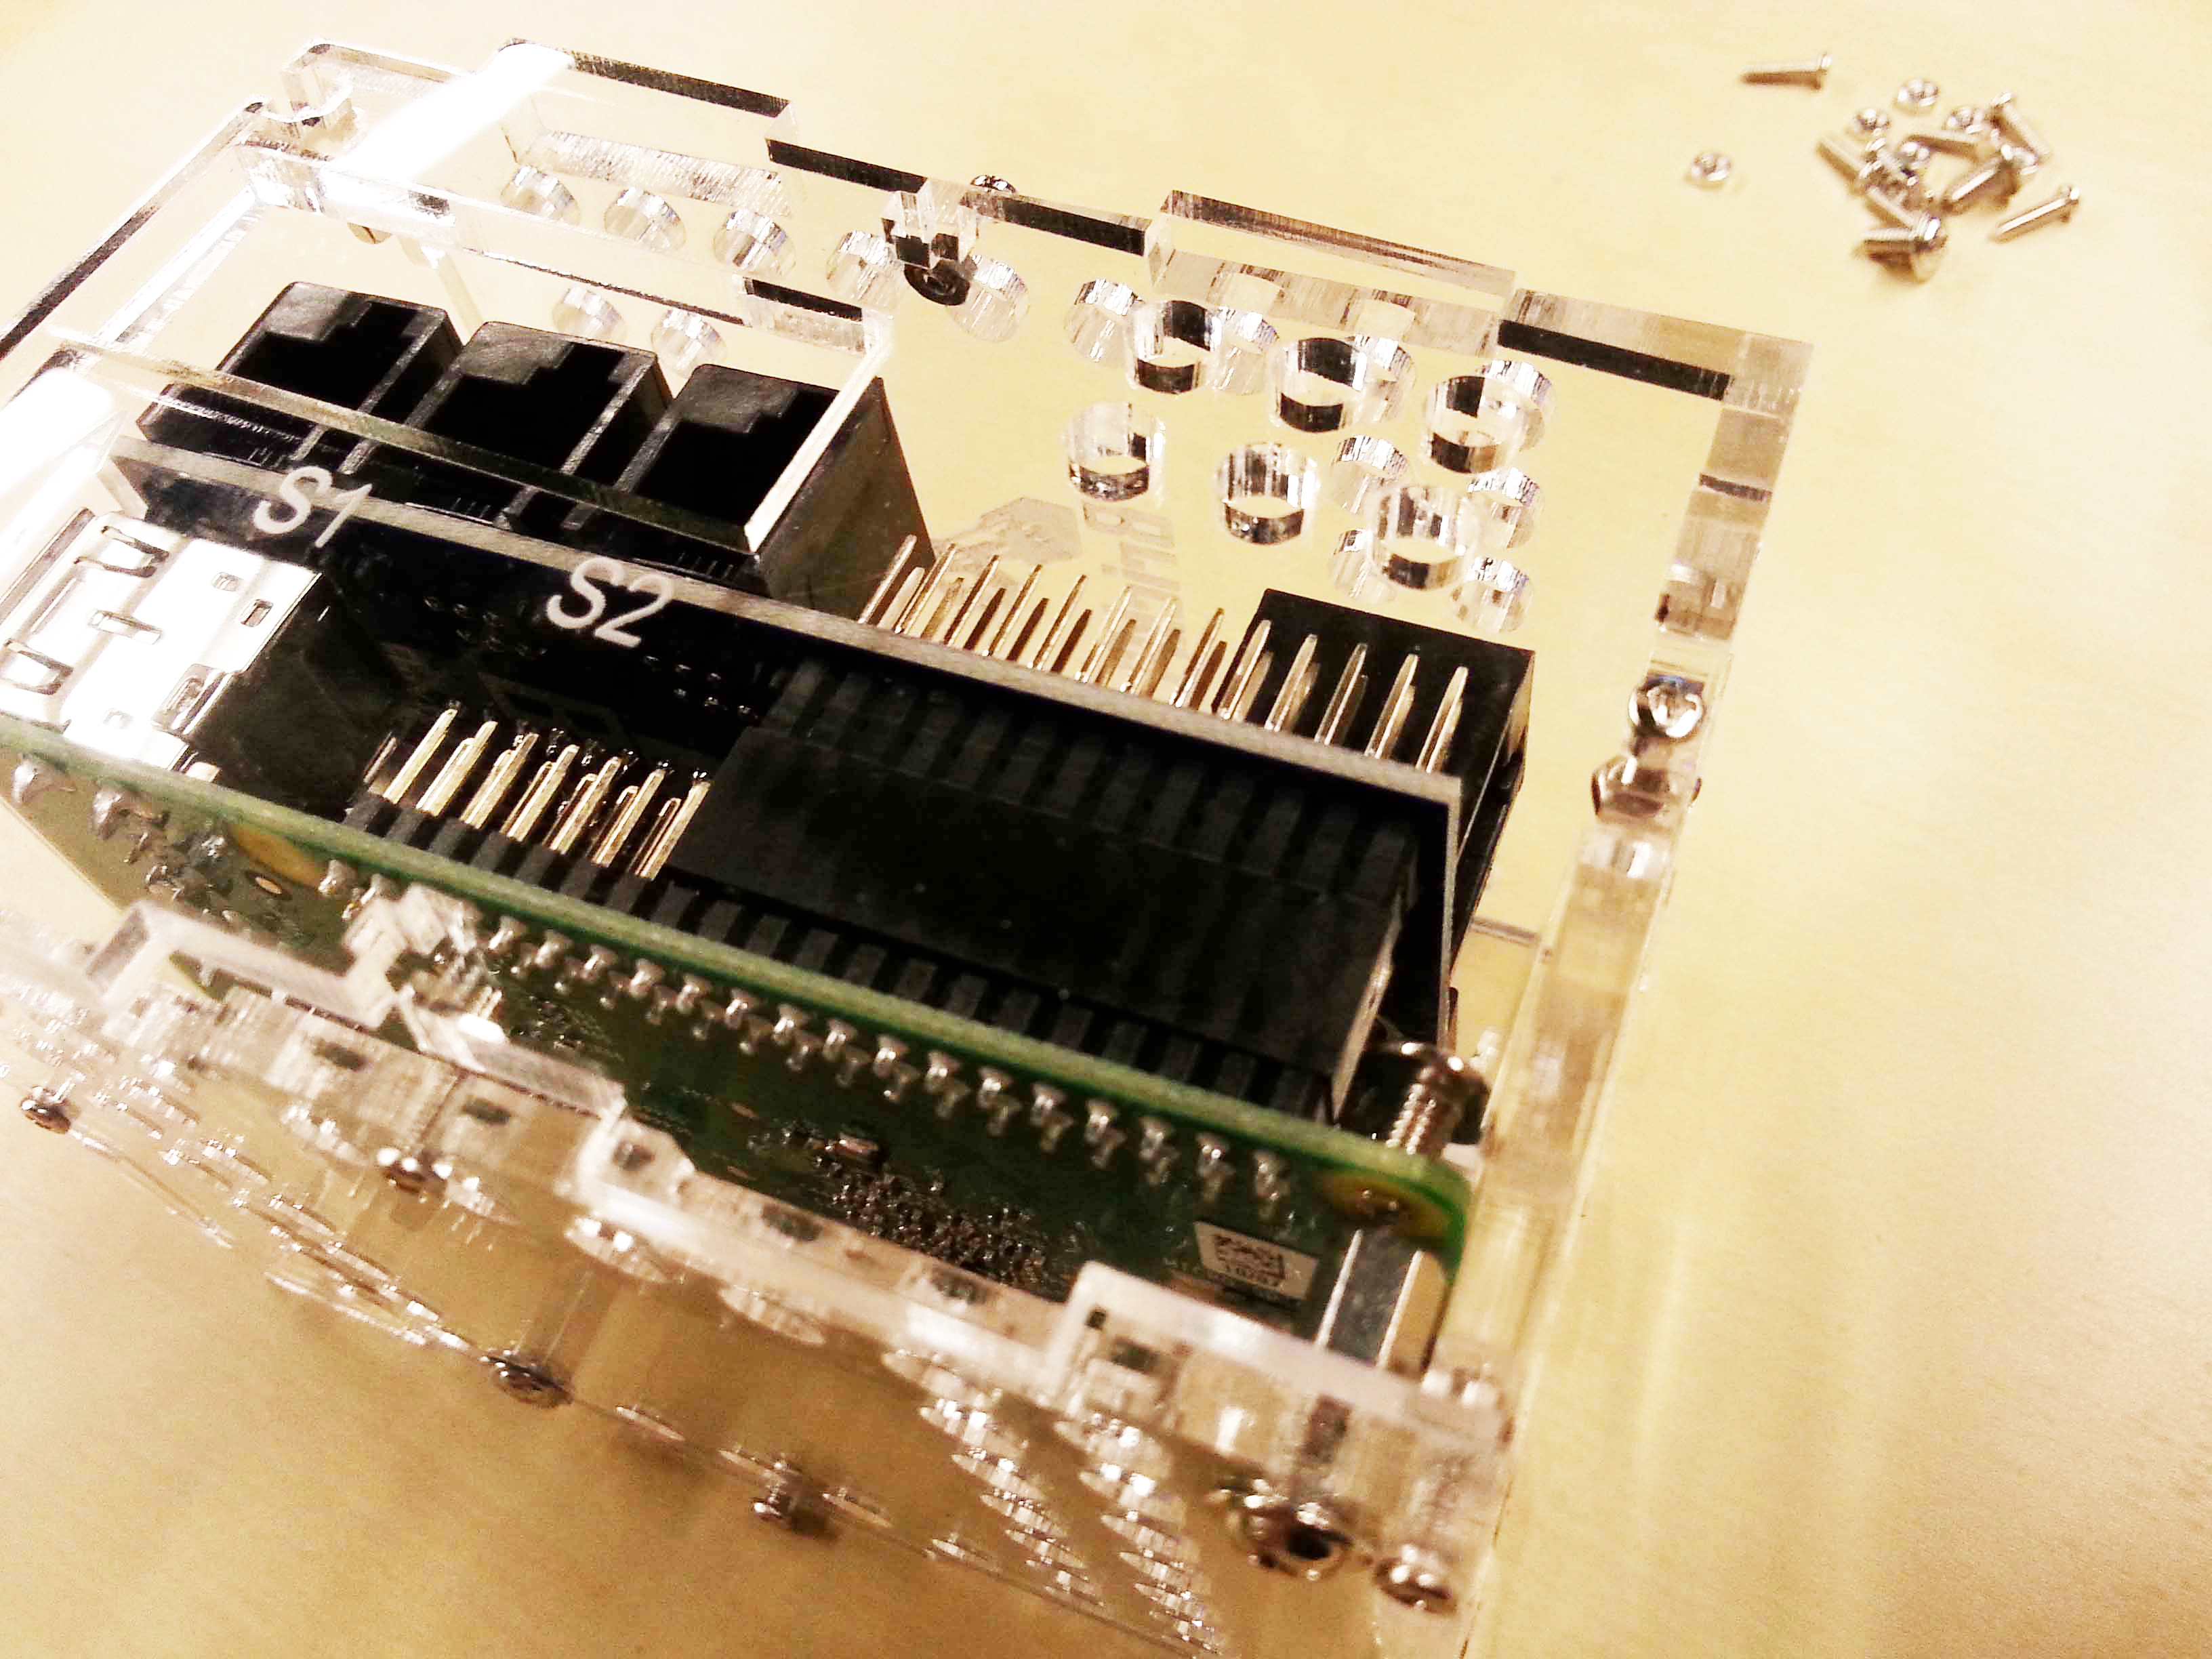
6). Attach the BrickPi and Power Pack.

Attach the BrickPi to the Raspberry Pi B+.
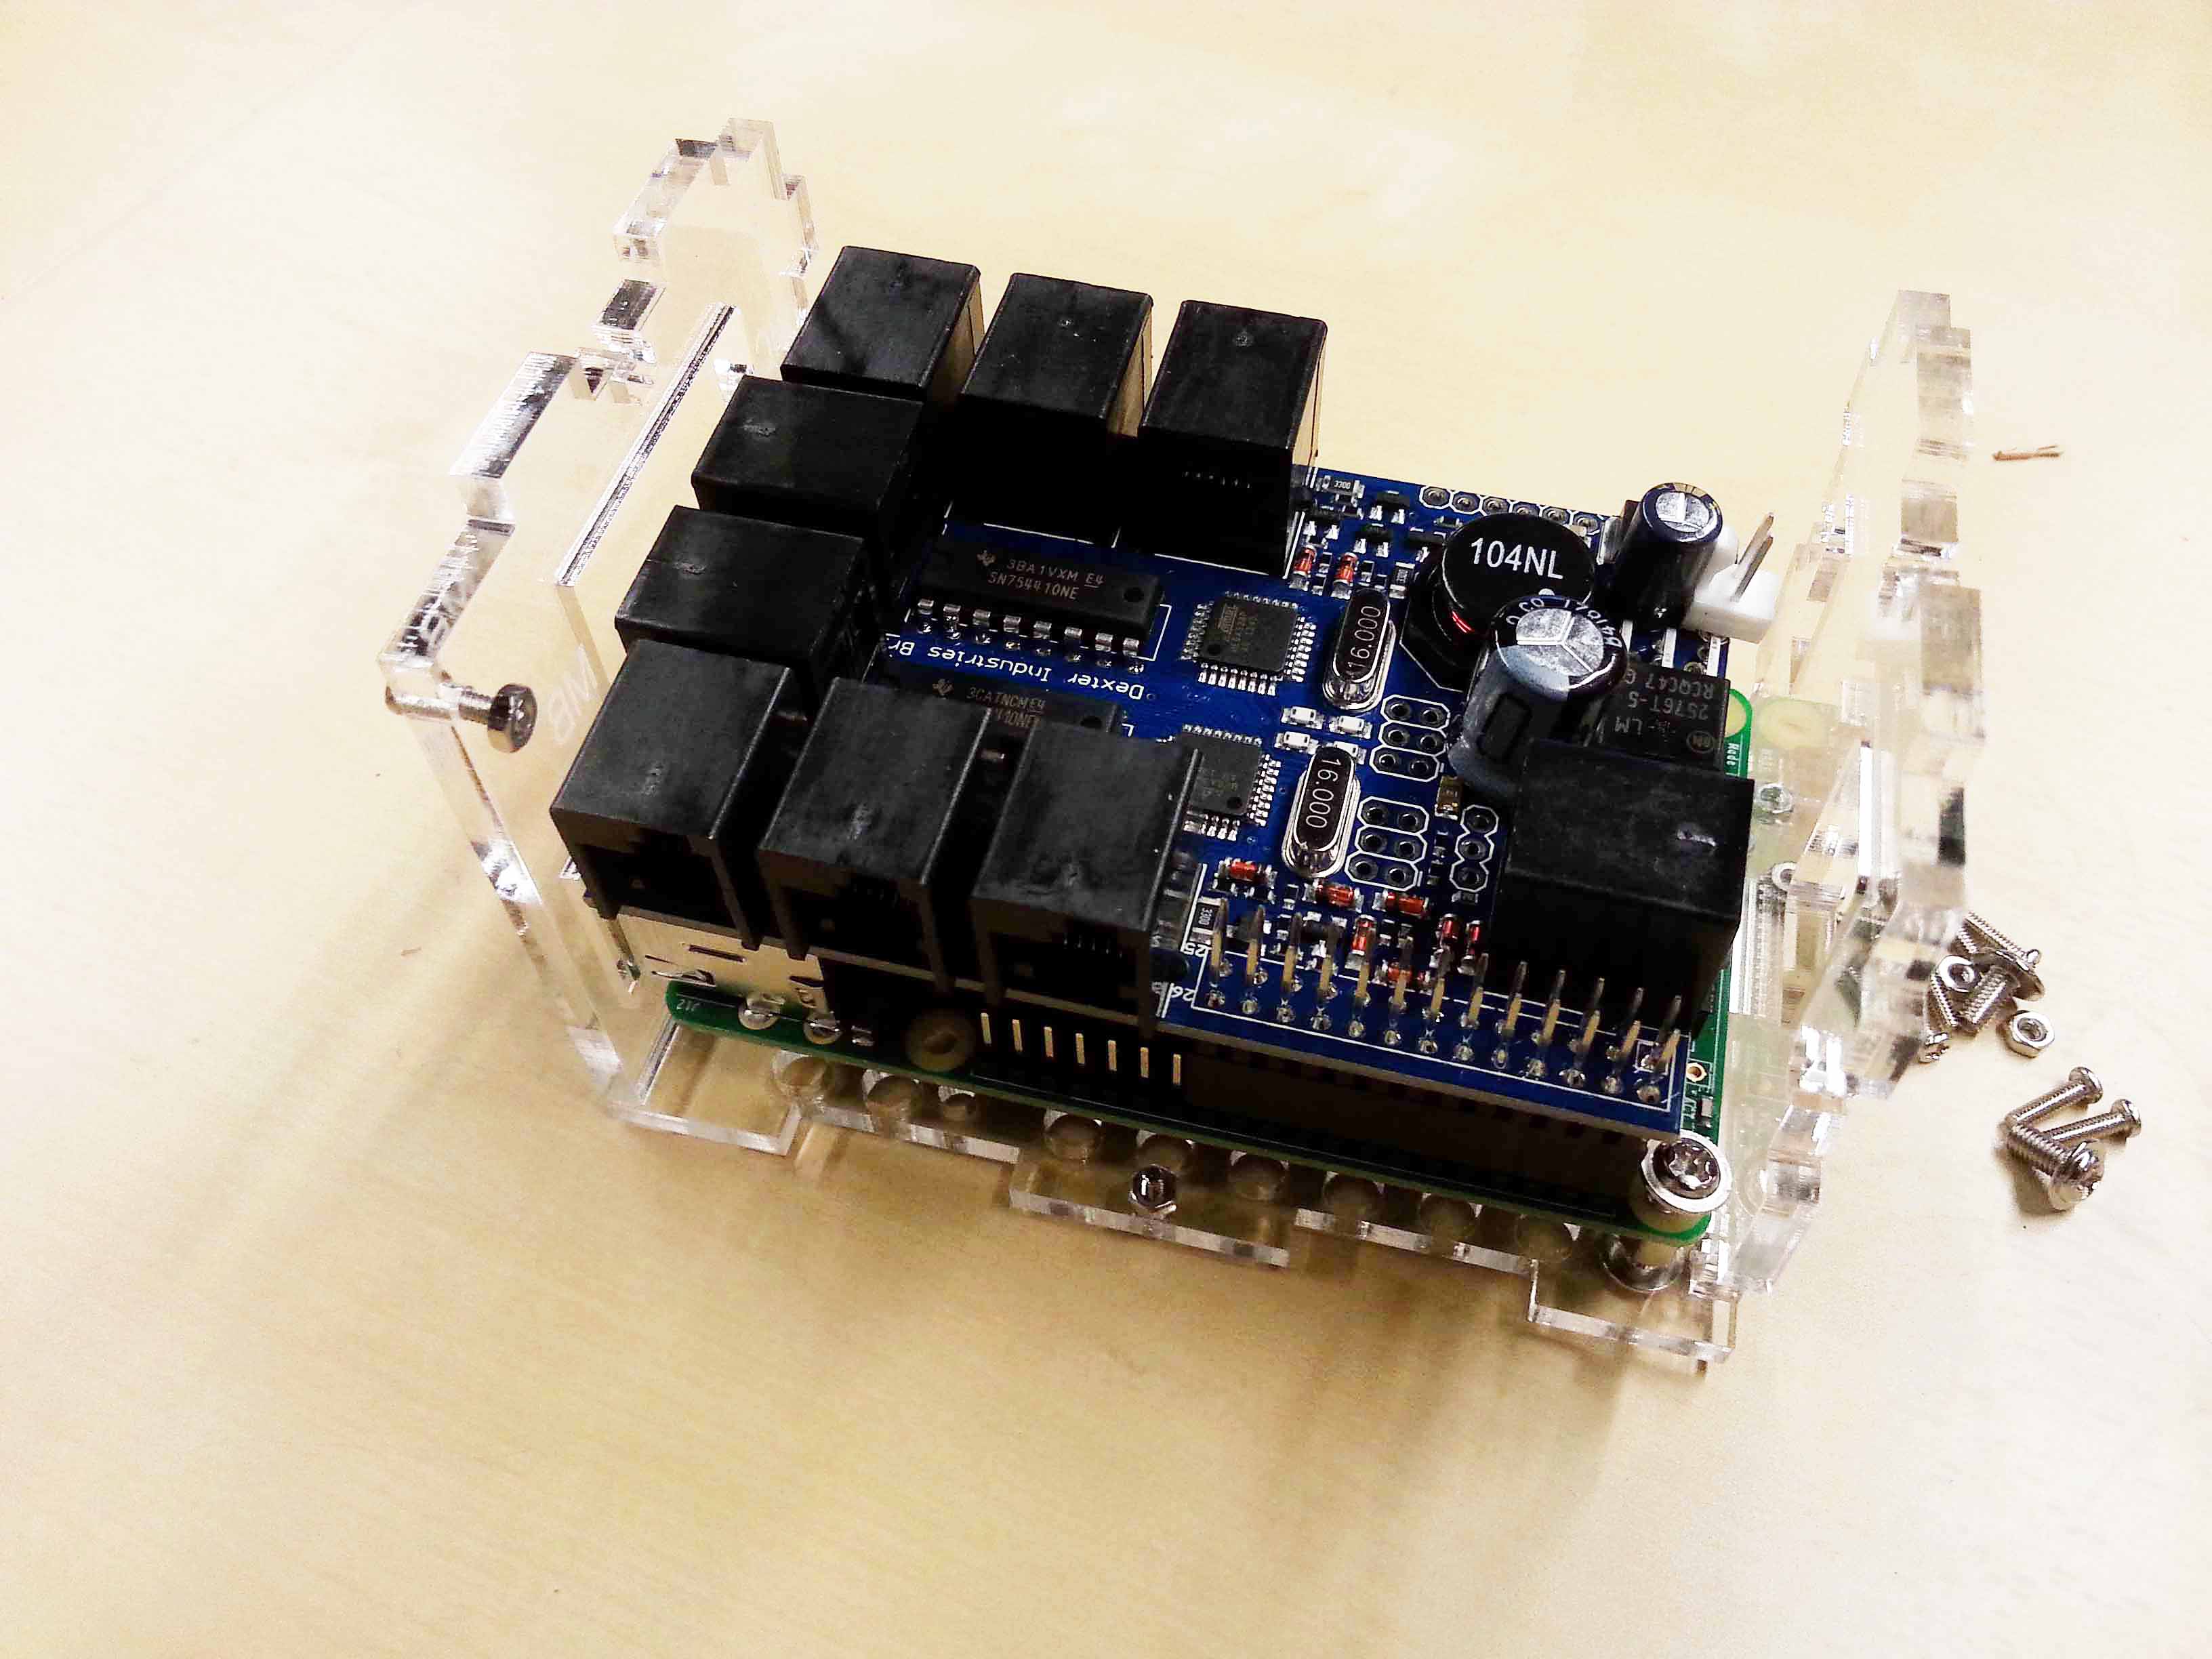
Not shown: now is a great time to attach the BrickPi Power adapter.
7). Attach four screws to the top plate (Part 5).
The bolts should be on the engraving side of the acrylic.
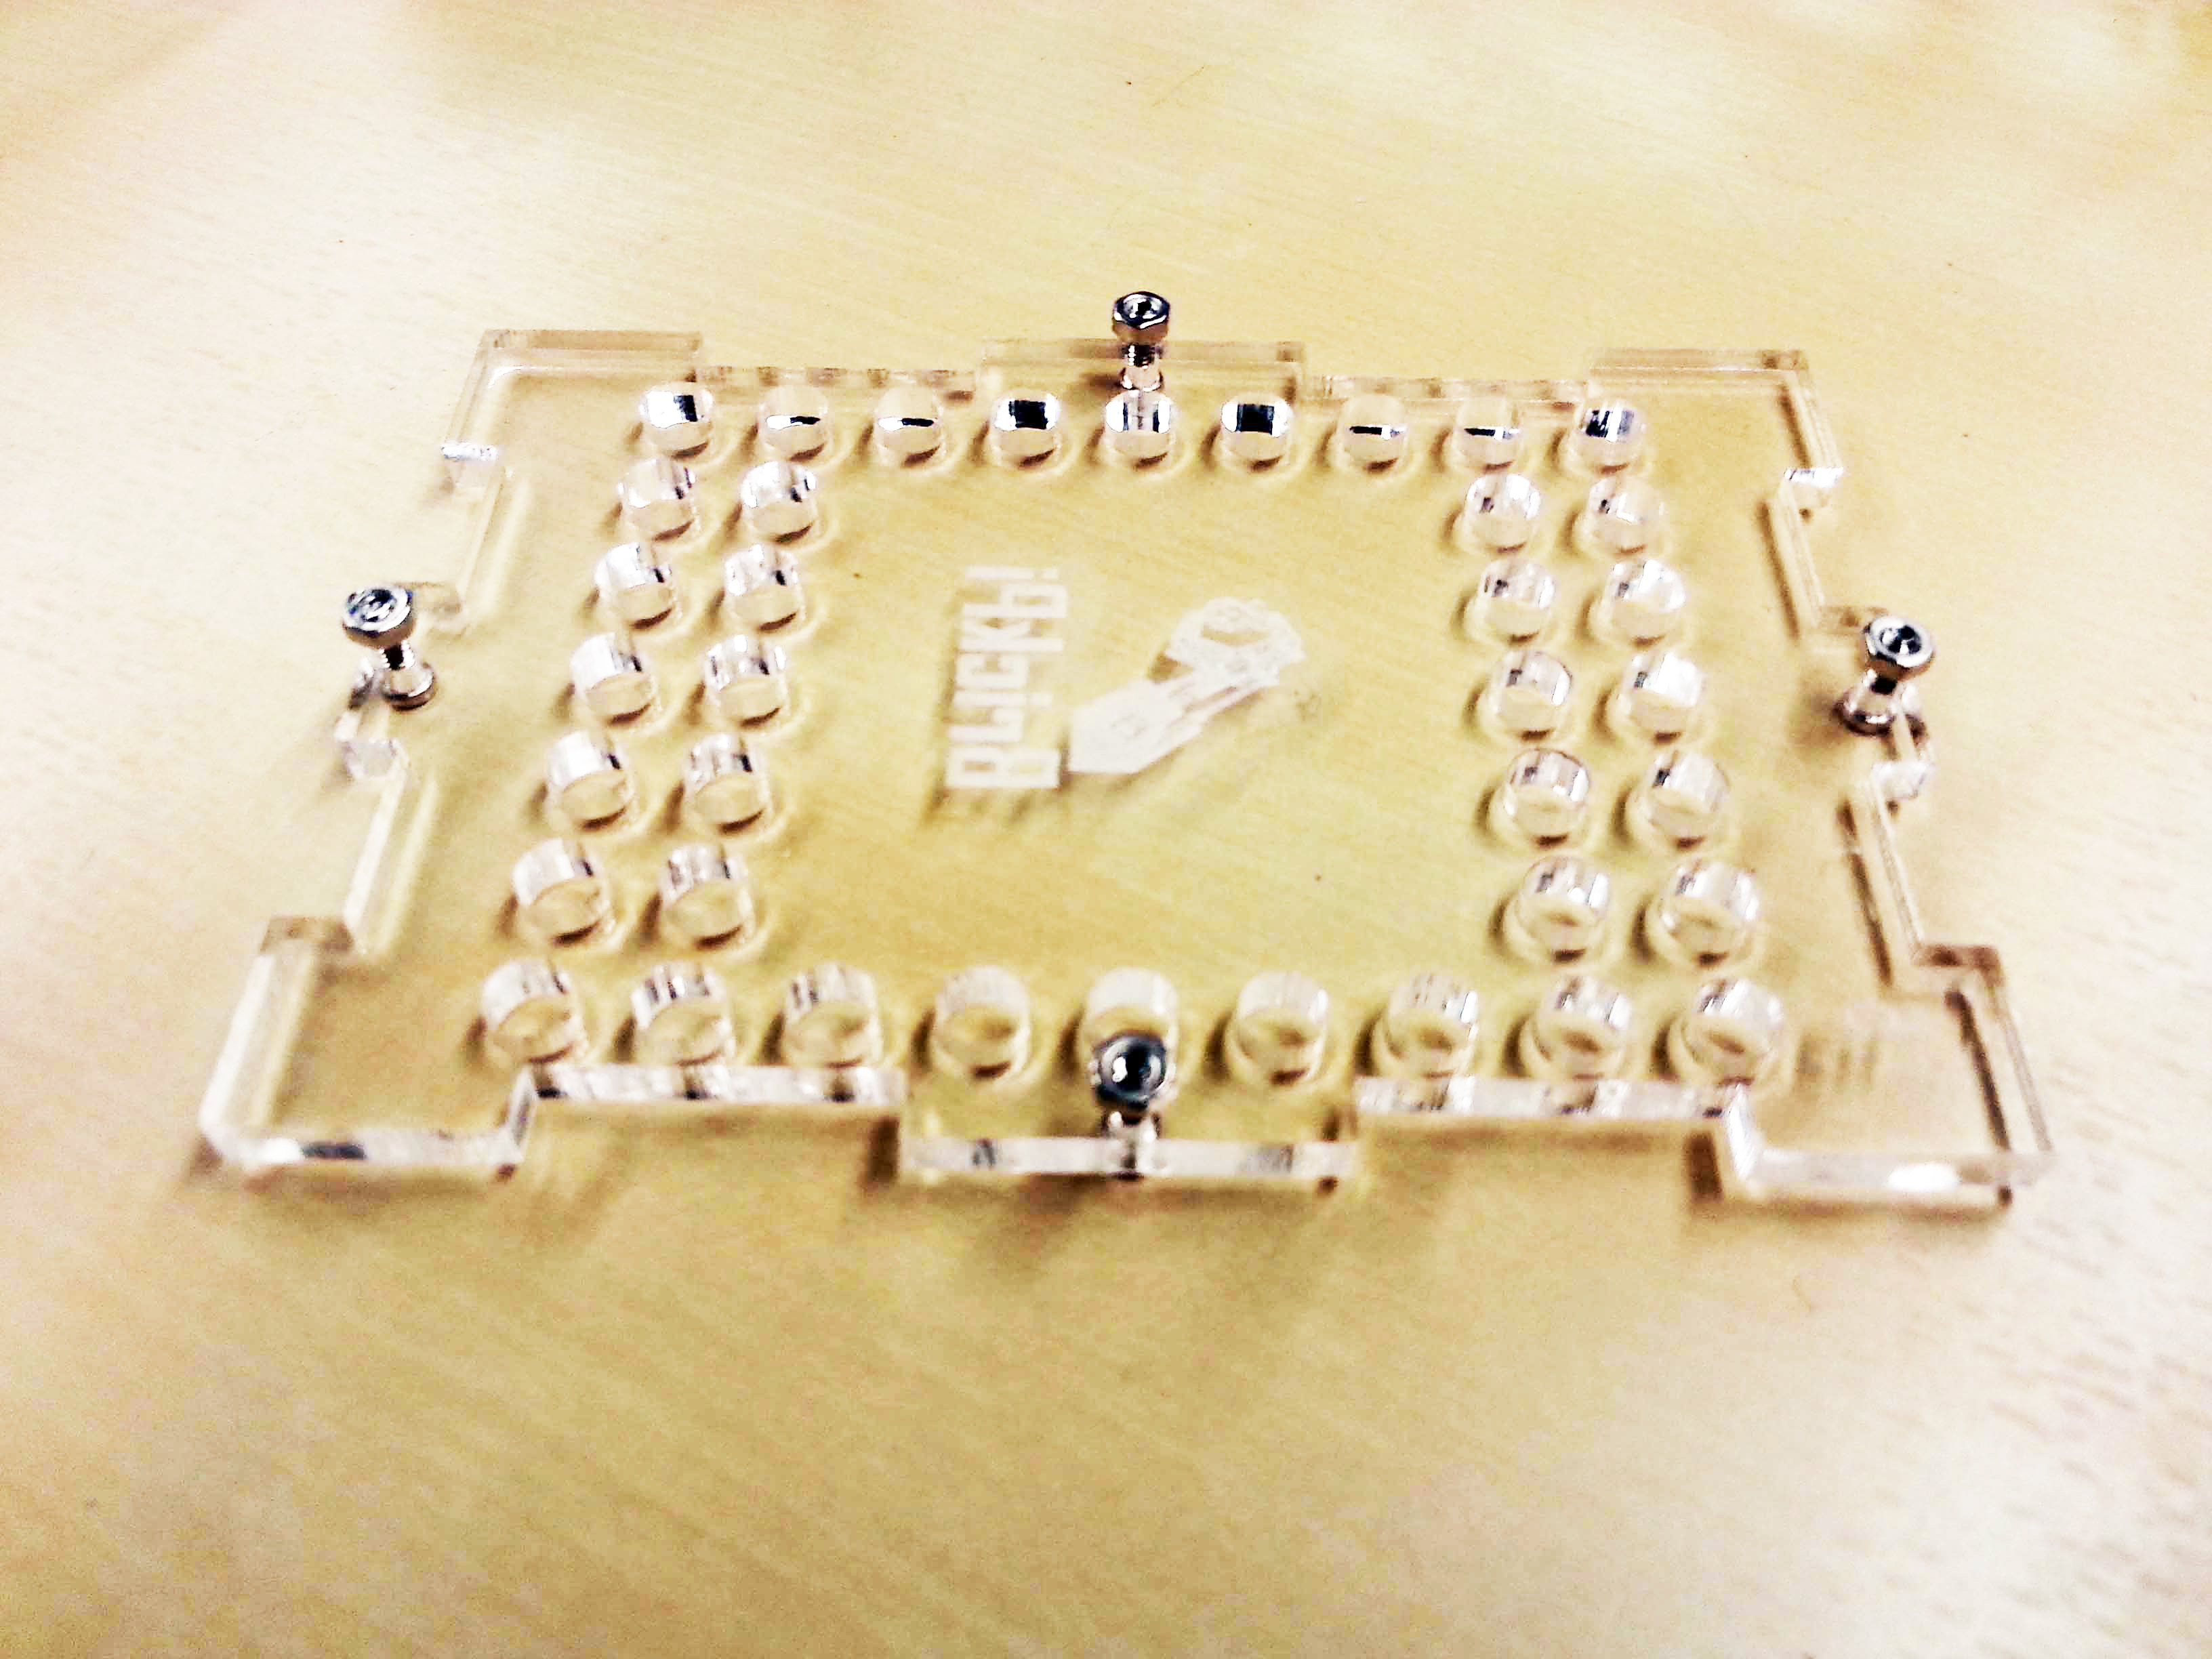
Attach four screws to the Top plate (Part 5).
8). Attach Part 5, the top plate, to the case.
Leave the screws loose at this point.
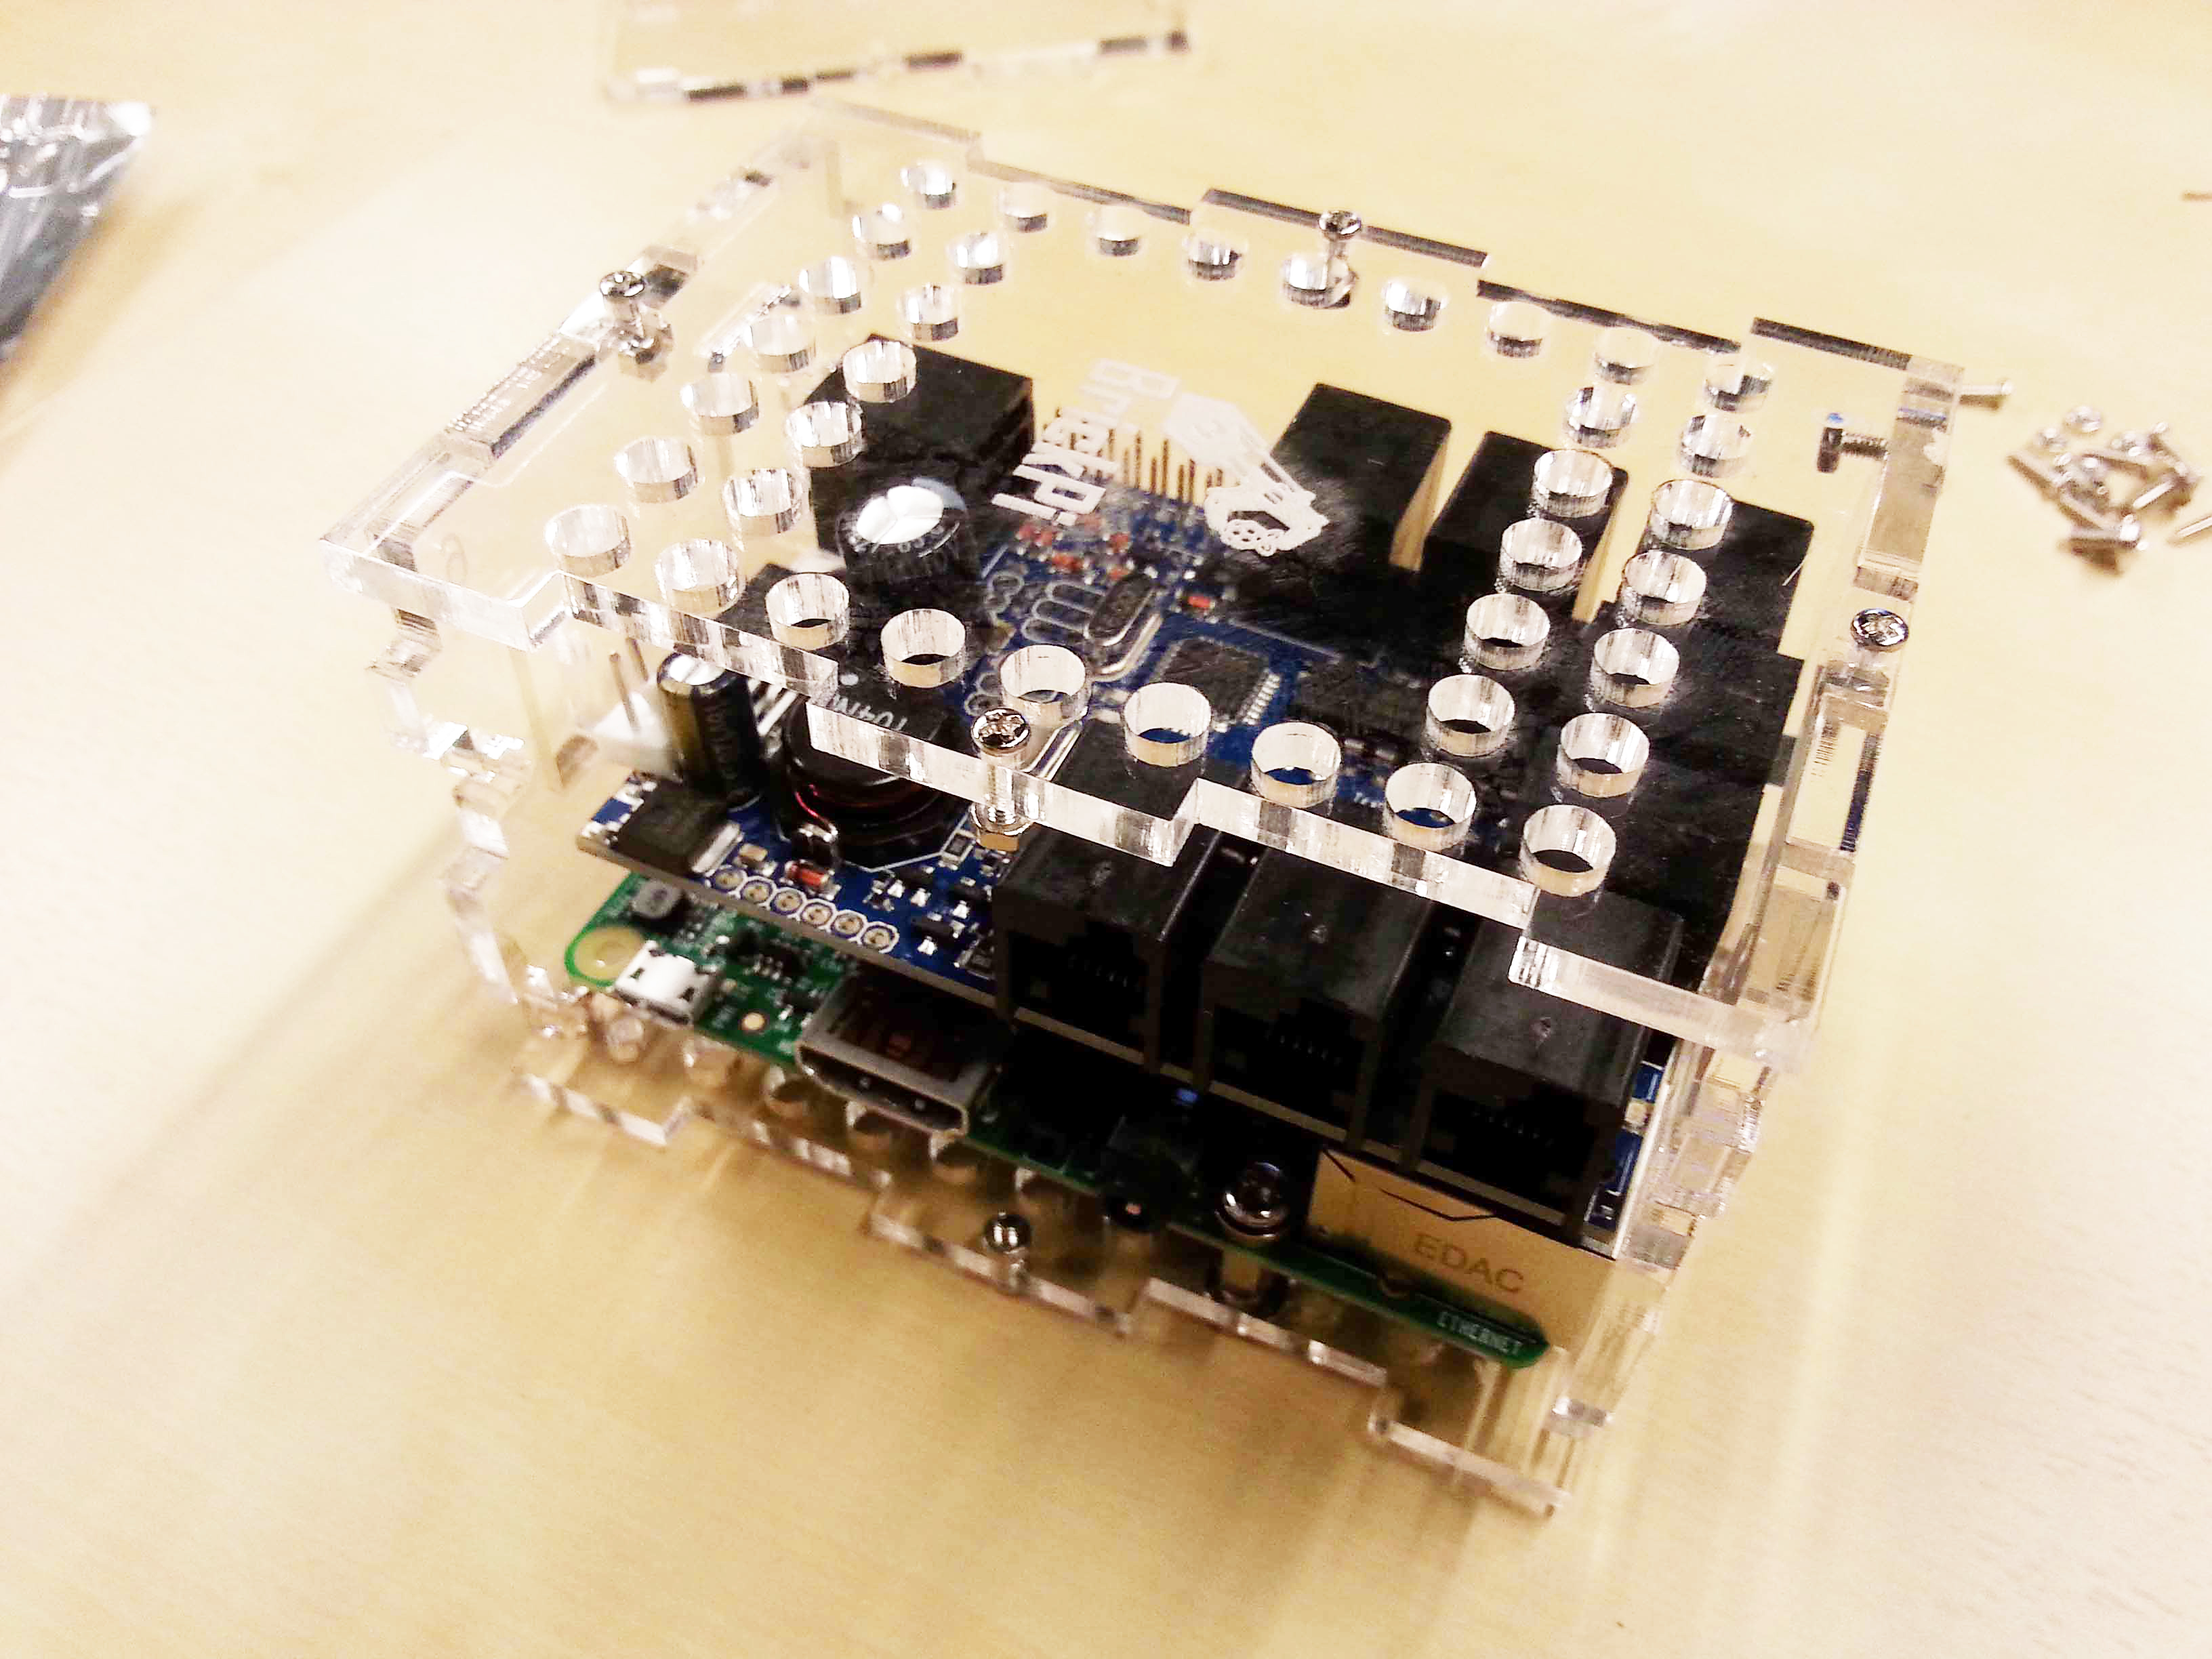
Attach the top plate, Part 5. Be sure to leave the screws loose at this point.
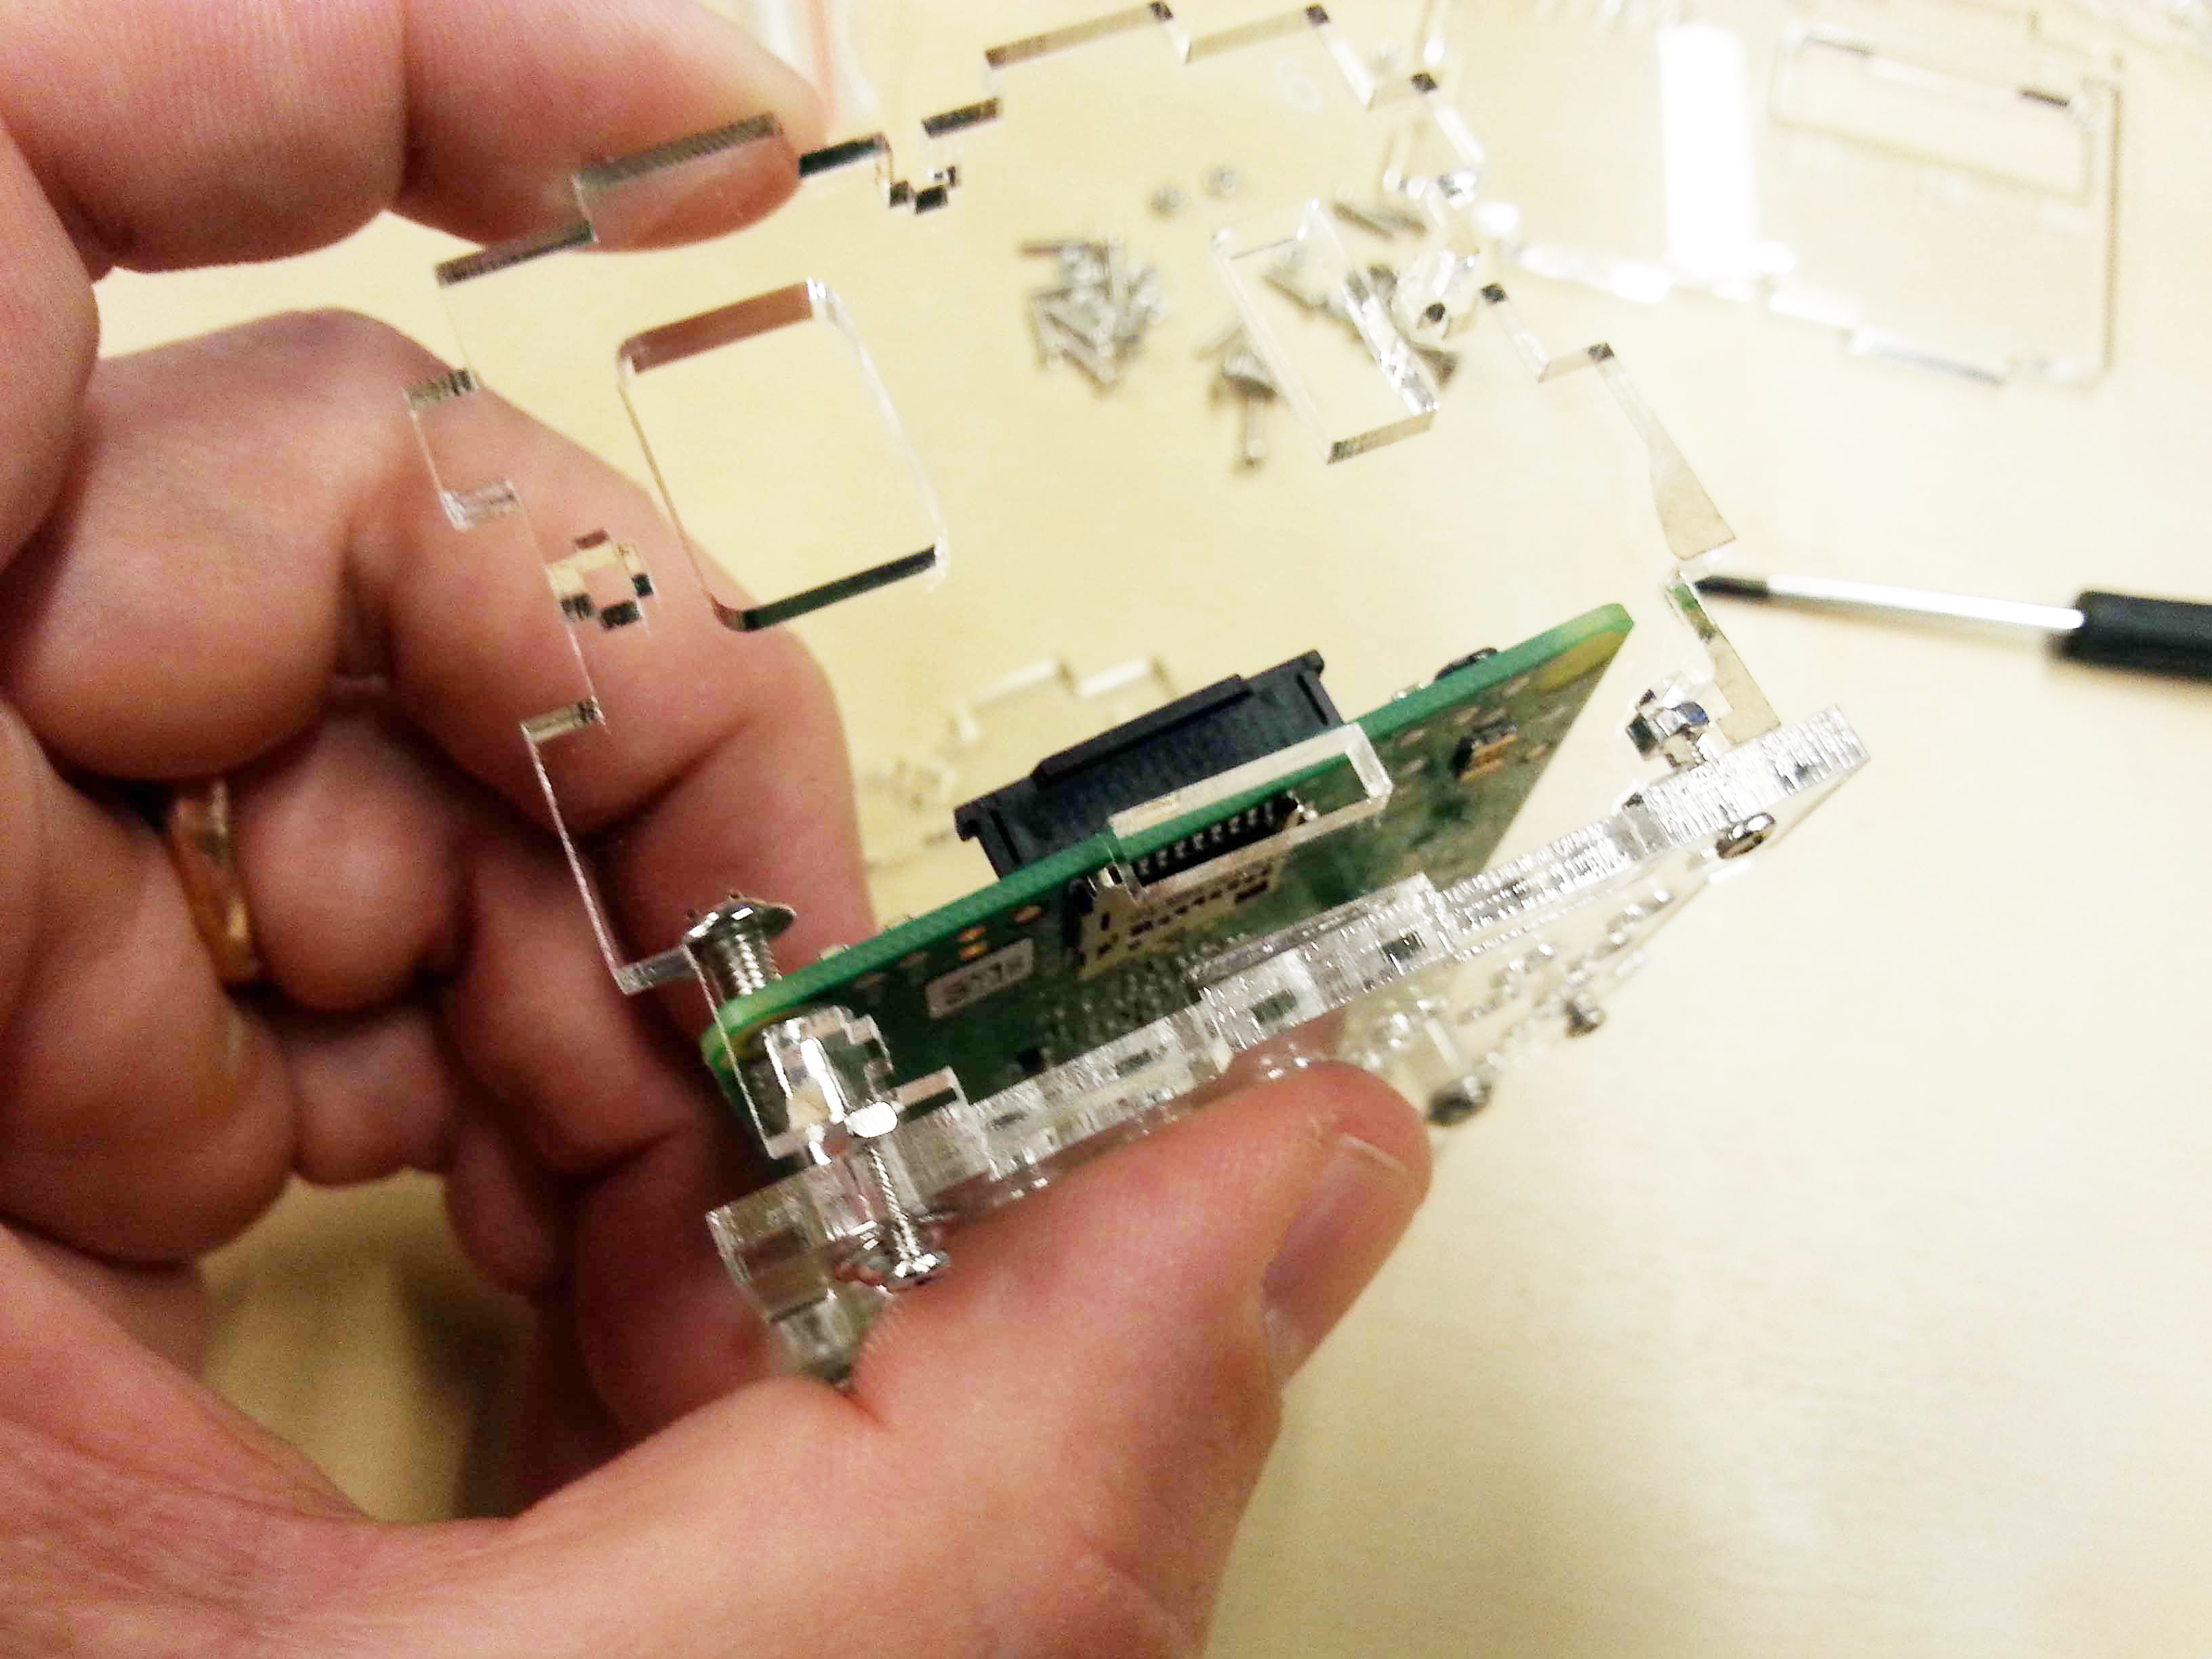
9). Attach the side plate, Part 2, to the BrickPi Case.
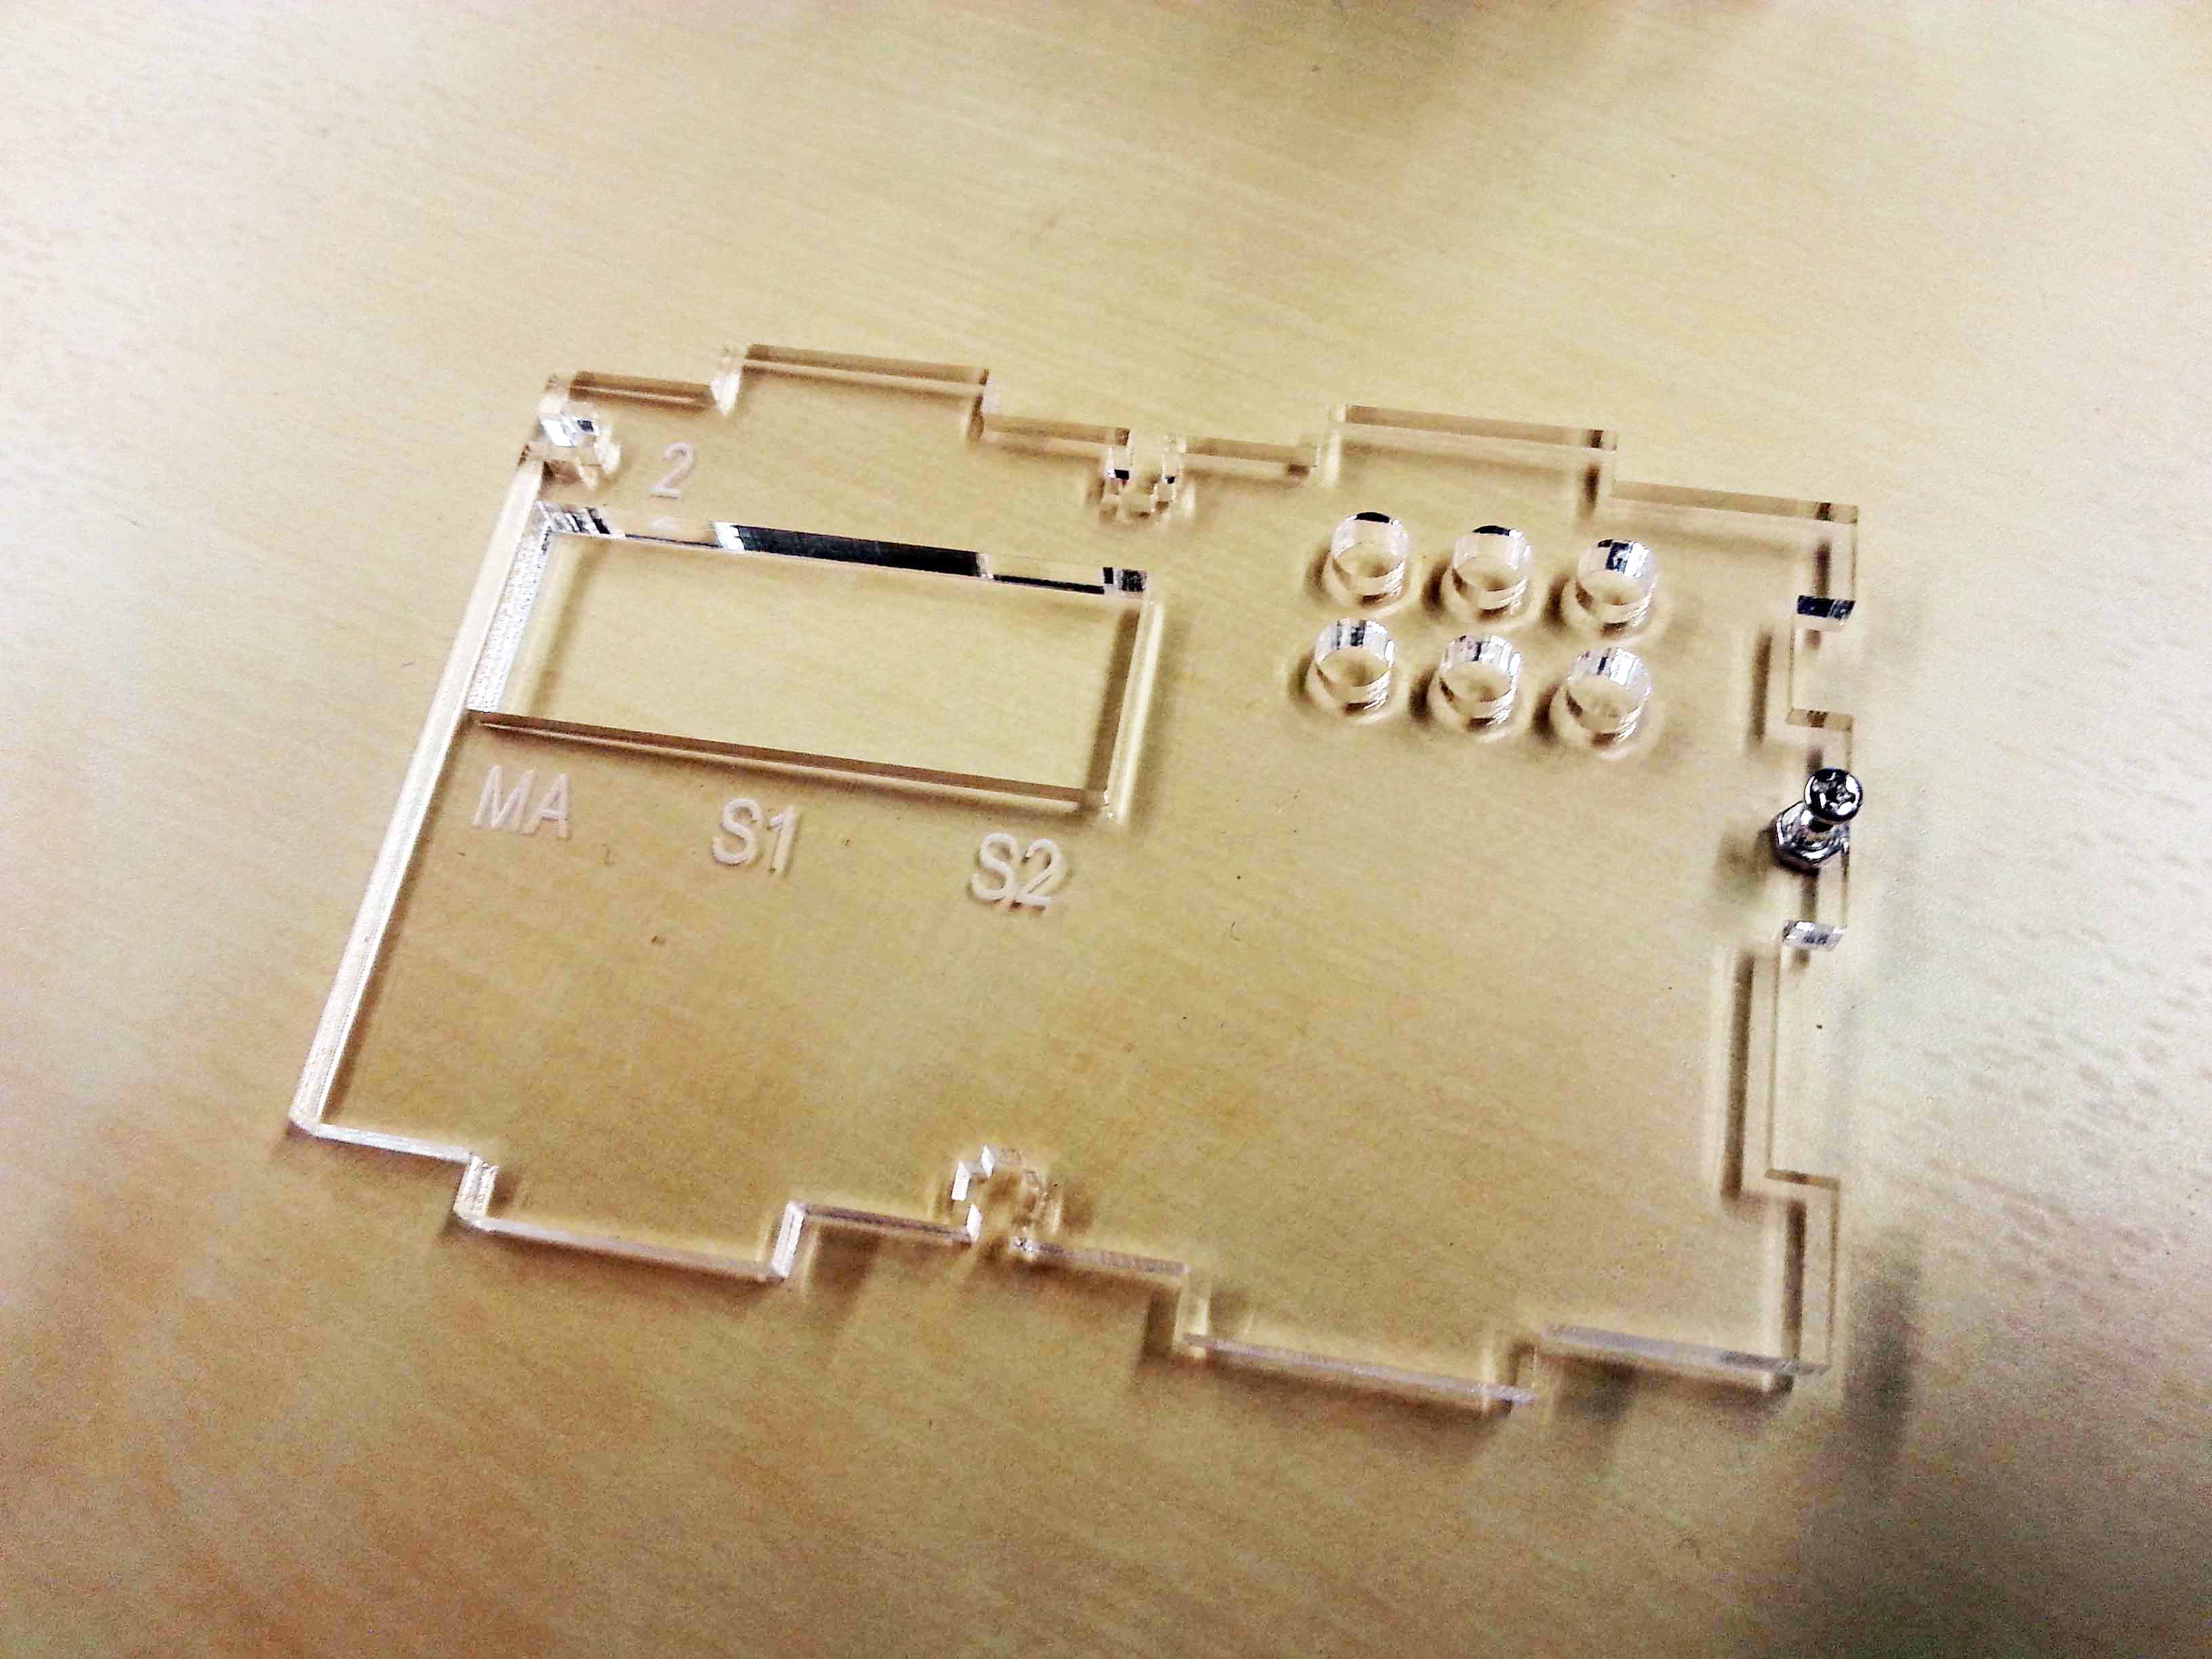
Prepare the side plate with one screw.
Slide the side plate in place.
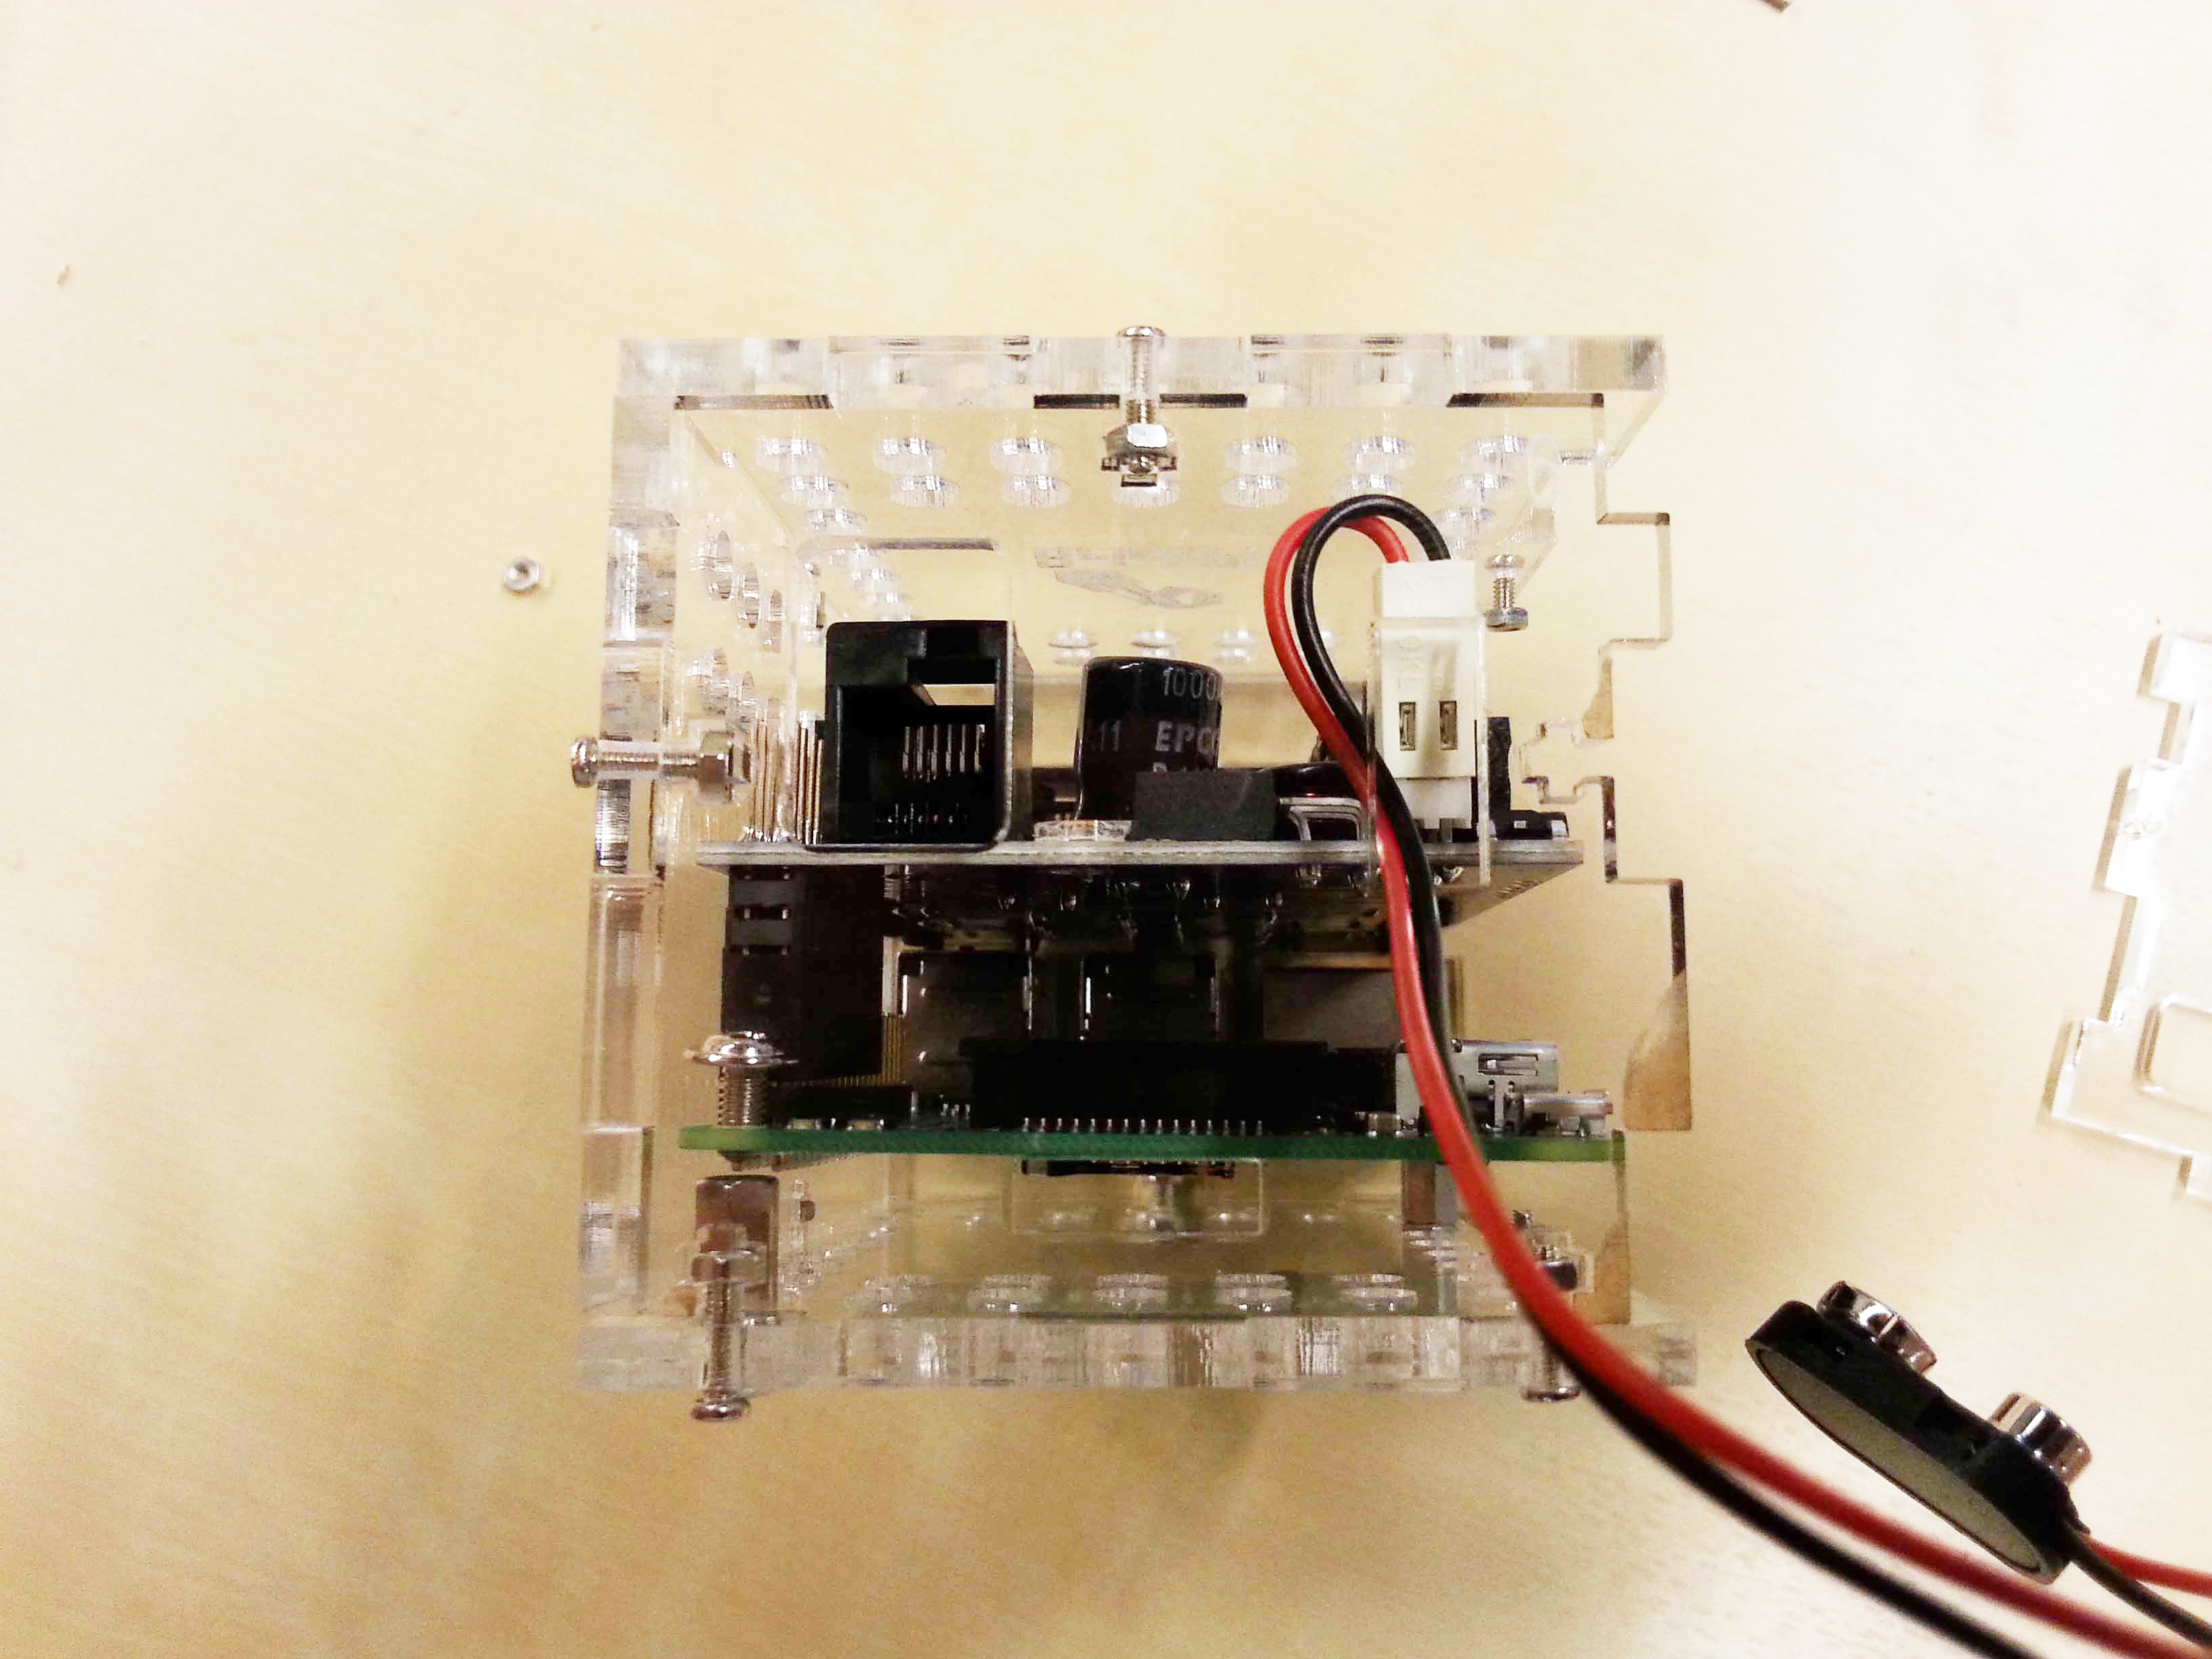
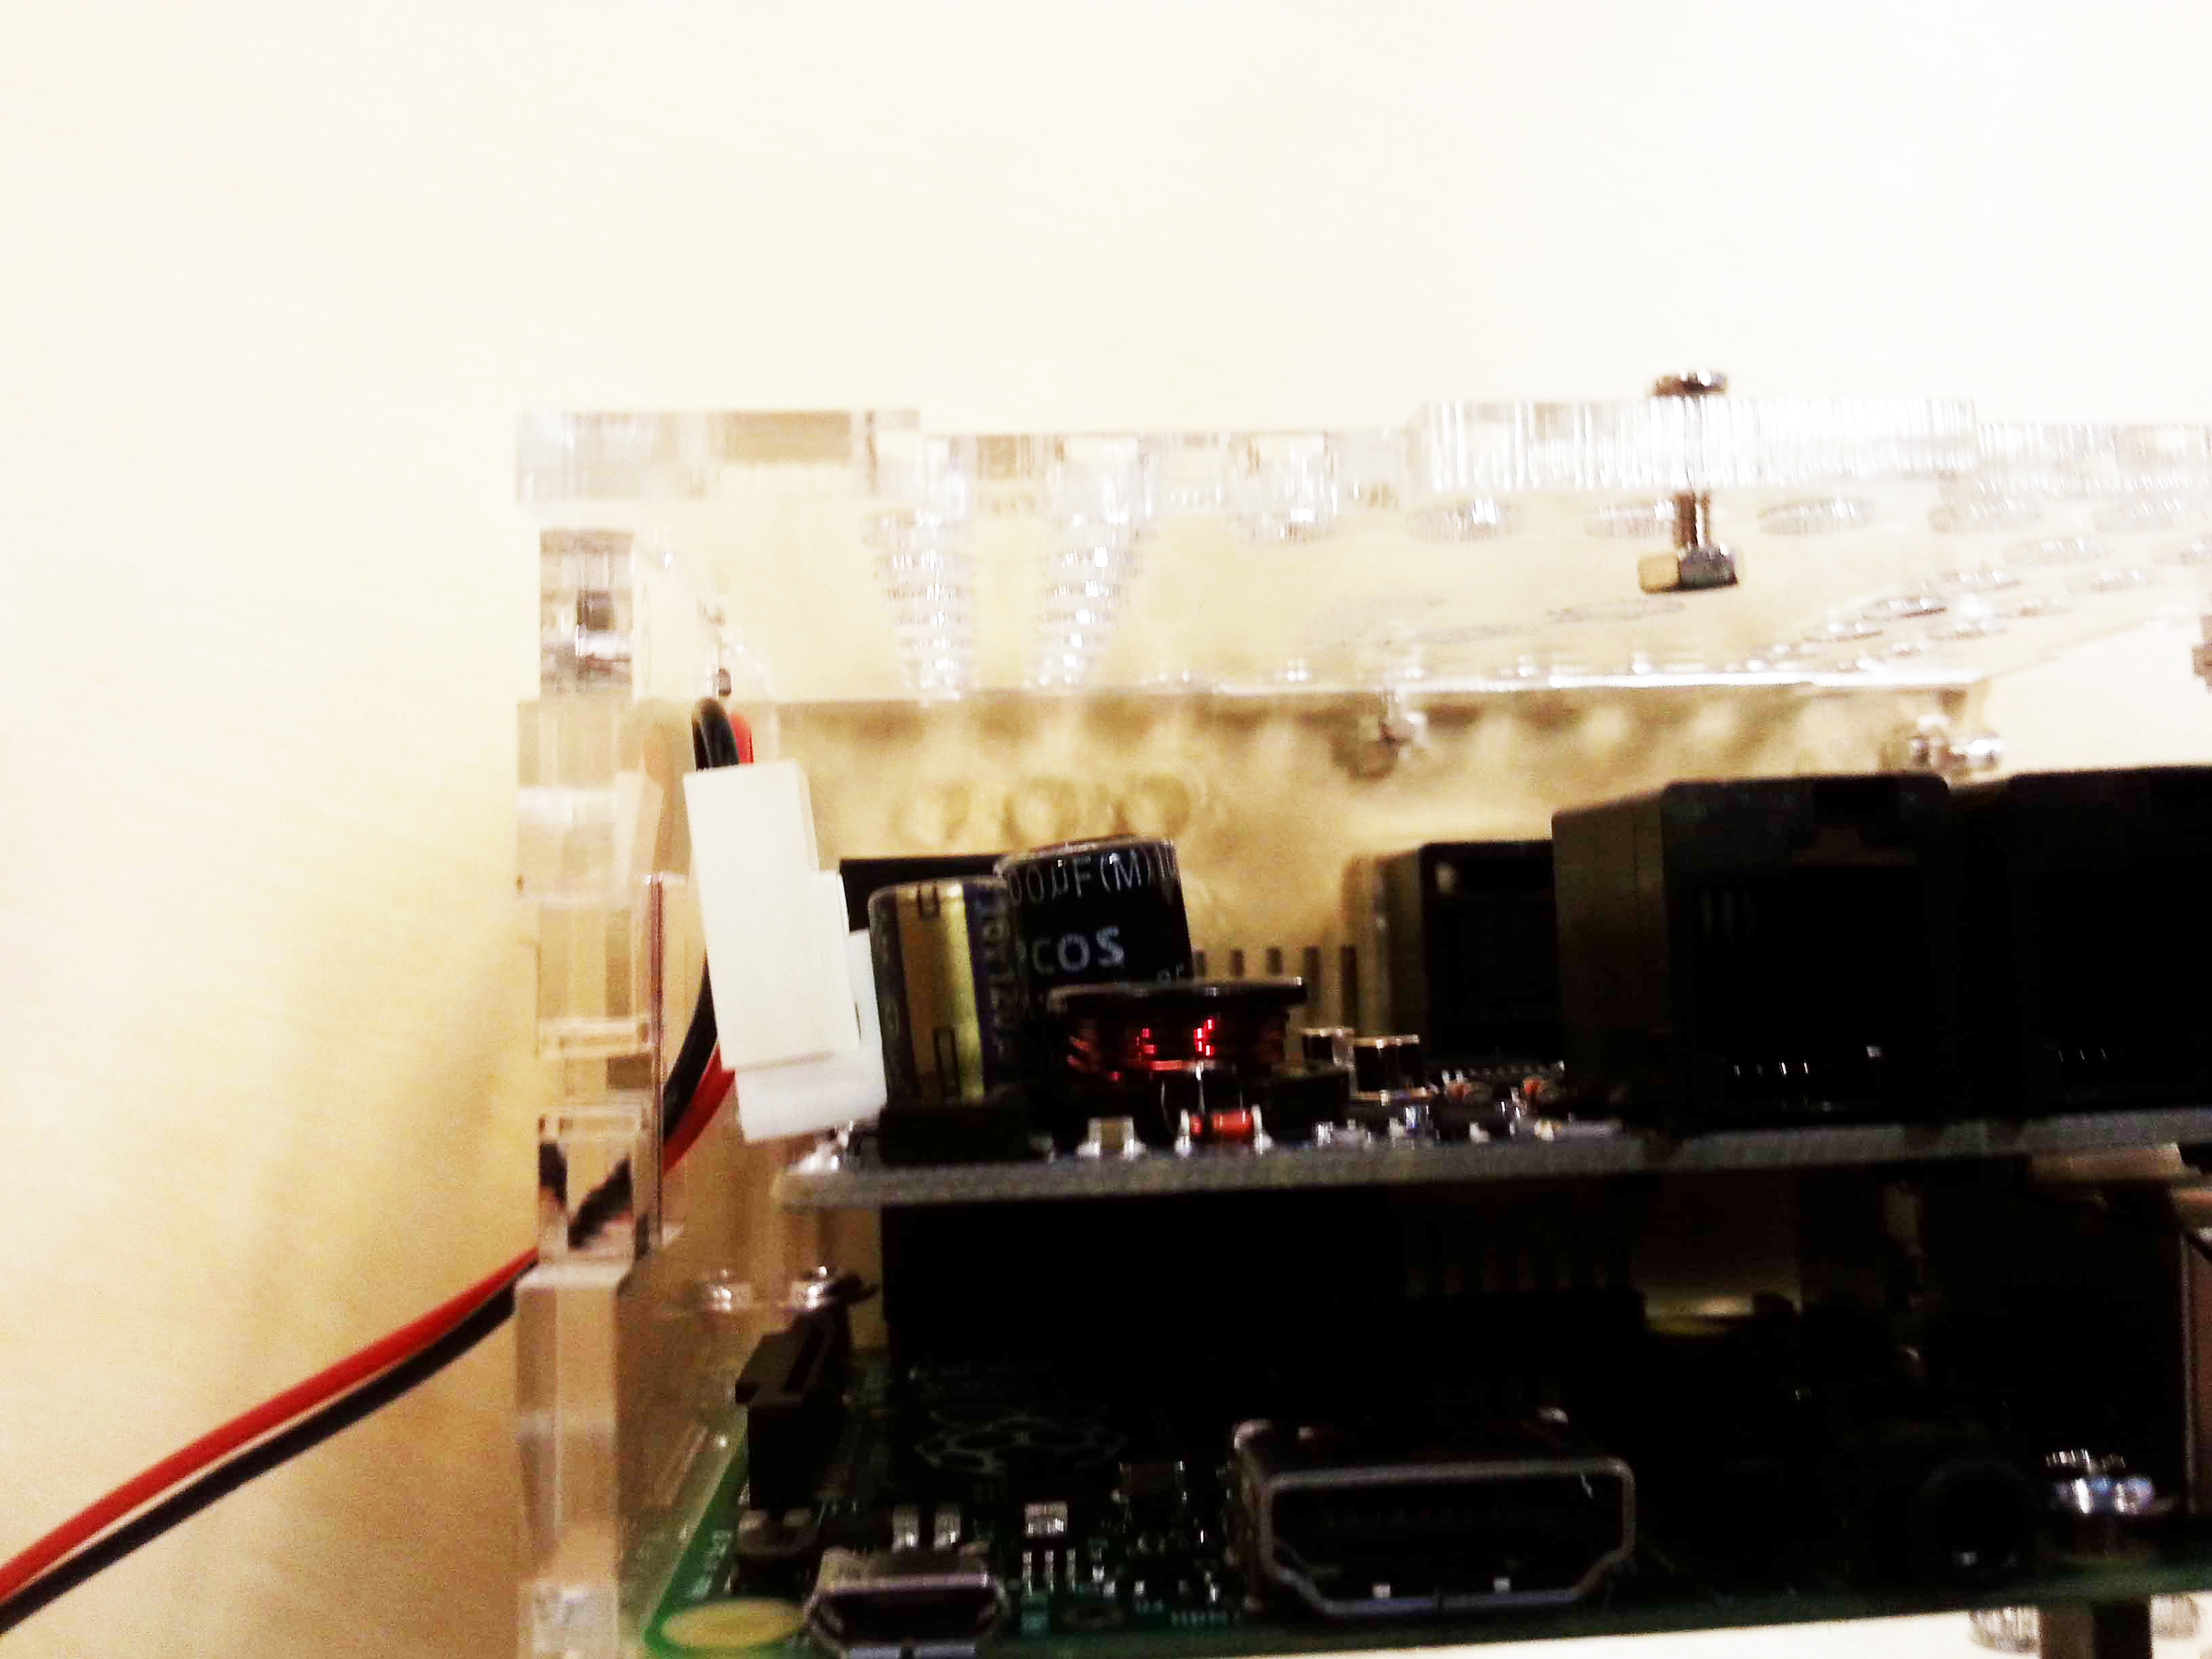
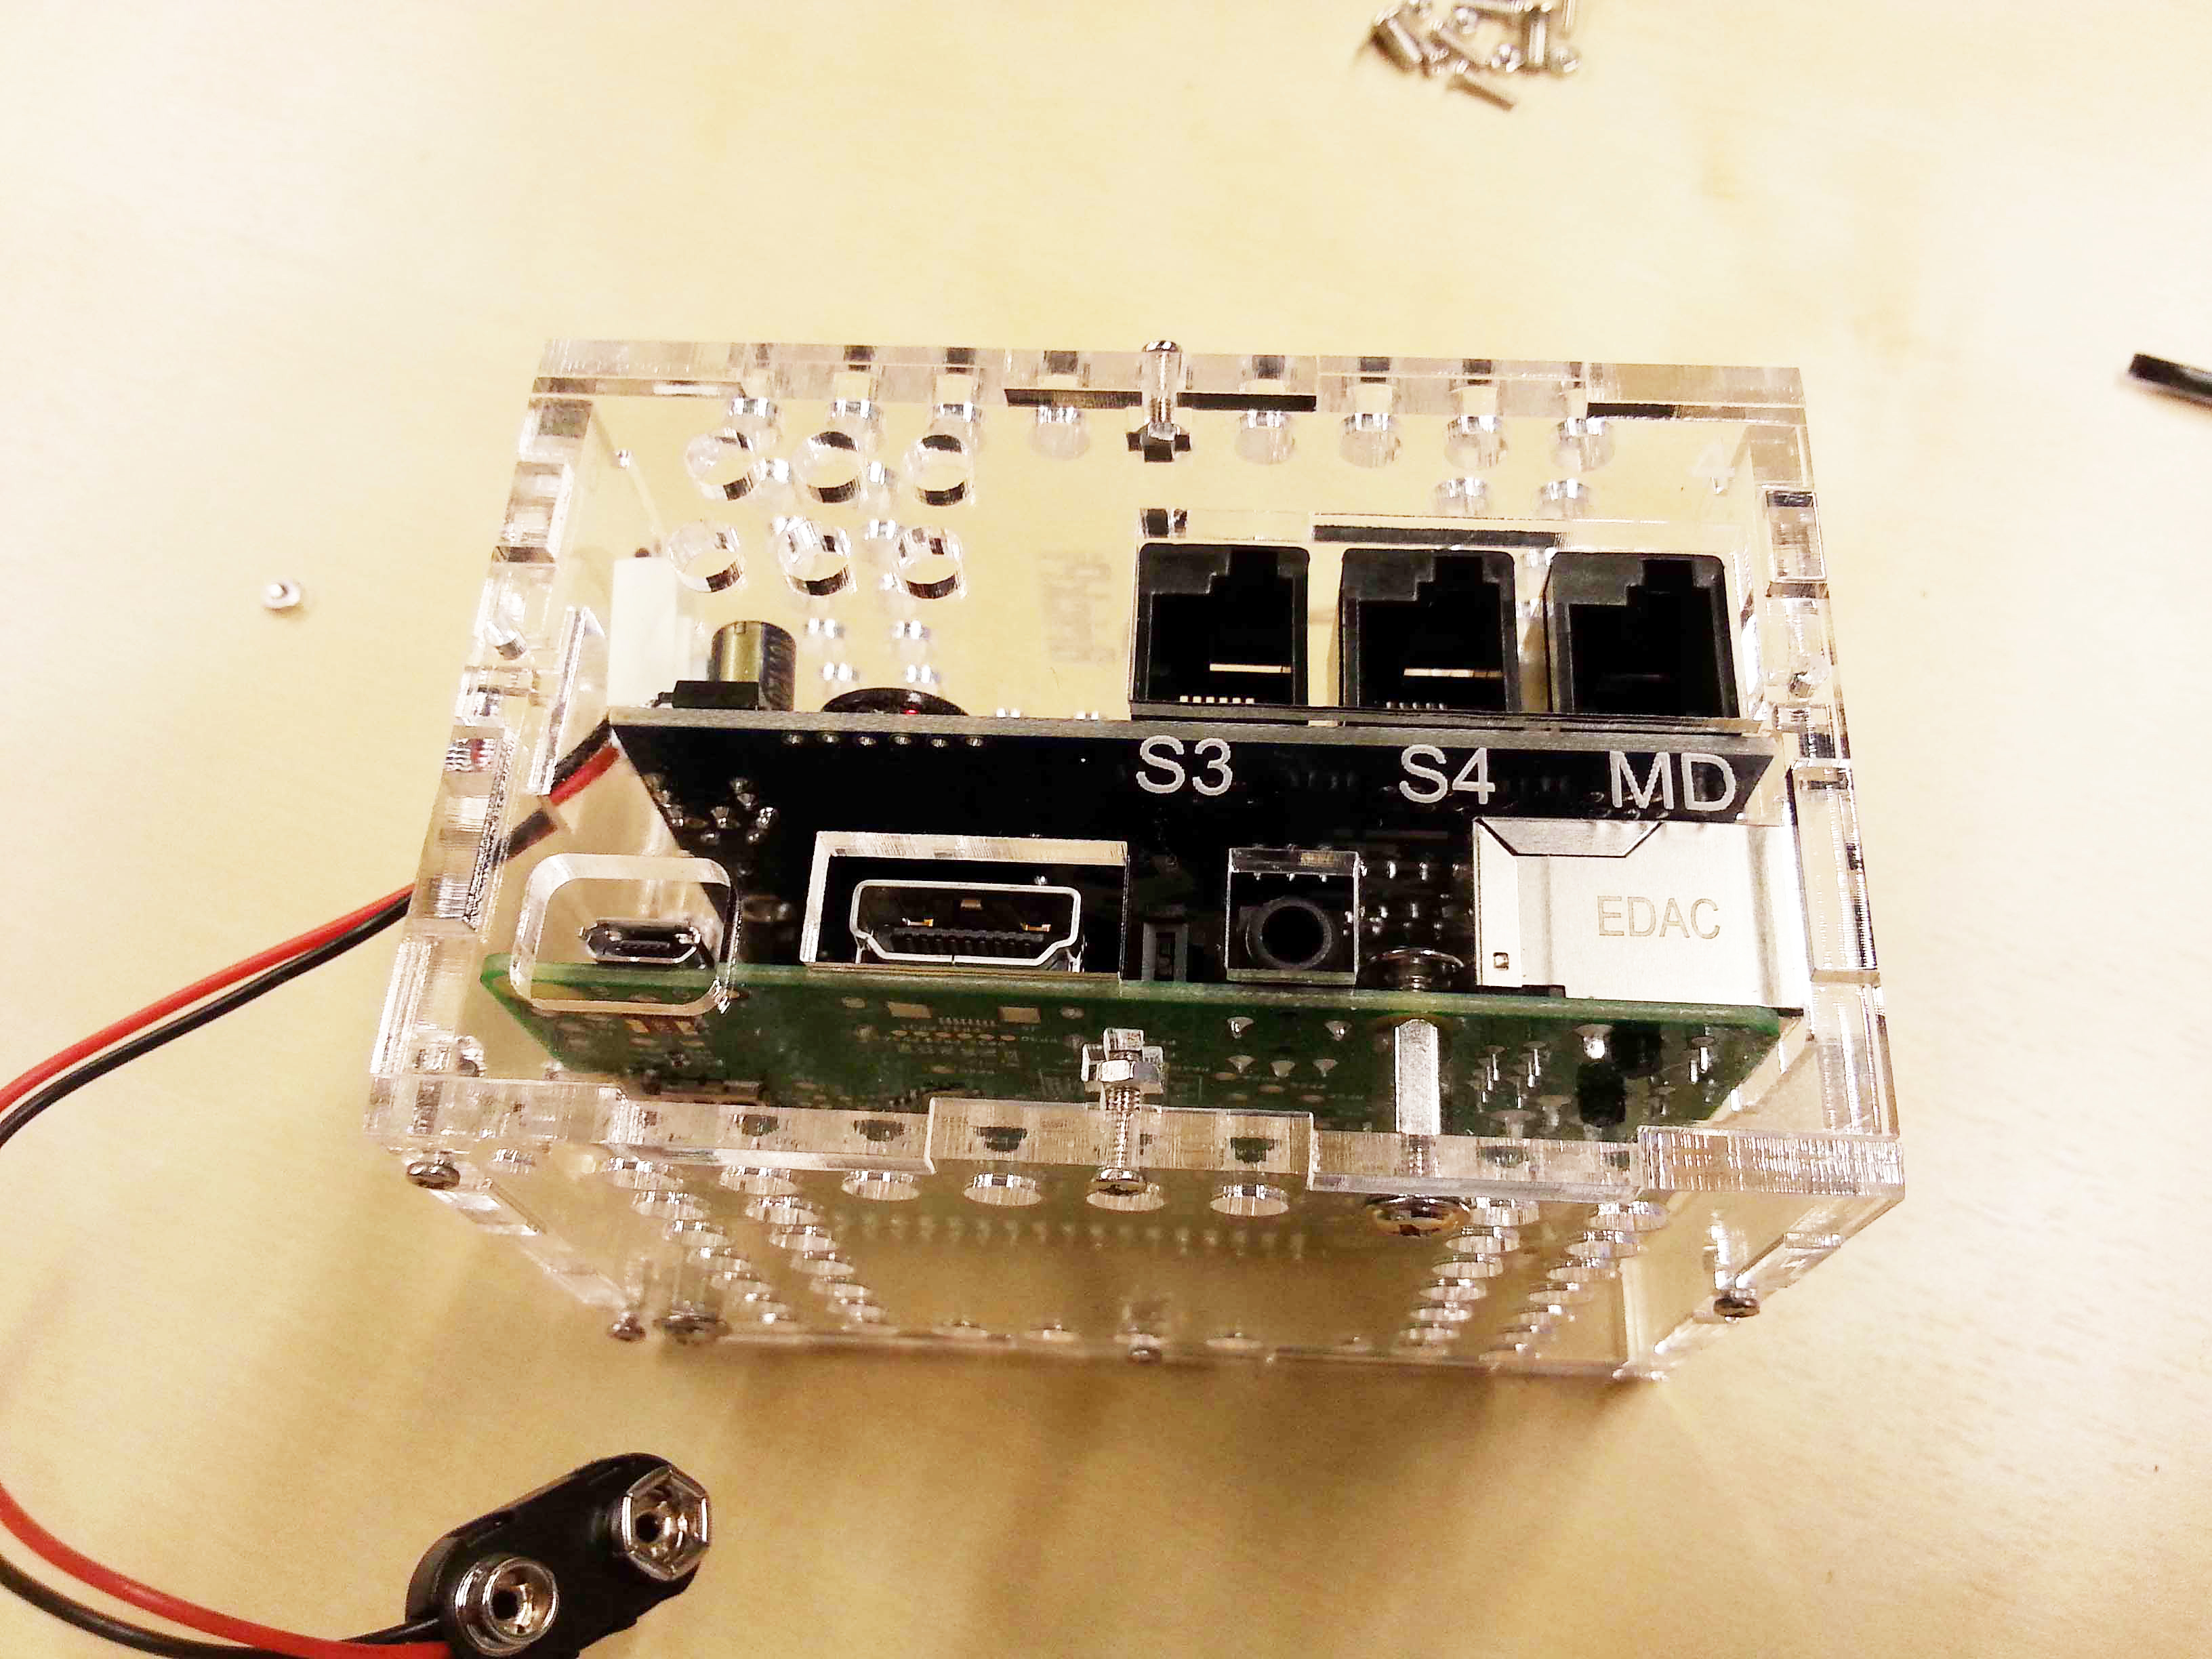
10). Attach the power connection, and pull the cord through Part 6.
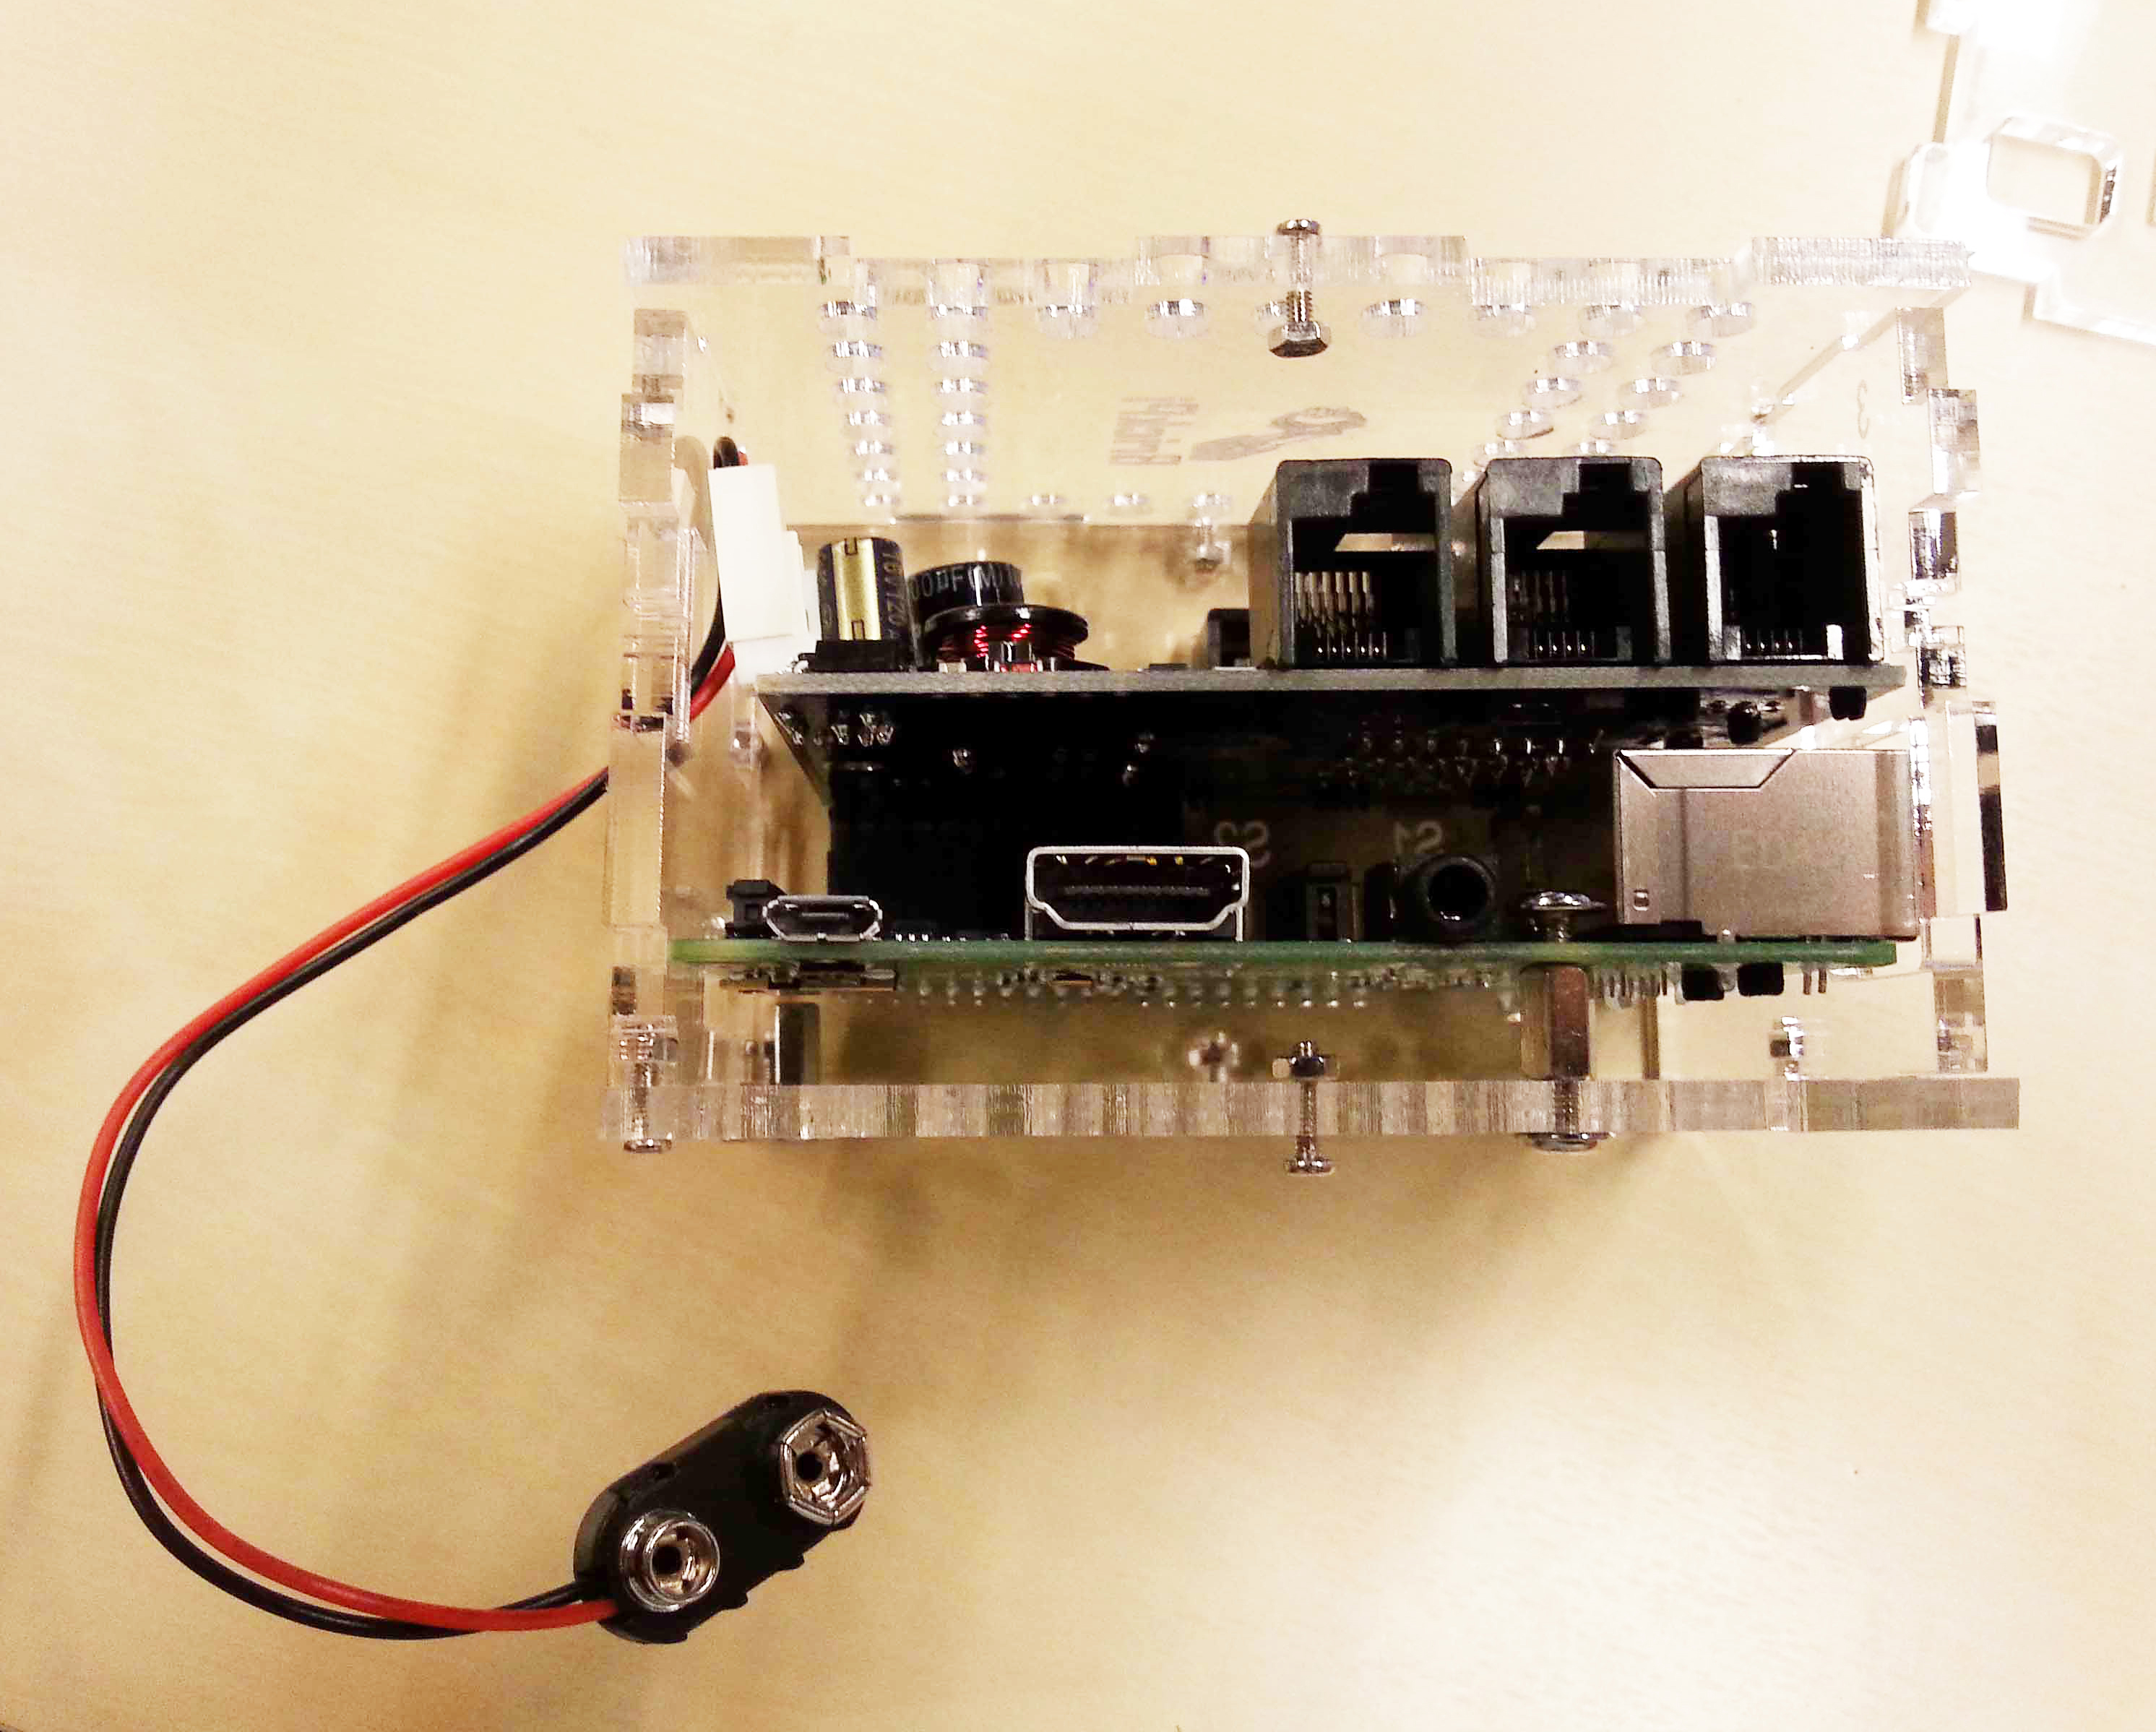
Attach the power adapter and pull the cord through.
Attach the power adapter and pull the cord through.
Attach the power adapter and pull the cord through.
11). Slide on Part 4.
Slide Part 4 onto the BrickPi.
12). Finally, tighten up the screws.
Be careful not to over-tighten the screws!

Tighten up the screws!