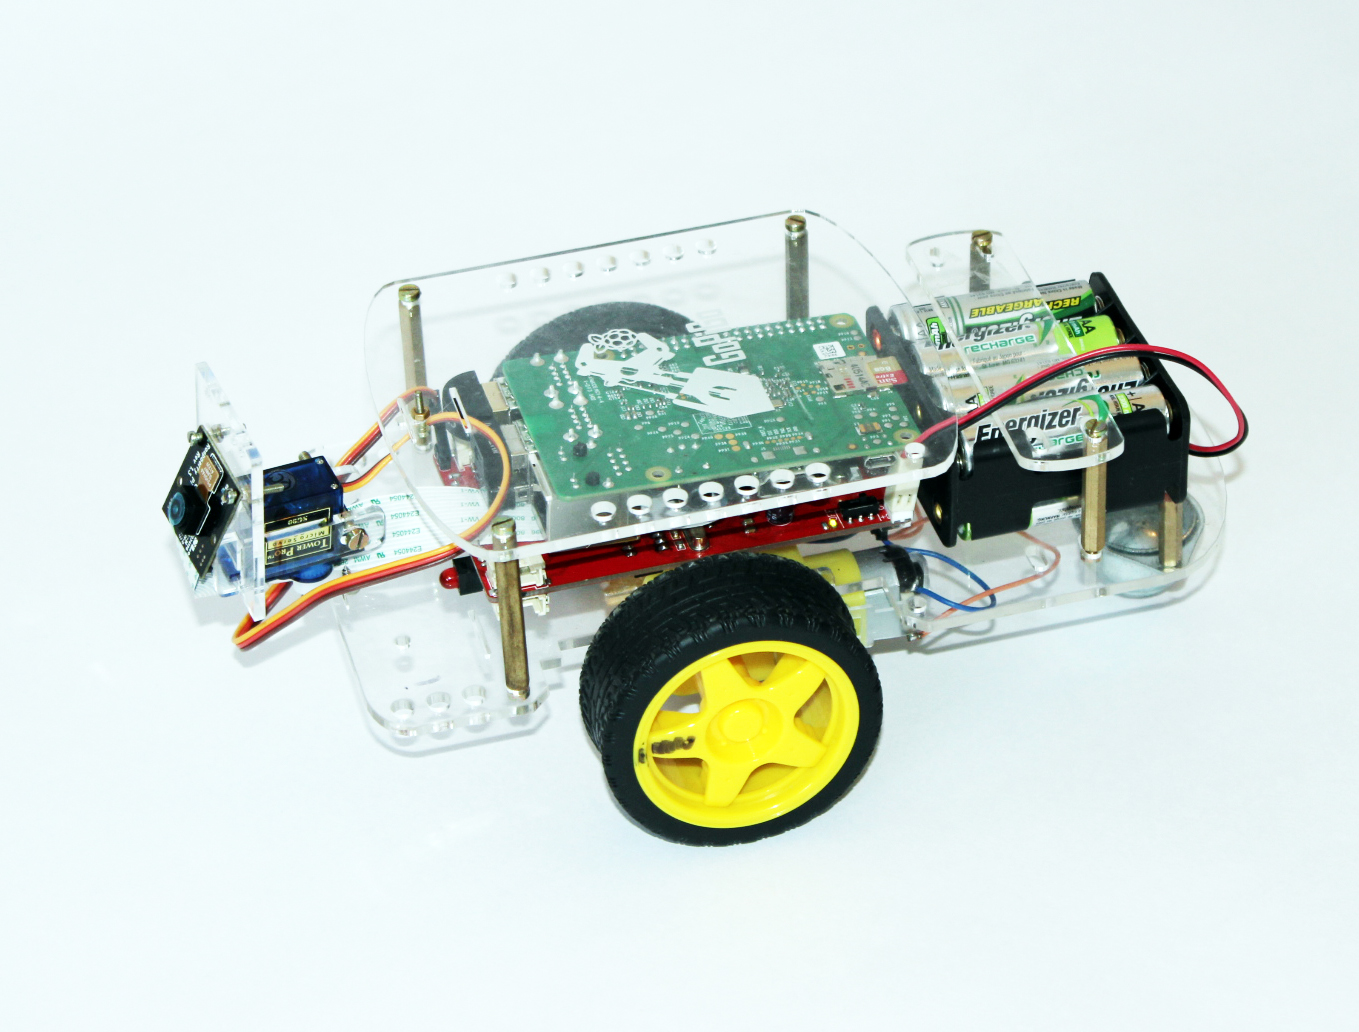
This project shows how to use the Servo with the GoPiGo with simple keyboard commands. You can try out his example to see how the servo works with the GoPiGo and adapt this program to make it work with you own projects. The servo can be used with the Ultrasonic ranger or the camera to have a pan/tilt functionality with the GoPiGo.
Hardware needed:
- A fully assembled GoPiGo
- A decent battery pack providing atleast 9V (recommended 12V battery pack of 8AA cells )
- Wifi Adapter for connecting and controlling
- A Servo with the custom cabling for the GoPiGo
Connecting the servo:
Connect the servo connector to the 3 pin header between the two LED’s in the front.
Setting up the GoPiGo
Make sure that the GoPiGo is set up properly and you have the updated software and firmware. If you are not sure about this, follow the guide here.
If the GoPiGo is properly set up, connect to the GoPiGo via SSH or VNC and open terminal.
Running the example:
- Go to the Basic Robot Control folder:
cd Desktop/GoPiGo/Software/Python/Examples/Basic Servo/

- Start the basic_robot_control.py example
sudo python basic_servo.py
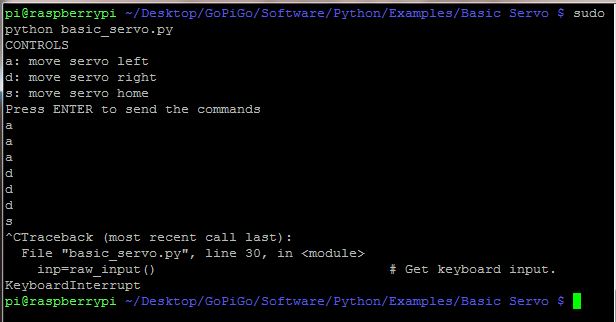


Controlling the Servo:
Use the following keys to control the Servo
- a: move servo left
- d: move servo right
- s: move servo home
Press Enter after each command to make it execute and press Ctrl+C to exit
You can easily adapt this example to any project which uses a servo that you have in mind.
Have a question? Go check out our support page here or post it on the forums here.