Blink is the simplest Arduberry example project. This example will show you how to blink an LED connected to the Arduberry.
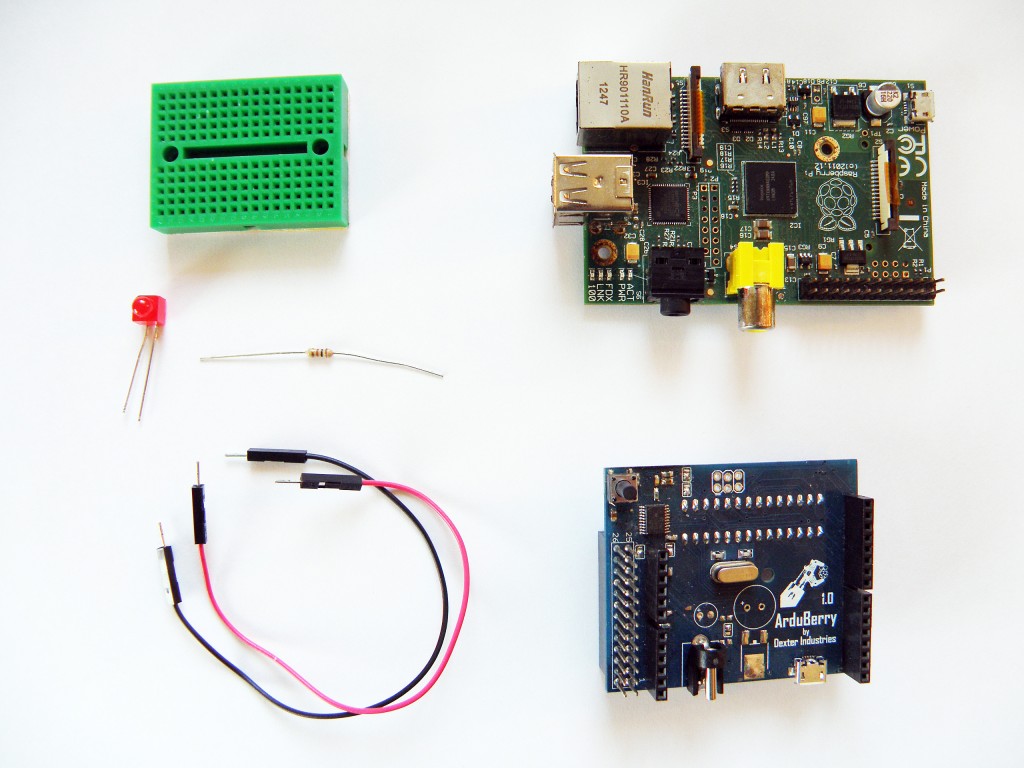 Parts Needed
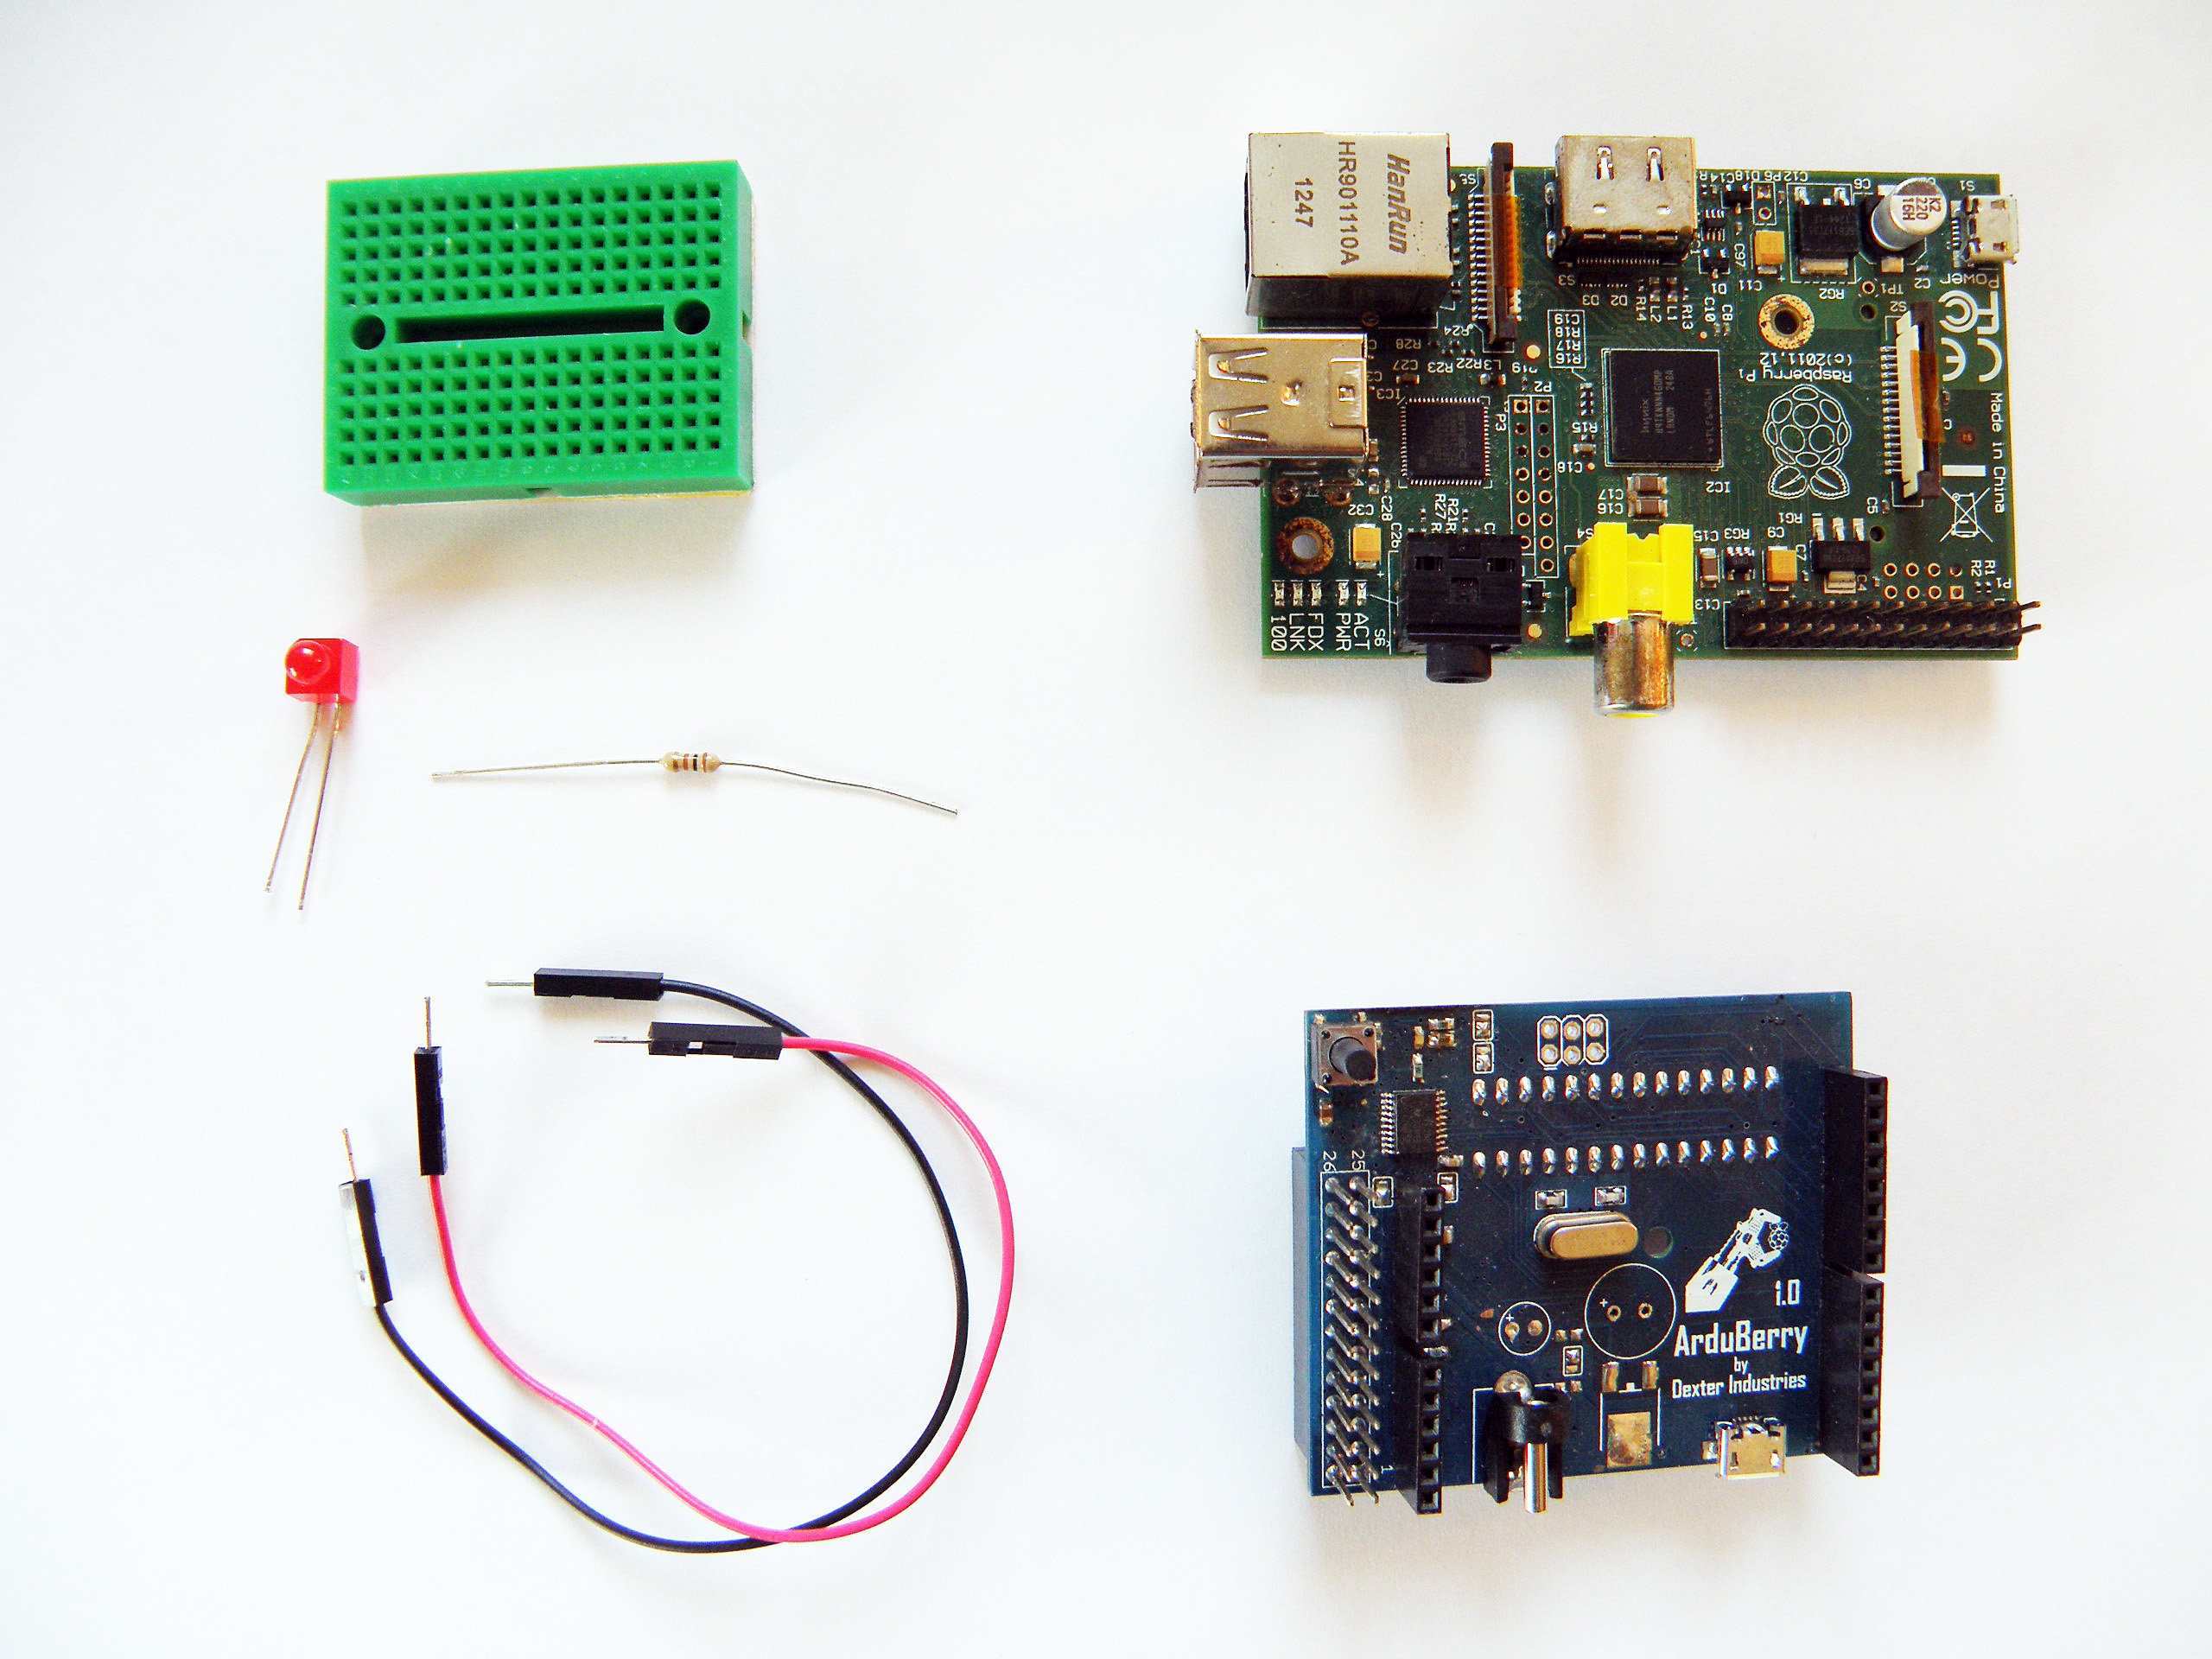
- Raspberry Pi
- Arduberry
- An LED
- A 330 ohm resistor
- Breadboard
- Jumper wires
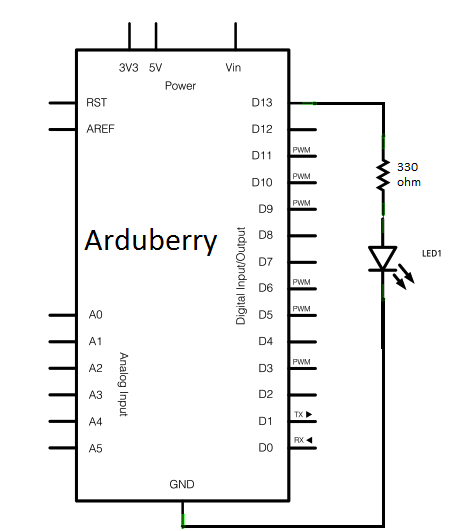
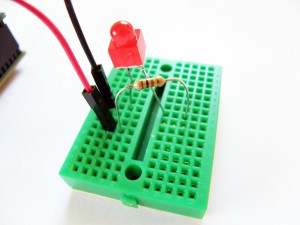
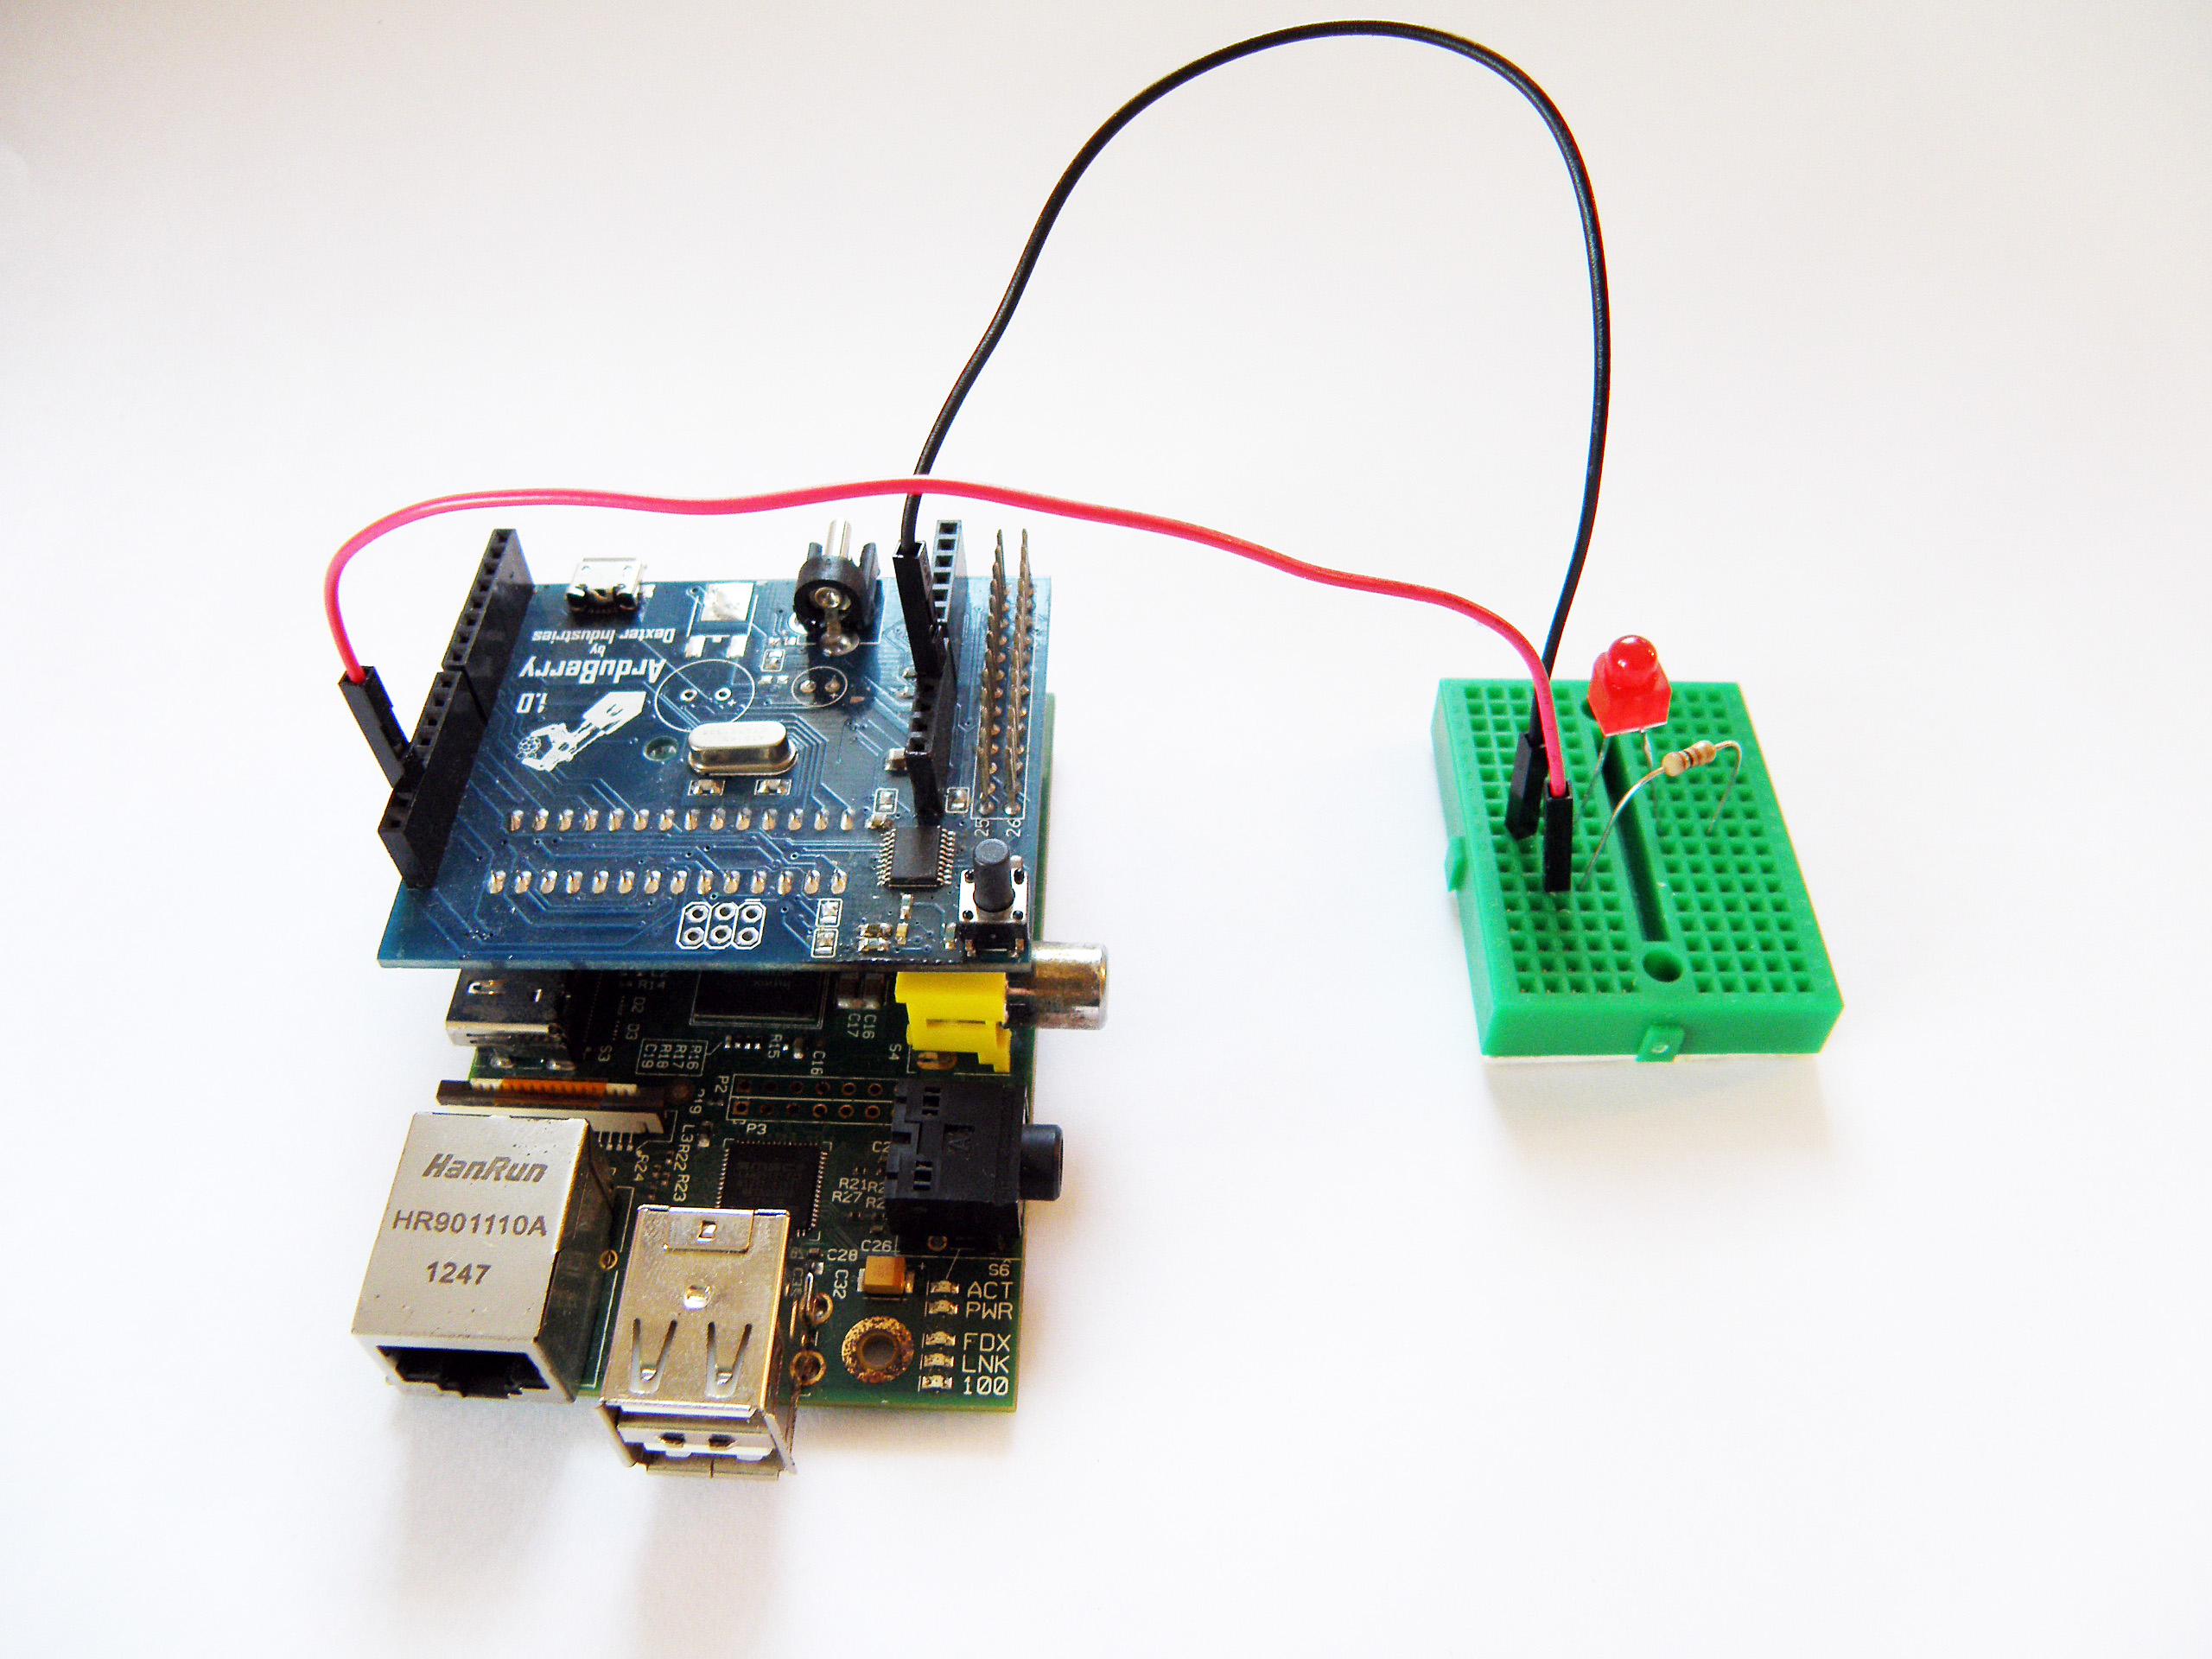
Step 1 – Connect the LED
In this step we will wire up the LED using a breadboard. Insert a 330-ohm resistor on a breadboard and connect it to pin 13 on the Arduberry. Attach the long leg of an LED (the positive leg, called the anode) to the resistor. Attach the short leg (the negative leg, called the cathode) to ground using a jumper wire. (NOTE: Disconnect the wire which connects to the LED before you upload the program from the Arduino IDE. Once the code is uploaded, then connect the LED and it should start blinking)
Click on any of the pictures below for a better view.
Step 2 – Start the Raspberry Pi
Power on the Raspberry Pi with the Arduberry connected to it and open the Arduino program
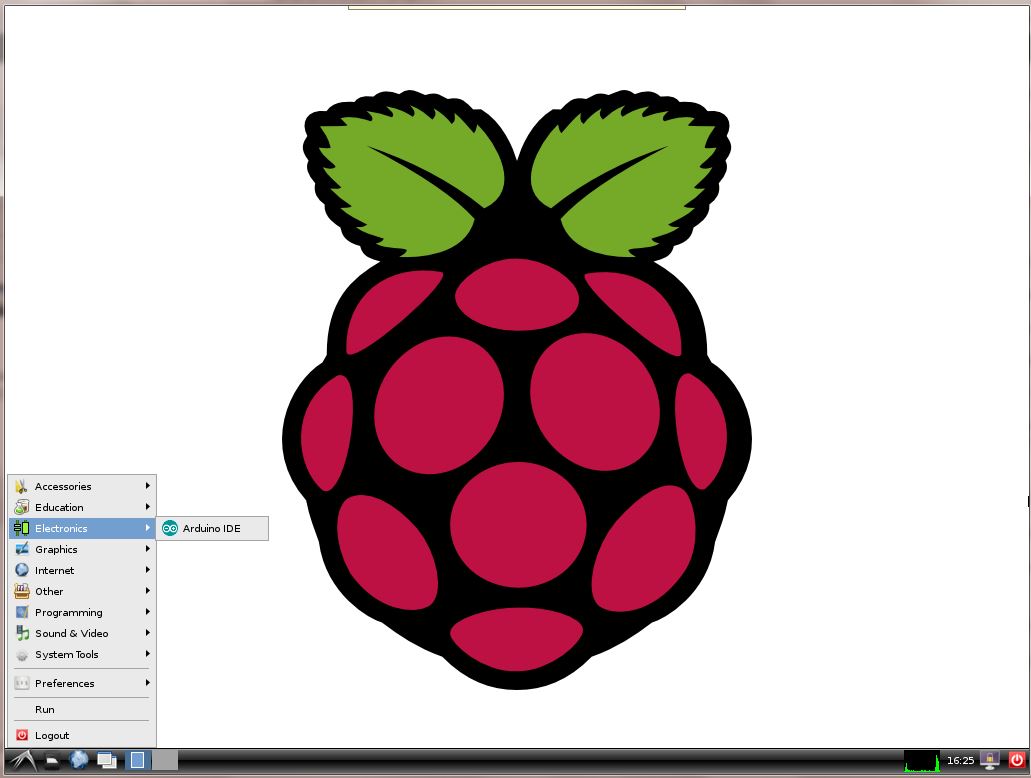
Step 3 – Run the Blink Sketch
Open the Blink example in Examples folder (Examples ->01.Basics->Blink) and change the programmer to RaspberryPi GPIO (Tools ->Programmer) hit upload or press Ctrl +Shift+U to upload the program. The LED will start blinking.

This example is derived from the Arduino Blink example.

Have a problem? Did we make a mistake? Post it on the forums and we’ll help you out.